背景
T3 Stack が話題なので、サンプルを作ってみた。
T3 Stack とは
「TypeScript でフルスタックな Web アプリケーションを構築するならこれがベストだぜ!」という技術スタックの組み合わせ。
以上の6つが含まれており、そのうち NextAuth.js, Prisma, Tailwind CSS, tRPC については「あなたのアプリに必要なら加えてね」というような、オプションとして提供されている。(T3 の 3 とは…?)
初期ファイルの生成
Docker で node 環境を pull して npm create t3-app で初期ファイルを生成する。
$ docker run -w /app -v (pwd):/app -it node:18.13.0 bash
$ npm create t3-app@latest
Ok to proceed? (y) y
   ___ ___ ___   __ _____ ___   _____ ____    __   ___ ___
  / __| _ \ __| /  \_   _| __| |_   _|__ /   /  \ | _ \ _ \
 | (__|   / _| / /\ \| | | _|    | |  |_ \  / /\ \|  _/  _/
  \___|_|_\___|_/‾‾\_\_| |___|   |_| |___/ /_/‾‾\_\_| |_|


? What will your project be called? t3-stack-sample
? Will you be using TypeScript or JavaScript? TypeScript
Good choice! Using TypeScript!
? Which packages would you like to enable? nextAuth, prisma, tailwind, trpc
? Initialize a new git repository? Yes
Nice one! Initializing repository!
? Would you like us to run 'npm install'? Yes
Alright. We'll install the dependencies for you!
package.json を覗いてみると react-query や zod などもセットで付いていた。
package-lock.json や自動生成された実装を眺めてみると、 tRPC がそれらを使うためにインストールされていることが分かる。
{
  ...
  "dependencies": {
    "@next-auth/prisma-adapter": "^1.0.5",
    "@prisma/client": "^4.8.0",
    "@tanstack/react-query": "^4.20.0",
    "@trpc/client": "^10.8.1",
    "@trpc/next": "^10.8.1",
    "@trpc/react-query": "^10.8.1",
    "@trpc/server": "^10.8.1",
    "next": "13.1.1",
    "next-auth": "^4.18.7",
    "react": "18.2.0",
    "react-dom": "18.2.0",
    "superjson": "1.9.1",
    "zod": "^3.20.2"
  },
}
src ディレクトリの中の構成を見ると、
$ tree src/
src/
├── env
│   ├── client.mjs
│   ├── schema.mjs
│   └── server.mjs
├── pages
│   ├── _app.tsx
│   ├── api
│   │   ├── auth
│   │   │   └── [...nextauth].ts
│   │   └── trpc
│   │       └── [trpc].ts
│   └── index.tsx
├── server
│   ├── api
│   │   ├── root.ts
│   │   ├── routers
│   │   │   └── example.ts
│   │   └── trpc.ts
│   ├── auth.ts
│   └── db.ts
├── styles
│   └── globals.css
├── types
│   └── next-auth.d.ts
└── utils
    └── api.ts

12 directories, 15 files
開発環境の構築
とりあえず起動できなければ始まらないので Docker イメージを用意してビルドする。
DB が必要らしいので docker-compose を用いて開発環境を構築していく。
version: "3"
services:
  db:
    image: postgres:15.1
    environment:
      POSTGRES_HOST_AUTH_METHOD: trust
    volumes:
      - postgres-data:/var/lib/postgresql/data
  web:
    build: .
    command: npm run dev
    ports:
      - "3000:3000"
    volumes:
      - ./:/app
      - node-modules:/app/node_modules
volumes:
  postgres-data:
  node-modules:
FROM node:18.13.0

WORKDIR /app

COPY package.json /app
COPY package-lock.json /app

RUN npm ci
ファイルを準備したら docker-compose 経由でビルドしていく。
$ docker-compose up -d
$ open http://localhost:3000
DB のセットアップ
公式ドキュメントの First Steps によると、prisma を利用する場合は初めにプロジェクトのルートディレクトリで npx prisma db push を実行せよと書いてある。
試しに実行してみると prisma/db.sqlite というファイルが生成された。
$ npx prisma db push
Environment variables loaded from .env
Prisma schema loaded from prisma/schema.prisma
Datasource "db": SQLite database "db.sqlite" at "file:./db.sqlite"

SQLite database db.sqlite created at file:./db.sqlite

🚀  Your database is now in sync with your Prisma schema. Done in 102ms

✔ Generated Prisma Client (4.8.1 | library) to ./node_modules/@prisma/client in 74ms
今回は docker-compose 上に用意した PostgreSQL を使いたいので、 prisma/schema.prisma を下記のように書き換える。
datasource db {
-    provider = "sqlite"
+    provider = "postgresql"
    url      = env("DATABASE_URL")
}
またコメントに従い、 Account モデルの @db.Text アノテーションのコメントを外していく。
// Necessary for Next auth
model Account {
    id                String  @id @default(cuid())
    userId            String
    type              String
    provider          String
    providerAccountId String
-    refresh_token     String? // @db.Text
-    access_token      String? // @db.Text
+    refresh_token     String? @db.Text
+    access_token      String? @db.Text
    expires_at        Int?
    token_type        String?
    scope             String?
    id_token          String? @db.Text
    session_state     String?
    user              User    @relation(fields: [userId], references: [id], onDelete: Cascade)

    @@unique([provider, providerAccountId])
}
DB の接続情報は環境変数から読み込んでいるようなので、 .env の接続情報を修正する。
-DATABASE_URL=file:./db.sqlite
+DATABASE_URL=postgres://postgres@db:5432/development
この状態で再度 npx prisma db push を実行してみると、スキーマ定義と DB の状態が同期される。
$ npx prisma db push
Environment variables loaded from .env
Prisma schema loaded from prisma/schema.prisma
Datasource "db": PostgreSQL database "development", schema "public" at "db:5432"

PostgreSQL database development created at db:5432

🚀  Your database is now in sync with your Prisma schema. Done in 63ms

✔ Generated Prisma Client (4.8.1 | library) to ./node_modules/@prisma/client in 68ms
試しに psql コマンドで DB のテーブル一覧を出力してみると、スキーマ定義通りのテーブルが並んでいることが確認できる。
$ psql -U postgres -h db development
$ \d
               List of relations
 Schema |       Name        | Type  |  Owner
--------+-------------------+-------+----------
 public | Account           | table | postgres
 public | Example           | table | postgres
 public | Session           | table | postgres
 public | User              | table | postgres
 public | VerificationToken | table | postgres
(5 rows)
認証機能のセットアップ
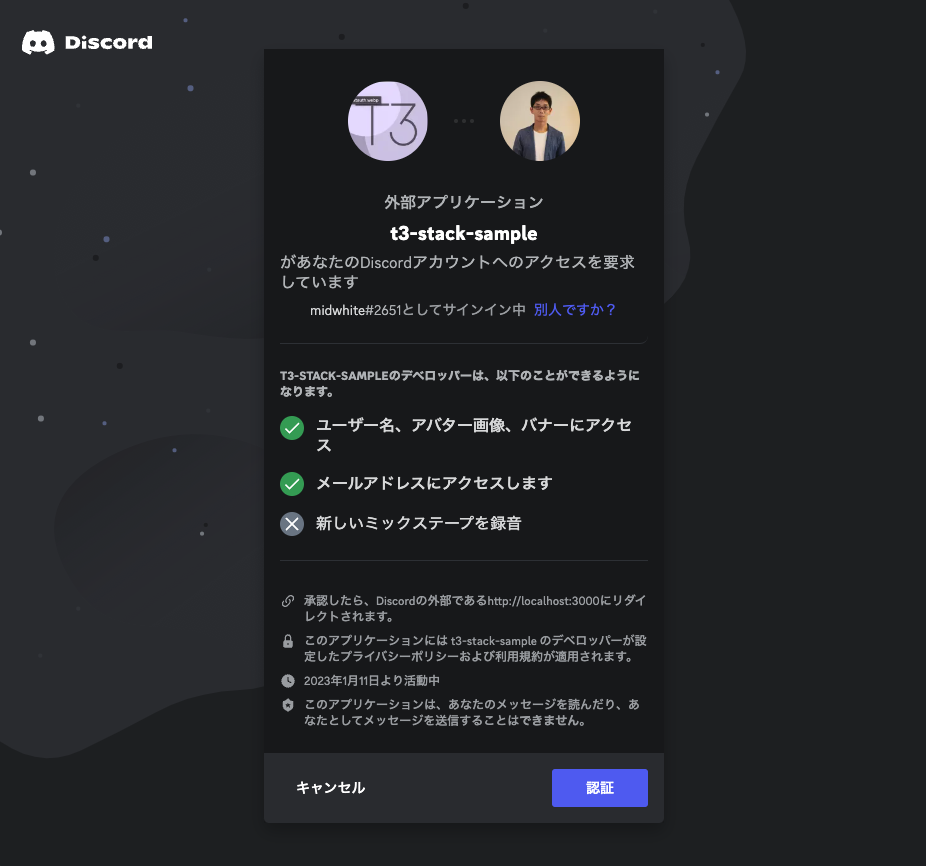
First Steps ではサンプルとして Discord 認証を利用して実装しているので、それに倣って Discord Auth の設定値を環境変数に書き込んでいく。
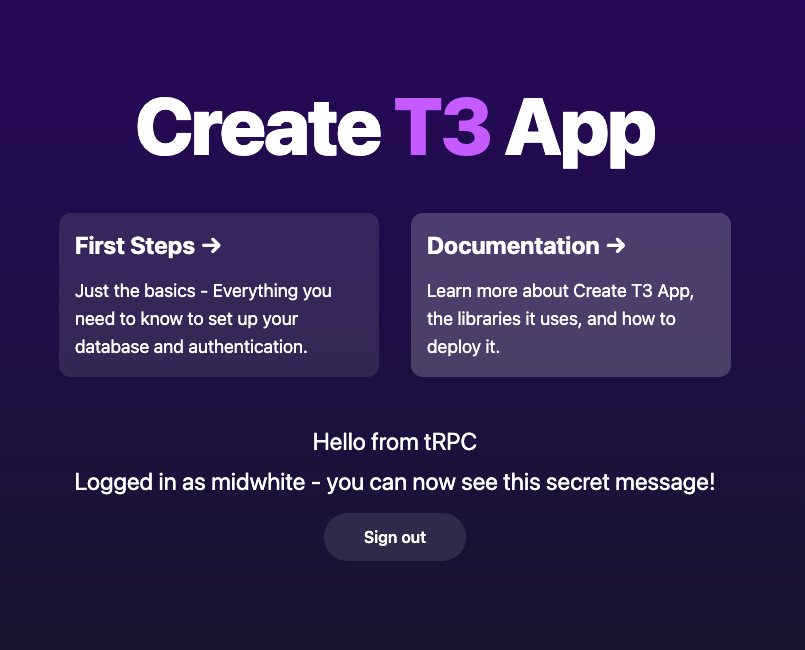
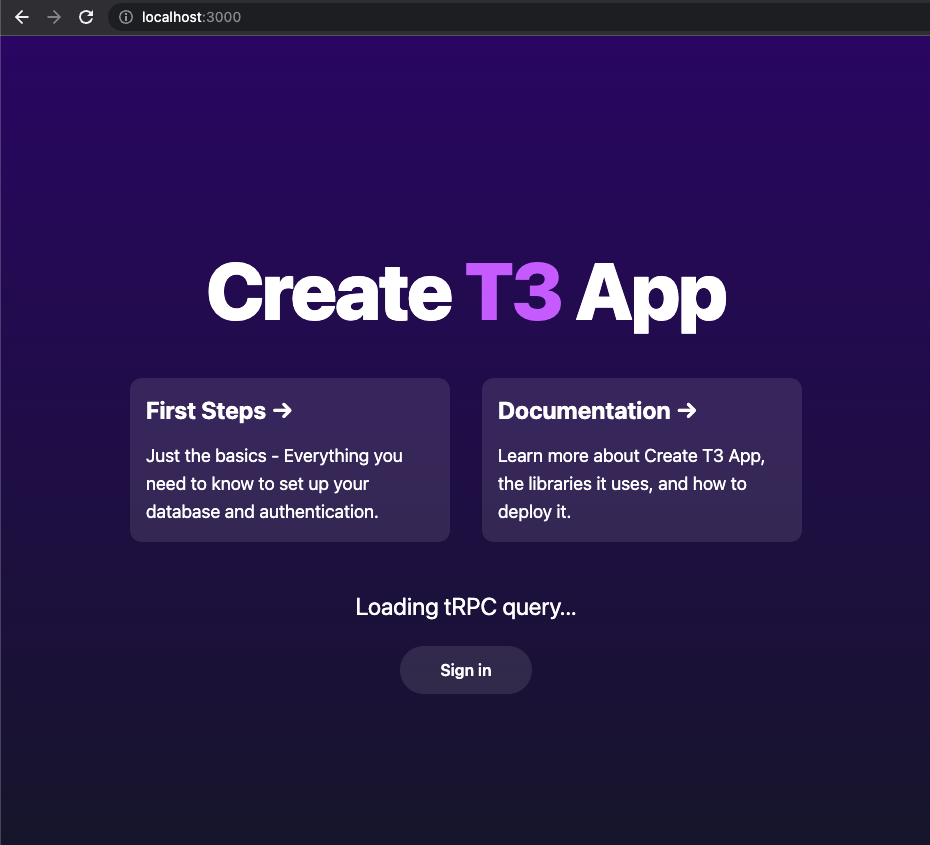
もろもろを完了してサーバーを再起動すると、無事に localhost:3000 の Sign in ボタンからログインすることができた。


ここからは用意されたテンプレートに必要な機能・ロジックを追加していくことで開発できる。
まとめ
Tailwind CSS や tRPC など、ゼロから導入しようとすると色々な設定が必要なものを一括で生成してくれるので、スムーズに開発にとりかかれるという意味で非常に便利に感じた。
一方で T3 Stack (というか npx t3-app コマンド)は結局のところ「それぞれのライブラリの初期設定を一括で終わらせてくれる君」であって、それぞれのライブラリの使い方は結局のところ個別に学ばざるを得ないので、まずは1つずつ使い方を学習してから最後に T3 Stack として組み合わせた方が学習効率は高そうに感じた。
僕の場合、 tRPC, Prisma, NextAuth についてはまだ触ったことがないので、まずはこれらを何かのプロジェクトに個別に導入して書き味を試してみたい。
