概要
この記事では、GCPの Cloud Natural Language APIを用いて、登録したタスクに対して、自動でタグ付けを行うTODOアプリの作成をハンズオン形式で行ってみようと思います。
対象者
この章では対象者について説明します。
- Railsを用いたアプリケーションの作成経験がある方
動作環境
こちらの章では動作環境について明記していきます。
ハードウェア
- PC : MacBook Air (M1, 2020モデル)
- RAM : 8GB
ソフトウェア
- OS : macOS Monterey (バージョン 12.1)
開発環境
- Editor : Visual Studio Code
- Language : Ruby (バージョン 3.1.2)
- FW : Rails (バージョン 6.1.7)
実装
こちらの章では実装を進めていきます。
注意
この記事ではコードの意味について深く言及しません。
chatGPTなどのAIツールが普及しており、初心者でも様々な情報を得られやすい環境が整ってきていると思いますので、疑問点等ありましたら調べていただけると幸いです。
雛形作成
まずはアプリケーションの実装を進める前に、雛形を準備をします。
~$ rails new TodoApp
~$ cd TodoApp
~ TodoApp $ yarn add @babel/plugin-proposal-private-methods @babel/plugin-proposal-private-property-in-object
起動できるか試しておきます。
~ TodoApp $ rails s
下記のURLにアクセスし、画像のように表示されていたら問題ありません。
Bootstrapの導入
今回はCDNで導入します。
ついでに表示するページも全体の75%にし、少々のpaddingを入れておきます。
<!DOCTYPE html>
<html>
  <head>
    <title>BitMaskTodoApp</title>
    <meta name="viewport" content="width=device-width,initial-scale=1">
    <%= csrf_meta_tags %>
    <%= csp_meta_tag %>

    <%= stylesheet_link_tag 'application', media: 'all', 'data-turbolinks-track': 'reload' %>
    <%= javascript_pack_tag 'application', 'data-turbolinks-track': 'reload' %>
+    <link href="https://cdn.jsdelivr.net/npm/bootstrap@5.0.2/dist/css/bootstrap.min.css" rel="stylesheet" integrity="sha384-EVSTQN3/azprG1Anm3QDgpJLIm9Nao0Yz1ztcQTwFspd3yD65VohhpuuCOmLASjC" crossorigin="anonymous">
  </head>

  <body>
+   <div class="p-5 w-75 m-auto">
      <%= yield %>
+    </div>
  </body>
</html>
Modelの作成
Taskモデルを作成していきます。
tagsのカラムには、「,」区切りでtagを文字列として、保存していくこととします。
~ TodoApp $ rails g model Task title:string description:text tags:string
Gemを追加
Gemfileに、Gemを追加します。
+ gem 'dotenv-rails'
その後、Teminalにて、上記のGemを読み込みます。
~ TodoApp $ bundle install
.envファイルを作成し、取得したAPI_KEYを記述しておきます。
取得方法はこちらの記事を参考にしてみてください。
GOOGLE_API_KEY="API Keyの値をこちらに記載"
注意
githubでプロジェクトを管理する場合は.gitignoreでgitの管理対象から.envを外すようにしてください。API_KEYが漏れると、高確率で攻撃されるので気をつけてください。僕はGoogleアカウントを乗っ取られかけました。
.env
モデルの記述を変更
モデルの記述を変更していきます。
あまり見慣れないafter_saveはsaveメソッドの実行後に、実行されるメソッドを指定することができるオプションのことです。なのでcontrollerでタスクの登録が行われた後にタグの追加処理が行われるという順番になります。
API関連の記述については説明をし行ってもキリがないので調べてみていただけますと幸いです。
require 'json'
require 'net/https'

class Task < ApplicationRecord
  after_save :assign_tags

  private

  def assign_tags
    # APIのURL作成
    api_url = "https://language.googleapis.com/v1/documents:analyzeEntities?key=#{ENV['GOOGLE_CLOUD_API_KEY']}"

    # APIリクエスト用のJSONパラメータ
    params = {
      document: {
        type: 'PLAIN_TEXT',
        content: self.description
      },
      encodingType: 'UTF8'
    }.to_json

    # Google Cloud Natural Language APIにリクエスト
    uri = URI.parse(api_url)
    https = Net::HTTP.new(uri.host, uri.port)
    https.use_ssl = true
    request = Net::HTTP::Post.new(uri.request_uri)
    request['Content-Type'] = 'application/json'
    response = https.request(request, params)
    response_body = JSON.parse(response.body)

    # APIレスポンス出力
    if (error = response_body['error']).present?
      raise error['message']
    else
      update_columns(tags: response_body['entities'].map { |entity| entity['name'] }.join(', '))
    end
  end
end
APIのテスト
rails consoleを使ってTaskの保存が完了した後に、APIリクエストが正常に動作し、タグとする文字列の配列を取得した上で、Taskを更新できるか確認します。
~ TodoApp $ rails c
下記のように表示されたら問題なくAPIと連携ができておりTaskの作成ができています。
Running via Spring preloader in process 18249
Loading development environment (Rails 6.1.7.6)
3.1.2 :001 > Task.create(title:"test1",description:"ここはタスクの説明です");
   (0.5ms)  SELECT sqlite_version(*)
  TRANSACTION (0.1ms)  begin transaction
  Task Create (0.4ms)  INSERT INTO "tasks" ("title", "description", "created_at", "updated_at") VALUES (?, ?, ?, ?)  [["title", "test1"], ["description", "ここ はタスクの説明です"], ["created_at", "2024-02-20 14:47:59.391906"], ["updated_at", "2024-02-20 14:47:59.391906"]]
  Task Update (0.2ms)  UPDATE "tasks" SET "tags" = ? WHERE "tasks"."id" = ?  [["tags", "説明, タスク"], ["id", 2]]
  TRANSACTION (4.0ms)  commit transaction
 =>
#<Task:0x00007f2520b636d0
 id: 1,
 title: "test1",
 description: "ここはタスクの説明です",
 tags: "説明, タスク",
 created_at: Tue, 20 Feb 2024 14:47:59.391906000 UTC +00:00,
 updated_at: Tue, 20 Feb 2024 14:47:59.391906000 UTC +00:00>
Controllerの作成
Terminalにて下記のコマンドを実行し、Controllerを作成します。
indexとnewを記述しているのは先に必要となるviewファイルを作成させるためです。
~ TodoApp $ rails g controller tasks index new
Controllerの記述を下記のように変更してください
class TasksController < ApplicationController
  def index
    @tasks = Task.all
  end

  def new
    @task = Task.new
  end

  def create
    @task = Task.new(task_params)
    if @task.save
      redirect_to tasks_path, notice: 'Task was successfully created.'
    else
      render :new
    end
  end

  def destroy
    @task= Task.find(params[:id])
    @task.destroy
    redirect_to tasks_path, notice: 'Task was successfully destroyed.'
  end

  private

  def task_params
    params.require(:task).permit(:description,:title)
  end
end
Viewファイルを変更
tasks配下の該当ファイルを変更していきます。
<div class="w-50">
  <h1>New Task</h1>

  <%= form_with(model: @task, local: true) do |form| %>

    <% if @task.errors.any? %>
      <div id="error_explanation" class="alert alert-danger">
        <h2><%= pluralize(@task.errors.count, "error") %> prohibited this task from being saved:</h2>

        <ul>
          <% @task.errors.full_messages.each do |message| %>
            <li><%= message %></li>
          <% end %>
        </ul>
      </div>
    <% end %>

    <div class="mb-3">
      <%= form.label :title,"タイトル",class: 'form-label' %>
      <%= form.text_field :title, class: 'form-control' %>
    </div>

    <div class="mb-3">
      <%= form.label :description,"説明",class: 'form-label' %>
      <%= form.text_field :description, class: 'form-control' %>
    </div>

    <div class="actions">
      <%= form.submit class: 'btn btn-primary' %>

      <%= link_to 'Back', tasks_path,class: 'btn btn-secondary' %>
    </div>
  <% end %>
</div>
<p id="notice" class="text-success"><%= notice %></p>

<h1>Tasks</h1>
<%= link_to 'New Task', new_task_path %>
<table class="table">
  <thead>
    <tr>
      <th>タイトル</th>
      <th>説明</th>
      <th>タグ</th>
      <th colspan="3"></th>
    </tr>
  </thead>

  <tbody>
    <% @tasks.each do |task| %>
      <tr>
        <td><%= task.title %></td>
        <td><%= task.description %></td>
        <td>
          <% if task.tags.present? %>
            <% task.tags.split(',').each do |tag| %>
              <span class="badge bg-primary"><%= tag.strip %></span>
            <% end %>
          <% else %>
            No tags
          <% end %>
        </td>
        <td><%= link_to 'Destroy', task_path(task), method: :delete, data: { confirm: '本当に削除しますか?' },class:"btn btn-sm btn-danger" %></td>
      </tr>
      </tr>
    <% end %>
  </tbody>
</table>
routes.rbを変更
routes.rbを下記のように変更します。
Rails.application.routes.draw do
  resources :tasks, only: [:index, :new, :create, :destroy]
end
動作検証
この章では動作検証を行なっていただくために、結果の画面を貼り付けておきます。
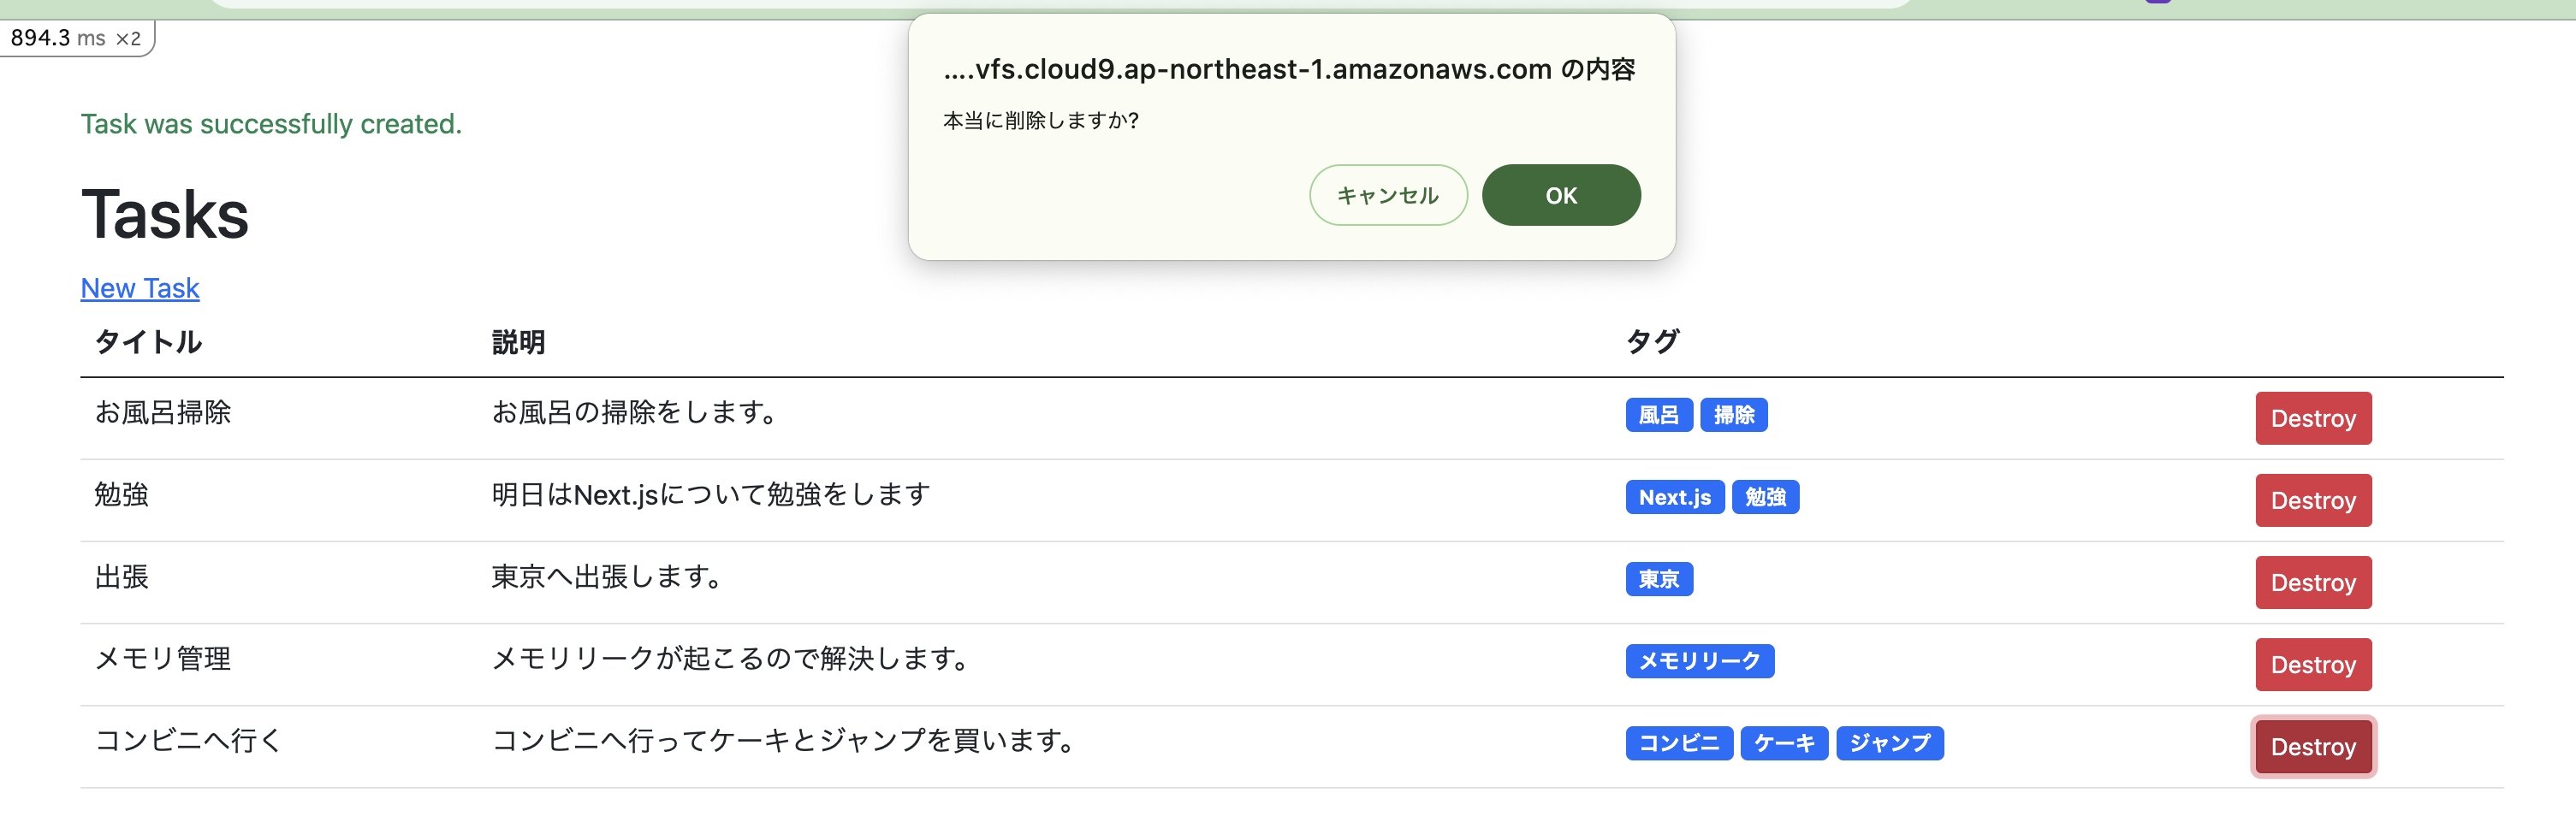
一覧画面

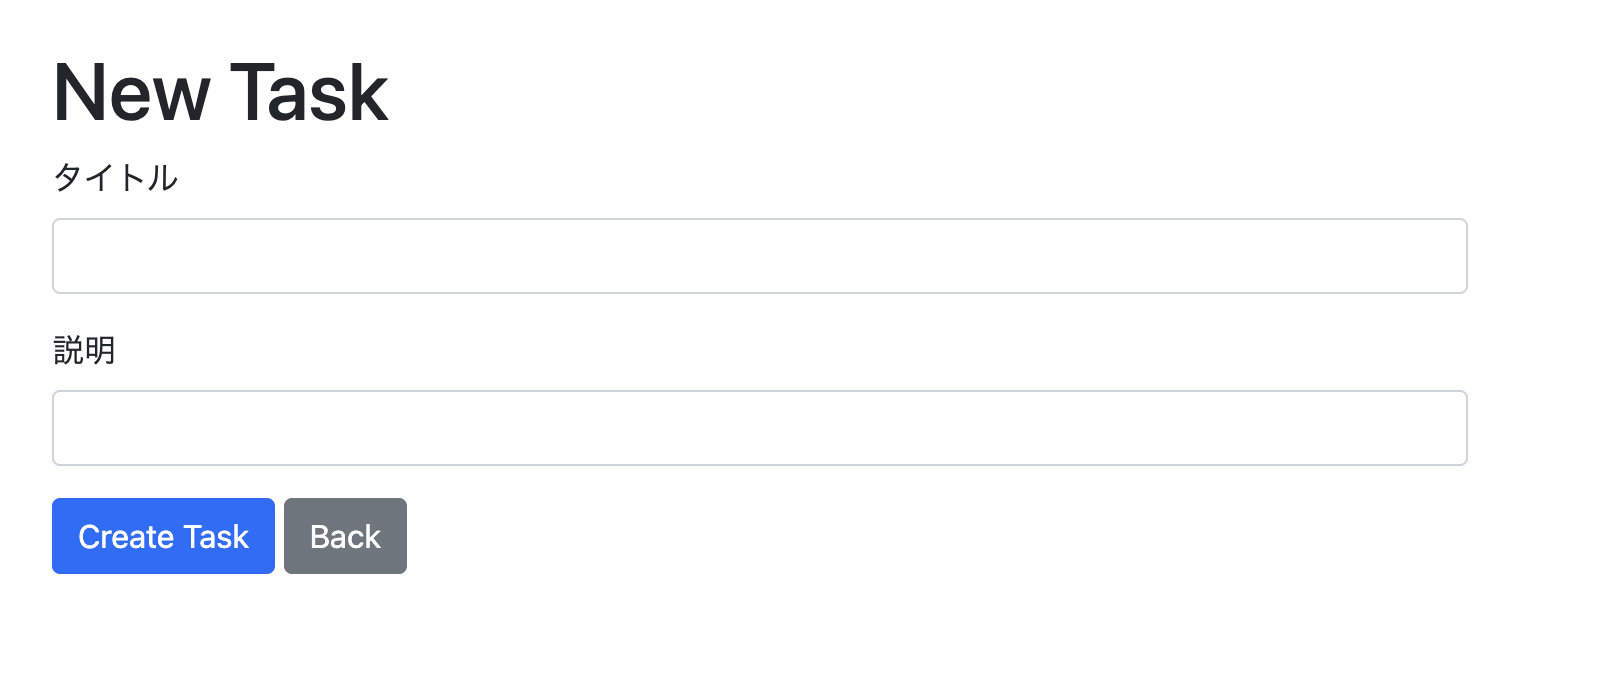
新規登録画面
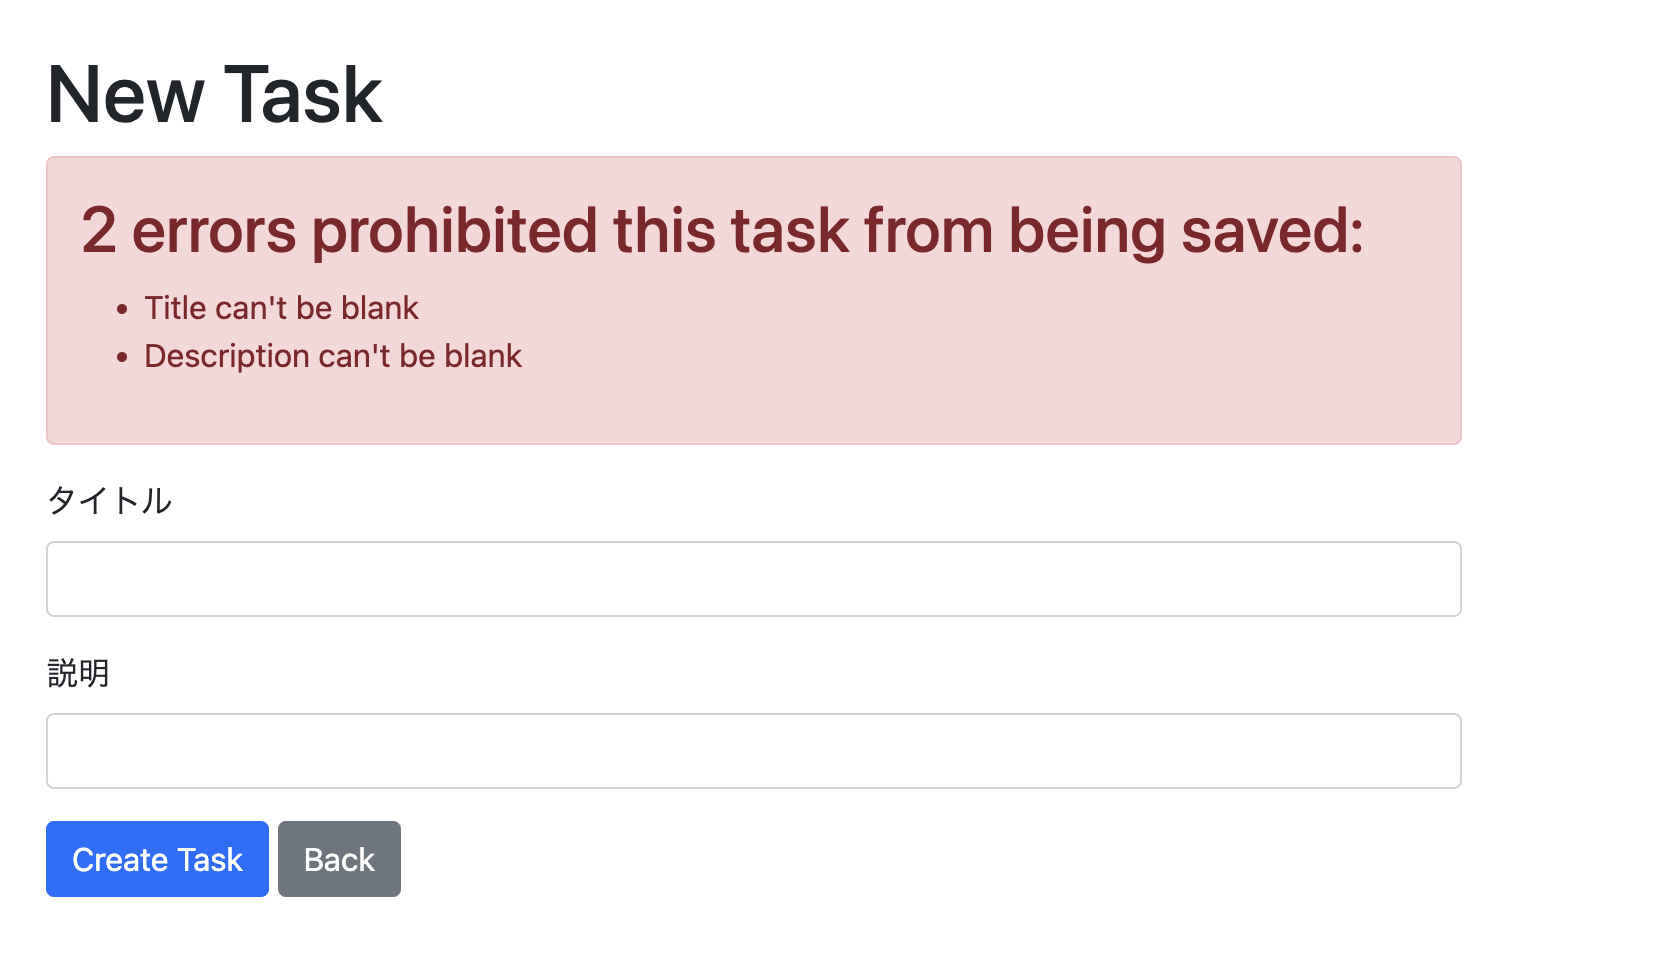
エラー画面
タスク追加


タスクの削除

参考文献
おわりに
今回は最近勉強したNatural Language APIを使ってTodoアプリを作ってみました。
APIを使うと色々なことができるので、Todoアプリ内のタグ付けだけでなく、様々なケースで試してみたいなと思います。
Qiitaの記事にできないようなしょうもない内容も自分のブログで掲載しているので、見ていただけると幸いです。