概要
Next.js プロジェクトにおいて markdown で書かれた記事の目次を実装する方法を残しておきます。
記述の細かい説明等には触れておりません。
動作確認端末
- MacBook Air 2021(8GB)
環境
- Next.js 13.4
- React 18
- TypeScript 5.0
前提
下記の状態であることを前提としています。
- markdownで書かれた記事のデータが取得できる
- その上でmarkdown->htmlへの変換もできている
実装
この章では実装について説明していきます。
Cheerioの導入
cheerio を使うのでプロジェクトに入っていない方はinstallしましょう
cheerio は、サーバーサイドで HTML を操作するための jQuery ライクなライブラリです。Markdown からHTMLへの変換後、 HTML から目次情報を抽出するために使用します。インストールは以下のコマンドで行います。
Terminal
npm install cheerio
目次のレイアウト等々
実際にcheerioを使う記述やレイアウトのついて言及していきます。
page.tsx
~~~~~ 略 ~~~~~~~

//目次機能
const $ = cheerio.load(html);
const headings = $('h1, h2').toArray();
const toc = headings.map((element) => ({
    text: $(element).text(),
    id: (element as any).attribs.id,
    tag: (element as any).tagName,
}));

~~~~~ 略 ~~~~~~~~

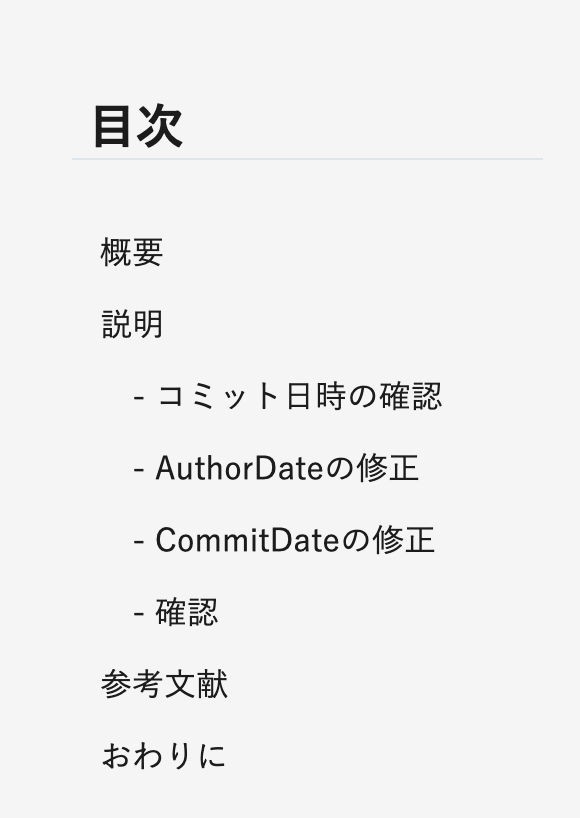
<div className='p-5 rounded-lg table-contents'>
    <h1 className='text-2xl mb-5 font-bold'>目次</h1>
    <ul className='pl-2 scroll_bar'>
      {toc.map((data) => (
        <a href={`#${data.id}`}>
          <li
            key={data.id}
            className={`${
              data.tag == 'h2' ? 'ml-5' : data.tag == 'h3' ? 'ml-10' : 'ml-1'
            } mb-2 hover:bg-gray-500 rounded p-0.5`}
          >
            {data.tag == 'h1' ? data.text : '-' + data.text}
          </li>
        </a>
      ))}
    </ul>
</div>
完成
おわりに
備忘録的な記事なので若干適当ですが、参考になれば幸いです。
実際に目次が実装されているブログは下記になります。
