Pixar USD https://github.com/PixarAnimationStudios/USD
は着実にバージョンアップを続け、SIGGRAPH 2017 の時点で 0.8.0 となりました。
今では Linux, Windows, OSX ともに 一年前 より飛躍的にビルドが楽になっています。
この記事では 0.8.0 を Windows でビルドするための方法を紹介します。
CEDEC2017 での PixarUSD の解説は、こちらのスライドをご覧ください
ピクサー USD 入門 新たなコンテンツパイプラインを構築する
準備
以下のソフトウェアを事前にインストールしておく必要があります。
- VisualStudio 2015 Update 3
- コミュニティエディションでも大丈夫ですが、2017 では問題があるようです。
- Python 2.7 x64 版 (python のトップページリンクを使うと 32bit 版になってしまうので注意)
- NASM http://www.nasm.us/
- cmake 3.8 以降
- git
必須ではありませんが、Maya プラグインをビルドするためには Maya が、usdview で embree レンダリングをするためには embree のインストールが必要です。Maya は現時点では 2017 までサポートされています。2018 でも namespace 部分の微修正でビルドできます。
embree は https://embree.github.io/downloads.html こちらから。
nasm, python, cmake などにはパスを通しておいてください。一般的には以下の通り。
embree は bin ディレクトリにパスを通しておいてください(DLLを読みに行きます)
| 標準的なインストール先 | |
|---|---|
| CMake | C:\Program Files\CMake\bin |
| NASM | C:\Program Files\NASM |
| Python | C:\Python27 |
| Pip, Pyside | C:\Python27\Scripts |
| Embree (任意) | C:\Program Files\Intel\Embree v2.16.5 x64\bin |
コマンドプロンプトで pip install pyside して、
C:\Python27\Scripts に pyside-uic.exe があることを確認してください。
ソース取得
適当な場所に、USD のソースをクローンしてきます。ここでは C:\dev\usdにします。 ちなみにビルド先は別の場所になります。
git clone https://github.com/PixarAnimationStudios/USD C:\dev\usd
ビルド
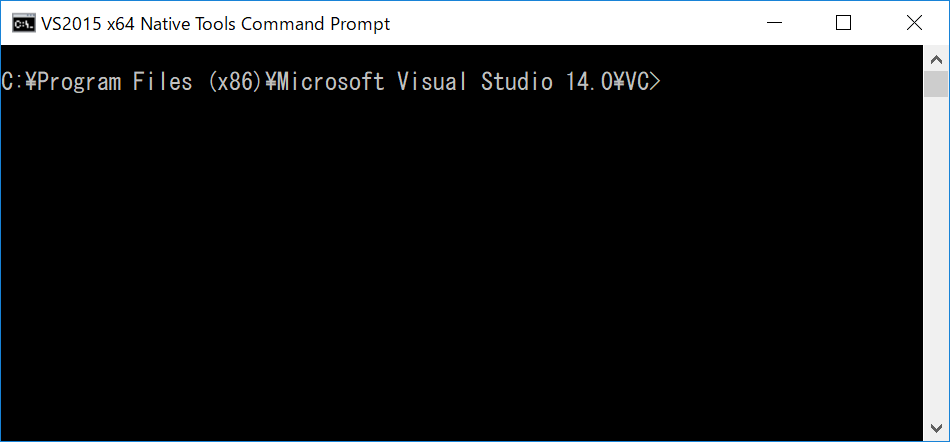
VisualStudio の、x64 Native Tools Command Prompt を開きます。

クローンした場所で、次のスクリプトをコマンドプロンプトから実行すると、依存ライブラリのダウンロードとビルドが始まります。プロキシ環境下ではうまくいかないこともありますので、ネットワーク管理者と相談してください。引数はインストール先(クローンした場所とは別にする)です。ここでは C:\usd としました。
cd c:\dev
python usd\build_scripts\build_usd.py "C:\usd"
この時にいくつかフラグを指定するとビルド構成を変更できます。-h でヘルプがでます。
C:\dev>python usd\build_scripts\build_usd.py
usage: build_usd.py [-h] [-n] [-v | -q] [--build BUILD]
                    [--generator GENERATOR]
                    [--build-shared | --build-monolithic] [--src SRC]
                    [--inst INST] [--force FORCE_BUILD] [--force-all]
                    [--tests | --no-tests] [--docs | --no-docs]
                    [--imaging | --usd-imaging | --no-imaging]
                    [--ptex | --no-ptex] [--embree | --no-embree]
                    [--embree-location EMBREE_LOCATION]
                    [--alembic | --no-alembic] [--hdf5 | --no-hdf5]
                    [--maya | --no-maya] [--maya-location MAYA_LOCATION]
                    [--katana | --no-katana]
                    [--katana-api-location KATANA_API_LOCATION]
                    [--houdini | --no-houdini]
                    [--houdini-location HOUDINI_LOCATION]
                    install_dir
たとえば alembic と maya のプラグインをビルドして、embree サポートも入れる場合、次のようにします。
python usd\build_scripts\build_usd.py --alembic
 --embree --embree-location="C:\Program Files\Intel\Embree v2.16.5 x64\bin"
 --maya --maya-location="C:\Program Files\Autodesk\Maya2017"
ホストの性能によりますが、大体15~30分くらいでビルドが終わると思います。
環境設定
usd のツールをコマンドプロンプトから使うには、いくつか環境変数を設定する必要があります。ビルドの際に指定したディレクトリに合わせますが、c:\usd の場合、次のようになります。
| 環境変数 | 値 |
|---|---|
| PATH | c:\usd\bin, c:\usd\lib を追加 |
| PYTHONPATH | C:\usd\lib\python を追加 |
また Maya プラグインの場合、次の変数も必要です。
| 環境変数 | 値 |
|---|---|
| MAYA_PLUG_IN_PATH | c:\usd\third_party\maya\plugin を追加 |
| MAYA_SCRIPT_PATH | c:\usd\third_party\maya\share\usd\plugins\usdMaya\resources を追加 |
| XBMLANGPATH | C:\usd\third_party\maya\share\usd\plugins\usdMaya\resources を追加 |
| PATH | c:\usd\third_party\maya\lib を追加 |
詳しくはこちらもご覧ください
https://graphics.pixar.com/usd/docs/Maya-USD-Plugins.html
実行
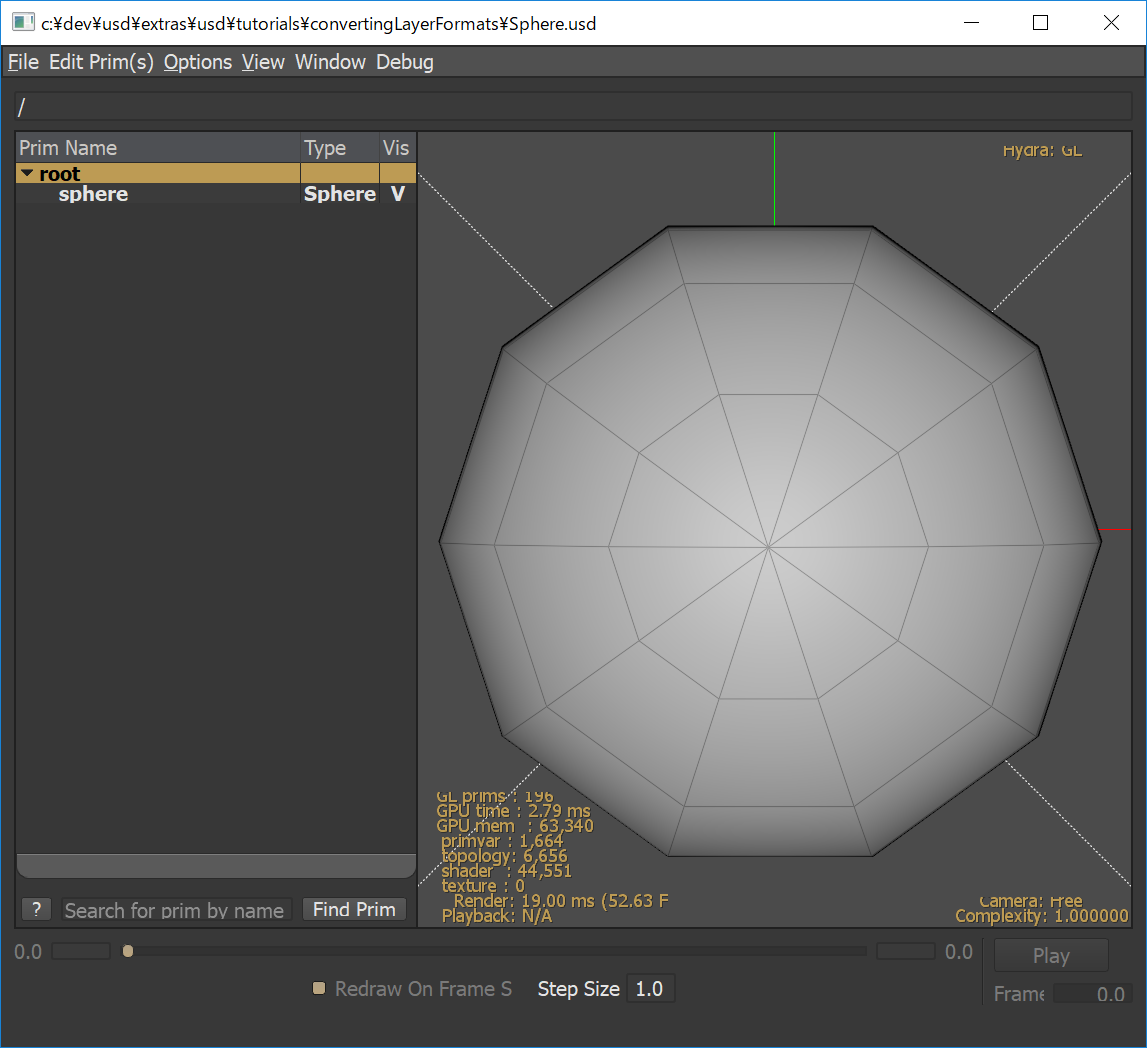
これができたら、 usdview で同じ usd ファイルを開いてみましょう

無事表示されれば、成功です。
