Android Dev Summit '19のDeveloping Themes with Styleで説明されているリソース定義の方法メモという感じで説明しようと思ったのですが、
https://www.youtube.com/watch?v=Owkf8DhAOSo
全体的に、このリポジトリに入っている要素についての話が多かった、かつコードから参考になる部分が多かったので紹介していきます。
https://github.com/material-components/material-components-android-examples/
Themeの定義方法
Owlではピンクのテーマの中にブルーのテーマが出てきたりなど複数のベースのテーマを切り替えることができる仕組みがあります。

Owlではそのピンクのテーマとブルーのテーマで共通のテーマ Base.Owl を作って利用する方針にしているようです。
https://github.com/material-components/material-components-android-examples/blob/ff18481c00e878e9760ce57718e2b4195113bac6/Owl/app/src/main/res/values/theme.xml
ShapeやTypographyなどなど、参考になります ![]()
  <!-- ** ここにベーステーマがある ** -->
  <style name="Base.Owl" parent="@style/Theme.MaterialComponents.DayNight.NoActionBar">

    <!--Material shape attributes-->
    <item name="shapeAppearanceSmallComponent">@style/ShapeAppearance.Owl.SmallComponent</item>
...

    <!--Material type attributes-->
    <item name="textAppearanceHeadline1">@style/TextAppearance.Owl.Headline1</item>
   ...

    <!--Platform attributes-->
    <item name="android:navigationBarColor">@color/nav_bar</item>
    <item name="android:statusBarColor">@color/immersive_sys_ui</item>

    <!--Default styles-->
    <item name="bottomNavigationStyle">@style/Widget.Owl.BottomNavigationView</item>

  </style>

  <!-- ** ベーステーマを継承してテーマが作られている ** -->
  <style name="Owl" parent="@style/Base.Owl"/>

  <style name="Owl.Yellow">
    <item name="colorPrimary">@color/owl_yellow_500</item>
    <item name="colorPrimaryVariant">@color/owl_yellow_400</item>
    <item name="colorSecondary">@color/owl_blue_700</item>
    <item name="colorSecondaryVariant">@color/owl_blue_800</item>
  </style>

  <style name="Owl.Blue">
    <item name="colorPrimary">@color/owl_blue_700</item>
    <item name="colorPrimaryVariant">@color/owl_blue_800</item>
    <item name="colorSecondary">@color/owl_yellow_500</item>
    <item name="colorSecondaryVariant">@color/owl_yellow_400</item>
  </style>
逆に1テーマだけでやっていっているサンプルであるReplyでは普通にそのまま記述されていました。
https://github.com/material-components/material-components-android-examples/blob/ff18481c00e878e9760ce57718e2b4195113bac6/Reply/app/src/main/res/values/themes.xml
    <!--Final, top-level theme-->
    <style name="Theme.Reply.DayNight" parent="Theme.Reply"/>

    <style name="Theme.Reply" parent="Theme.MaterialComponents.DayNight.NoActionBar">

        <!--Color-->
        <item name="colorPrimary">@color/reply_blue_700</item>
...
Themeの命名規則
Theme.アプリ名.バリエーション名
Theme.AppName.Blue
(Owlは守っていませんが。。)
https://youtu.be/Owkf8DhAOSo?t=1193
Themeの使い方
ActivityでBlueが指定されています。ここは普通ですね
    <activity
        android:name=".ui.MainActivity"
        android:theme="@style/Owl.Blue">
OwlではFragmentごとにThemeが異なるので、 Fragmentのレイアウト全てで以下のようにthemeを指定しています。
  <FrameLayout
      android:id="@+id/root"
      android:layout_width="match_parent"
      android:layout_height="match_parent"
      ** android:theme="@style/Owl.Pink" **
      tools:context=".ui.learn.LearnFragment">
またアプリ内で一部テーマを変えたい場所は以下のようにThemeOverlayを作って利用しています。これによって
ThemeOverlayを使うことで、外側のテーマのshapeなどをそのまま使いながら、指定した部分だけ変更できます。
    <com.google.android.material.appbar.AppBarLayout
...
        android:theme="@style/ThemeOverlay.Owl.Blue.Dark">
  <style name="ThemeOverlay.Owl.Blue.Dark" parent="@style/ThemeOverlay.MaterialComponents.Dark">
    <item name="colorPrimary">@color/owl_blue_700</item>
    <item name="colorPrimaryVariant">@color/owl_blue_800</item>
    <item name="colorSecondary">@color/owl_yellow_500</item>
    <item name="colorSecondaryVariant">@color/owl_yellow_400</item>
    <item name="colorOnPrimary">#fff</item>
  </style>
Style
Themeによって色などを変更しているため、**ほとんどStyleは使われていません。**以下の2つだけでした。
  <style
      name="Widget.Owl.BottomNavigationView"
      parent="@style/Widget.MaterialComponents.BottomNavigationView.PrimarySurface">
    <item name="labelVisibilityMode">selected</item>
    <item name="itemIconTint">@color/bottom_nav_item</item>
    <item name="itemTextColor">@color/bottom_nav_item</item>
    <item name="itemTextAppearanceActive">@style/TextAppearance.Owl.BottomNavigation</item>
  </style>

  <style name="Widget.Owl.SeekBar" parent="@style/Widget.AppCompat.SeekBar">
    <item name="android:progressTint">@color/owl_yellow_500</item>
    <item name="android:secondaryProgressTint">#99ffffff</item>
    <item name="android:thumbTint">@color/owl_yellow_500</item>
    <item name="android:progressDrawable">@drawable/seekbar_track</item>
    <item name="android:paddingStart">0dp</item>
    <item name="android:paddingEnd">0dp</item>
  </style>
Styleの命名規則
Widget.アプリ名.ウィジェット名.バリエーション名
Widget.AppName.Toolbar.Blue
これによって、ThemeとしてStyleを利用してしまっていたり、StyleをThemeとして利用している場合にきづけるようになります。
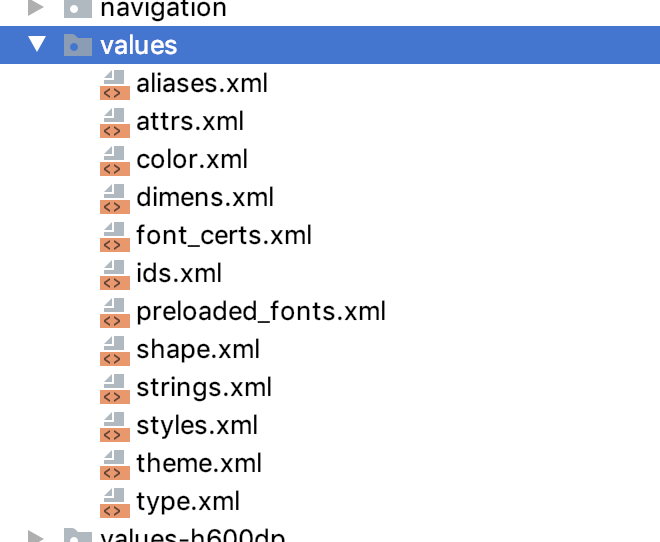
StyleとThemeの保存場所
themeもstyleもtypographyも、すべてstyleタグなのでstyles.xmlに保存するとカオスになります。
そのため、目的によってファイルを分けます。
以下の場所に保存するようです。
themes.xml : themeとthemeoverlay
type.xml : TextAppearance、テキストサイズのdimention
styles.xml : ウィジェットのStyleのみ
Color
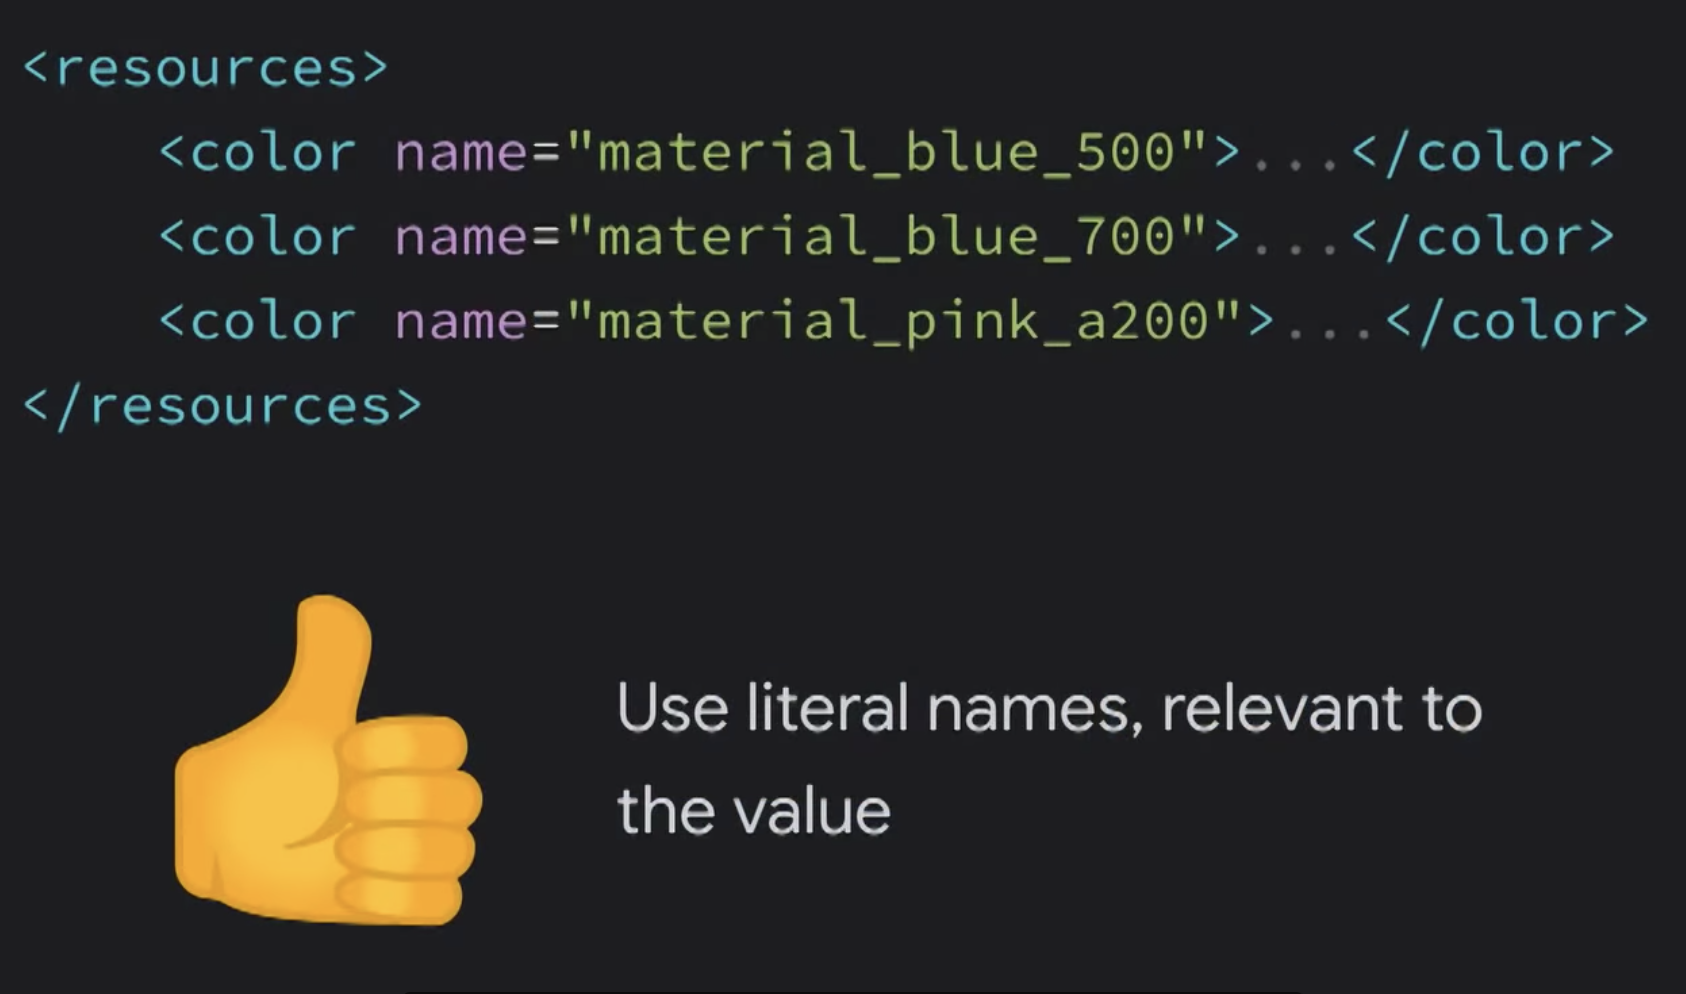
こちらはAndroid Dev Summit '19のセッション内で説明があって、意味のある名前ではなく、色の名前は色をそのまま表すような名前にするのが良いという説明がありました。
https://youtu.be/Owkf8DhAOSo?t=1093
| bad | good |
|---|---|
 |
 |
(ちょっとサンプルにprimaryとか入っちゃっているような。。?)
