A walkthrough for Android’s on-device GenAI solutions | Spotlight Week
を見ていて途中で出てきたので、まとめておきます。
adb pushが必要なところ以外は簡単でした。
基本は以下のとおりです。
事前準備
リポジトリチェックアウト
(これでモノレポで管理するときに便利な sparse-checkout というものを知りました。 )
git clone https://github.com/google-ai-edge/mediapipe-samples
cd mediapipe
git sparse-checkout init --cone
git sparse-checkout set examples/llm_inference/android
モデルのダウンロード
この中で必要なものを一つ選んでダウンロードする。サービスへの登録が必要でした
https://ai.google.dev/edge/mediapipe/solutions/genai/llm_inference/android より
ここではGoogleのオープンソースモデル、gemma2-2b-it-gpu-int8.binをダウンロードして利用しました。Gemma以外を利用する場合は、MediaPipeと互換性があるフォーマットに変換が必要になるようです。
モデルを端末にpushする。
端末にモデルをpushする。apk内に保存できないか試みたがモデルが2GBを超えていて、apkのビルド中に失敗するので断念した。
(Android SDK内にあるadbとAndroidの開発者モードとUSBデバッグの許可が必要)
$ adb shell rm -r /data/local/tmp/llm/ # Remove any previously loaded models
$ adb shell mkdir -p /data/local/tmp/llm/
$ adb push output_path /data/local/tmp/llm/model_version.bin
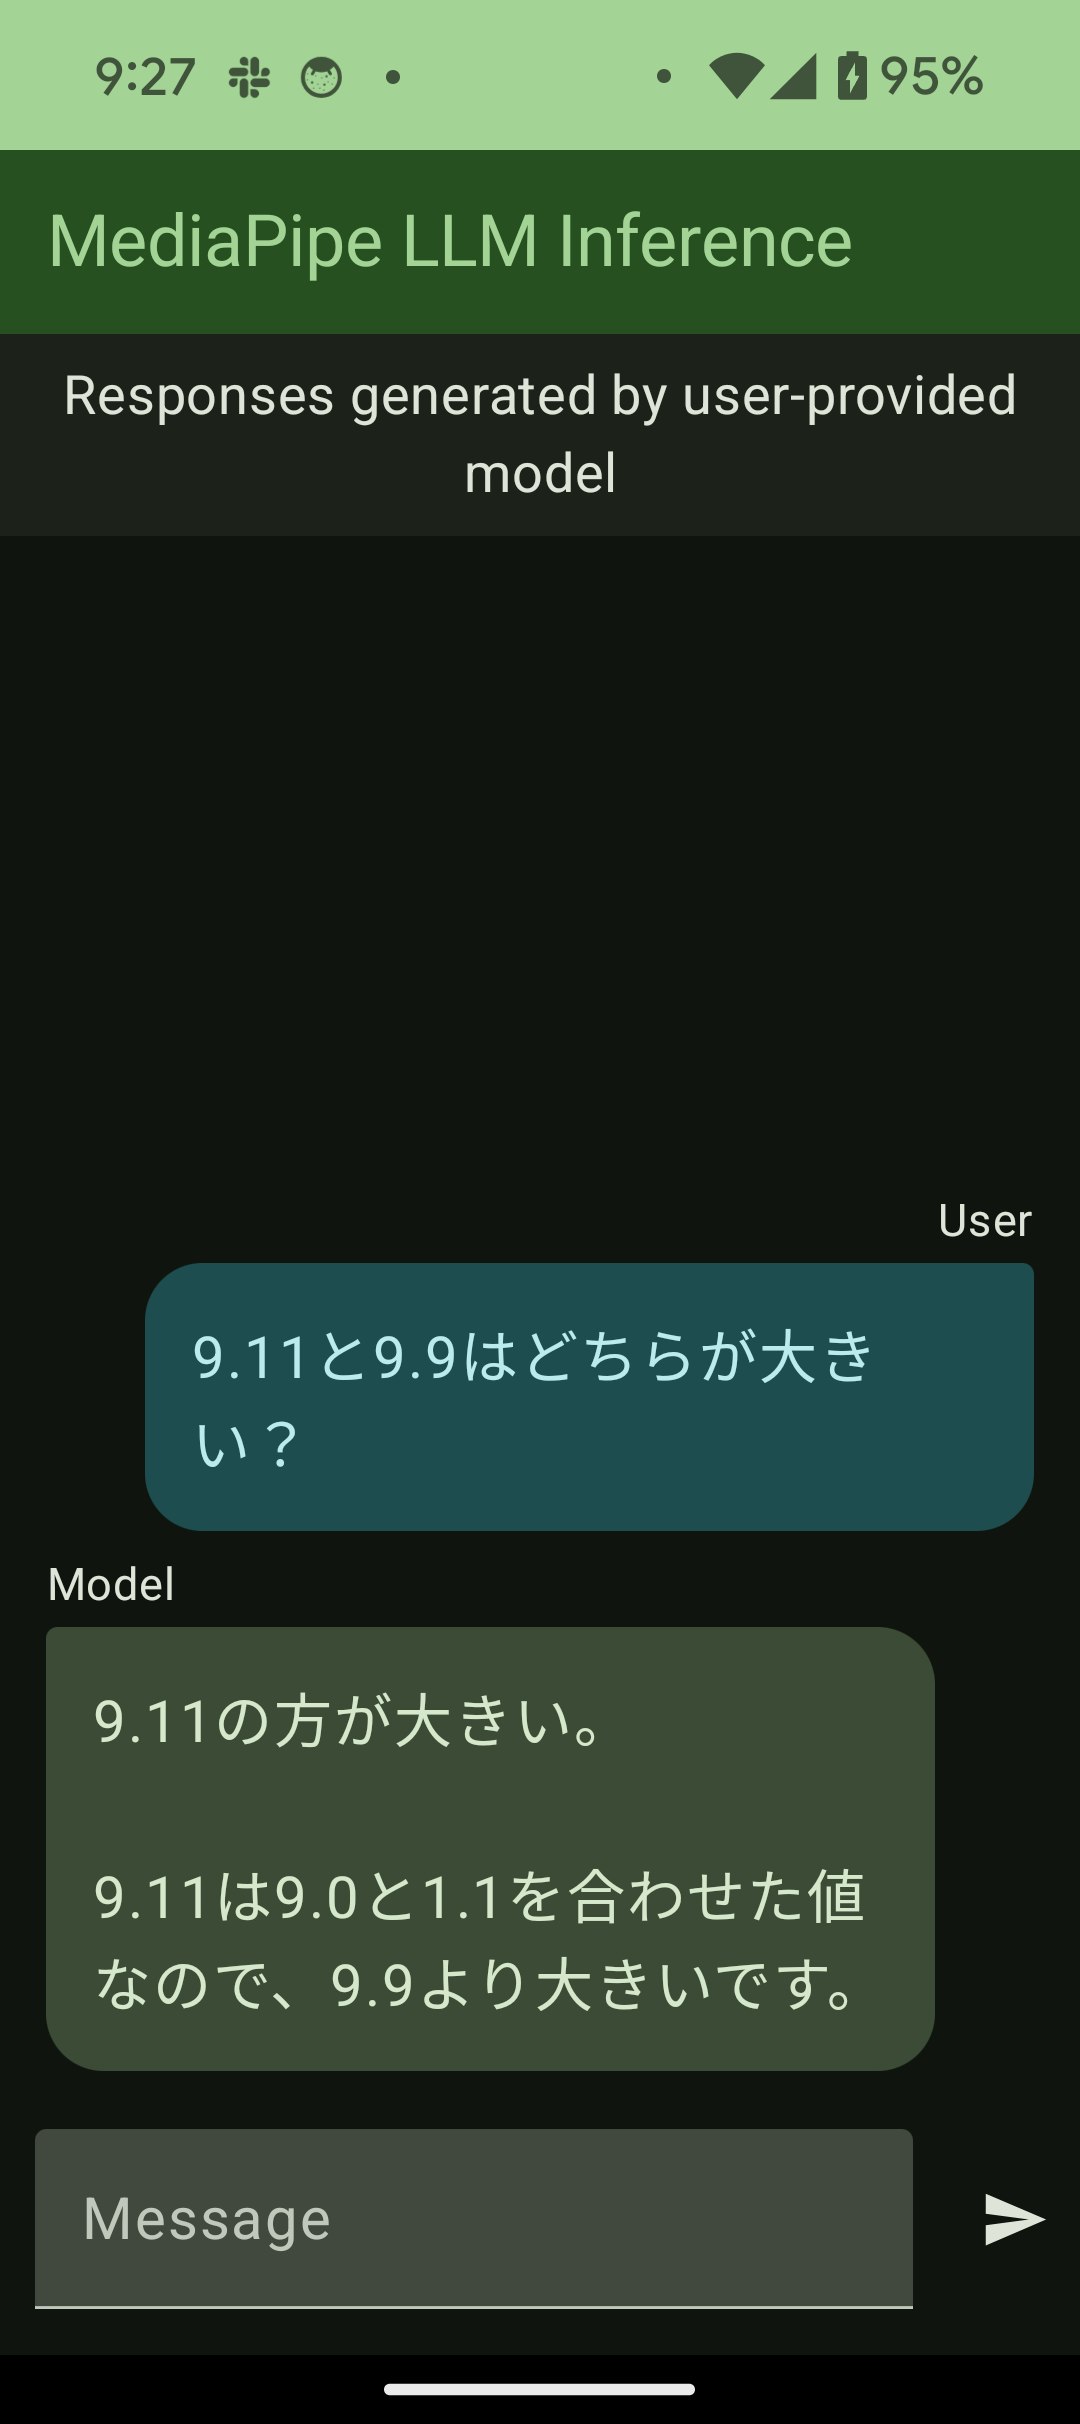
Android Studioから開いて起動する。
examples/llm_inference/android をAndroid Studioから開く。
コードをいじらず簡単にいけました。

他にもLoRAを使ってカスタマイズなどができるようですが、ここでは説明しません。
