Unityで使えるゲームコントローラを自作したり、ゲーム内の振動をコントローラにフィードバックしたり、、、
そんなUnity用の自作ハードウェアを作りたいと思ったら、Unity + Arduino + UNIDUINOが便利そうです。
UNIDUINOというUnity Assetを使うとArduinoを比較的簡単にUnityと連動できます。
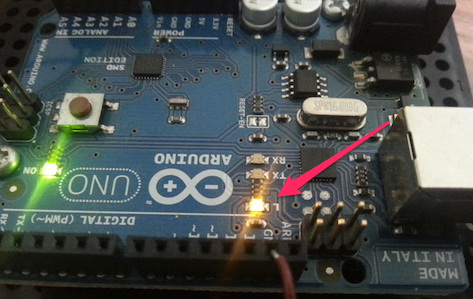
今回のサンプルではArduinoに付いているLEDを点滅させます。
なので特に回路を組む必要はありません。コンピュータとUSBでつないでいればOKです。
その他、応用編はコチラ
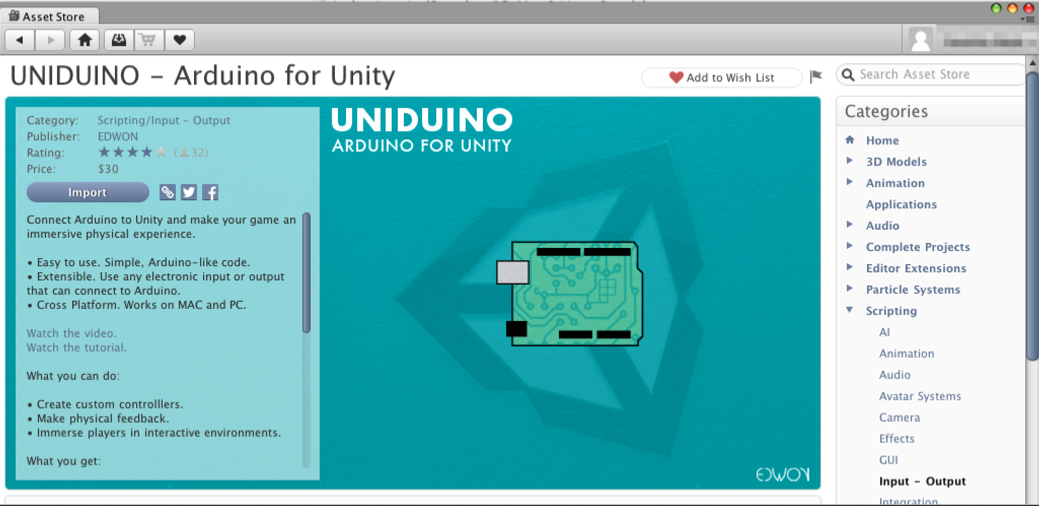
UNIDUINOをアセットストアで購入
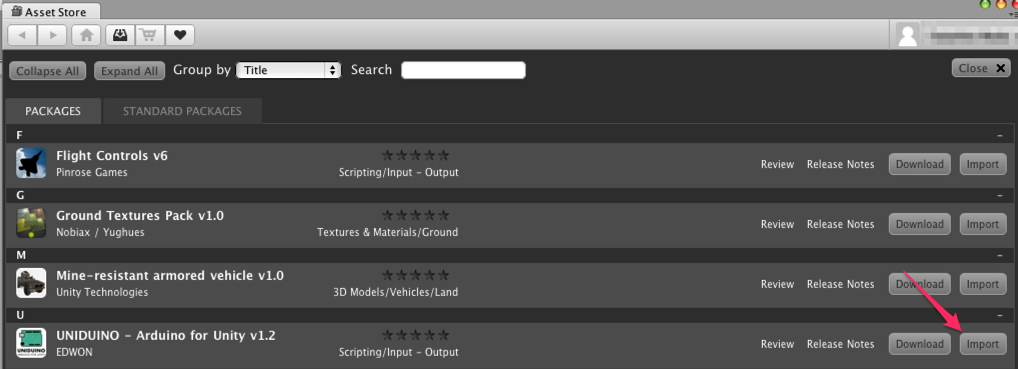
window > Asset store でUNIDUINOを検索&購入します。
$30しますが、ここは奮発して購入します。
ここが第一の壁ですが(笑)、ここを越えればあとは割りと楽です。
UNIDUINOをimport
新規のプロジェクトを作って、
先ほど購入したUNIDUINOをインポートします。
Uniduinoプレファブをドラッグ&ドロップ
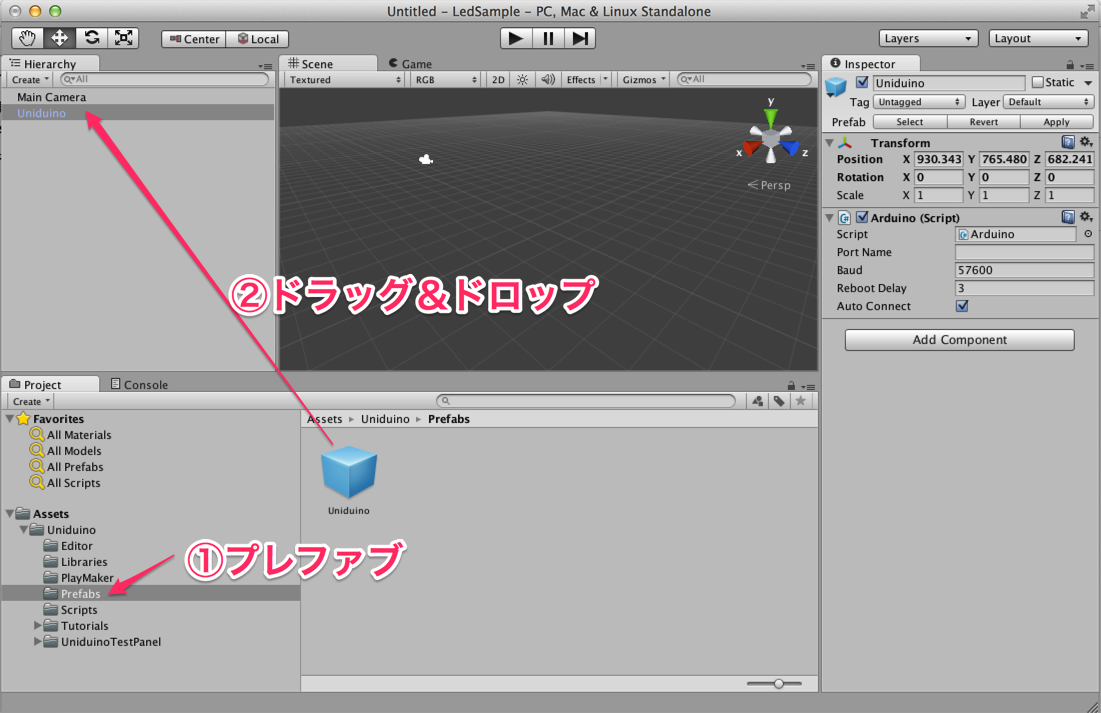
Projectウィンドウで、Uniduino>Prefabsを開きます。
UniduinoのプレファブをHierarchyウィンドウにドラッグ&ドロップします。
Game Object追加
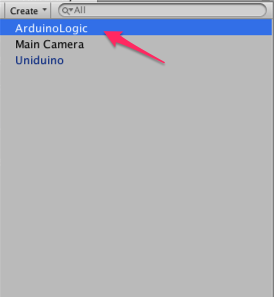
Game Object > Create emptyでオブジェクトを追加して、
ArduinoLogicと名前をつける。
コーディング
Projectウィンドウで右クリックして
Create > C# Script
でC#スクリプトを追加して、BlinkyLightに名前を変更する。
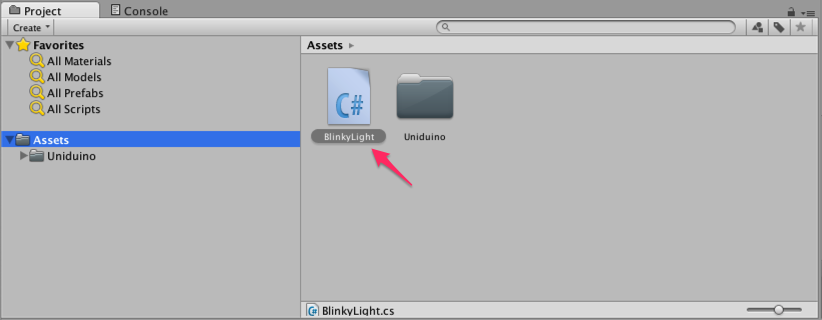
BlinkyLightをダブルクリックしてコードを編集。
13番ピンをデジタルアウトプットに設定して、ループでON/OFF切換しています。
13番ピンは組み込みのLEDに対応しているピンです。
using UnityEngine;
using System.Collections;
using Uniduino;

public class BlinkyLight : MonoBehaviour {

	public Arduino arduino;
	// Use this for initialization
	void Start () {
		arduino = Arduino.global;
		arduino.Setup(ConfigurePins);
		StartCoroutine(BlinkLoop());
	}

	void ConfigurePins( )
	{
		arduino.pinMode(13, PinMode.OUTPUT);
	}

	IEnumerator BlinkLoop() {
		while(true) {
			arduino.digitalWrite(13, Arduino.HIGH); // led ON
			yield return new WaitForSeconds(1);
			arduino.digitalWrite(13, Arduino.LOW); // led OFF
			yield return new WaitForSeconds(1);
		}
	}

	// Update is called once per frame
	void Update () {

	}
}
コンポーネント追加
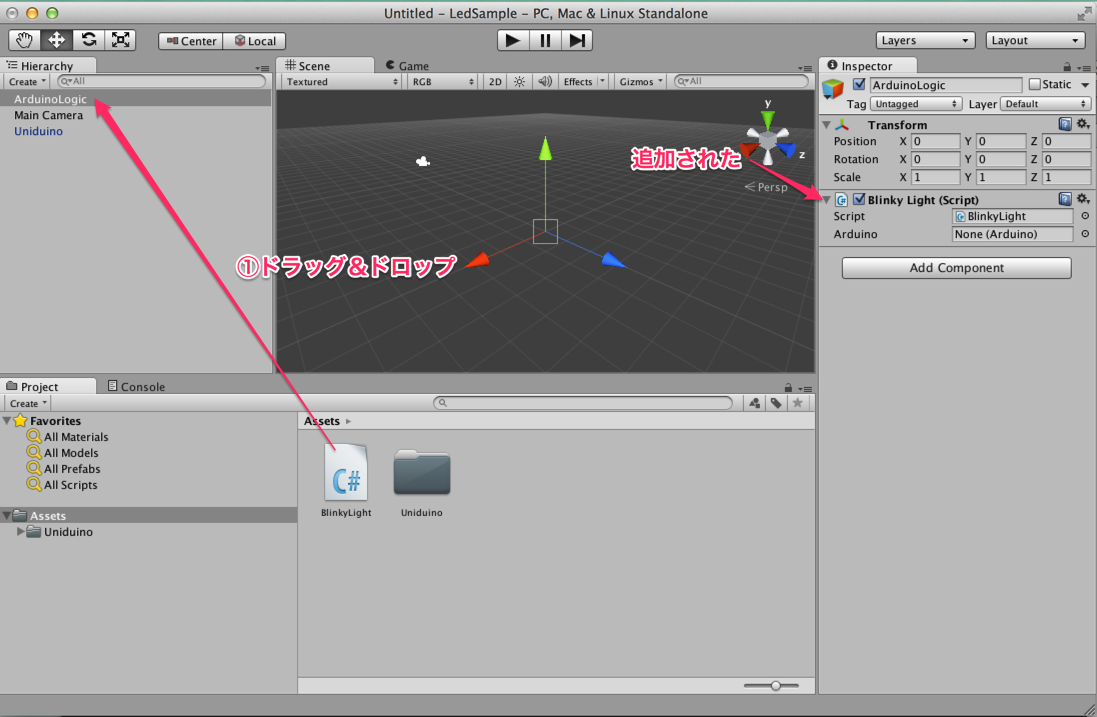
C#スクリプトをArduinoLogicにドラッグ&ドロップして、
ArduinoLogicにコンポーネント追加
シリアルポートライブラリの追加
さっそく実行してみます。
すると以下の様なエラーが表示されると思います。(macの場合)
SerialPort support is not installed. Open Window > Uniduino to install it
説明に従って Window > Uniduino を選択。
表示されたダイアログでシリアルポートライブラリをインストール。

インストール後は一度Unityごと落として、再度開く必要があります。
