前回の続きです。
ループの利用
投稿した記事の一覧を表示するために、index.phpにコードを追加します。
<?php get_header(); ?>
<div class="container">
    <div class="contents">
        <?php if(have_posts()): while(have_posts()): the_post(); ?> //追記
        <?php endwhile; endif; ?> //追記
    </div>
    <?php get_sidebar(); ?>
</div>
<?php get_footer(); ?>
次に、作業中のディレクトリ内にloop-content.phpを作成します。
<article <?php post_class( 'article-list' ); ?>>
    <a href="<?php the_permalink(); ?>">
        <div class="img-wrap">
            <!--サムネイル-->
            <?php if( has_post_thumbnail() ): ?>
                <?php the_post_thumbnail('medium'); ?>
            <?php else: ?>
                <img src="<?php echo get_template_directory_uri(); ?>/images/no-image.gif" alt="no-img"/>
            <?php endif; ?>
            <!--カテゴリ-->
            <?php if (!is_category() && has_category()): ?>
                <span class="cat-data">
                <?php
                    $postcat = get_the_category();
                    echo $postcat[0]->name;
                ?>
                </span>
            <?php endif; ?>
        </div>
        <div class="text">
            <!--タイトル-->
            <h2><?php the_title(); ?></h2>

            <!--投稿日-->
            <span class="article-date">
                <i class="far fa-clock"></i>
                <time datetime="<?php echo get_the_date( 'Y-m-d' ); ?>">
                    <?php echo get_the_date(); ?>
                </time>
            </span>
            <!--筆者-->
            <span class="article-author">
                <i class="fas fa-user"></i><?php the_author(); ?>
            </span>
            <!--抜粋-->
            <?php the_excerpt(); ?>
        </div>
    </a>
</article>
サムネイルを表示するために、作業中のディレクトリにimagesディレクトリを作成し、画像を追加しておきます。(画像は好きなものを用意してください)
最後にloop-content.phpを呼び出すためのコードをindex.phpに追加します。
<?php get_header(); ?>
<div class="container">
    <div class="contents">
        <?php if(have_posts()): while(have_posts()): the_post(); ?>
            <?php get_template_part('loop-content'); ?> //追記
        <?php endwhile; endif; ?>
    </div>
    <?php get_sidebar(); ?>
</div>
<?php get_footer(); ?>
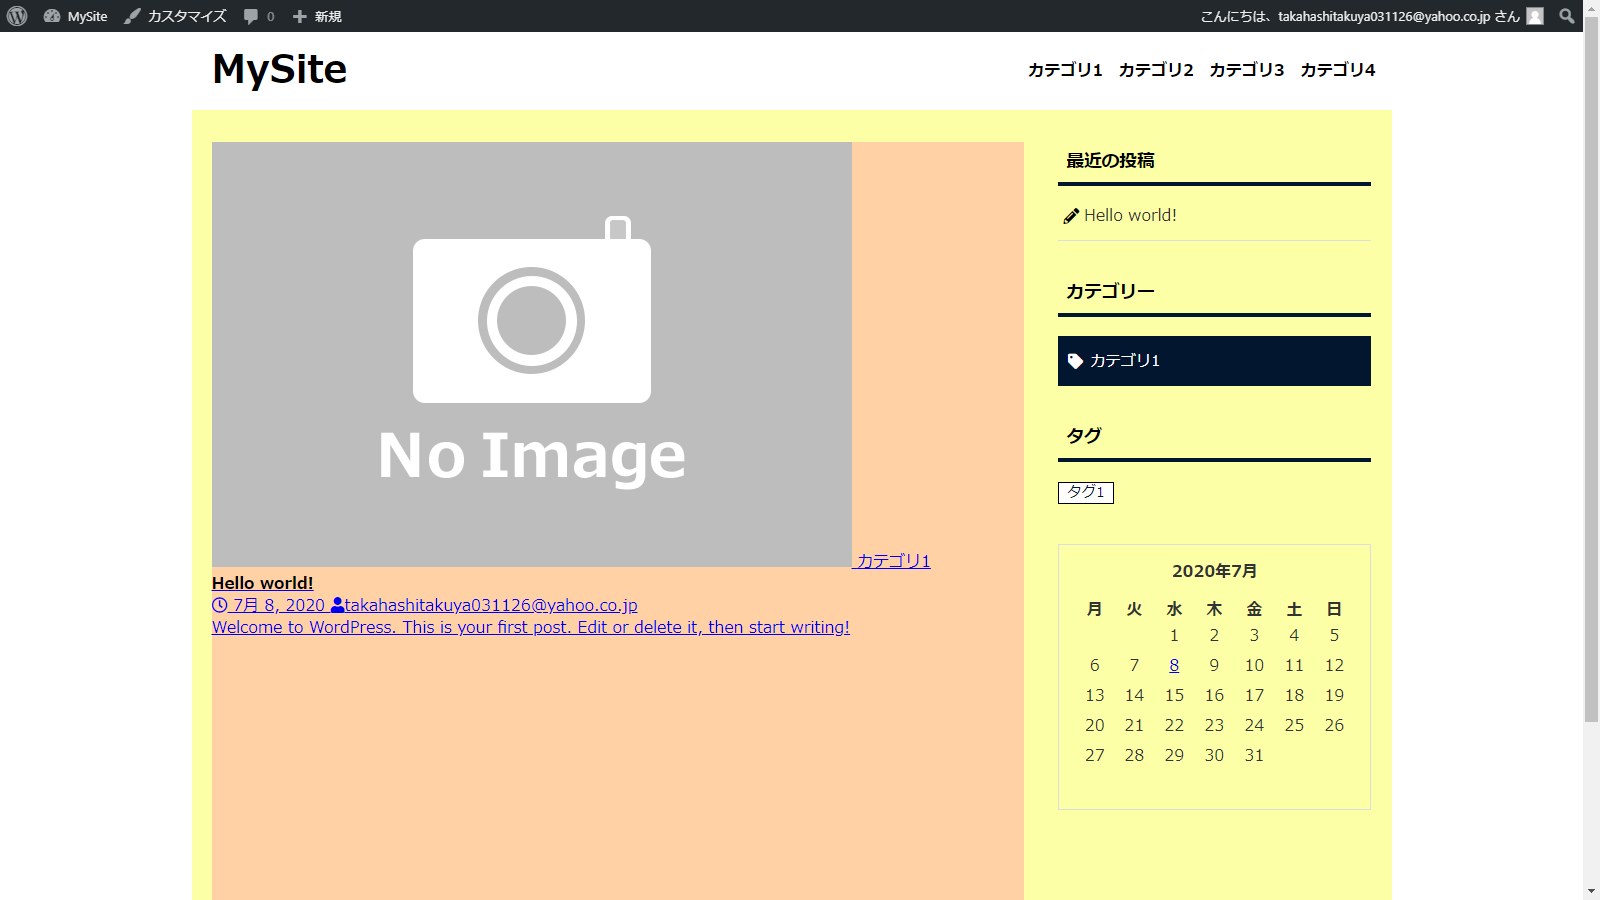
ブラウザを確認します。
上の画面のように表示されれば記事一覧ページの表示は完了です。
ここからCSSでデザインを整えていきます。
デザインの調整
まずはレイアウト確認用に記述した部分を削除します。
.contents {
  height: 800px;
}
.container {
  background-color: #fcffa5;
}
.contents {
  background-color: #ffd1a5;
}
style.cssに以下のコードを記述します。
.article-list {
  margin-bottom: 1rem;
  padding: 1rem;
  border: 1px solid #ddd;
}

.article-list:hover {
  background-color: #eee;
}

.article-list a {
  display: block;
  text-decoration: none;
  color: #333;
}

.article-list a:after {
  display: block;
  clear: both;
  content: '';
}

.article-list .img-wrap {
  position: relative;
  float: left;
  line-height: 1;
}

.article-list .img-wrap img {
  width: 240px;
  height: 160px;
  object-fit: cover;
}

.article-list .img-wrap .cat-data {
  font-size: .75rem;
  position: absolute;
  top: 0;
  right: 0;
  padding: .3rem .5rem;
  color: #fff;
  background-color: #03162f;
}

.article-list .text {
  margin-left: 260px;
}

.article-list .text h2 {
  font-size: 1.15rem;
  margin-bottom: .5rem;
}

.article-list .text .article-date,
.article-list .text .article-author {
  font-size: .75rem;
  font-weight: bold;
  display: inline-block;
  margin-bottom: .5rem;
  color: #888;
}

.article-list .text .article-date {
  margin-right: .5rem;
}

.article-list .text .article-author i {
  margin-right: .3rem;
}

.article-list .text p {
  font-size: .8125rem;
  line-height: 1.7;
}
ブラウザを更新します。(更新しても変化がない場合は、デベロッパーツールを開いた状態でリロードボタンを右クリックし、「キャッシュの消去とハード再読み込み」をクリックしてください)
次にスマートフォン用のデザインを記述します。
//@media(max-width: 600px)内に追記
.article-list {
  padding: .5rem;
}

.article-list .img-wrap img {
  width: 132px;
  height: 88px;
}

.article-list .img-wrap .cat-data {
  font-size: .6rem;
}

.article-list .text {
  margin-left: 140px;
  padding: 0;
}

.article-list .text h2 {
  font-size: 1rem;
  margin-bottom: 0;
}

.article-list .text p {
  display: none;
}

.article-list .text .article-date,
.article-list .text .article-author {
  font-size: .625rem;
  margin-bottom: 0;
}

.article-list .text .article-date {
  margin-right: .2rem;
}
ブラウザの幅を調節してレスポンシブ対応になっているかどうか確認してみてください。
ページネーション
すべての記事を見ることができるようにページネーションを挿入します。
index.phpにコードを追加します。
<?php get_header(); ?>
<div class="container">
    <div class="contents">
        <?php if(have_posts()): while(have_posts()): the_post(); ?>
            <?php get_template_part('loop-content'); ?>
        <?php endwhile; endif; ?>
        //ここから
        <div class="pagination">
            <?php echo paginate_links( array(
                'type' => 'list',
                'mid_size' => '1',
                'prev_text' => '<i class="fas fa-angle-left"></i>',
                'next_text' => '<i class="fas fa-angle-right"></i>'
            ) ); ?>
        </div>
        //ここまで
    </div>
    <?php get_sidebar(); ?>
</div>
<?php get_footer(); ?>
ブラウザを更新します。
赤枠のところにページネーションが表示されました。
次にCSSでデザインを整えます。
.pagination {
  margin: 2rem 0;
  text-align: center;
}

.pagination ul {
  font-size: 0;
}

.pagination ul li {
  font-size: 1rem;
  display: inline-block;
  margin-right: .5rem;
}

.pagination ul li:last-child {
  border: 0;
}

.pagination ul li a,
.pagination .current {
  display: block;
  padding: .5rem .8rem;
  border: 1px solid #ccc;
}

.pagination ul li .prev,
.pagination ul li .next {
  border: 0;
}

.pagination ul li a {
  text-decoration: none;
  color: #333;
}

.pagination ul li a:hover {
  opacity: .6;
}

.pagination .current {
  color: #fff;
  background-color: #03162f;
}
以上で記事一覧ページの作成は完了です。
次回は記事を個別に表示できるようにします。


