Kandanを導入する
構築環境はUbuntu14.04です。
Node.jsインストール
$ curl -L git.io/nodebrew | perl - setup
$ echo 'export PATH=$HOME/.nodebrew/current/bin:$PATH' >> ~/.bashrc
$ source ~/.bashrc
$ nodebrew install latest
$ nodebrew use v0.11.13
$ node -v
v0.11.13
Rubyインストール
$ curl -sSL https://get.rvm.io | bash
$ source /home/(ユーザ名)/.rvm/scripts/rvm
$ rvm install 2.0.0-p481
$ rvm use 2.0.0-p481
ruby 2.0.0p481 (2014-05-08 revision 45883) [x86_64-linux]
PostgreSQLインストール
$ sudo apt-get install postgresql postgresql-contrib libpq-dev
- ユーザー・パスワード設定
$ sudo su - postgres
$ psql
postgres=# create user "kandan" with password 'kandan';
postgres~# ALTER ROLE kandan WITH CREATEDB;
仮に「kandan」としておきます。
- Rails用にユーザー認証の設定
$ sudo vim /etc/postgresql/9.3/main/pg_hba.conf
- 追加します。
local all kandan md5
- サービスの再起動
$ sudo service postgresql restart
Kandanインストール
- GitHubからチェックアウト
$ git clone https://github.com/kandanapp/kandan.git
$ git checkout v1.2
- Kandanに必要なモジュール・Gemのインストール
$ sudo apt-get install libxml2-dev libxslt-dev # nokogiriに必要
$ gem install bundler
$ cd kandan
$ bundle install --path vendor/bundle
- アセッツプリコンパイル
「config/enviroments/production.rb」の以下をtrueにする
config.serve_static_assets = true
$ bundle exec rake assets:precompile RAILS_ENV=production
データベースの設定
- config/database.ymlの設定
以下を加えます。
production:
  adapter: postgresql
  encoding: unicode
  database: kandan_production
  pool: 5
  username: kandan
  password: kandan
- DBマイグレーションの実行
$ bundle exec rake db:create db:migrate kandan:bootstrap RAILS_ENV=production
Nginxでリバースプロキシの設定
- Nginxの設定ファイルを以下のようにします。
$ cat /etc/nginx/sites-available/default
server {
	listen 80 default_server;
	listen [::]:80 default_server ipv6only=on;

	root /usr/share/nginx/html;
	index index.html index.htm;

	# Make site accessible from http://localhost/
	server_name localhost;

	location / {
		proxy_set_header X-Forwarded-For $proxy_add_x_forwarded_for;
		proxy_set_header Host $http_host;
		proxy_redirect off;

		if (!-f $request_filename) {
			proxy_pass http://localhost:3000;
			break;
		}
	}
}
- Nginxの再起動
$ sudo service nginx restart
Kandanの起動
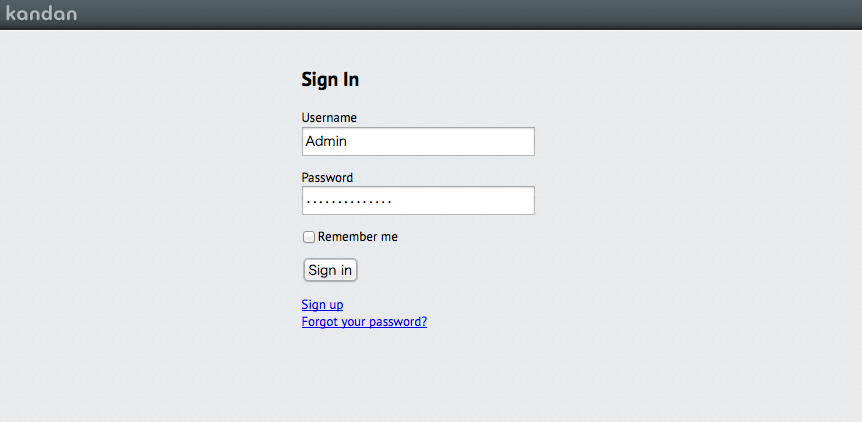
- 以下のコマンドでサーバーを起動させて、localhostをブラウザで開くとログイン画面が表示される
$ cd kandan
$ bundle exec thin start -e production
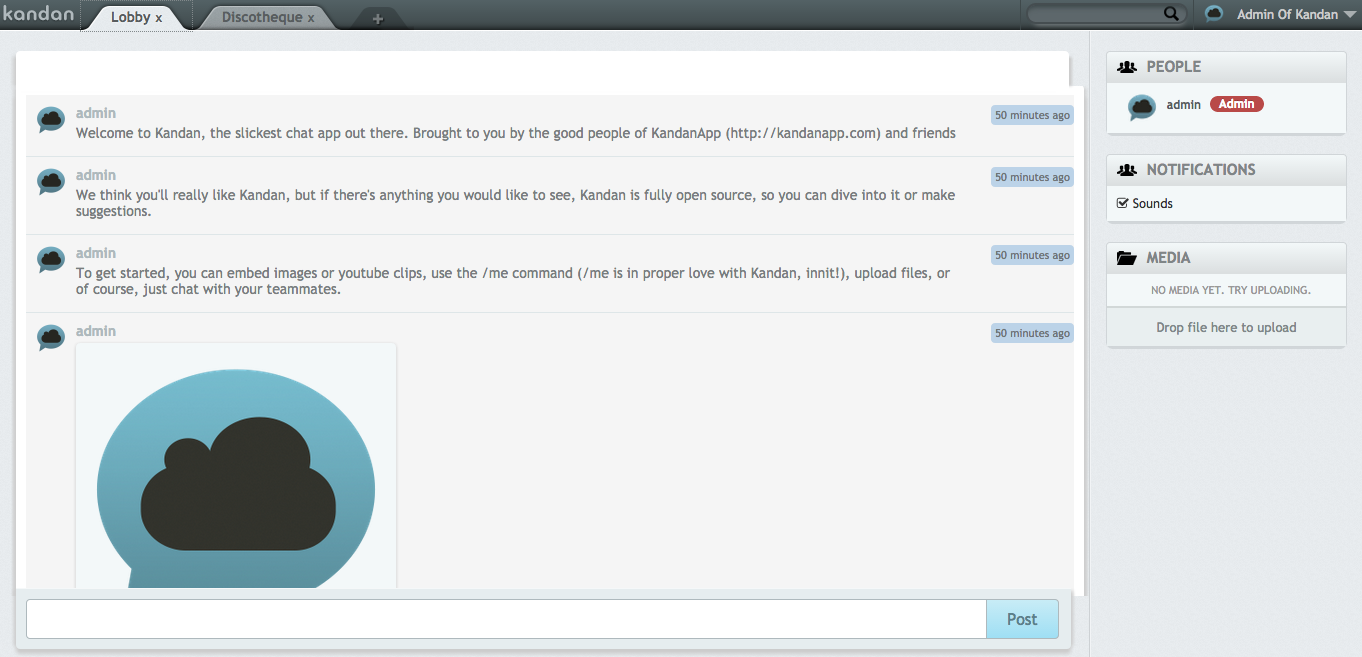
- 以下のUsernameとPasswordでログインをする
Username: Admin
Password: kandanappadmin
Hubotを導入する
- Hubotのユーザー作成とアクセスキーの取得を行う
$ bundle exec rake kandan:boot_hubot RAILS_ENV=production
Creating hubot user...

$ bundle exec rake kandan:hubot_access_key  RAILS_ENV=production
Your hubot access key is xxxxxxxx
- Hubotをインストールする
$ wget https://github.com/github/hubot/archive/v2.4.7.zip
$ unzip v2.4.7.zip
$ cd hubot-2.4.7
$ npm install
$ make package
- Kandanとの連携
cd hubot
$ git clone https://github.com/kandanapp/hubot-kandan.git node_modules/hubot-kandan
$ npm install faye
$ npm install ntwitter
- hubot-scripts.jsonから "redis-brain.coffee" を取り除く
hubot/hubot-scripts.json
- ["redis-brain.coffee", "tweet.coffee", "shipit.coffee"]
+ ["tweet.coffee", "shipit.coffee"]
- hubot-kandanのpackage.jsonのバージョンを書き換える
hubot/node_modules/hubot-kandan/package.jsonを編集
- "version":     "1.0",
+ "version":     "1.0.0",
- ~/.bashrcに環境変数を追加
# Host名
export HUBOT_KANDAN_HOST=localhost
# Portが80以外の場合
#export HUBOT_KANDAN_PORT=3000
# 取得したアクセスキー
export HUBOT_KANDAN_TOKEN=xxxxxxxxxxxxx
# info以外の場合
export HUBOT_LOG_LEVEL=debug
- 設定を反映
$ source ~/.bashrc
- アダプタを指定してHubotを起動
$ ./bin/hubot -a kandan
Hubot動作確認
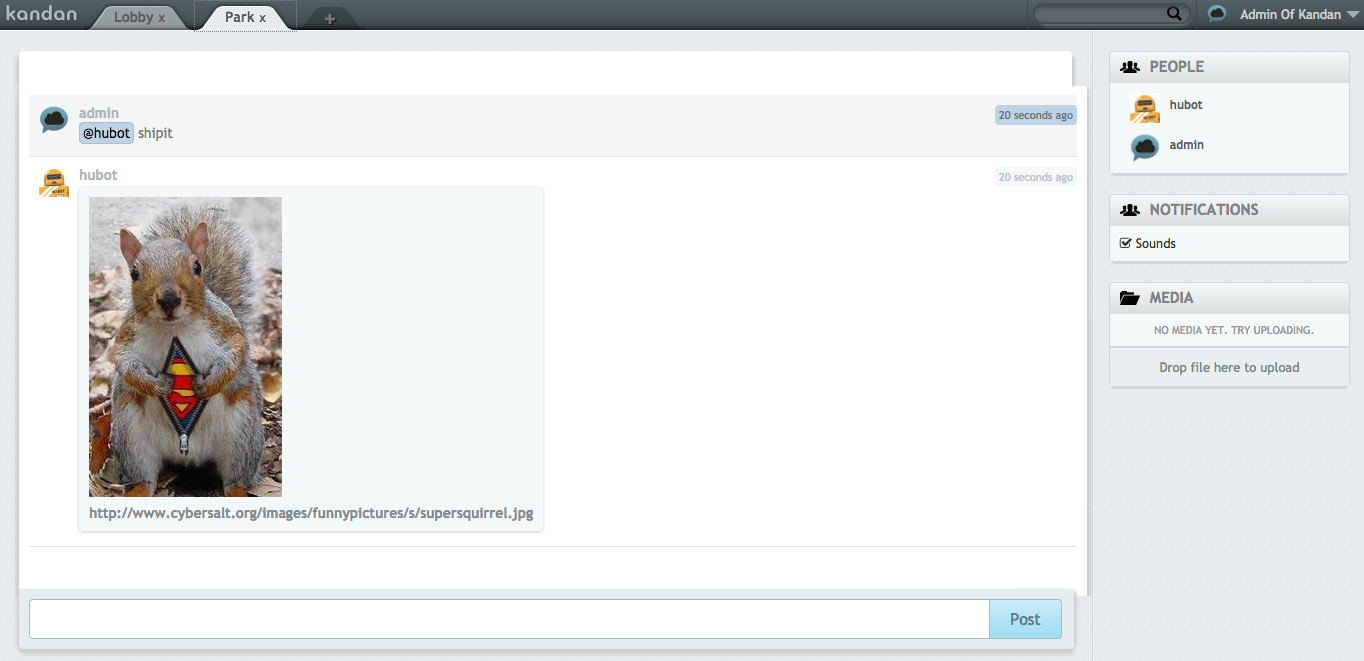
- @hubot shipitと打ってPOSTボタンを押します。
Hubotがリスの画像を出してくれました。


