Next.jsを使ったサイトのサンプルフォーマットとなるようなものを作りました。
後編ということでnext-i18nextを使った多言語対応の手順について記載します。
(おさらい)作った画面
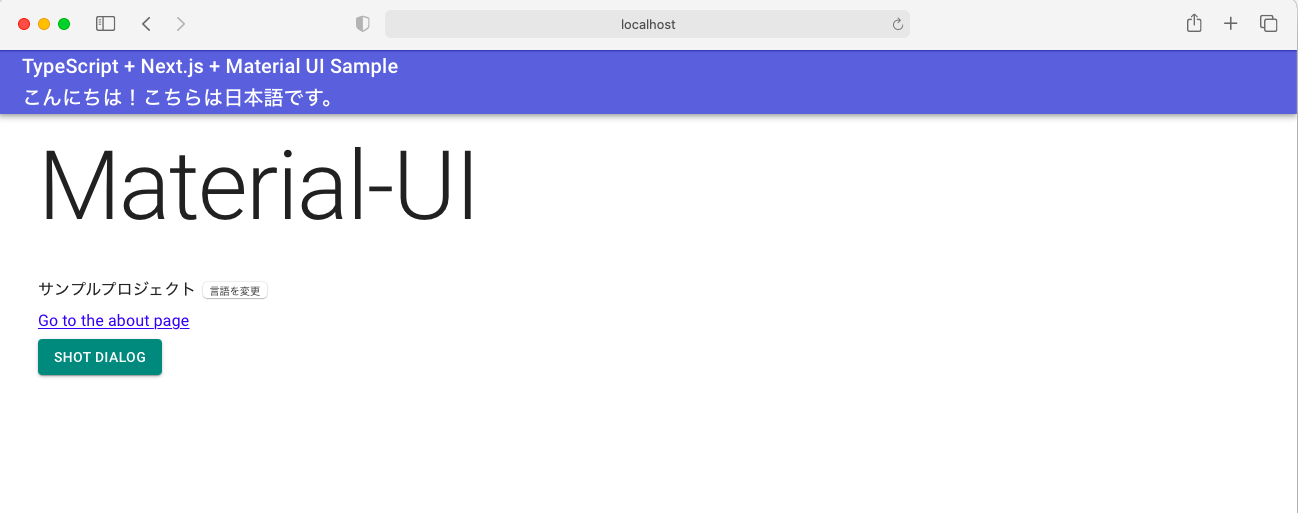
Material UIのサンプルページを少し加工して
- ヘッダ部の「こんにちは!こちらは日本語です。」
- ボディ部の「サンプルプロジェクト」
以上の2箇所の文言をi18n対応しています。
すぐ横にある「言語を変更」ボタンクリックで英語表記に変えることができます。
前編の記事
Githubリポジトリ
i18n対応とは?
国際化対応とも言われる。
ソフトウェアやインターネットサイトを複数の言語で使用、閲覧可能な状態にすること。
「Internationalization」の省略表記で、最初と末尾の文字、及びその間の文字数を記載して「i18n」と呼ぶらしい。
今回はnext-i18nextを使って、サイトを多言語化しましたのでそちらの手順を記載します。
手順説明
next-i18nextのインストール
yarn add next-i18next
翻訳ファイルの作成
ページ上の言語変換箇所にKeyを設定します。
そのkeyの参照先となるJSONファイルを各言語ごとに作成します。
今回は日本語及び英語対応としました。
JSONファイルは ./public/locales/[laguage] 配下に、common.jsonの名前で作成します。
mkdir public
cd public
mkdir locales
cd locales
mkdir ja
cd ja
touch common.json
ディレクトリ構成はこんな感じです。
.
└── public
    └── locales
        ├── ja
        |   └── common.json
        └── en
            └── common.json
common.jsonの作成
JSONファイルはこのように書きます。
{
    "hello": "こんにちは!こちらは日本語です。",
    "change-locale": "言語を変更",
    "project-name": "サンプルプロジェクト"
}
英語版も同じように作ります。
(もちろんですが英語版common.jsonのJSONの各キーの値は英語で記載)
next-i18next.config.jsの作成
プロジェクトルートにnext-i18next.config.jsを作成します。
ファイルの中身はこのようにします。
module.exports = {
    i18n: {
        defaultLocale: 'ja',
        locales: ['ja', 'en'],
    },
}
next.config.jsの作成
プロジェクトルートにnext.config.jsファイルを作成します。
ファイルの中身はこのようにします。
const { i18n } = require('./next-i18next.config');

module.exports = {
    i18n,
};
appWithTranslationでHOCする
_app.tsx内のメインモジュールをappWithTranslationでHOCします。(言い方正しいかな。。。)
具体的にはこのように書きます。
import { appWithTranslation } from 'next-i18next';


const MyApp = ({ Component, pageProps }: AppProps) => {

   // your Code

};
export default appWithTranslation(MyApp);
serverSideTranslations、及びキーの追加
index.tsxにおいて、serverSideTranslationsの追加をします。
import { useRouter } from 'next/router'
import { useTranslation } from 'next-i18next';
import { serverSideTranslations } from 'next-i18next/serverSideTranslations'

const Homepage = () => {

    const router = useRouter()
    const { t } = useTranslation('common')

    // your Code

}

export const getStaticProps = async ({ locale }) => ({
    props: {
        ...await serverSideTranslations(locale, ['common', 'footer']),
    },
})
export default Homepage
上記サンプルの//your codeの箇所にサイトの具体的表記となるHTMLタグ等の記載があると思いますが、そちらの言語対応したい箇所にcommon.jsonのキーの追加を行います。
TypeScript + Next.js + Material UI Sample <div>{t('hello')}</div>
上記の通り、t('keyname')で指定をします。
<Typography variant="subtitle1" gutterBottom={true}>
            {t('project-name')}
            <Link href='/' locale={router.locale === 'ja' ? 'en' : 'ja'}>
                <button>{t('change-locale')}</button>
            </Link>
        </Typography>
言語変更ボタンはリンクとしていますが、プルダウンなんかの対応もできるかと思います。
起動と動作確認
npm run dev
こちらでキーを指定した箇所がうまく切り替わると思います。
参考情報
next-i18nextのREADMEが参考になります。
ぜひお試し頂ければと思います。