Twitterで流れてきたのを見かけました。普段はstreamlit使っているので、どんな感じなのかワクワクしながら試しました。そして、すごかった。
インストール
pip install chainlit
Hello chainlit
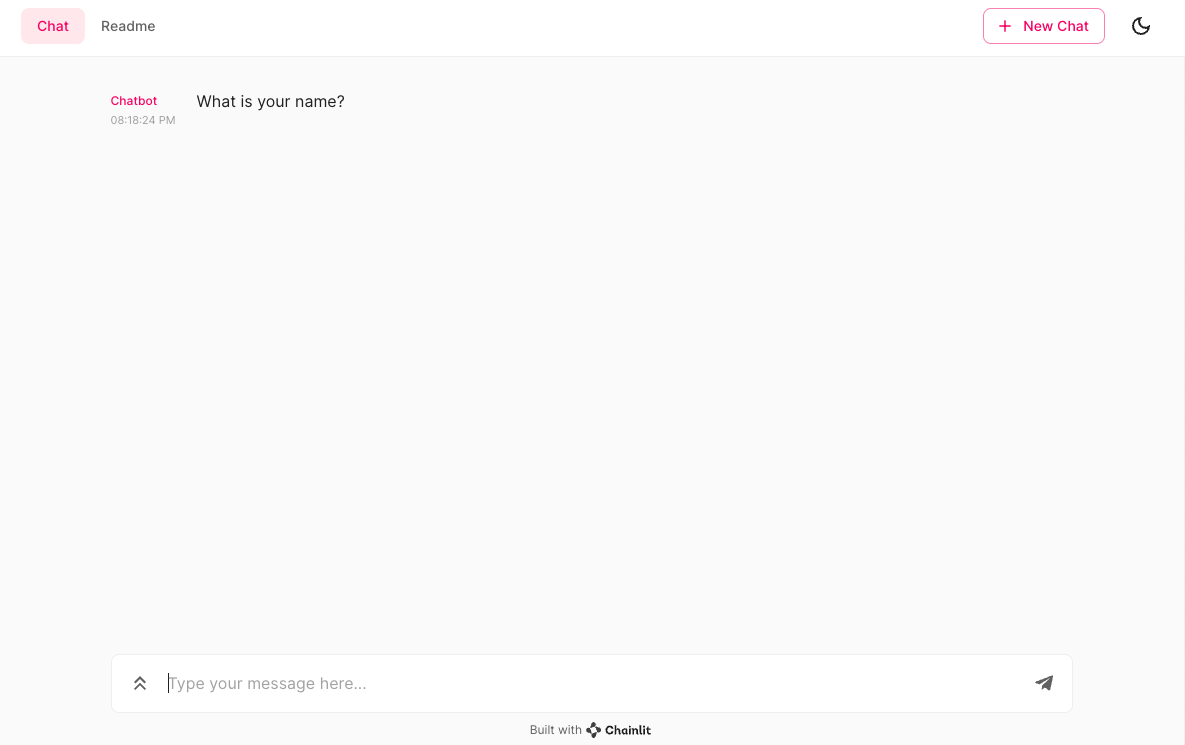
chainlit hello
おおー、チャットのUIだ。
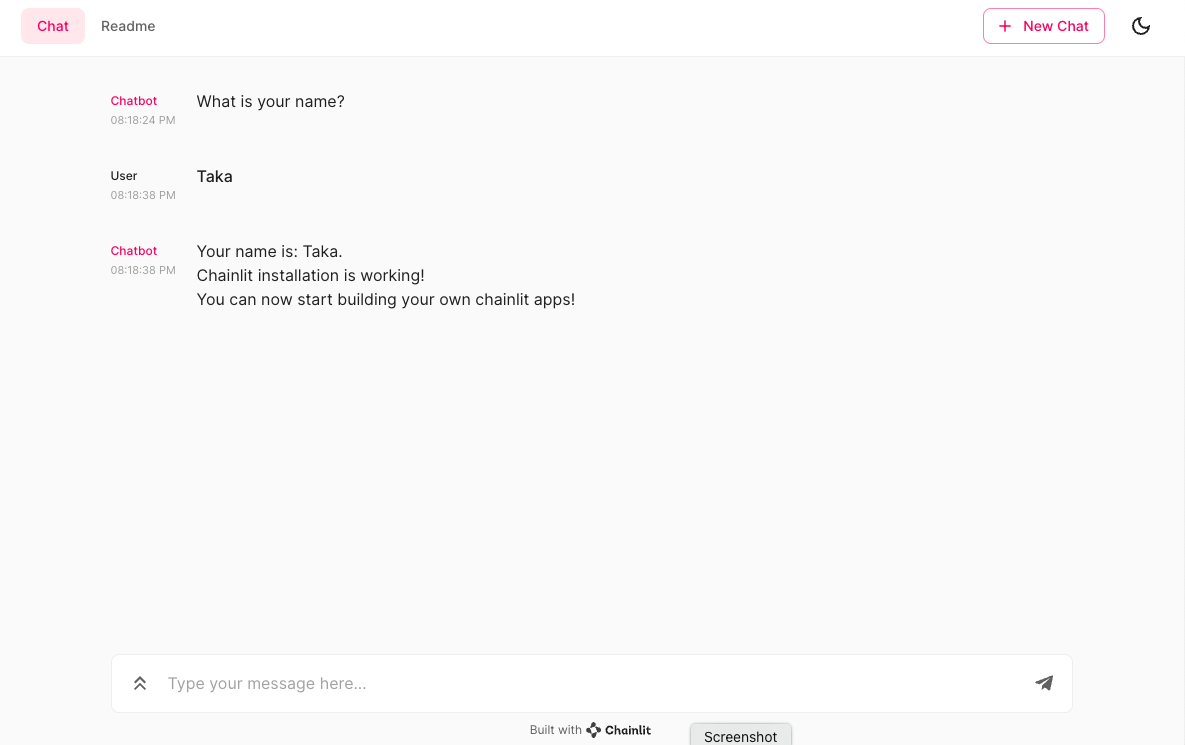
でも、これはまだガラだけなので、Get startedをやってみます。
Pure Python
streamlitと同じように、pyファイルにロジック記述します。
app.py
import chainlit as cl
@cl.on_message
def main(message: str):
# Your custom logic goes here...
# Send a response back to the user
cl.Message(
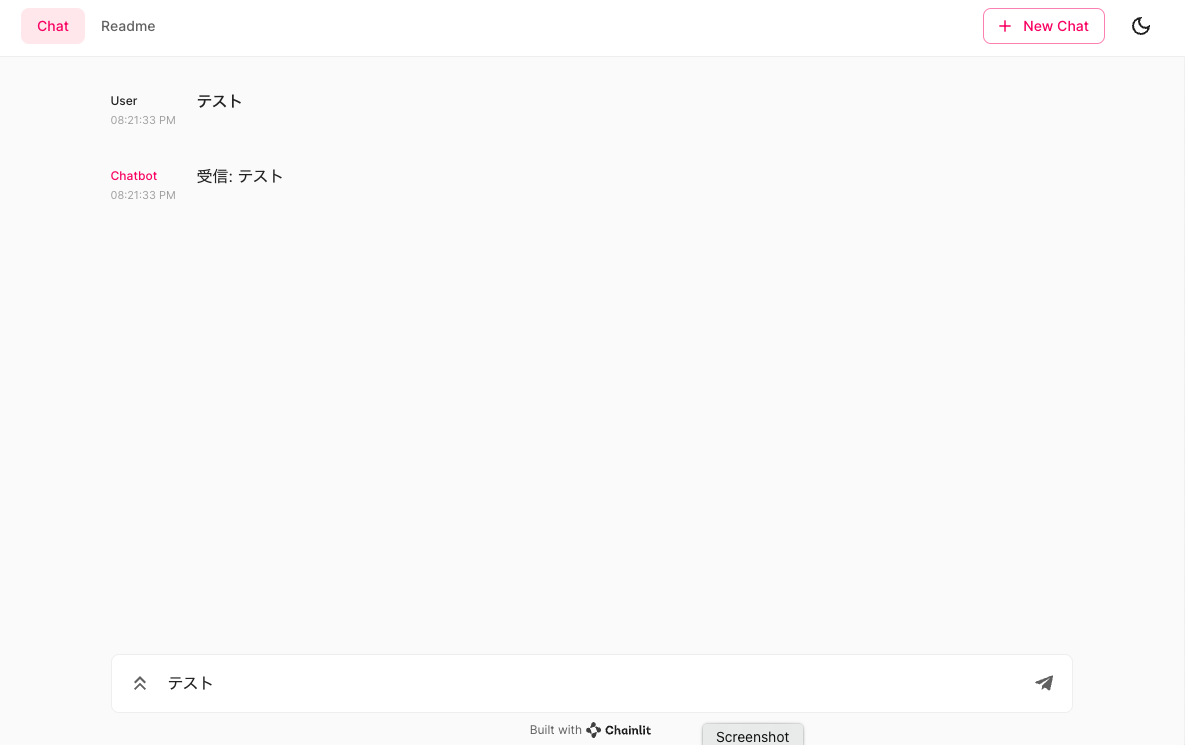
content=f"受信: {message}",
).send()
-wは、オートリロードのスイッチ。
chainlit run app.py -w
カスタマイズできましたが、これもまだモックの状態。
LangChain連携
今回の山場。
LangChainが入っていない場合には、pip install langchainでインストールします。あと、OpenAI APIのAPIキーも取得しておきます。
langchain.py
import os
from langchain import PromptTemplate, OpenAI, LLMChain
import chainlit as cl
os.environ["OPENAI_API_KEY"] = "<OpenAI APIキー>"
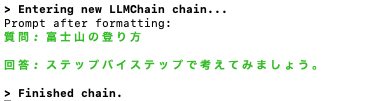
template = """質問: {question}
回答: ステップバイステップで考えてみましょう。"""
@cl.langchain_factory
def factory():
prompt = PromptTemplate(template=template, input_variables=["question"])
llm_chain = LLMChain(prompt=prompt, llm=OpenAI(temperature=0), verbose=True)
return llm_chain
LangChainのプロンプトテンプレートを使うということですね。
chainlit run langchain.py -w
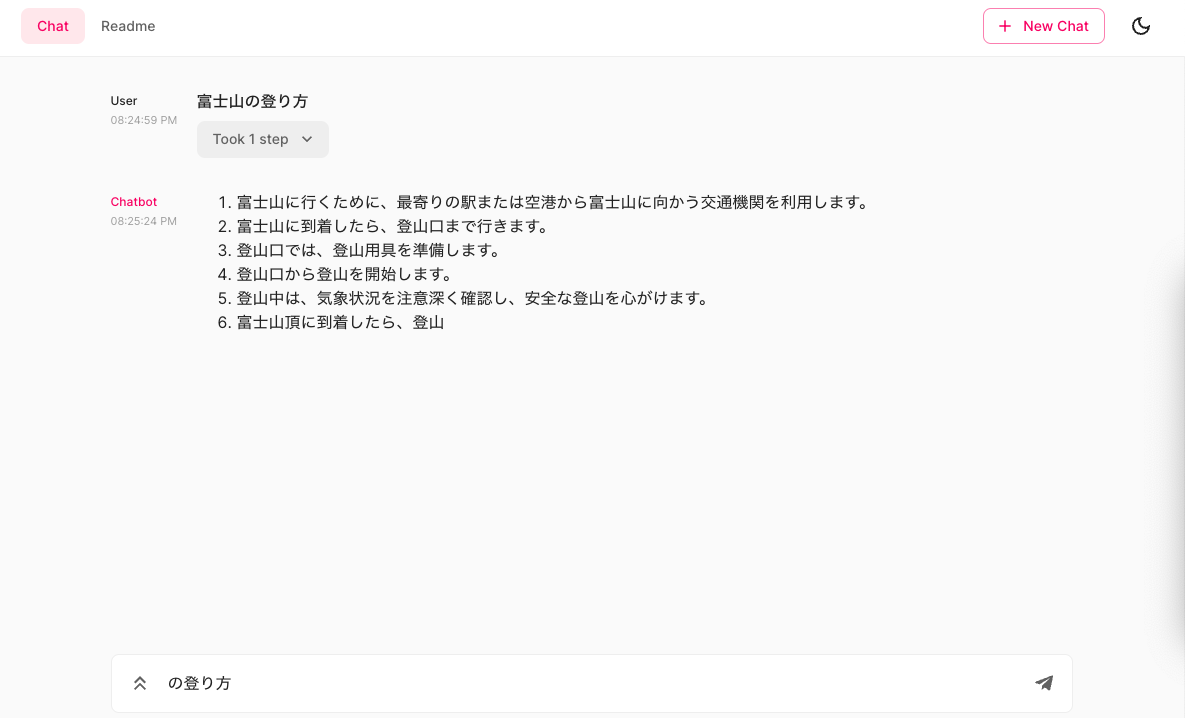
メッセージを送信すると、LLMChain経由でOpenAI APIを呼び出します。
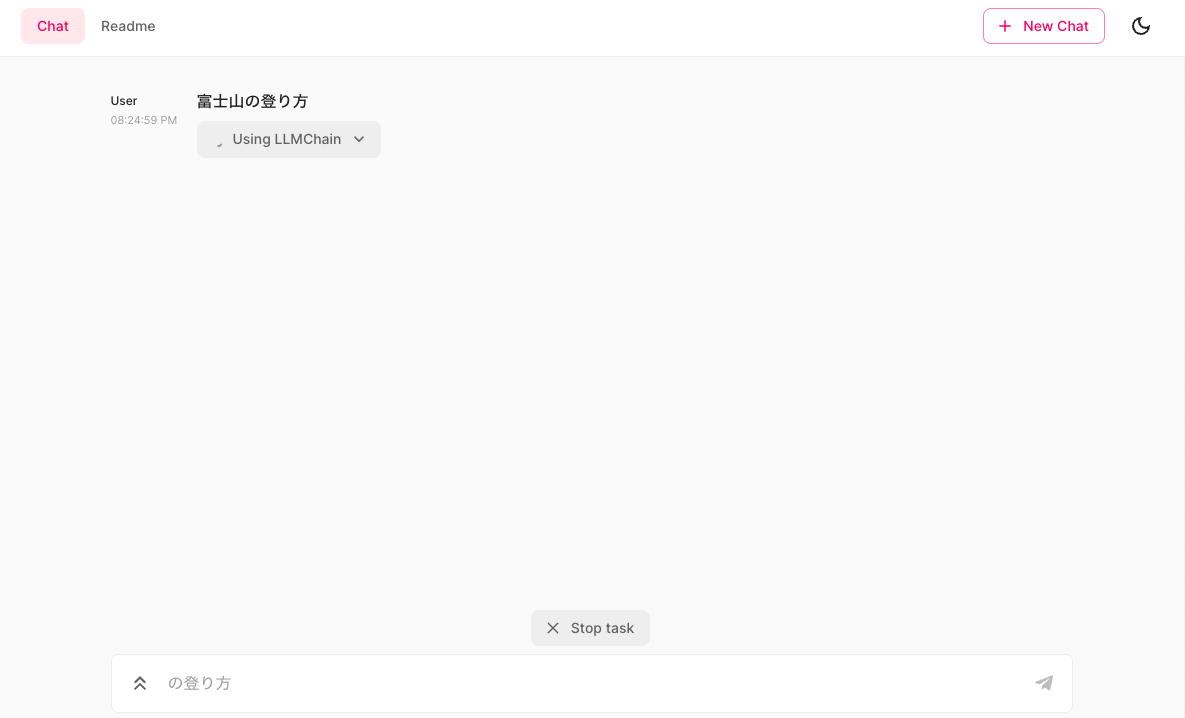
動きました!
なお、ターミナルではプロンプトを確認できます。
いやー、フロントエンドはもうこれでいい感じです。
