54
38

Delete article

Deleted articles cannot be recovered.

Draft of this article would be also deleted.

Are you sure you want to delete this article?

More than 3 years have passed since last update.

vscodeでrosをステップ実行してデバッグ

Last updated at Posted at 2020-02-23

はじめに

会社の方からデバッグの方法を教えてもらったときのメモ。
走り書きなので間違ってたらすいません。

roslaunchをdebugで実行する

準備

・rosの拡張を入れる。
image.png

・実行ファイルをdebugオプションでビルド。特にcatkin build を使う必要はない。

$ catkin build [package] --cmake-args -DCMAKE_BUILD_TYPE=Debug

launch.jsonの生成

launch.json(vscode上で F5 を押すと実行されるファイル)のROS拡張があるので、それを利用します。 ctrl + shift + p でlaunchって調べるとlaunch.jsonが出てくるので開く。
image.png

launch.jsonの右下の Add Configuration を押すと基本構成がリストで出てくるので、ROS: Launch を選択
image.png

・targetのタグに実行したいlaunchファイルのパスを書き込む
image.png

起動

launch.jsonを開いてF5を押すと起動

解析

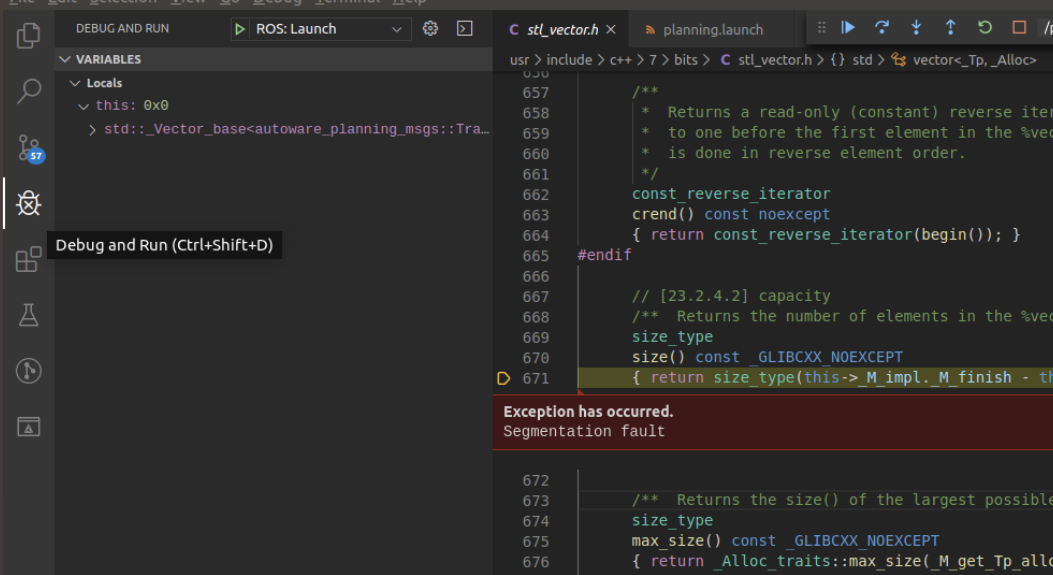
・exceptionとかがあると自動で止まってくれる。これはthisがnulptrだったとき。
image.png

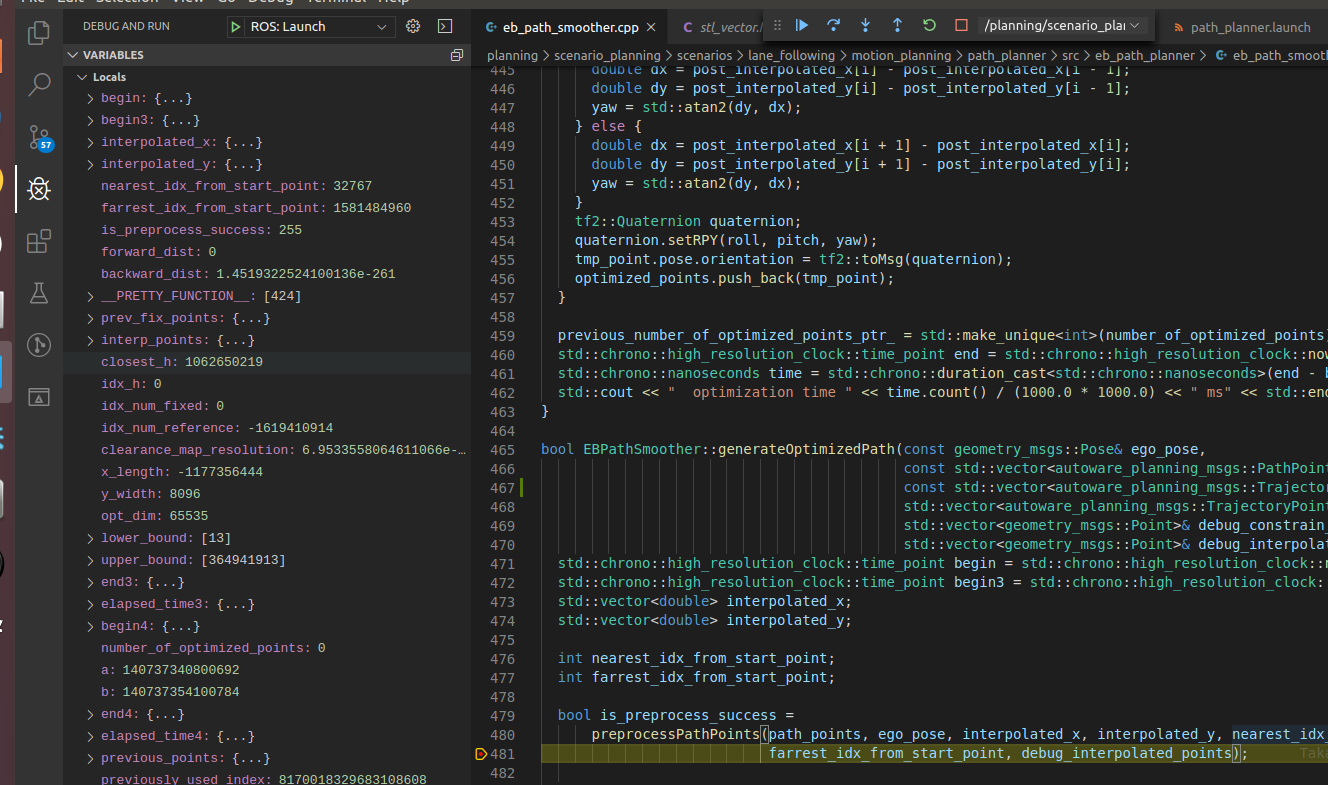
・左端のデバッガを押すと色々見える
image.png

・ブレイクポイントも貼れる
image.png

・変数にカーソルを合わせると中身が見える
image.png

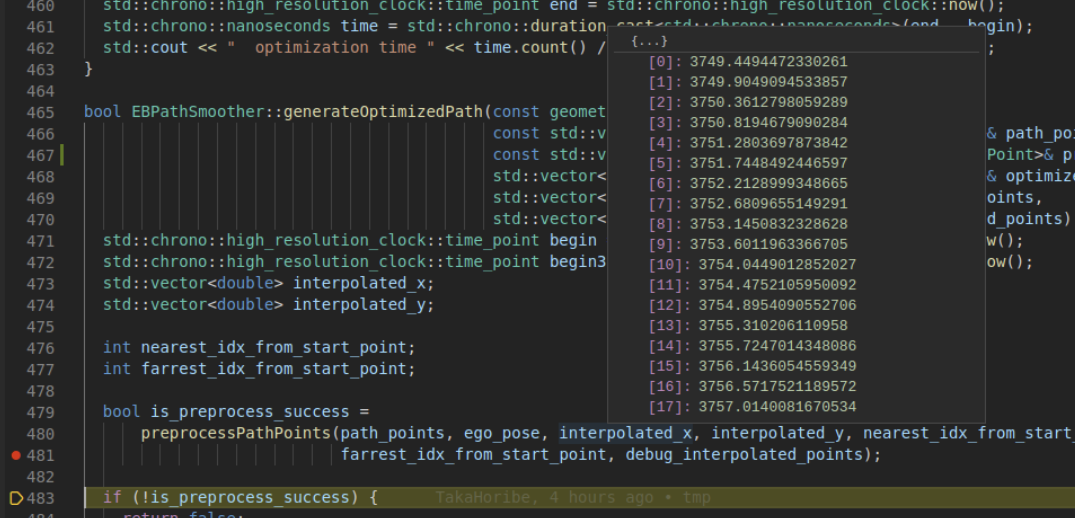
・デフォルトだとvectorとかは中身が見えない。
image.png

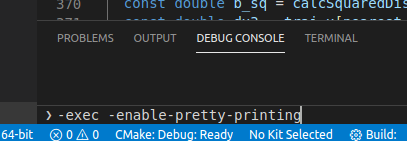
・ので、vscodeの DEBUG CONSOLE で以下のコマンドを打つ

-exec -enable-pretty-printing

image.png

すると見える。
image.png

・Exceptionのときのcall stackは左下のところに書き出される。
image.png

54
38
0

Register as a new user and use Qiita more conveniently

  1. You get articles that match your needs
  2. You can efficiently read back useful information
  3. You can use dark theme
What you can do with signing up
54
38

Delete article

Deleted articles cannot be recovered.

Draft of this article would be also deleted.

Are you sure you want to delete this article?