はじめに
Laravelを触ってみながら、Instagram Basic Display API というAPIで自分のInstagramアカウントの投稿写真を 取得していこうと思います。
やること
- Instagram Basic Display APIに必要なアクセストークンを取得する
- Laravelで投稿を取得&表示する
- Laravelでアクセストークンを定期更新する
動作環境
- PHP 7.1.23
- Laravel 5.8
- MySQL 5.7
Instagram Basic Display APIとは
Instagram基本表示APIはHTTPベースのAPIです。アプリはこれを使用して、Instagramユーザーのプロフィール、画像、動画、アルバムを取得できます。
InstagramグラフAPIの簡易版で認証したユーザーに関する情報を取得できます。
InstagramグラフAPIと違って審査がいらないのでサクッと使いたい人向けです。
できること
- ユーザのアクセス許可、アクセストークンの取得
- 発行したアクセストークンを使用して
- ユーザーのプロフィールを取得
- ユーザーの画像、動画、アルバムを取得
基本的に自分のアカウントの投稿をサイトに表示するなどの目的で使うのであればInstagram Basic Display APIで大丈夫だと思います。
前提
上記の公式のスタートガイドを参考にステップ3までを進めた状態で手順を進めていきます。
- ステップ1: Facebookアプリを作成する
- ステップ2: Instagram基本表示を構成する
- ステップ3: Instagramテストユーザーを追加する
ステップ4のテストユーザーを認証する~長期アクセストークンを取得するまでを書いていきます。
アクセストークンとアクセス許可を取得する
参考 : アクセストークンとアクセス許可を取得する
Instagram Basic Display APIを使うにはアクセストークンが必要になるので取得しましょう。
リクエスト例: ユーザーのプロフィールを取得する
GET /me?fields={fields}&access_token={access-token}
認証を取得する
https://api.instagram.com/oauth/authorize
  ?client_id={instagram-app-id}
  &redirect_uri={redirect-uri}
  &scope=user_profile,user_media
  &response_type=code
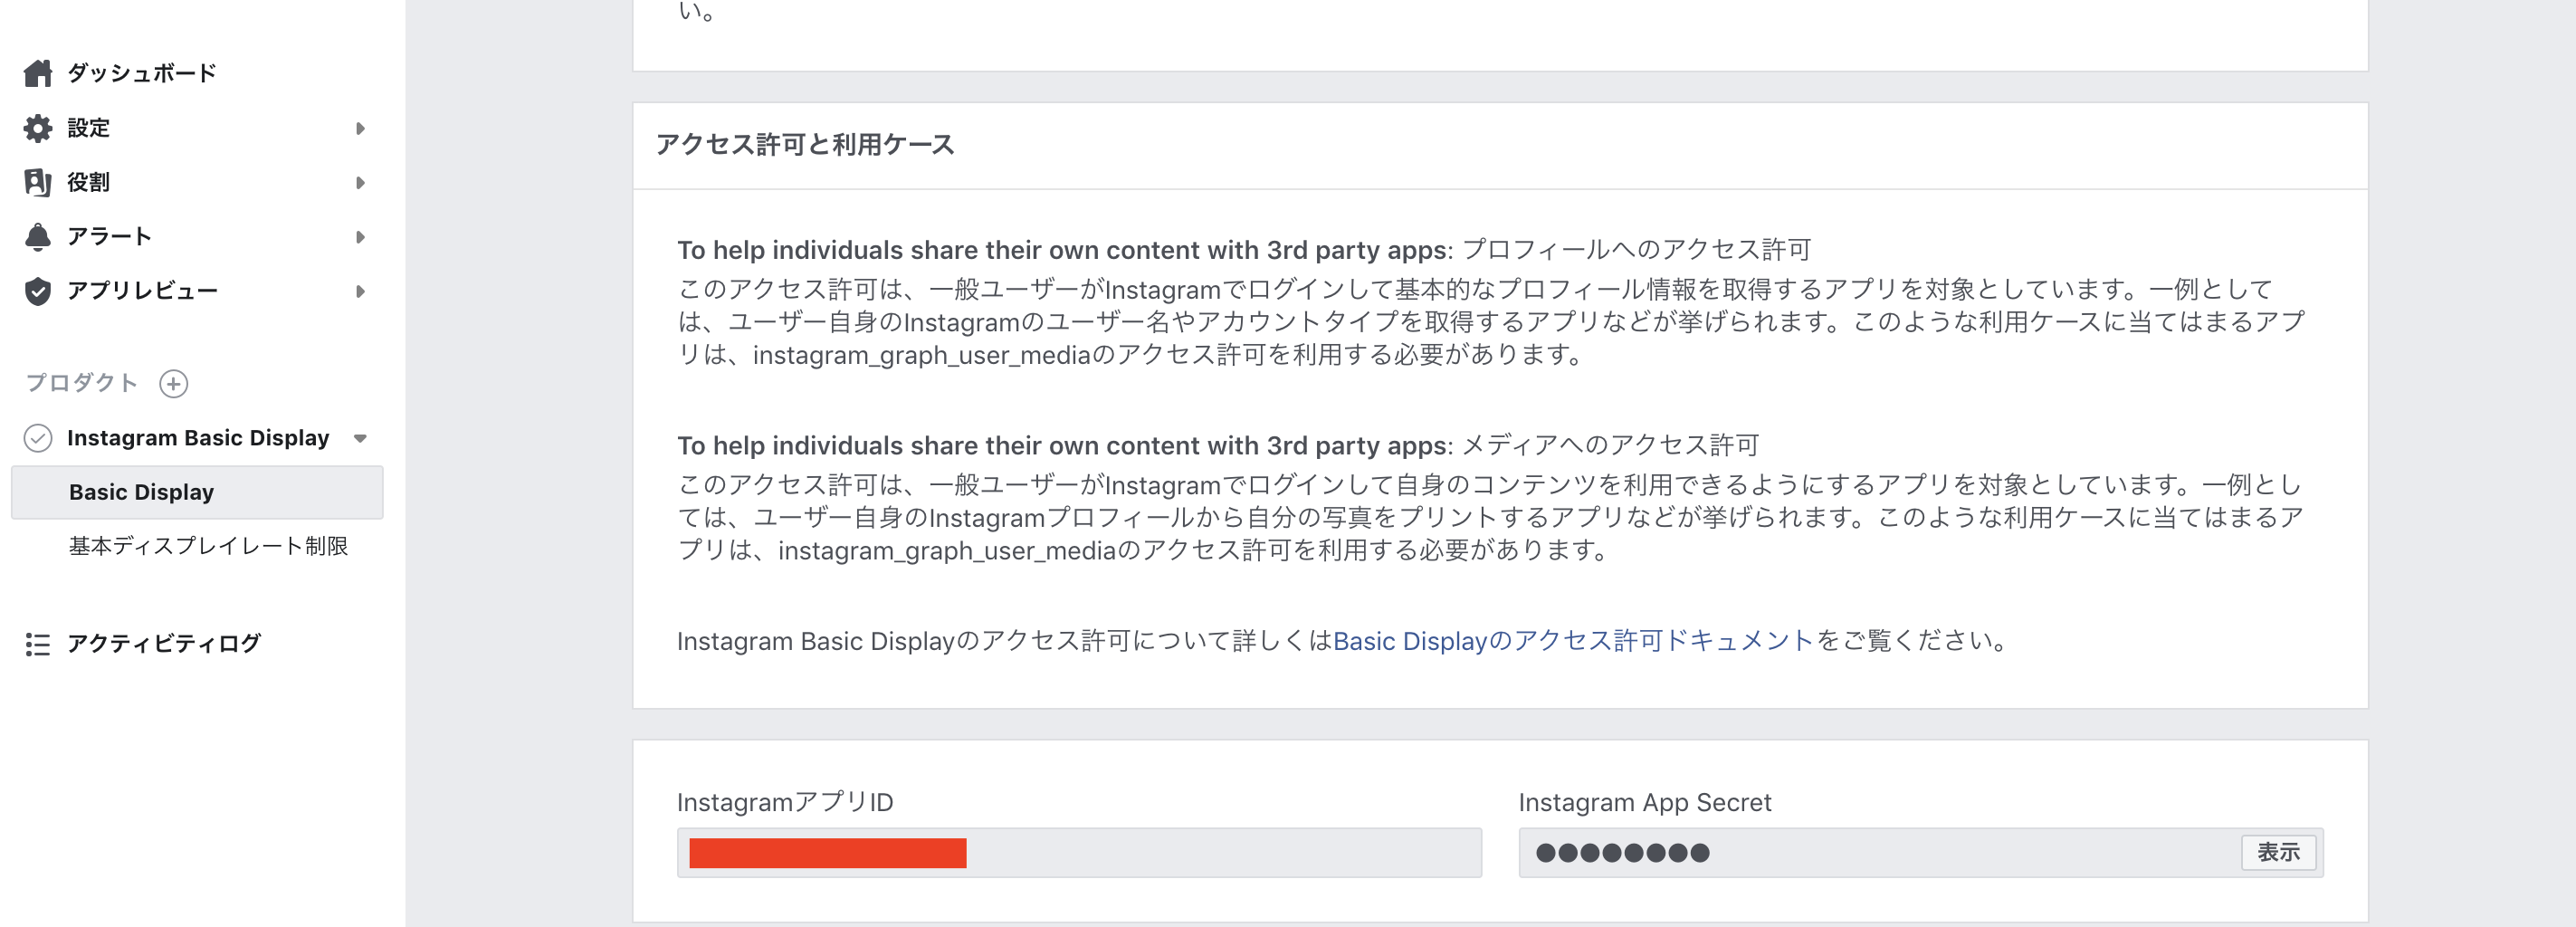
instagram-app-id
[アプリダッシュボード] > [製品] > [Instagram] > [基本表示] で表示される InstagramアプリID

redirect-uri
[アプリダッシュボード] > [製品] > [Instagram] > [基本表示] で設定した クライアントOAuth設定の 有効なOAuthリダイレクトURL

上記の内容を自分の設定に変えてアクセスします。
アクセス例
https://api.instagram.com/oauth/authorize
  ?client_id=990602627938098
  &redirect_uri=https://socialsizzle.herokuapp.com/auth/
  &scope=user_profile,user_media
  &response_type=code
アクセスすると認証許可の画面が出てくるのでテスターとして登録したアカウントで許可しましょう
成功した場合のリダイレクト例
https://socialsizzle.herokuapp.com/auth/?code=AQBx-hBsH3...#_
成功するとredirect_uriに設定したURL + ?code=AQBx-hBsH3...#_
こんな感じの文字列がURLのバーに表示されています。code= と #_ の間の文字列をこのあと使うので控えておきましょう。
この文字列をcodeといいこのあと使います。
短命のアクセストークンを取得する
認証した際に取得した codeを用いて短命のアクセストークンを取得します。
POST https://api.instagram.com/oauth/access_token
リクエストの例
curl -X POST \
https://api.instagram.com/oauth/access_token \
-F client_id={instagram-app-id} \
-F client_secret={instagram-app-secret} \
-F grant_type=authorization_code \
-F redirect_uri={redirect_uri} \
-F code={さっき取得したcode}
instagram-app-secret
[アプリダッシュボード] > [製品] > [Instagram] > [基本表示] で表示される Instagram App Secret
成功した時の応答例
{ "access_token": "IGQVJ...", "user_id": 17841405793187218 }
access_token ここの内容がAPIに必要なアクセストークンになります。
しかしこのままだとこのアクセストークンの使用できる期間は1時間と短命なので、長命のものと交換しましょう.
長期のアクセストークンを取得する
参考: 長期アクセストークン
curl -i -X GET "https://graph.instagram.com/access_token?grant_type=ig_exchange_token&client_secret={instagram-app-secret}&access_token={short-lived-access-token}"
short-lived-access-token 先ほど取得した access_token
成功した時の応答例
{ "access_token":"{long-lived-user-access-token}", "token_type": "bearer", "expires_in":5183944 // トークンが有効期限切れになるまでの秒数 }
long-lived-user-access-tokenが今回取得した長期トークンになります。
しかし長期とは言ってもこれも expires_inに記載されている通り期限が存在します。
このトークンに関しては60日間有効なのですがそれをすぎると無効になってしまうため定期的にトークンを更新しないといけません。
長期のアクセストークン更新する
参考: 長期アクセストークンの更新
最長でもアクセストークンは60日しか持たないので有効期限が切れる前に新しいアクセストークンと交換します。
リクエスト例
curl -i -X GET "https://graph.instagram.com/refresh_access_token?grant_type=ig_refresh_token&access_token={long-lived-access-token}"
long-lived-access-token 取得している長期アクセストークン
有効期間が過ぎていない長期アクセストークンを指定してください
応答の例
{ "access_token":"{long-lived-user-access-token}", "token_type": "bearer", "expires_in":5183944 // トークンが有効期限切れになるまでの秒数 }
long-lived-user-access-tokenが新たに取得した60日の有効期限の長期アクセストークンになります。
ユーザーの投稿を取得する
参考: メディアデータを取得する
参考: paging
GET /me/media?fields={fields}&access_token={access-token}
アクセス例
curl -X GET \
'https://graph.instagram.com/me/media?fields=id,caption,permalink,media_url,thumbnail_url&access_token={access-token}'
access_token は有効なアクセストークンを設定します。
fieldsで取得するデータを選択できます。
応答例
{
   "data": [
      {
         "id": "メディアID",
         "caption": "キャプションテキスト",
         "permalink": "投稿先URL",
         "media_url": "画像URL"
      }
   ],
  "paging": {
    "cursors": {
      "after": "MTAxN...",
      "before": "NDMyN..."
      },
    "next": "https://graph.faceb..."
  }
}
Laravel を利用する
プロジェクト作成
$ composer create-project --prefer-dist laravel/laravel instagram "5.8.*"
$ cd instagram
コントローラー作成
$ php artisan make:controller InstagramController
ルーティング追加
Route::get('/instagram', 'InstagramController@index');
token保存用の簡易的なテーブルを追加します
$ php artisan make:migration create_instagramTokens_table
<?php

use Illuminate\Support\Facades\Schema;
use Illuminate\Database\Schema\Blueprint;
use Illuminate\Database\Migrations\Migration;

class CreateInstagramTokensTable extends Migration
{
    /**
     * Run the migrations.
     *
     * @return void
     */
    public function up()
    {
        Schema::create('instagram_tokens', function (Blueprint $table) {
            $table->bigIncrements('id');
            $table->string('access_token');
            $table->string('token_type');
            $table->integer('expires_in');
            $table->timestamps();
        });
    }

    /**
     * Reverse the migrations.
     *
     * @return void
     */
    public function down()
    {
        Schema::dropIfExists('instagram_tokens');
    }
}
$ php artisan migrate
mysql> desc instagram_tokens
    -> ;
+--------------+---------------------+------+-----+---------+----------------+
| Field        | Type                | Null | Key | Default | Extra          |
+--------------+---------------------+------+-----+---------+----------------+
| id           | bigint(20) unsigned | NO   | PRI | NULL    | auto_increment |
| access_token | varchar(255)        | NO   |     | NULL    |                |
| token_type   | varchar(255)        | NO   |     | NULL    |                |
| expires_in   | int(11)             | NO   |     | NULL    |                |
| created_at   | timestamp           | YES  |     | NULL    |                |
| updated_at   | timestamp           | YES  |     | NULL    |                |
+--------------+---------------------+------+-----+---------+----------------+
6 rows in set (0.00 sec)
モデル作成
$ php artisan make:model InstagramToken
今回は最初の手順で有効な長期access_tokenを取得しているのでenvに追加しておきます。
INSTAGRAM_TOKEN=取得した有効な長期アクセストークン
Laravelでアクセストークンを更新
参考: Laravelのタスクスケジュール(cron)を使いこなす
Commandの作成
$ php artisan make:command Instagram
<?php

namespace App\Console\Commands;

use Illuminate\Console\Command;
use App\InstagramToken;

class Instagram extends Command
{
    /**
     * The name and signature of the console command.
     *
     * @var string
     */
    protected $signature = 'instagram:refresh';

    /**
     * The console command description.
     *
     * @var string
     */
    protected $description = 'Instagram access token update';

    /**
     * Create a new command instance.
     *
     * @return void
     */
    public function __construct()
    {
        parent::__construct();
    }

    /**
     * Execute the console command.
     *
     * @return mixed
     */
    public function handle()
    {
        // ここに処理を書いていく
    }
}
Commandの登録
    protected $commands = [
      Commands\Instagram::Class,
    ];
トークンを更新する
/**
     * Execute the console command.
     *
     * @return mixed
     */
    public function handle()
    {
      $baseUrl = "https://graph.instagram.com/refresh_access_token?";

      // アクセストークン取得
      $instagramToken = InstagramToken::select('access_token')->latest()->first();
      $accessToken = env('INSTAGRAM_TOKEN');

      if ($instagramToken->access_token) {
        $accessToken = $instagramToken->access_token;
      }

      // パラメーター設定
      $params = array(
        'grant_type' => 'ig_refresh_token',
        'access_token' => $accessToken
      );

      $ch = curl_init();
      curl_setopt($ch, CURLOPT_URL, $baseUrl . http_build_query($params));
      curl_setopt($ch, CURLOPT_RETURNTRANSFER, true);

      $responseText = curl_exec($ch);
      $result = json_decode($responseText, true);

      curl_close($ch);

      // DB保存
      if ($newAccessToken = $result['access_token']) {
        $instagramToken = new InstagramToken();
        $instagramToken->access_token = $newAccessToken;
        $instagramToken->token_type = $result['token_type'];
        $instagramToken->expires_in = $result['expires_in'];
        $instagramToken->save();
      }

    }
実行してみる
$ php artisan instagram:refresh
mysql> select * from instagram_tokens;
+----+-------------------------------------------------------------------------------------------------------------------------------------------------+------------+------------+---------------------+---------------------+
| id | access_token                                                                                                                                    | token_type | expires_in | created_at          | updated_at          |
+----+-------------------------------------------------------------------------------------------------------------------------------------------------+------------+------------+---------------------+---------------------+
|  1 | トークン | bearer     |    5177185 | 2020-09-21 21:53:07 | 2020-09-21 21:53:07 |
|  2 | トークン  | bearer     |    5177002 | 2020-09-21 21:56:10 | 2020-09-21 21:56:10 |
|  3 | トークン | bearer     |    5176998 | 2020-09-21 21:56:14 | 2020-09-21 21:56:14 |
+----+-------------------------------------------------------------------------------------------------------------------------------------------------+------------+------------+---------------------+---------------------+
3 rows in set (0.00 sec)
取得できていますね。
これを定期実行すれば有効期限問題は解消できそうです。
参考: Laravelのタスクスケジュール(cron)を使いこなす
などを参考に有効期限の60日が来る前に定期的にトークンを更新するように設定しましょう
scheduleの追加&cron設定
今回はschedule に追加する形で実装していこうと思います。
schedule ではなくそのままphp artisan instagram:refreshこのコマンドをcron設定してもいいと思います。
scheduleにコマンドを追加することでcron設定を一個に済ませることができます
今回は実行するコマンドが一個なのであんまり恩恵はないかもしれませんが練習も兼ねてやろうと思います。
# エディタが開く
$ crontab -e

# * * * * *  左から「分」「時」「日」「月」「曜日」
# 分 0-59
# 時 0-23
# 日 1-31
# 月 1-12
# 曜日 0-7 (0または7は日曜日)
# * * * * * で毎分

# 下記の行を開いたエディタに追加
* * * * * cd [プロジェクトのパス] && php artisan schedule:run >> /dev/null 2>&1
スケジュールへの登録
    /**
     * Define the application's command schedule.
     *
     * @param  \Illuminate\Console\Scheduling\Schedule  $schedule
     * @return void
     */
    protected function schedule(Schedule $schedule)
    {
      // 5分ごとに実行
      $schedule->command('instagram:refresh')
                ->everyFiveMinutes();
    }
mysql> select * from instagram_tokens;
+----+--------------------------------------------------------------------------------------------------------------------------------------------------+------------+------------+---------------------+---------------------+
| id | access_token                                                                                                                                     | token_type | expires_in | created_at          | updated_at          |
+----+--------------------------------------------------------------------------------------------------------------------------------------------------+------------+------------+---------------------+---------------------+
|  8 |トークン   | bearer     |    5156672 | 2020-09-22 03:35:01 | 2020-09-22 03:35:01 |
|  9 |トークン  | bearer     |    5156371 | 2020-09-22 03:40:01 | 2020-09-22 03:40:01 |
+----+--------------------------------------------------------------------------------------------------------------------------------------------------+------------+------------+---------------------+---------------------+
ちゃんと設定通りに定期実行されていますね
簡単な表示画面を作成します
<?php

namespace App\Http\Controllers;

use Illuminate\Http\Request;

class InstagramController extends Controller
{
  public function index ()
  {
    return view('instagram');
  }
}
<html>
  <head>
    <title>HelloWorld</title>
  </head>
  <body>
    <h1>HelloWorld!</h1>
  </body>
</html>
サーバー起動
$ php artisan serve
http://127.0.0.1:8000/instagram
アクセスできればOK
投稿した画像を取得
<?php

namespace App\Http\Controllers;

use Illuminate\Http\Request;
use App\InstagramToken;

class InstagramController extends Controller
{
  public function index ()
  {
    $baseUrl = "https://graph.instagram.com/me/media?";

    // アクセストークン取得
    $instagramToken = InstagramToken::select('access_token')->latest()->first();
    $accessToken = env('INSTAGRAM_TOKEN');

    if ($instagramToken->access_token) {
      $accessToken = $instagramToken->access_token;
    }

    // パラメーター設定
    $params = array(
      'fields' => implode(',', array('id','caption','permalink','media_url','thumbnail_url')),
      'access_token' => $accessToken
    );

    //curlセッション初期化
    $ch = curl_init();

    curl_setopt($ch, CURLOPT_URL, $baseUrl . http_build_query($params));
    curl_setopt($ch, CURLOPT_RETURNTRANSFER, true);

    $responseText = curl_exec($ch);
    $result = json_decode($responseText, true);

    //セッション終了
    curl_close($ch);

    return view('instagram', [
      'mediaData' => $result['data'],
      'paging' => $result['paging']
    ]);
  }
}
投稿した画像を表示
<html>
  <head>
    <title>HelloWorld</title>
  </head>
  <body>
    @foreach ($mediaData as $media)
      <a href="{{$media['permalink']}}" target="_brank" rel="noopener">
        <img src="{{$media['media_url']}}" width="100px" alt="{{$media['caption']}}">
      </a>
    @endforeach
  </body>
</html>
結果

最後に
実装方法について
Laravelでcommandを作成し、定期実行すると言うのは初めてだったので結構楽しかったです。アクセストークンは定期実行、投稿の取得は毎回APIを実行という方法を今回取っていたのですが、
APIリクエストの節約の為に1日1回夜中に投稿を取得するようにし,その結果をjsonファイルとして出力,またはDBに保存するなどすればリクエスト数を節約出来ると思いました。
もっとこう言う良い方法ある等あれば教えてもらえると嬉しいです。
Instagram Basic Display APIについて
自分のブログなどにインスタで投稿したものを表示させたいなら、Instagram Basic Display APIで十分そうですね。今回は「InstagramのAPI使いたい!」と思ってやったのですが,よくよく考えたら僕自身が映える写真を投稿しているアカウントを持っていなかったので,今回のAPIだといい感じの写真が表示されませんでした。。。