はじめに
k8s素人が調子に乗って(この記事読んで)、k3sを触ってみました。
上記以外にも、Qiitaでk3sをいじってる記事を参考にしながら動かしみてます。
まずは起動
準備
1台でもできるみたいですが、とりあえず、サーバを2台用意します。
1台はk3sサーバ、1台はエージェント用。
インストール
ここから最新版を持ってきます。
試したときは 0.1.0 だったんですが、気が付いたら 0.2.0 になってますね・・・
サーバ起動
k3sサーバ用のマシンにログインして、Quick startに書いてある通り、サーバを起動します。
# k3s server &
起動が落ち着いたら、エージェントから接続するときに使うトークンを確認しておきます。
# cat /var/lib/rancher/k3s/server/node-token
エージェント起動
エージェント用サーバにログインして、エージェントを起動します。
# k3s agent --server https://myserver:6443 --token ${NODE_TOKEN} &
${NODE_TOKE}部分は、サーバ起動で確認したトークンで置き換えます。
これで準備完了です。k8sはいろいろ大変と聞いてて手を付けてなかったんですが、ずいぶんあっさりしてますね。
アプリケーションのデプロイと公開
deploymentの作成
では、さっそくアプリケーションをデプロイしてみます。だいたいNginxが例としてでてくるので、それにならってみます(Nginx、F5に買収されたんですねぇ・・・)。
こんな感じの設定ファイルを作って、
apiVersion: apps/v1
kind: Deployment
metadata:
   name: nginx-deployment
   labels:
     app: nginx
spec:
   replicas: 1
   selector:
     matchLabels:
       app: nginx
   template:
     metadata:
       labels:
         app: nginx
     spec:
       containers:
       - name: nginx
         image: nginx:latest
         ports:
         - containerPort: 80
デプロイ
いざデプロイ。
# k3s kubectl create -f deployment-nginx.yaml
deployment.apps/nginx-deployment created
できたようなので、確認してみます。
# k3s kubectl get deployment
NAME               READY   UP-TO-DATE   AVAILABLE   AGE
nginx-deployment   1/1     1            1           16s
アプリケーションのデバッグ
デプロイはできましたが、ちゃんと接続できるか確認してみます。
まずは、deploymentに紐づけられたpodを確認します。
# k3s kubectl get pods
NAME                               READY   STATUS    RESTARTS   AGE
nginx-deployment-6574bd76c-fc5sv   1/1     Running   0          7m12s
podに外部からアクセスできるように、port-forwardします。
# k3s kubectl port-forward nginx-deployment-6574bd76c-fc5sv 8080:80
Forwarding from 127.0.0.1:8080 -> 80
Forwarding from [::1]:8080 -> 80
別のコンソールから、8080番ポートにアクセスしてみると、
# curl http://localhost:8080
<!DOCTYPE html>
<html>
<head>
<title>Welcome to nginx!</title>
<style>
     body {
         width: 35em;
         margin: 0 auto;
         font-family: Tahoma, Verdana, Arial, sans-serif;
     }
</style>
</head>
<body>
<h1>Welcome to nginx!</h1>
<p>If you see this page, the nginx web server is successfully installed and
working. Further configuration is required.</p>

<p>For online documentation and support please refer to
<a href="http://nginx.org/">nginx.org</a>.<br/>
Commercial support is available at
<a href="http://nginx.com/">nginx.com</a>.</p>

<p><em>Thank you for using nginx.</em></p>
</body>
</html>
port-forwardしているコンソールには、
Handling connection for 8080
と出て、アクセスできていることがわかります。
サービスとして公開
それでは、サーバ外からもアクセスできるようにしてみます。
# k3s kubectl expose -f deployment-nginx.yaml --external-ip=<サーバのIP>
service/nginx-deployment exposed
できたっぽいですね。
# k3s kubectl get svc
NAME               TYPE        CLUSTER-IP      EXTERNAL-IP     PORT(S)   AGE
kubernetes         ClusterIP   10.43.0.1       <none>          443/TCP   6d20h
nginx-deployment   ClusterIP   10.43.120.251   <サーバのIP>   80/TCP   26s
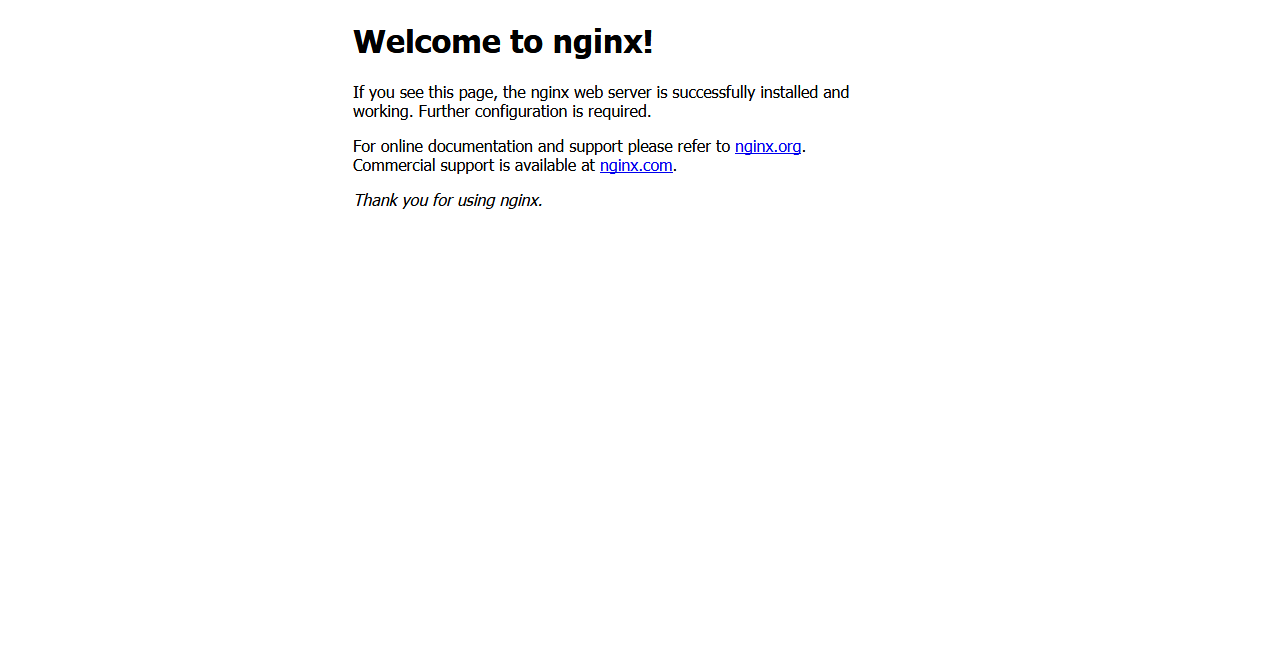
では、実際にアクセスしてみます。
行けました!
さいごに
食わず嫌いだったk8sですが、k3sのおかげでいろいろと遊べそうです。
てか、去年かった「入門 Kubernetes」がやっと役に立った・・・
#今度は「Kubernetes完全ガイド」買おう。→買った!
