1.venvとは?
Pythonで仮想環境といえば標準モジュールの「venv」が有名です。
2.仮想環境の作り方・venvの使い方
・テキストエディタはVisual Studio Code
・WindowsはPowerShellでコマンド操作
①プロジェクトディレクトリの作成

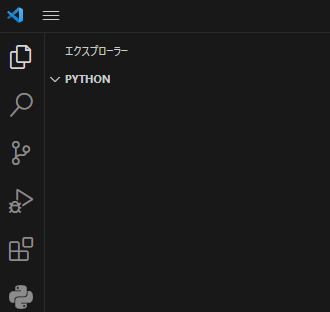
isual Studio Code 画面左に作業ディレクトリ名「python」

②Pythonのバージョンを選ぶ
> python3 -V
Python 3.10.11
③新しい仮想環境の作成
> python3 -m venv env_py
もしくは コマンド
python -m venv env_py
④仮想環境の有効化
# ④-1 Windows
env_py\Scripts\Activate.ps1

コマンド実行後は、コマンドラインの冒頭に仮想環境名が表示されています。
これで仮想環境が有効になりました。
⑤パッケージのインストール
pip install pandas
「Successfully installed…」とインストールが完了した旨が表示されます。
黄色のWARNIGは、「使用しているpipのバージョンが古いですよ。アップデートしましょう」という警告文です。警告文内にある「python.exe -m pip install --upgrade pip」を実行しておくと解消されます。
⑥仮想環境のコピー
作成した仮想環境を別のプロジェクトでも使いたい場合は、仮想環境フォルダ(env_py)をコピーし、別のプロジェクトフォルダ内に貼り付ければ仮想環境を利用できます。
仮想環境にインストールしたライブラリは、「requirements.txt」という決まった名称のファイルに記載することで管理します。
pip freeze > requirements.txt

そしてrequirements.txtを別のフォルダ(今回はフォルダ名:TEST_pythons)に貼り付け、作業ディレクトリを移動。続いて以下のように「仮想環境作成」「仮想環境起動」「ライブラリのインストール」を実行します。

⑦仮想環境の無効化
deactivate
> pip3 list
Package         Version
--------------- -------
numpy           1.25.2
pandas          2.0.3
pip             23.2.1
python-dateutil 2.8.2
pytz            2023.3
setuptools      65.5.0
six             1.16.0
tzdata          2023.3
