kmainariのページネーションデザインをどうするかを考えたことがあるかと思います。テンプレートもあるので手軽に作ることもできますがオリジナルがいいなと思ったので今回はその作り方をアウトプットしていきます。
作成するページネーション↓

基本的にはstyleをあてるだけなので、もっとかっこいいものも作れますよ。
アプリ作成
rails _6.1.4.1_ new kaminari-design -d mysql
rails db:create
サーバーサイドの構築
scaffoldでサクッと作成していきます。
rails g scaffold post title:string
rails db:migrate
初期データの投入
100.times do |i|
  Post.create!(
    title: "title#{i + 1}"
  )
end
rails db:seed
これで100個のデータが投入されます。
viewで確認
http://localhost:3000/posts
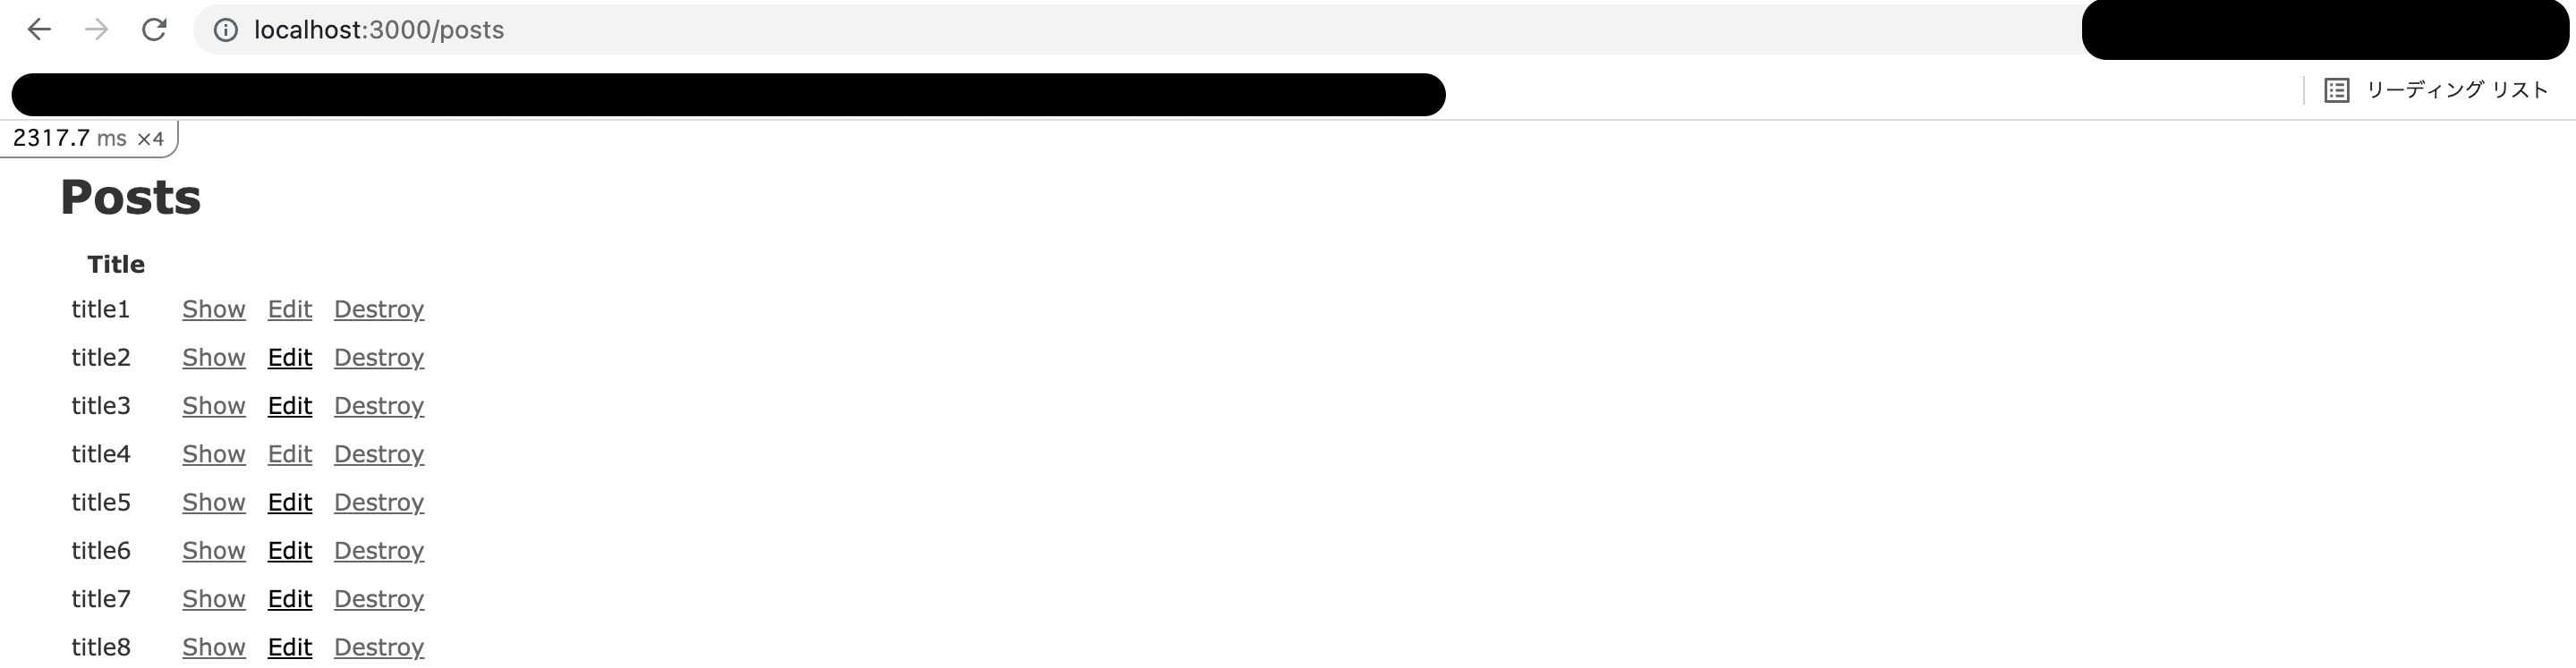
title100までできていることが確認できるかと思います。
kaminari導入
gem 'kaminari'
bundle install
ページベーションの適用
以下のファイルを編集します。
def index
  @posts = Post.all.page(params[:page]).per(5)
end
<p id="notice"><%= notice %></p>

<h1>Posts</h1>

<table>
  <thead>
    <tr>
      <th>Title</th>
      <th colspan="3"></th>
    </tr>
  </thead>

  <tbody>
    <% @posts.each do |post| %>
      <tr>
        <td><%= post.title %></td>
        <td><%= link_to 'Show', post %></td>
        <td><%= link_to 'Edit', edit_post_path(post) %></td>
        <td><%= link_to 'Destroy', post, method: :delete, data: { confirm: 'Are you sure?' } %></td>
      </tr>
    <% end %>
  </tbody>
</table>

<%# 追記 %>
<%= paginate @posts %>

<br>

<%= link_to 'New Post', new_post_path %>
http://localhost:3000/posts
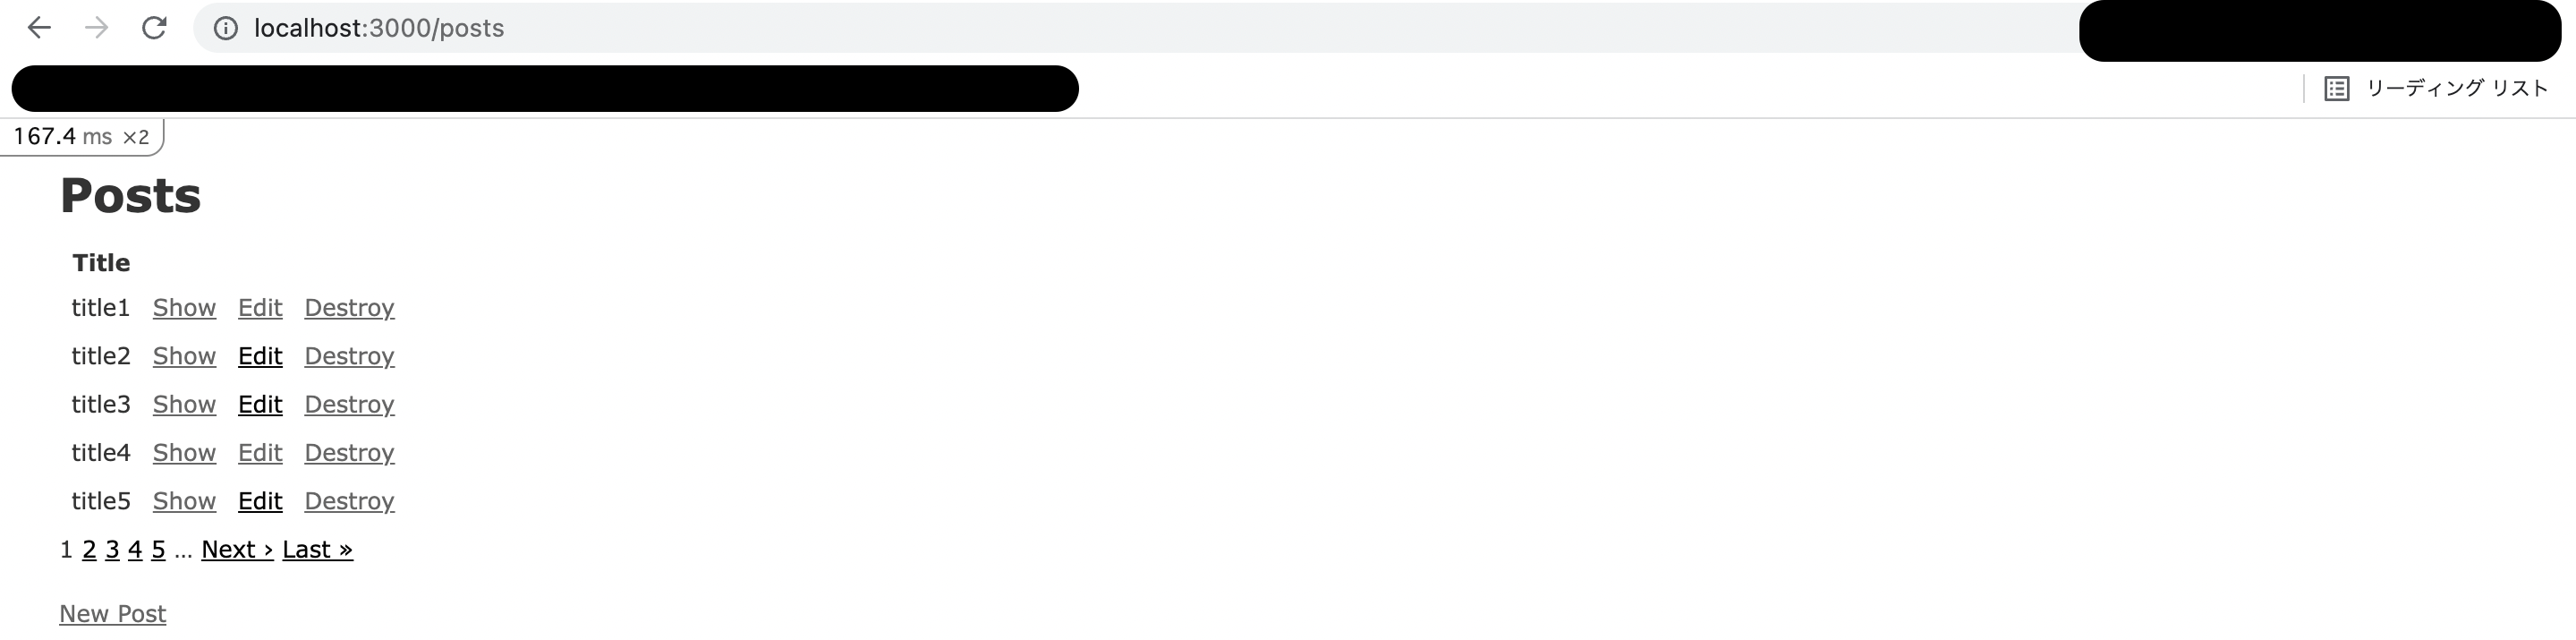
どうでしょうか。これでkaminariの導入が完了です。
ではデザインを適用していきましょう!
次からが肝になってきます。
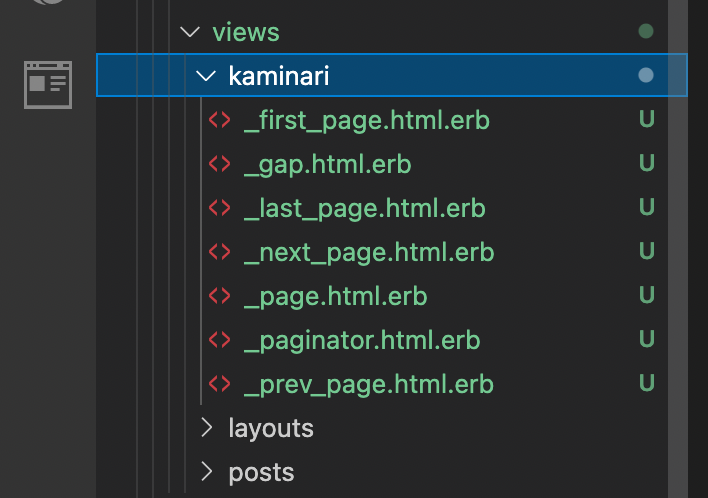
kaminariのviewファイルを作成
rails g kaminari:views default
以下のファイルが作成されるはずです。
オリジナルデザインの作成

viewと比べてみると
| First | Prev | 数字 | ... | Next | Last | 現在のページ | ページネーション本体 |
--- | --- | ----- | ---- | --- | --- | ---- | --- | --- |
class名 | first | prev | page | gap | next | last | cuurent | pagination |
というようにclass名が適用されています。なのでcssでstyleを当てればオリジナルデザインの作成が完了します。
kaminari.cssを以下のフォルダ内に作成し、記述していきましょう!
.pagination{
  width: fit-content;
  margin: 25px auto;
  font-size: 0.8rem;
  line-height: 2rem;
}

.first a,
.prev a,
.page a,
.next a,
.last a{
  color: #000000;
  text-decoration: none;
  padding: 5px;
  border: 1px solid #000000;
}

.first a:hover,
.prev a:hover,
.page a:hover,
.next a:hover,
.last a:hover{
  border: 1px solid #ffffff;;
  background-color: #000000;
  color: #ffffff;
}

span.current{
  color: #777777;
}
こうすることで以下のようになります。(現在ページ7、カーソル位置5)
以上でオリジナルデザインのページネーションが完了しました!