YOLOv4(Darknet) で異常部位の Object Detection

実行環境
- Google Colab(2020 年 9 月現在)
データセット
MVTec Anomaly Detection Dataset (MVTec AD) を使用します。
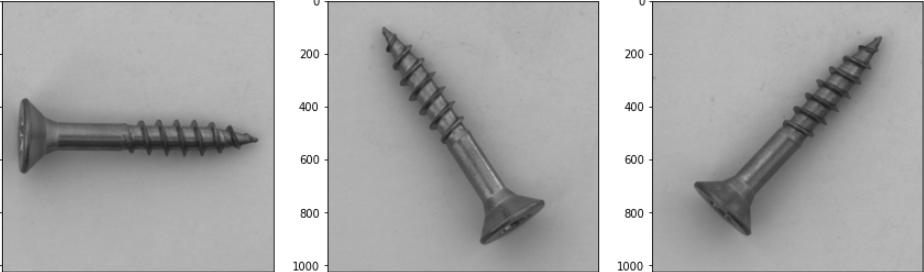
screw(ネジ)のデータを使用します。
- train : good(異常なし良品)
- test : 不良品
- good
- thread_top
- thread_side
- scratch_neck
- scratch_head
- manipulated_front
本来は良品のみで学習させるためのデータセットですが、test に用意されている不良品データを学習にも使用してモデルを作成したいと思います。
(製造ラインで不良品が滅多にでないことは重々承知。)
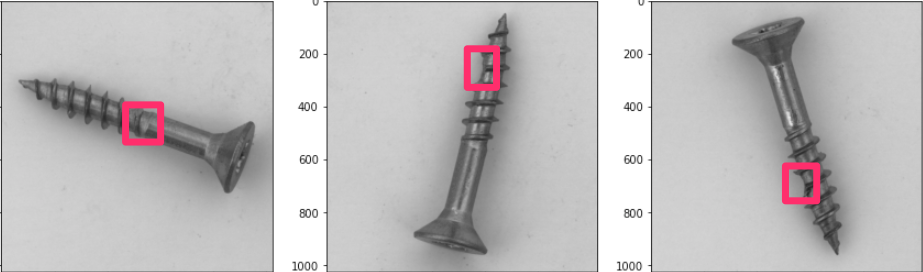
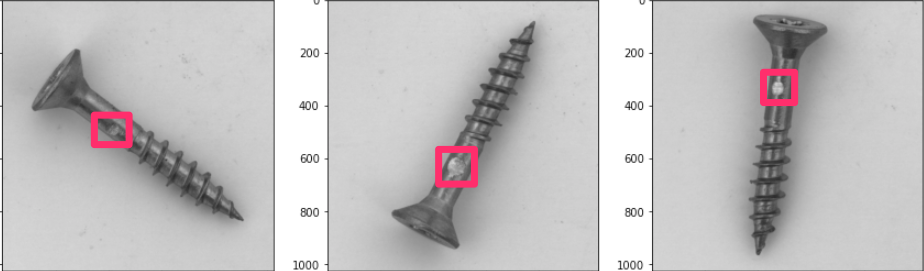
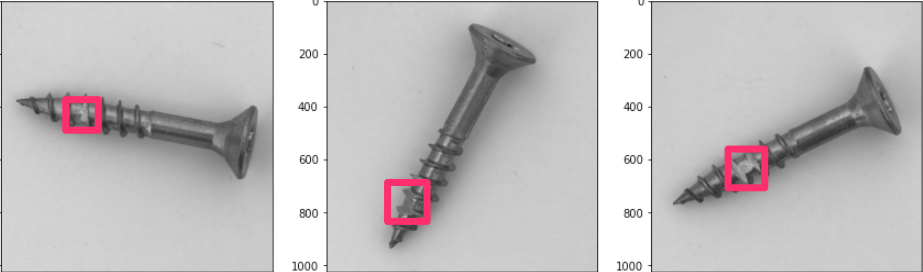
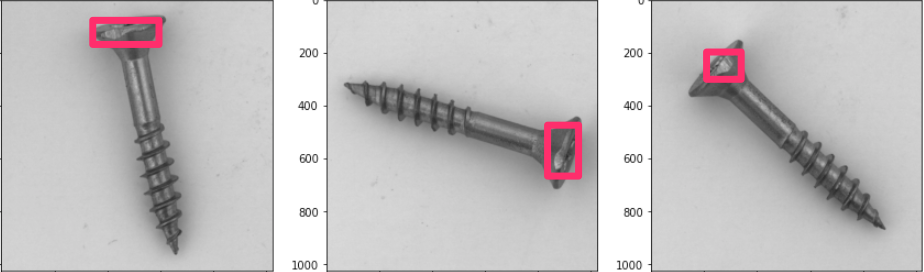
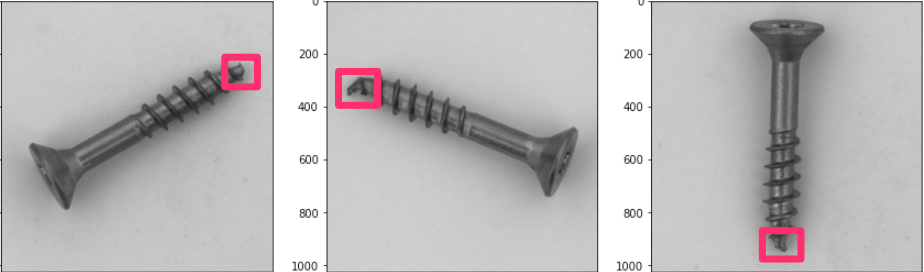
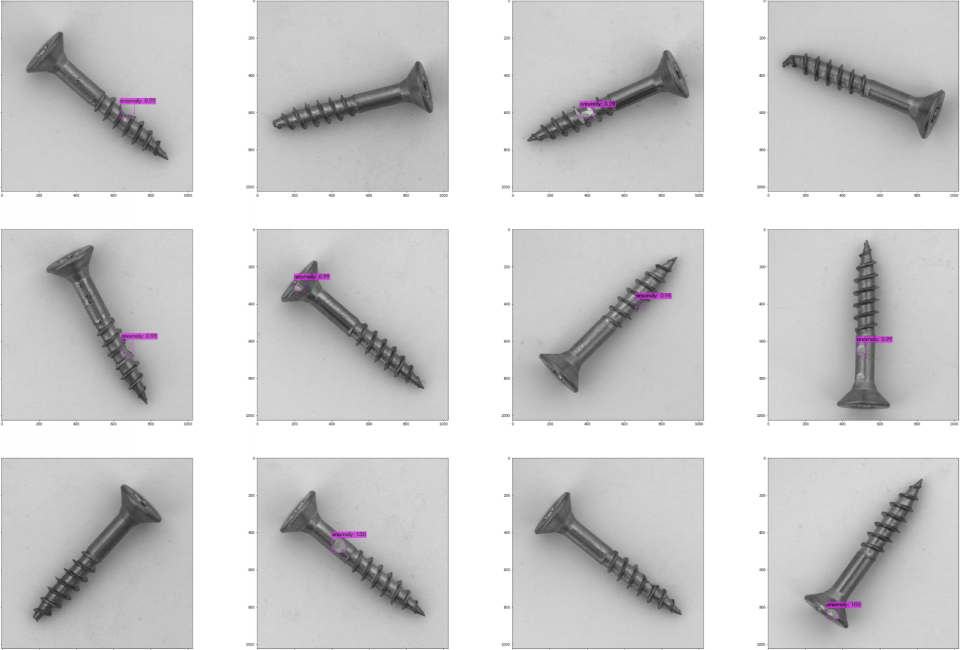
傷の種類は分けず全て anomaly としてラベル付けしました。
このような画像データです。(傷部分にマークつけてます。)
アノテーション
割愛します。
VOTT を使って PascalVOC 形式から YOLO 形式へ変換を行いました。
簡単に説明すると、xml 形式から txt 形式に変換します。
また、
[ object-class x_center y_center width height ]
の順番かつ、ボックス座標は 0 ~ 1 に正規化された値でなければいけません。
こんな感じ。

モデル学習準備
下記 2 つを参考にして進めました。
特にこれに忠実に実装しました。
How to train (to detect your custom objects)
!git clone https://github.com/AlexeyAB/darknet
%cd darknet
重みの取得(YOLOv4)
ここからダウンロードして環境上にアップロードします。
How to train (to detect your custom objects)
raining Yolo v4 (and v3):
For training cfg/yolov4-custom.cfg download the pre-trained weights-file (162 MB): yolov4.conv.137 (Google drive mirror yolov4.conv.137 )
ここからオリジナルデータで学習させるための準備をしていきます。
custom というディレクトリで作業を進めることにしました。
!mkdir custom
%cd custom/
!mkdir data
!touch train.txt
!touch test.txt
!touch custom.data
!touch custom.names
!touch custom.cfg
!mkdir backup
-
data:画像データ + バウンディングボックスデータ -
train.txt:学習用画像データパス -
test.txt:テスト用画像データパス -
custom.data:各データ参照 -
custom.names:class 名(今回は 'anomaly' のみ) -
custom.cfg:モデル構造 -
backup:学習後の重みの保存場所
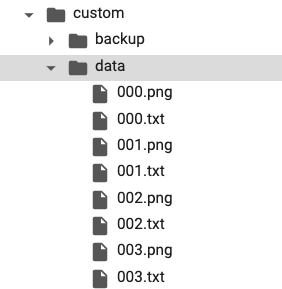
data フォルダに画像とアノテーション txt を配置します。
こんな感じ。
train.txt, test.txt に書き込み
# 画像パスの取得
from glob import glob
images = glob('custom/data/*.png')

# 学習用とテスト用に分割
n_train = int(len(images) * 0.8)
train = images[: n_train]
test = images[n_train :]

# train.txt, test.txt に書き込み
with open('custom/train.txt', 'w') as f:
    for line in train:
        f.write('%s\n' % line)

with open('custom/test.txt', 'w') as f:
    for line in test:
        f.write('%s\n' % line)
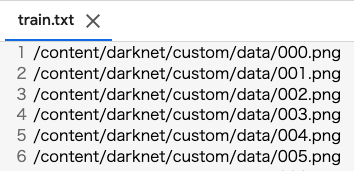
こんな感じになっているはず。(順不同で OK)
順番揃えたければ sorted(glob('')) で。
custom.data 作成
- classes:タスク(学習データ)に合わせて
- その他はパスを指定
classes = 1
train  = /content/darknet/custom/train.txt
valid  = /content/darknet/custom/test.txt
names = /content/darknet/custom/custom.names
backup = /content/darknet/custom/backup/
custom.names
- タスク(学習データ)に合わせて
anomaly
custom.cfg 作成
モデル構造のファイルです。
こちらは darknet/cfg/yolov4-custom.cfg をコピーしてきて必要箇所を書き換えましょう。
-
max_batchesを学習させたいデータの class 数(物体数)× 2000 にします。
ただし、最低 6000 。 -
stepsをmax_batchesの 80%, 90%
(今回は 'anomaly' 1 クラスなので max_batches = 1* 2000 = 2000 となるが 6000、steps = 4800, 5400)
earning_rate=0.001
burn_in=1000
max_batches = 6000
policy=steps
steps=4800,5400
scales=.1,.1
- タスクに合わせて
[yolo],[convolutional]変更 : 合計 6 箇所あります!! -
classes:物体数 -
filters:(class + 5 ) × 3
[convolutional]
size=1
stride=1
pad=1
filters=18
activation=linear


[yolo]
mask = 0,1,2
anchors = 12, 16, 19, 36, 40, 28, 36, 75, 76, 55, 72, 146, 142, 110, 192, 243, 459, 401
classes=1
num=9
jitter=.3
ignore_thresh = .7
truth_thresh = 1
scale_x_y = 1.2
iou_thresh=0.213
cls_normalizer=1.0
iou_normalizer=0.07
iou_loss=ciou
nms_kind=greedynms
beta_nms=0.6
max_delta=5
Make
darknet/Makefile の書き換え
GPU=1
CUDNN=1
CUDNN_HALF=1
OPENCV=1
AVX=0
OPENMP=0
LIBSO=0
ZED_CAMERA=0
ZED_CAMERA_v2_8=0
%cd /content/darknet
!make

# make 複数回してしまったらクリーンしてから !make
!make clean
学習
!./darknet detector train custom/custom.data custom/custom.cfg custom/yolov4.conv.137
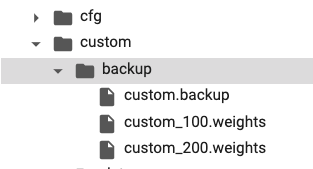
このように backup フォルダに重みが保存されていきます。
デフォルトでは、1000 回ごとに重みが保存されます。(画像は 100 回ごとにコードを変更しています。)
学習後はこの重みを使って推論を行います。
結果
loss が落ち着いたので 3500 エポックで終了しました。
テストデータに対して結果を確認します。(backup に保存されている _last.weights を使用します。)
!./darknet detector map custom/custom.data custom/custom.cfg custom/backup/custom_last.weights
| 24 |
| --- |
| detections_count = 23, unique_truth_count = 25 |
| class_id = 0, name = anomaly, ap = 79.28% | (TP = 16, FP = 0) |
| for conf_thresh = 0.25, precision = 1.00, recall = 0.64, F1-score = 0.78 |
| for conf_thresh = 0.25, TP = 16, FP = 0, FN = 9, average IoU = 76.83 % |
| IoU threshold = 50 %, used Area-Under-Curve for each unique Recall |
| mean average precision (mAP@0.50) = 0.792783, or 79.28 % |
| Total Detection Time: 2 Seconds |
テスト用の 24 枚に対して上記の結果です。まずまずの結果です。
2 秒で推論できているので、v4 速いのかな。
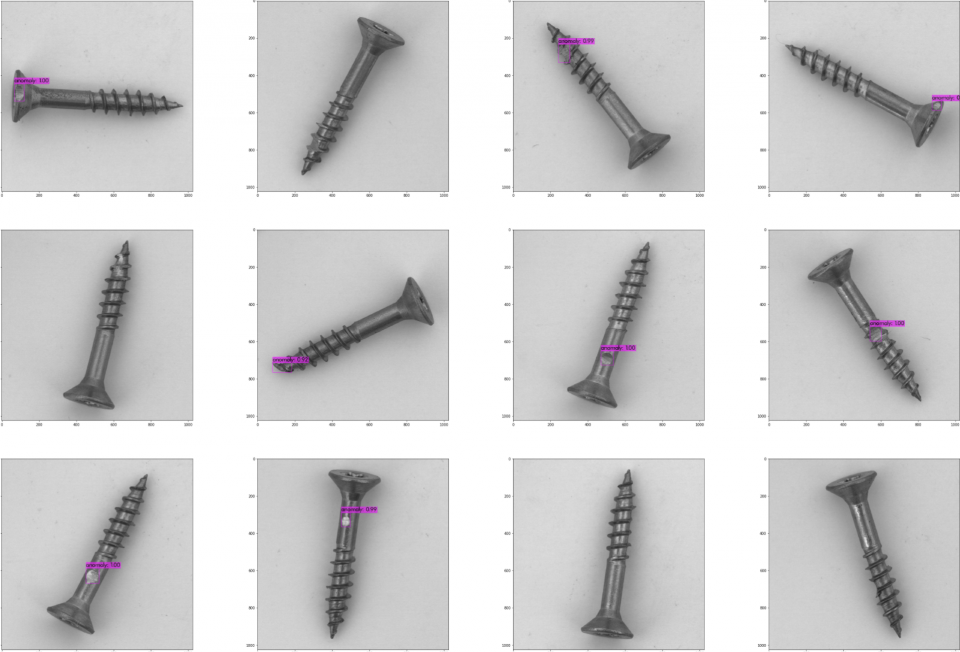
テスト 24 枚の結果
結果考察
検出したオブジェクトの信頼度は 0.99 付近で高い。
ネジの先端の曲がりなどは検出しにくかった。
そもそも先端の曲がりに、どうアノテーションすればよいのかわからない。
今回のデータ傷の場所や大きさ、形状が似たような物が多かったので
おそらく学習した 5 種類以外の傷に対しては検出できないはず。
ある意味過学習モデルな気がする。