ここでは、EV3とRaspberryPiの間でシリアル通信する方法を紹介します。
この方法を応用することで、RaspberryPiでEV3のセンサーを扱うことができたり、RaspberyPiのカメラを用いることで、カメラを使った制御をEV3で行うことができます。
使用するもの
- RaspberryPi3 Model B+
- SDカード:RaspberyPi用
- EV3Console
- データ通信が可能なUSBケーブル (TypeA to MicroB USB2.0)
- 教育版レゴ マインドストーム EV3
-
SDカード:EV3RT用
※灰色字のものは次章にて使用
1. RaspberryPiをインストールする
RaspberryPiの環境構築を行います。
今回はUbuntu MATE(18.04)を使用します。
Download

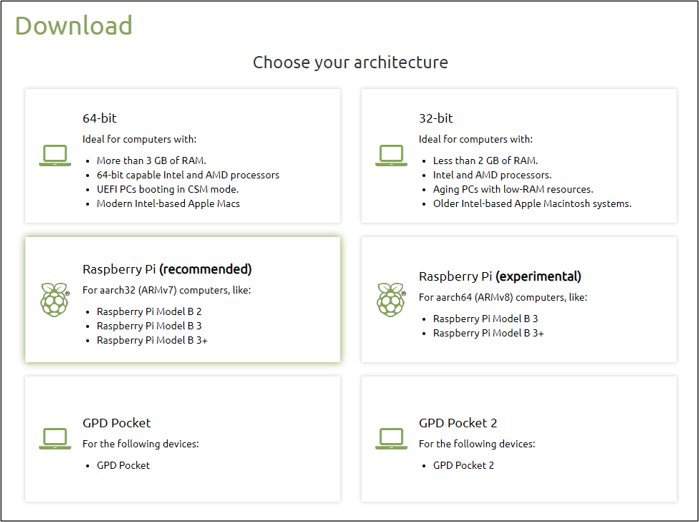
「Rapberry Pi(recommended)」を選択します。

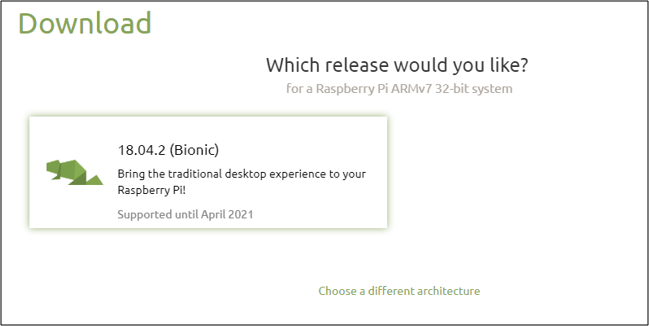
「18.04.2(Bionic)」を選択します。

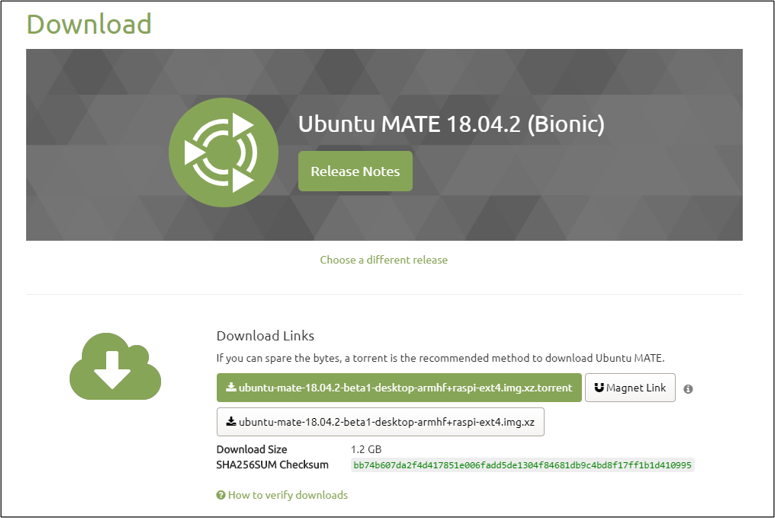
「ubuntu-mate-18.04.2-beta1-desktop-armhf+raspi-ext4.img.xz」を選択してダウンロードを行います。
任意の場所に解凍します。
お好きなイメージライターで、SDカードに解凍したイメージファイルを書き込みます。
※今回は「Win32DiskImager」を使用しました。
2. RaspberryPiにEV3を認識させる
RaspberryPiと EV3 を EV3Console を介して接続する際に RaspberryPi 側が接続
を認識するよう設定を行います。
EV3Console 用の USB デバイスの設定ファイルをviエディタで編集します。
User@linux:~$ cd /etc/udev/rules.d/
User@linux:~/etc/udev/rules.d/$ sudo vi 70-mindsensors-ev3-console.rules
USB デバイスの設定ファイルを編集します。
ACTION=="add", SUBSYSTEMS=="usb", ATTRS{idVendor}=="0403", ATTRS{idProduct}=="abb9", GROUP="users", MODE="0666", RUN+="/lib/udev/ev3console", SYMLINK+="ttyEV3"
EV3Console が RaspberryPi に接続された際に通知するスクリプトを作成します。
User@linux:~$ cd /lib/udev
User@linux:~/lib/udev/$ sudo vi ev3console
viエディタにて以下のように編集します。
# !/bin/sh

/sbin/modprobe ftdi_sio && \

echo 0403 abb9 > /sys/bus/usb-serial/drivers/ftdi_sio/new_id
作成したシェルスクリプトを実行します。
User@linux:~/lib/udev/$ sudo sh ev3console
USBシリアルポートへのアクセス権限を得るために、ユーザーを「dialout」グループに追加します。
User@linux:~$ sudo gpasswd -a $USER dialout
RaspberryPiとEV3consoleをUSBケーブルで接続します。
接続後、以下のコマンドを入力して、RaspberyPiがEV3consoleを認識していることを確認します。
2行目のような出力がでれば成功です。
User@linux:~$ ls -l /dev/ttyUSB0
crw-rw---- 1 root dialout 188, 0 MM月 DD 00:00 /dev/ttyUSB0
EV3とRaspberryPi間のシリアル通信方法_2 では、実際の通信方法の例を紹介します。
EV3とRaspberryPi間のシリアル通信方法_2