Ubuntu(RapsberrPi版) のダウンロード
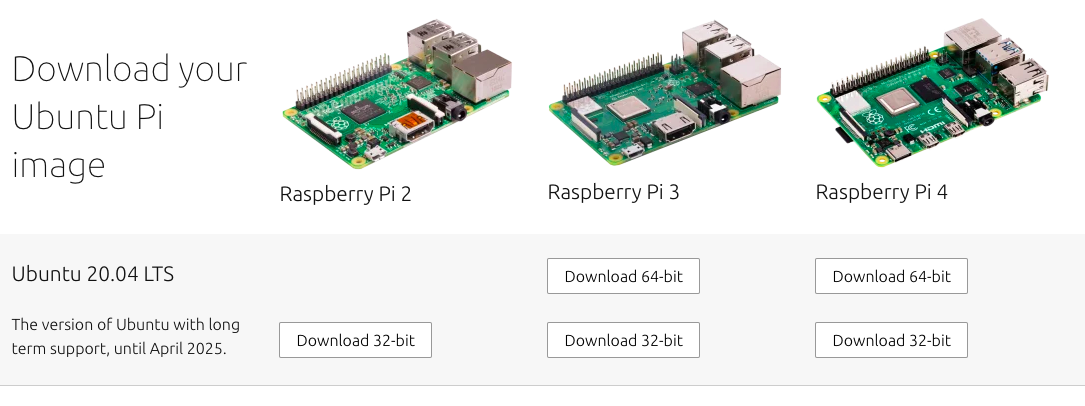
RaspberryPiのサイトではなく、以下からOSを入手します。
Install Ubuntu Server on a Raspberry Pi 2, 3 or 4 | Ubuntu
https://ubuntu.com/download/raspberry-pi
Raspberry Piは3か4でないと、Zoomの動作が厳しいです。
Ubuntu 20.04 LTS (Server)の64bit版をダウンロードしてください。
【PC】RaspberryPiのOSインストール
今回は Raspbian Buster with desktop and recommended software をインストールしました。(詳細手順は省略)
# SDを必ず確認すること
taguchi@MasamacAir ~ % diskutil list
/dev/disk0 (internal, physical):
   #:                       TYPE NAME                    SIZE       IDENTIFIER
   0:      GUID_partition_scheme                        *500.3 GB   disk0
   1:                        EFI EFI                     209.7 MB   disk0s1
   2:                 Apple_APFS Container disk1         301.0 GB   disk0s2
   3:       Microsoft Basic Data BOOTCAMP                199.1 GB   disk0s3

/dev/disk1 (synthesized):
   #:                       TYPE NAME                    SIZE       IDENTIFIER
   0:      APFS Container Scheme -                      +301.0 GB   disk1
                                 Physical Store disk0s2
   1:                APFS Volume Mac - Data              230.4 GB   disk1s1
   2:                APFS Volume Preboot                 83.4 MB    disk1s2
   3:                APFS Volume Recovery                528.1 MB   disk1s3
   4:                APFS Volume VM                      2.1 GB     disk1s4
   5:                APFS Volume Mac                     11.2 GB    disk1s5

/dev/disk2 (external, physical):
   #:                       TYPE NAME                    SIZE       IDENTIFIER
   0:     FDisk_partition_scheme                        *15.7 GB    disk2
   1:             Windows_FAT_32 NO NAME                 15.7 GB    disk2s1

# /dev/disk2がSDだった例
taguchi@MasamacAir ~ % diskutil unMountDisk /dev/disk2
Unmount of all volumes on disk2 was successful
taguchi@MasamacAir ~ % cd ~/Downloads
taguchi@MasamacAir Downloads % sudo dd if=ubuntu-20.04-preinstalled-server-arm64+raspi.img of=/dev/rdisk2 bs=1m
RaspberryPiの起動
更新やインストールで3G強のダウンロードができるネットワーク環境が必要です
送付先でモバイルルータ等を使う方も、設定作業では有線LAN/WiFiなど制限が無いネットワークを利用して下さい。
SDカードをRaspberyPiに挿入し、電源ケーブルを接続します
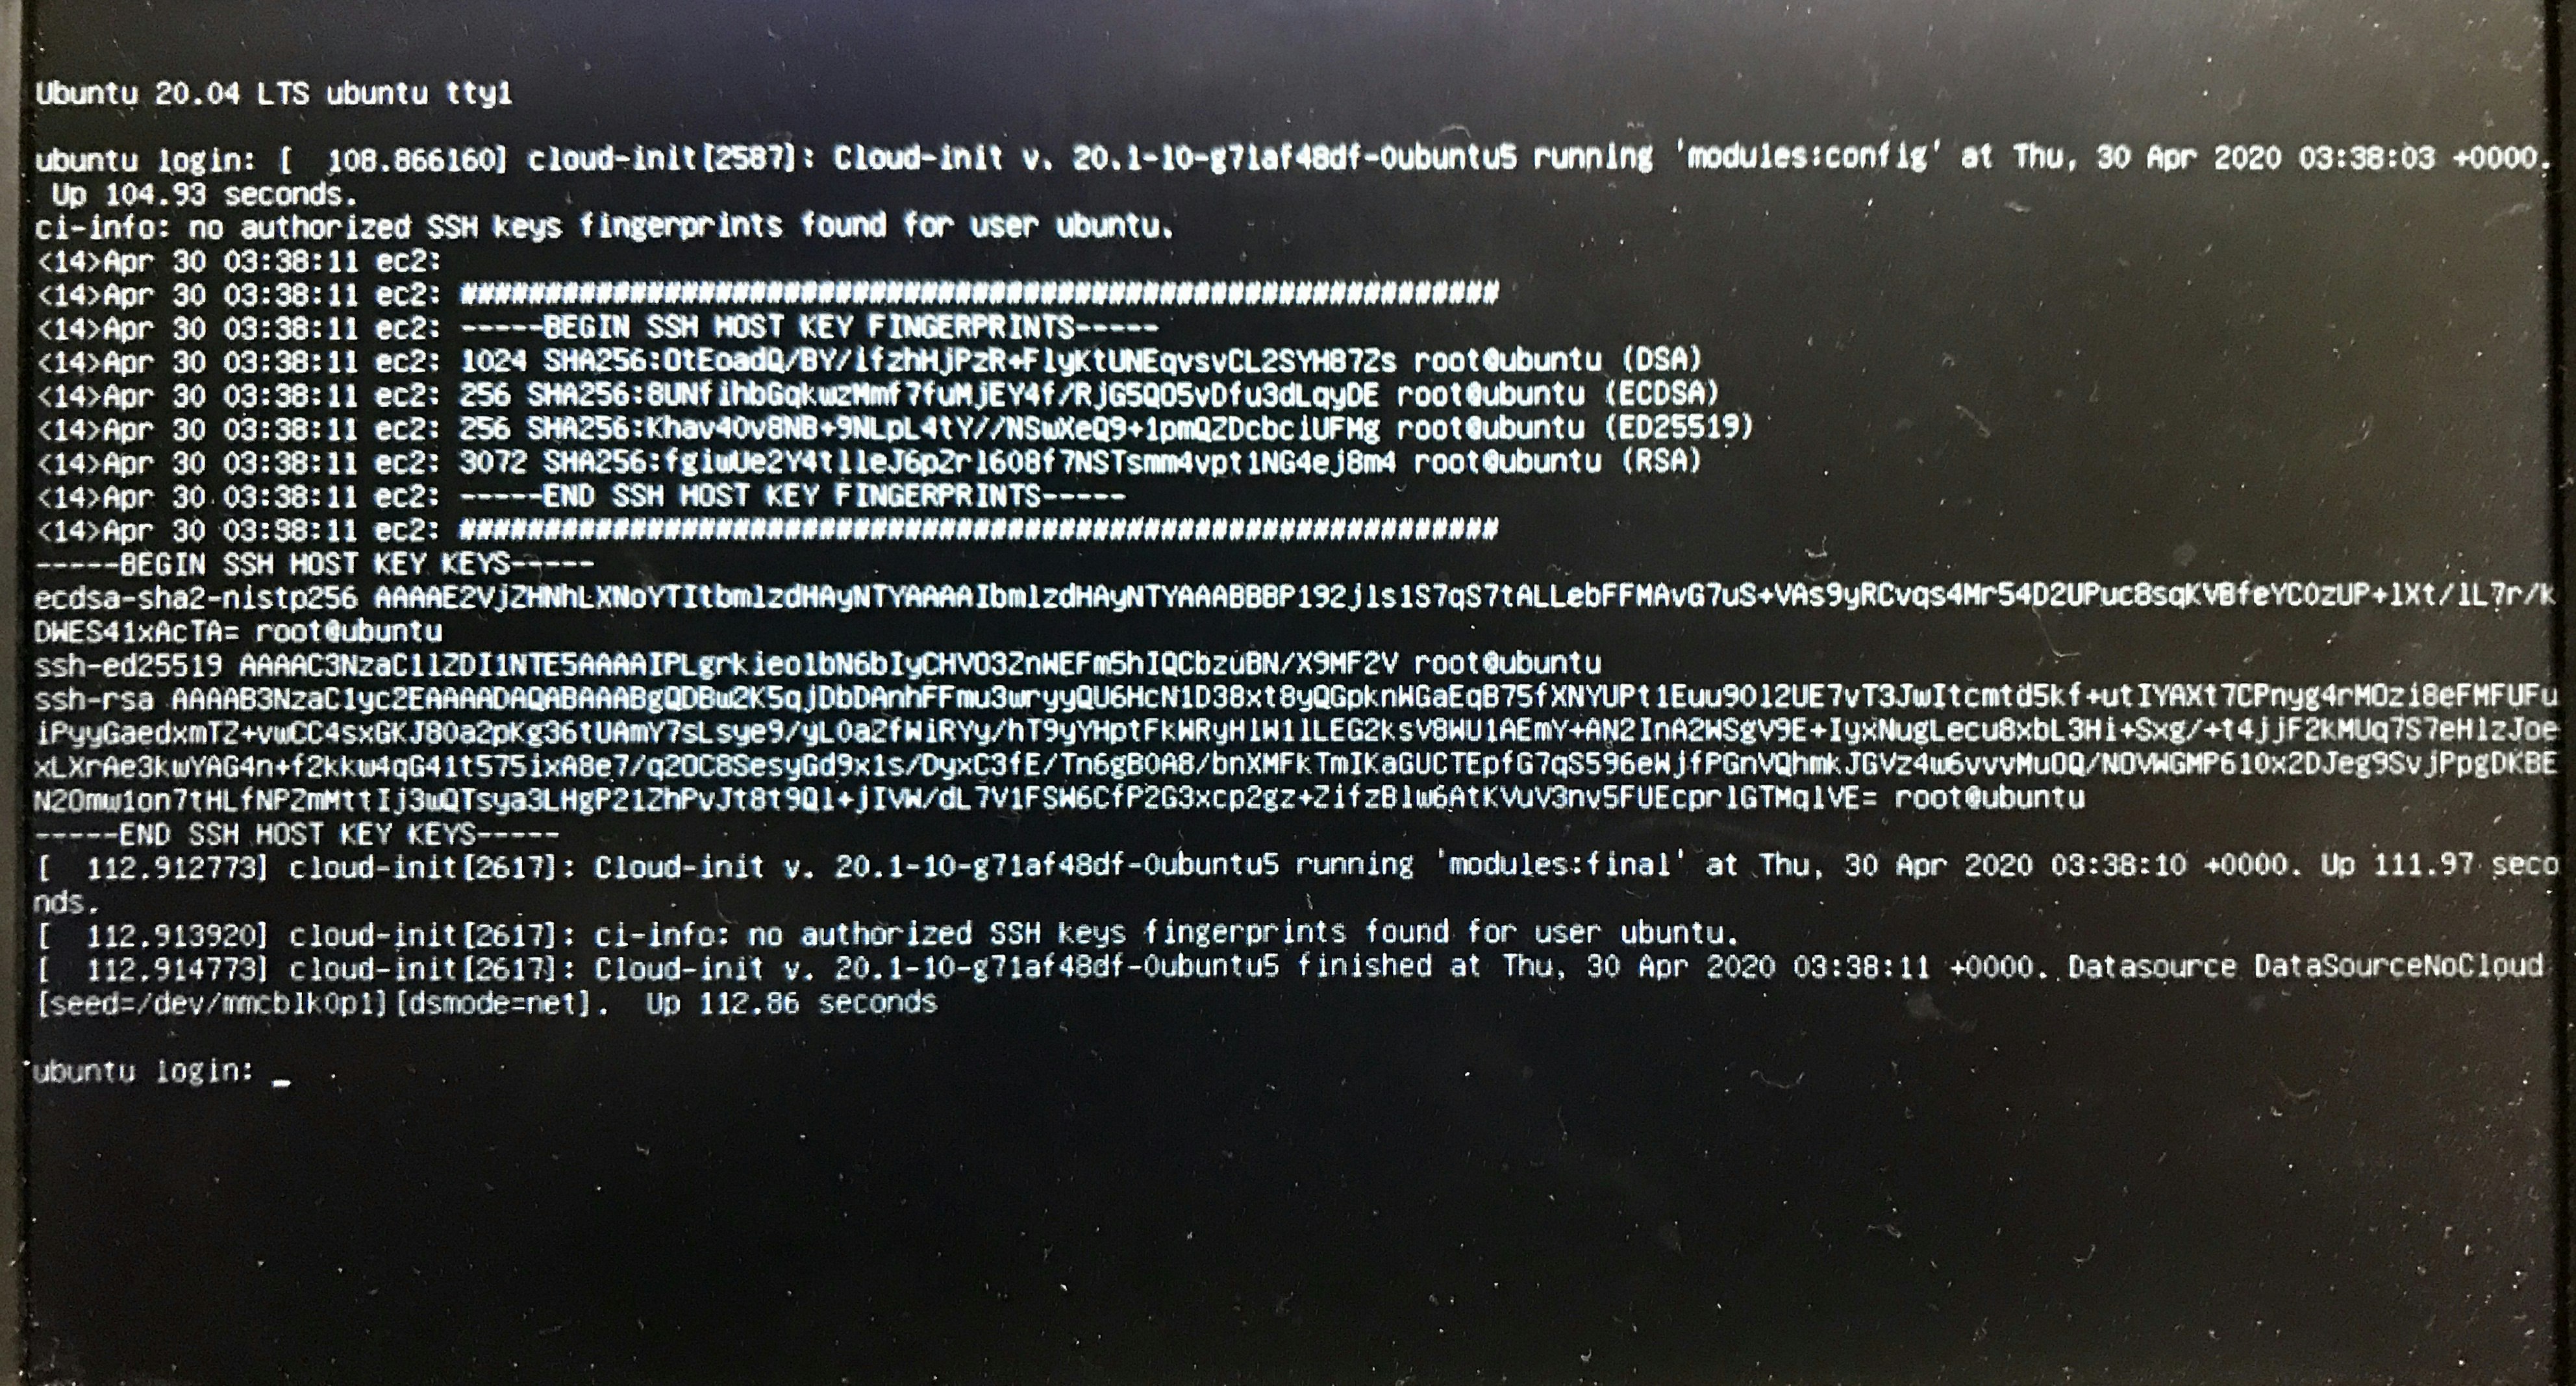
初回ログイン
起動後、ubuntu login: と表示されますので、デフォルトのユーザID ubuntu でログインします
ubuntu login:ubuntu
Password:ubuntu
Current password:ubuntu
New password:<新しいパスワードを入力>
Retype new password:<新しいパスワードを再入力>
Ubuntuの更新
sudo apt update
sudo apt upgrade
Ubuntu Mate(ディスクトップ環境)のインストール
インストール後はコンソール画面で文字表示しかできません、ディスクトップ(GUI)環境を表示するため Ubuntu Mate をインストールします。
3G程度のダウンロードが必要になります、ネットワークの状況により大きく変わりますが、1時間〜1晩程度かかります。
気長に待って下さい。
sudo apt install ubuntu-mate-desktop
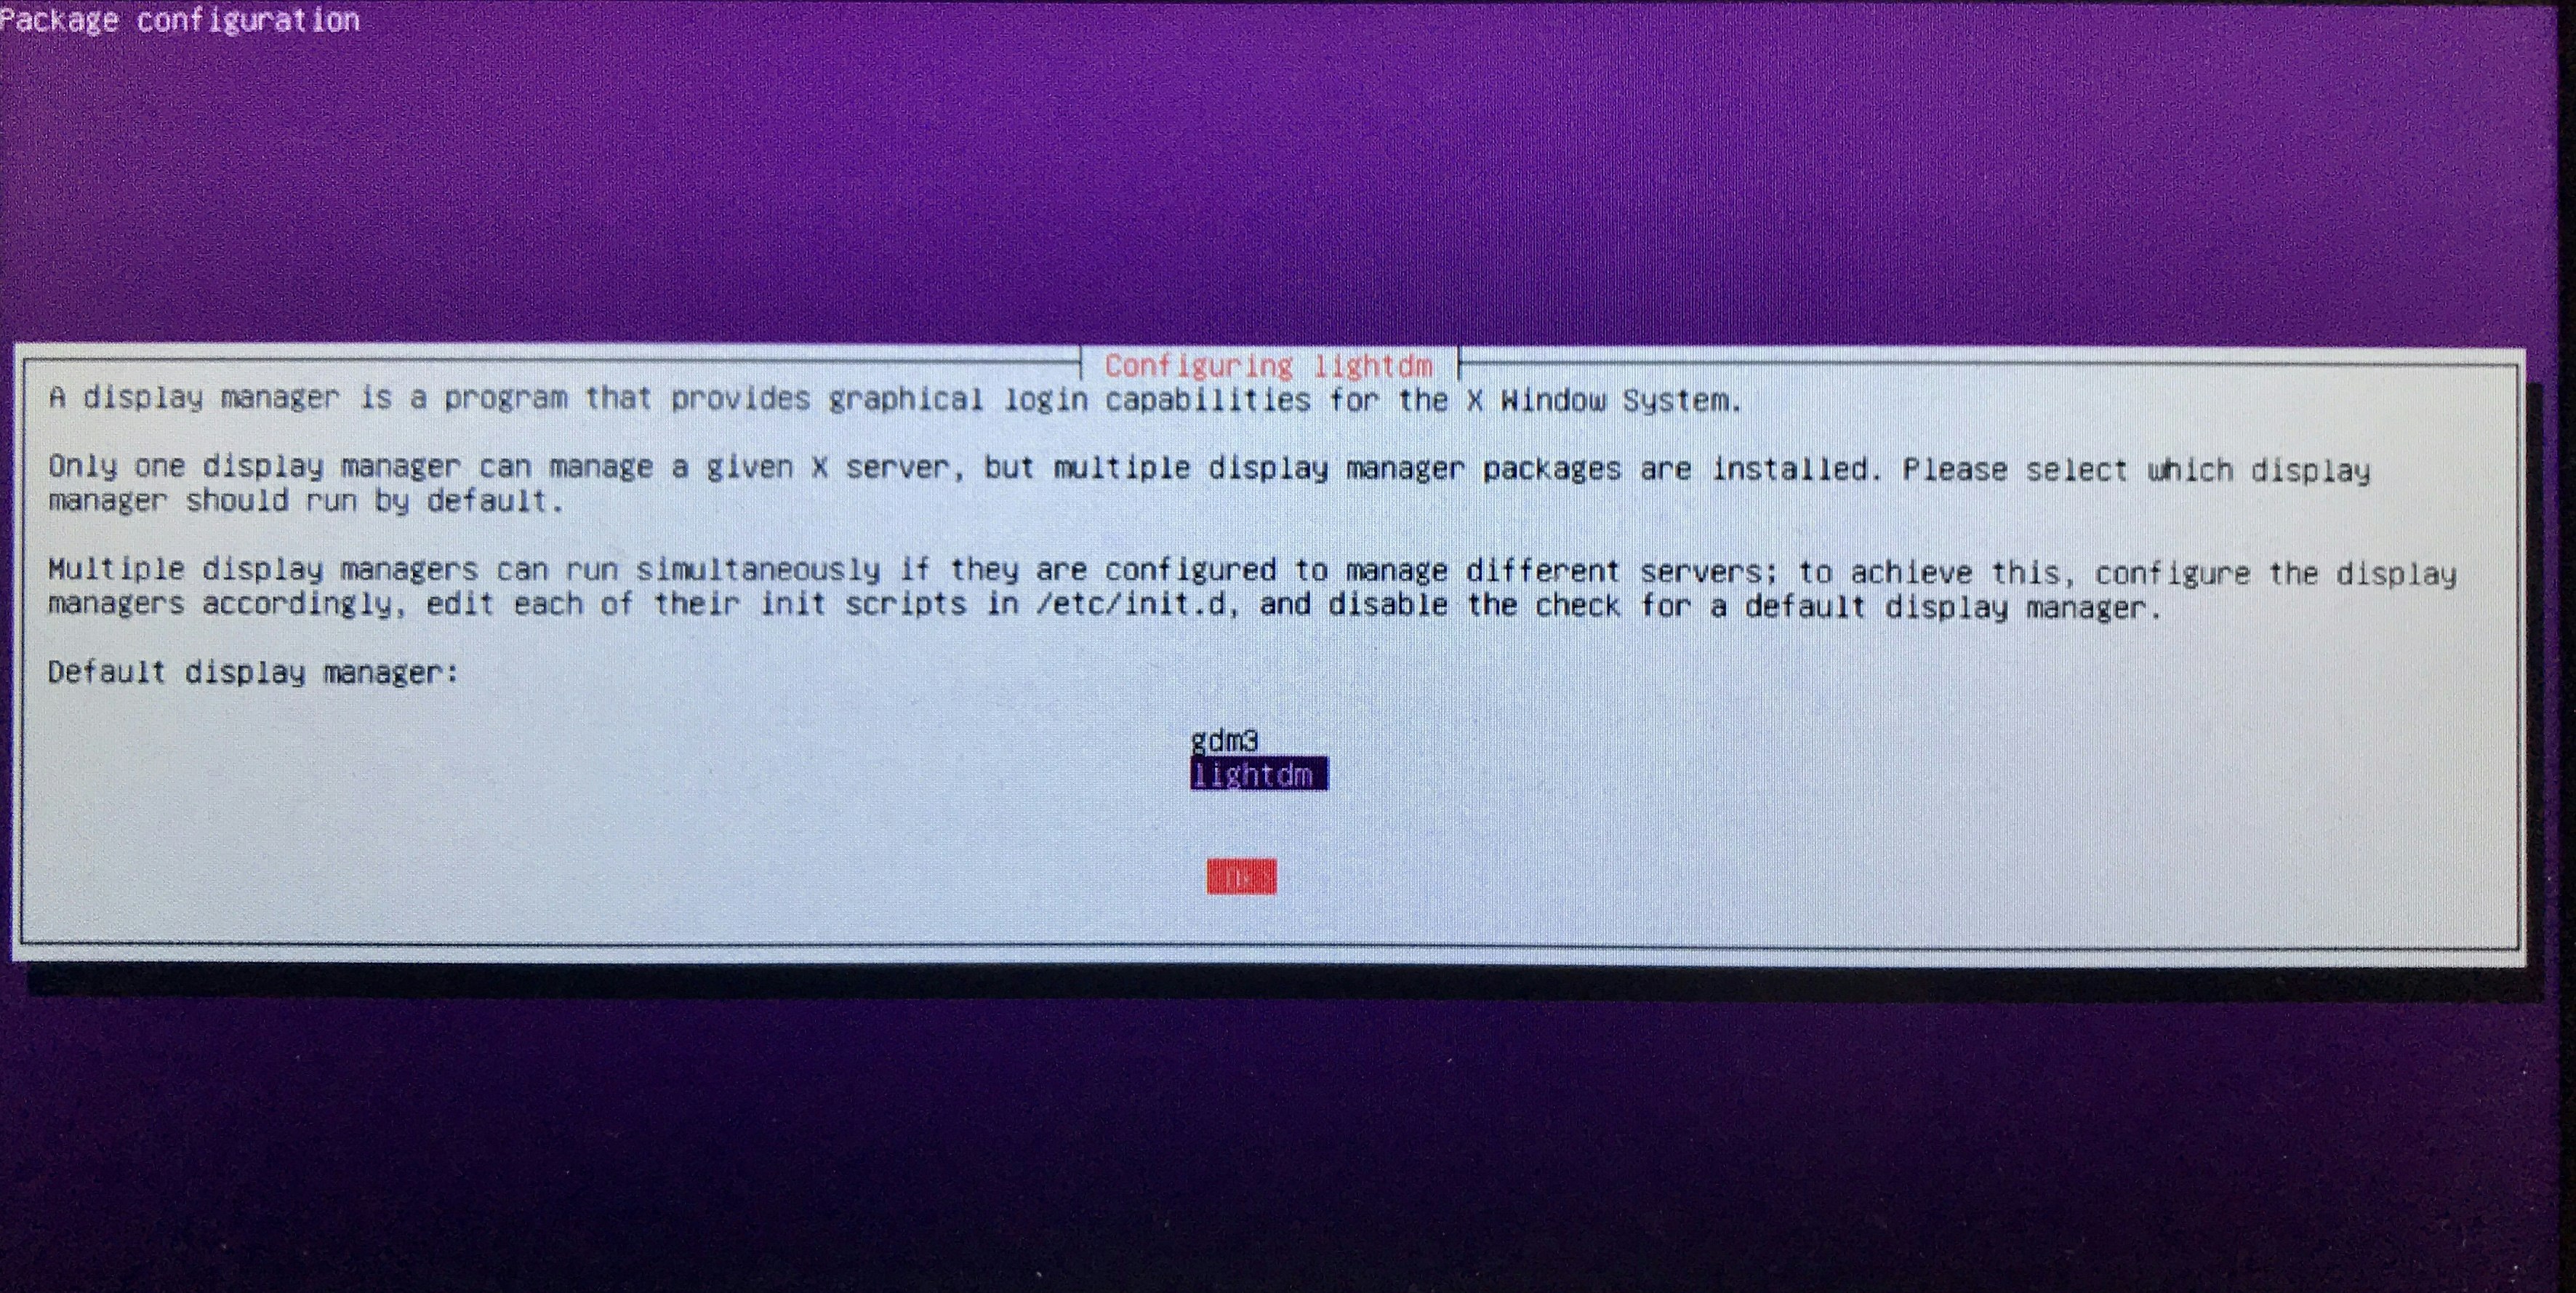
途中でディスプレイ・マネージャをどちらにするか聞かれます。
下のlightdmを選択しOKしてください。
キー入力としては 矢印下キー > tabキー(OKへ移動) > (下の画像の状態を確認し)enterキー です。
インストールが完了したら、再起動します。
sudo reboot
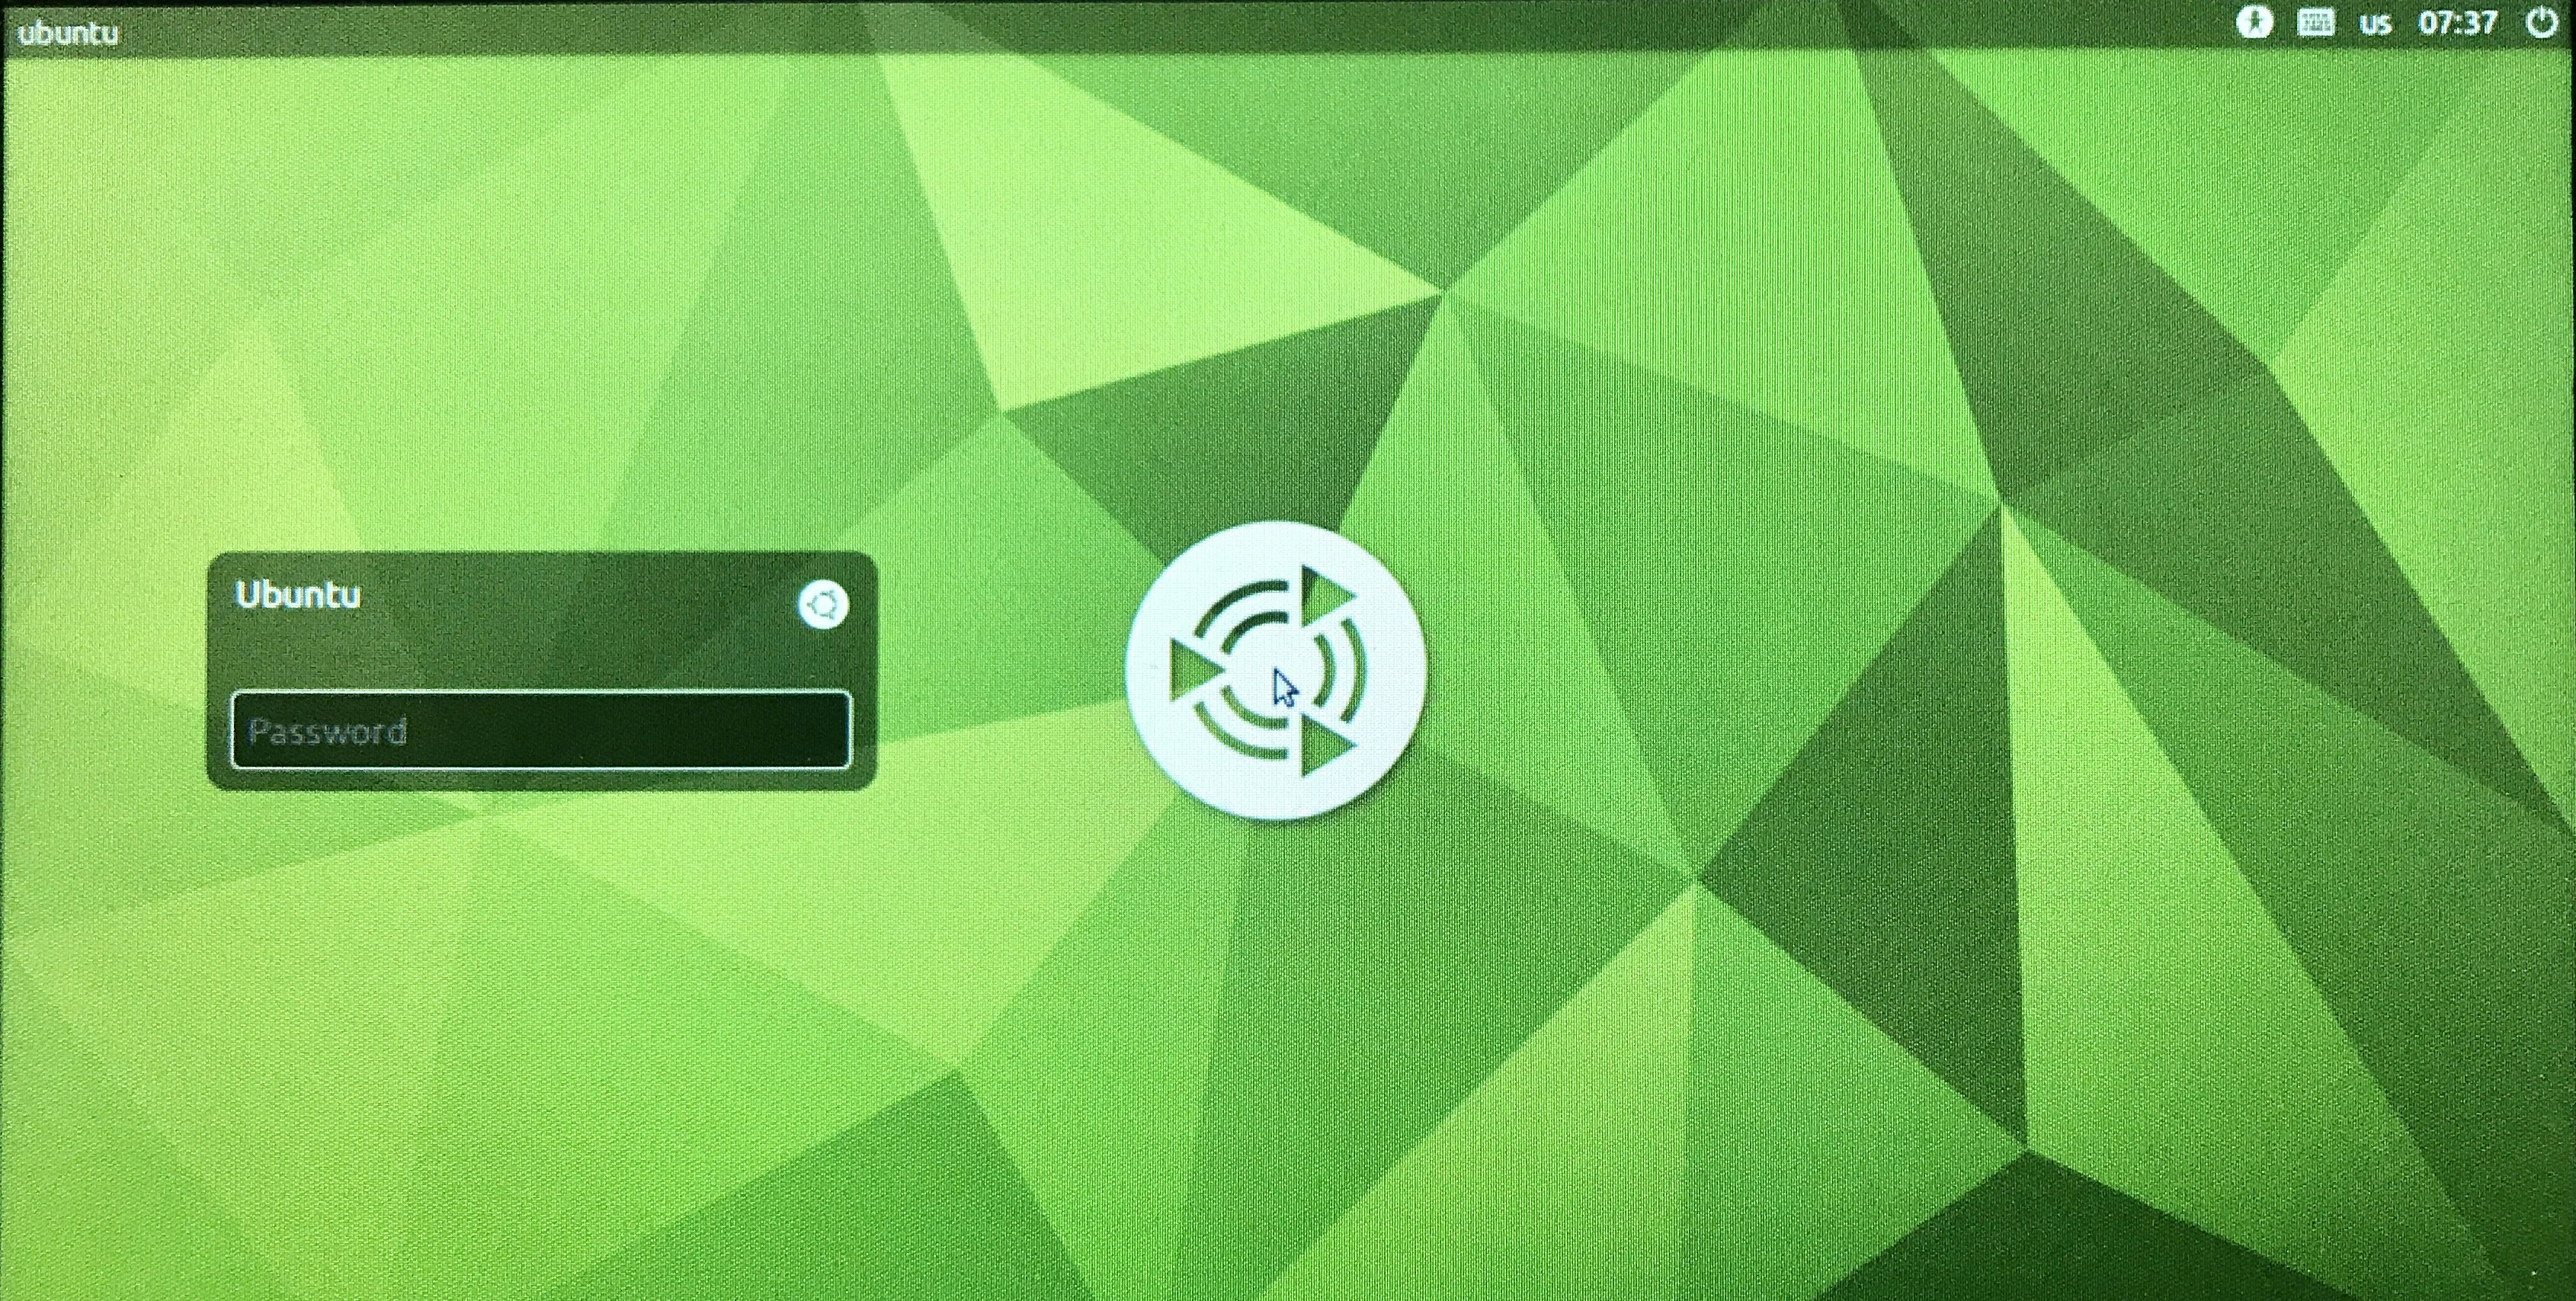
Ubuntu Mateのログイン
Ubuntu Mateのログイン画面が表示されます
インストール後はユーザ ubuntu しか設定されていませんので、そのままパスワードを入力してログインしてください
ターミナル MATE Terminal の起動方法
作業はターミナルアプリケーション、 MATE Terminal で行います。
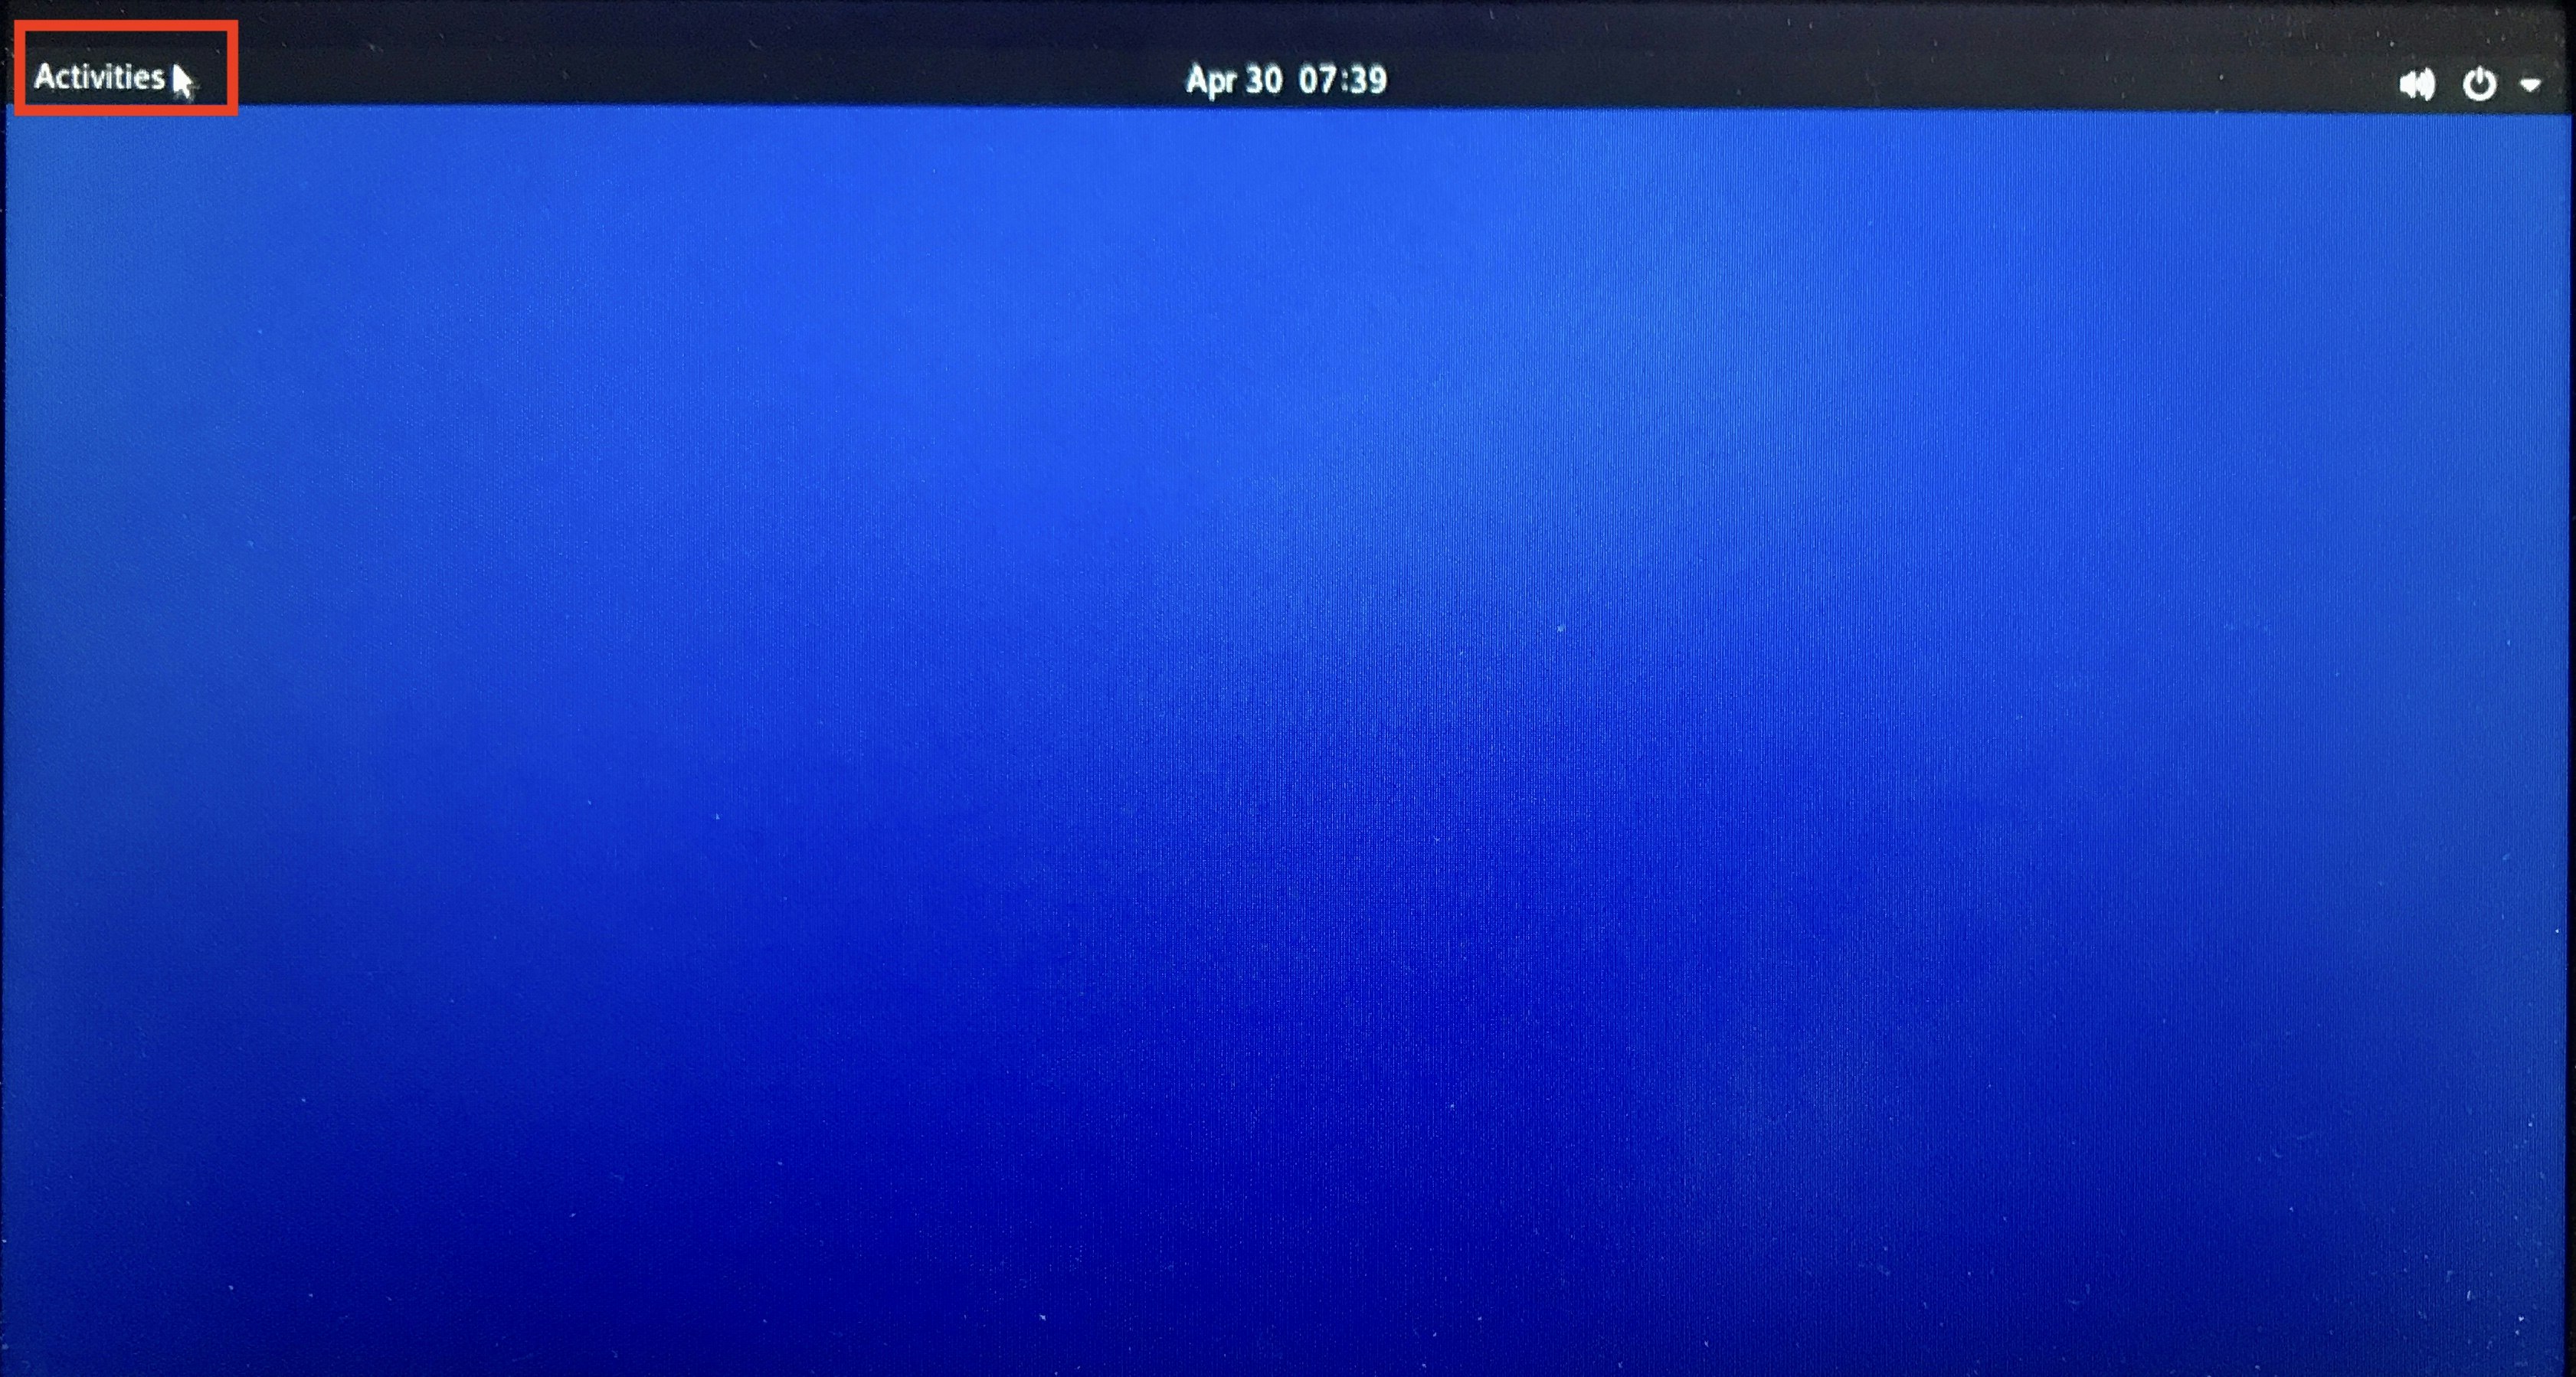
ログイン後の画面で左上の「 Activities 」をクリックします
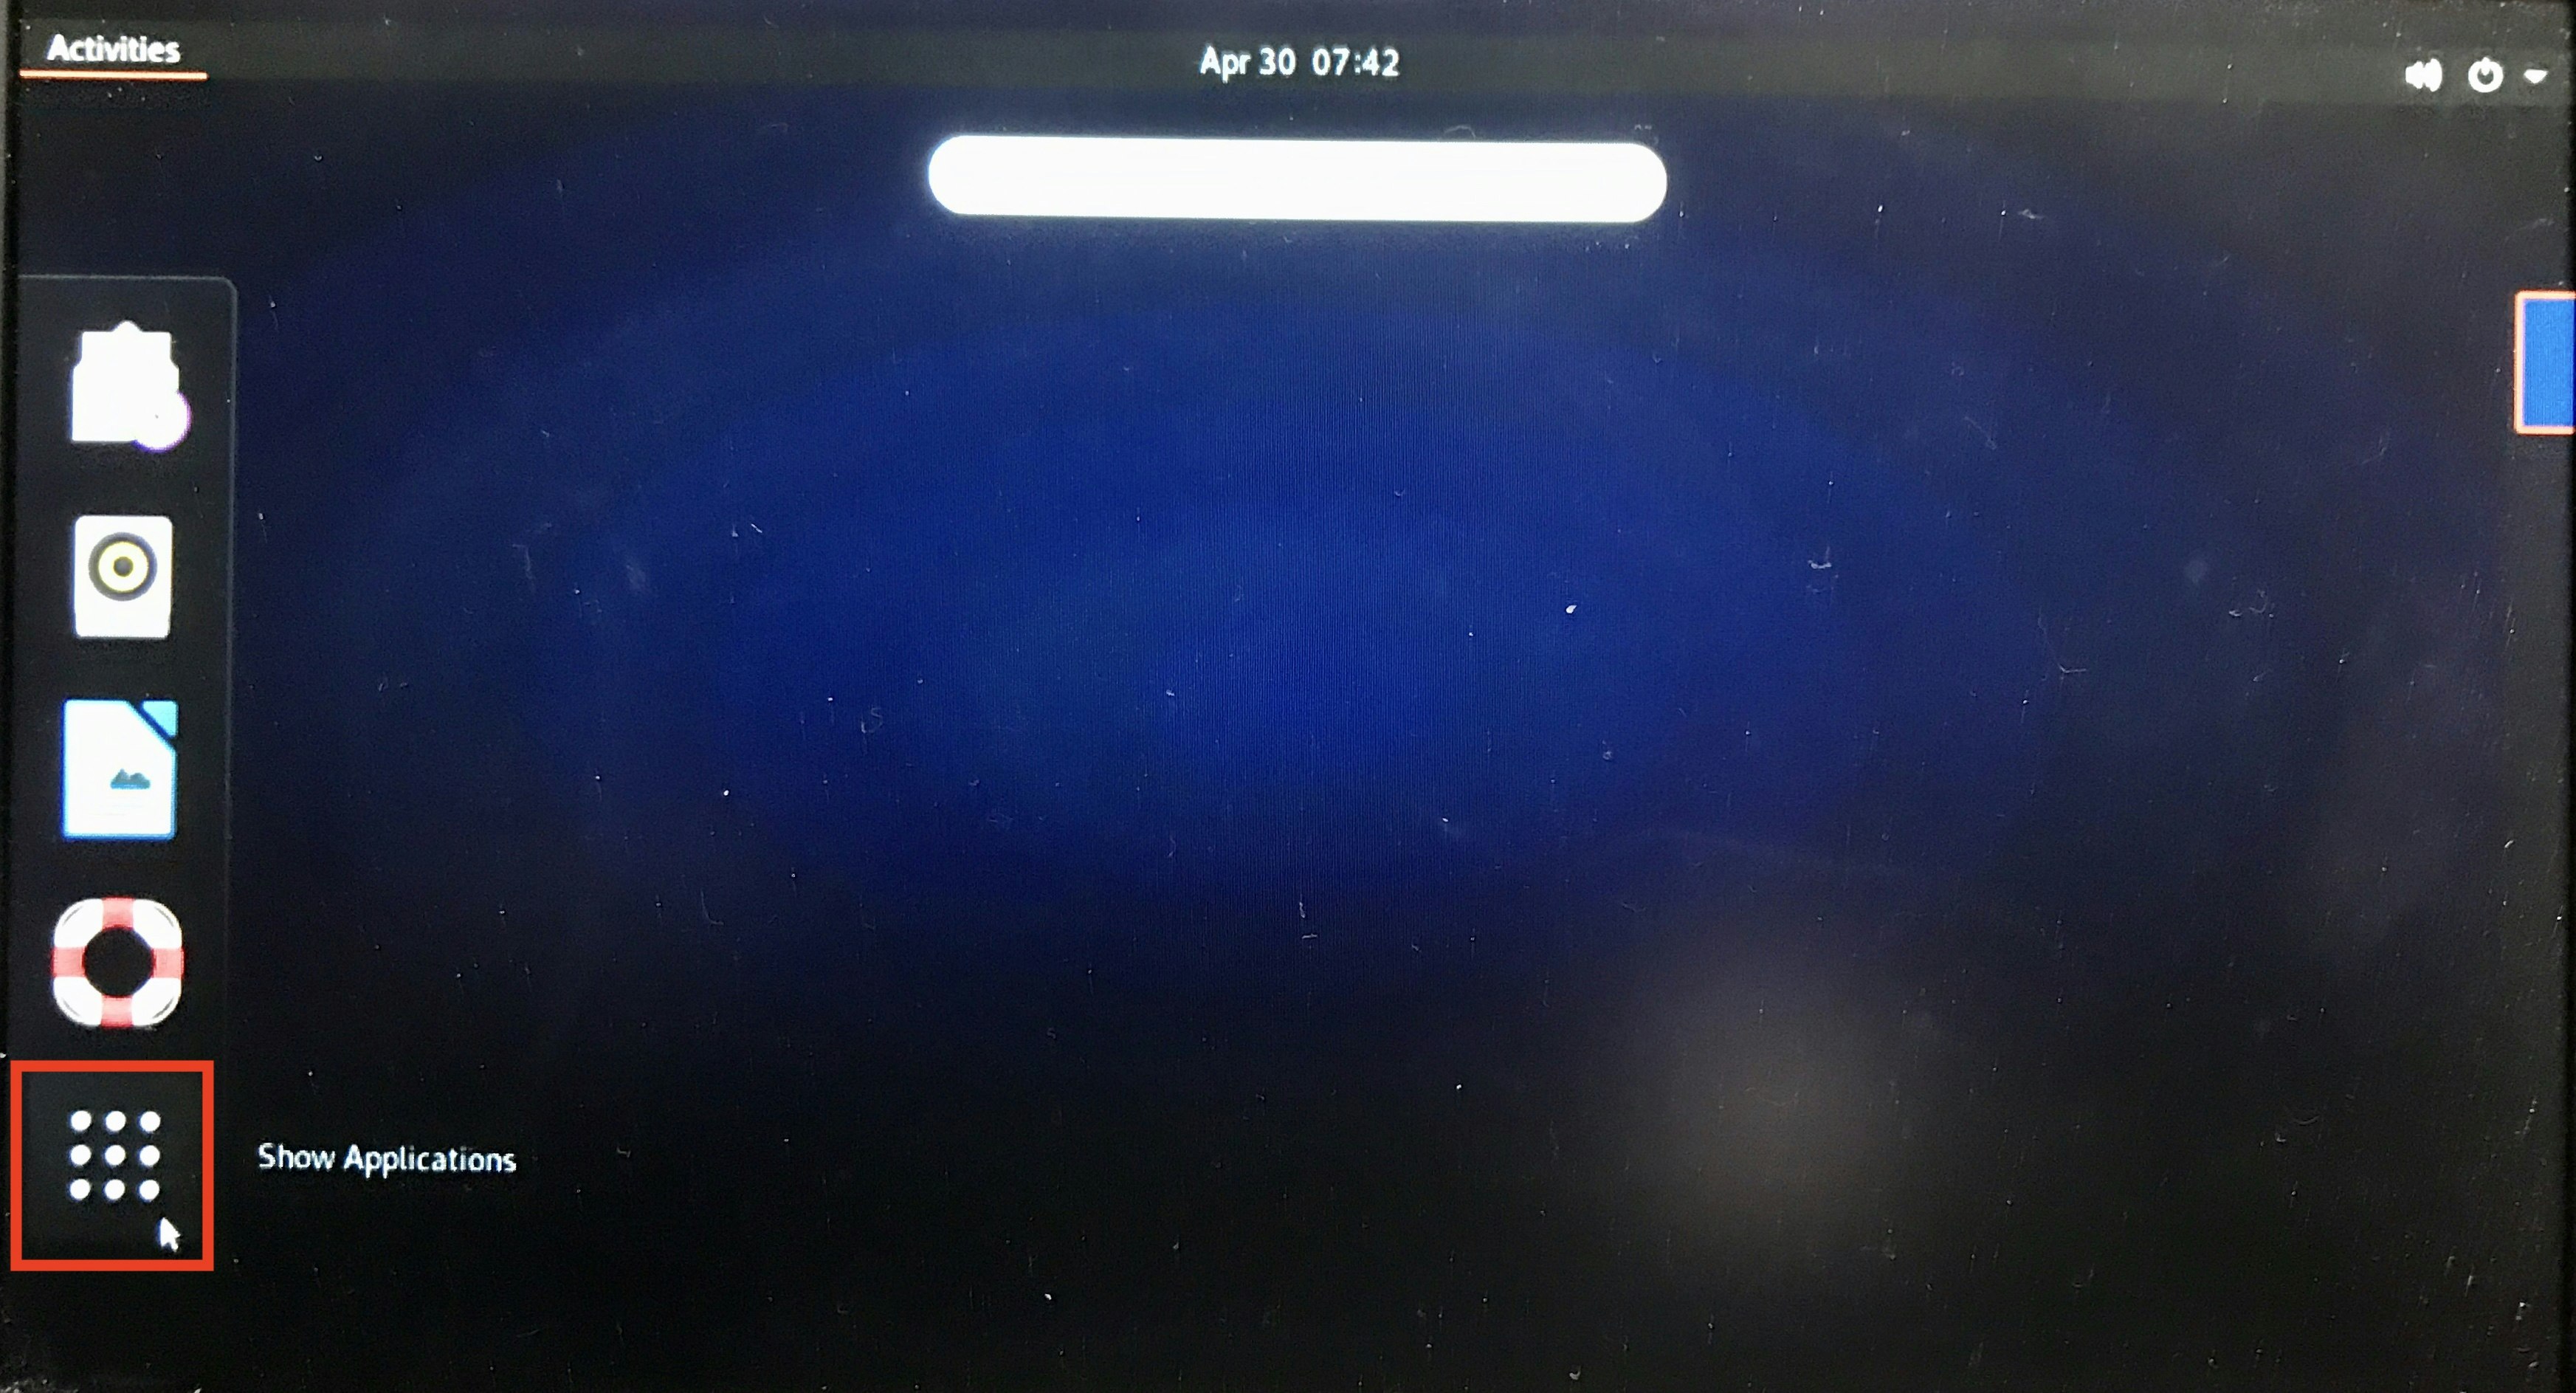
画面左下の 「 Show Applications 」をクリックします
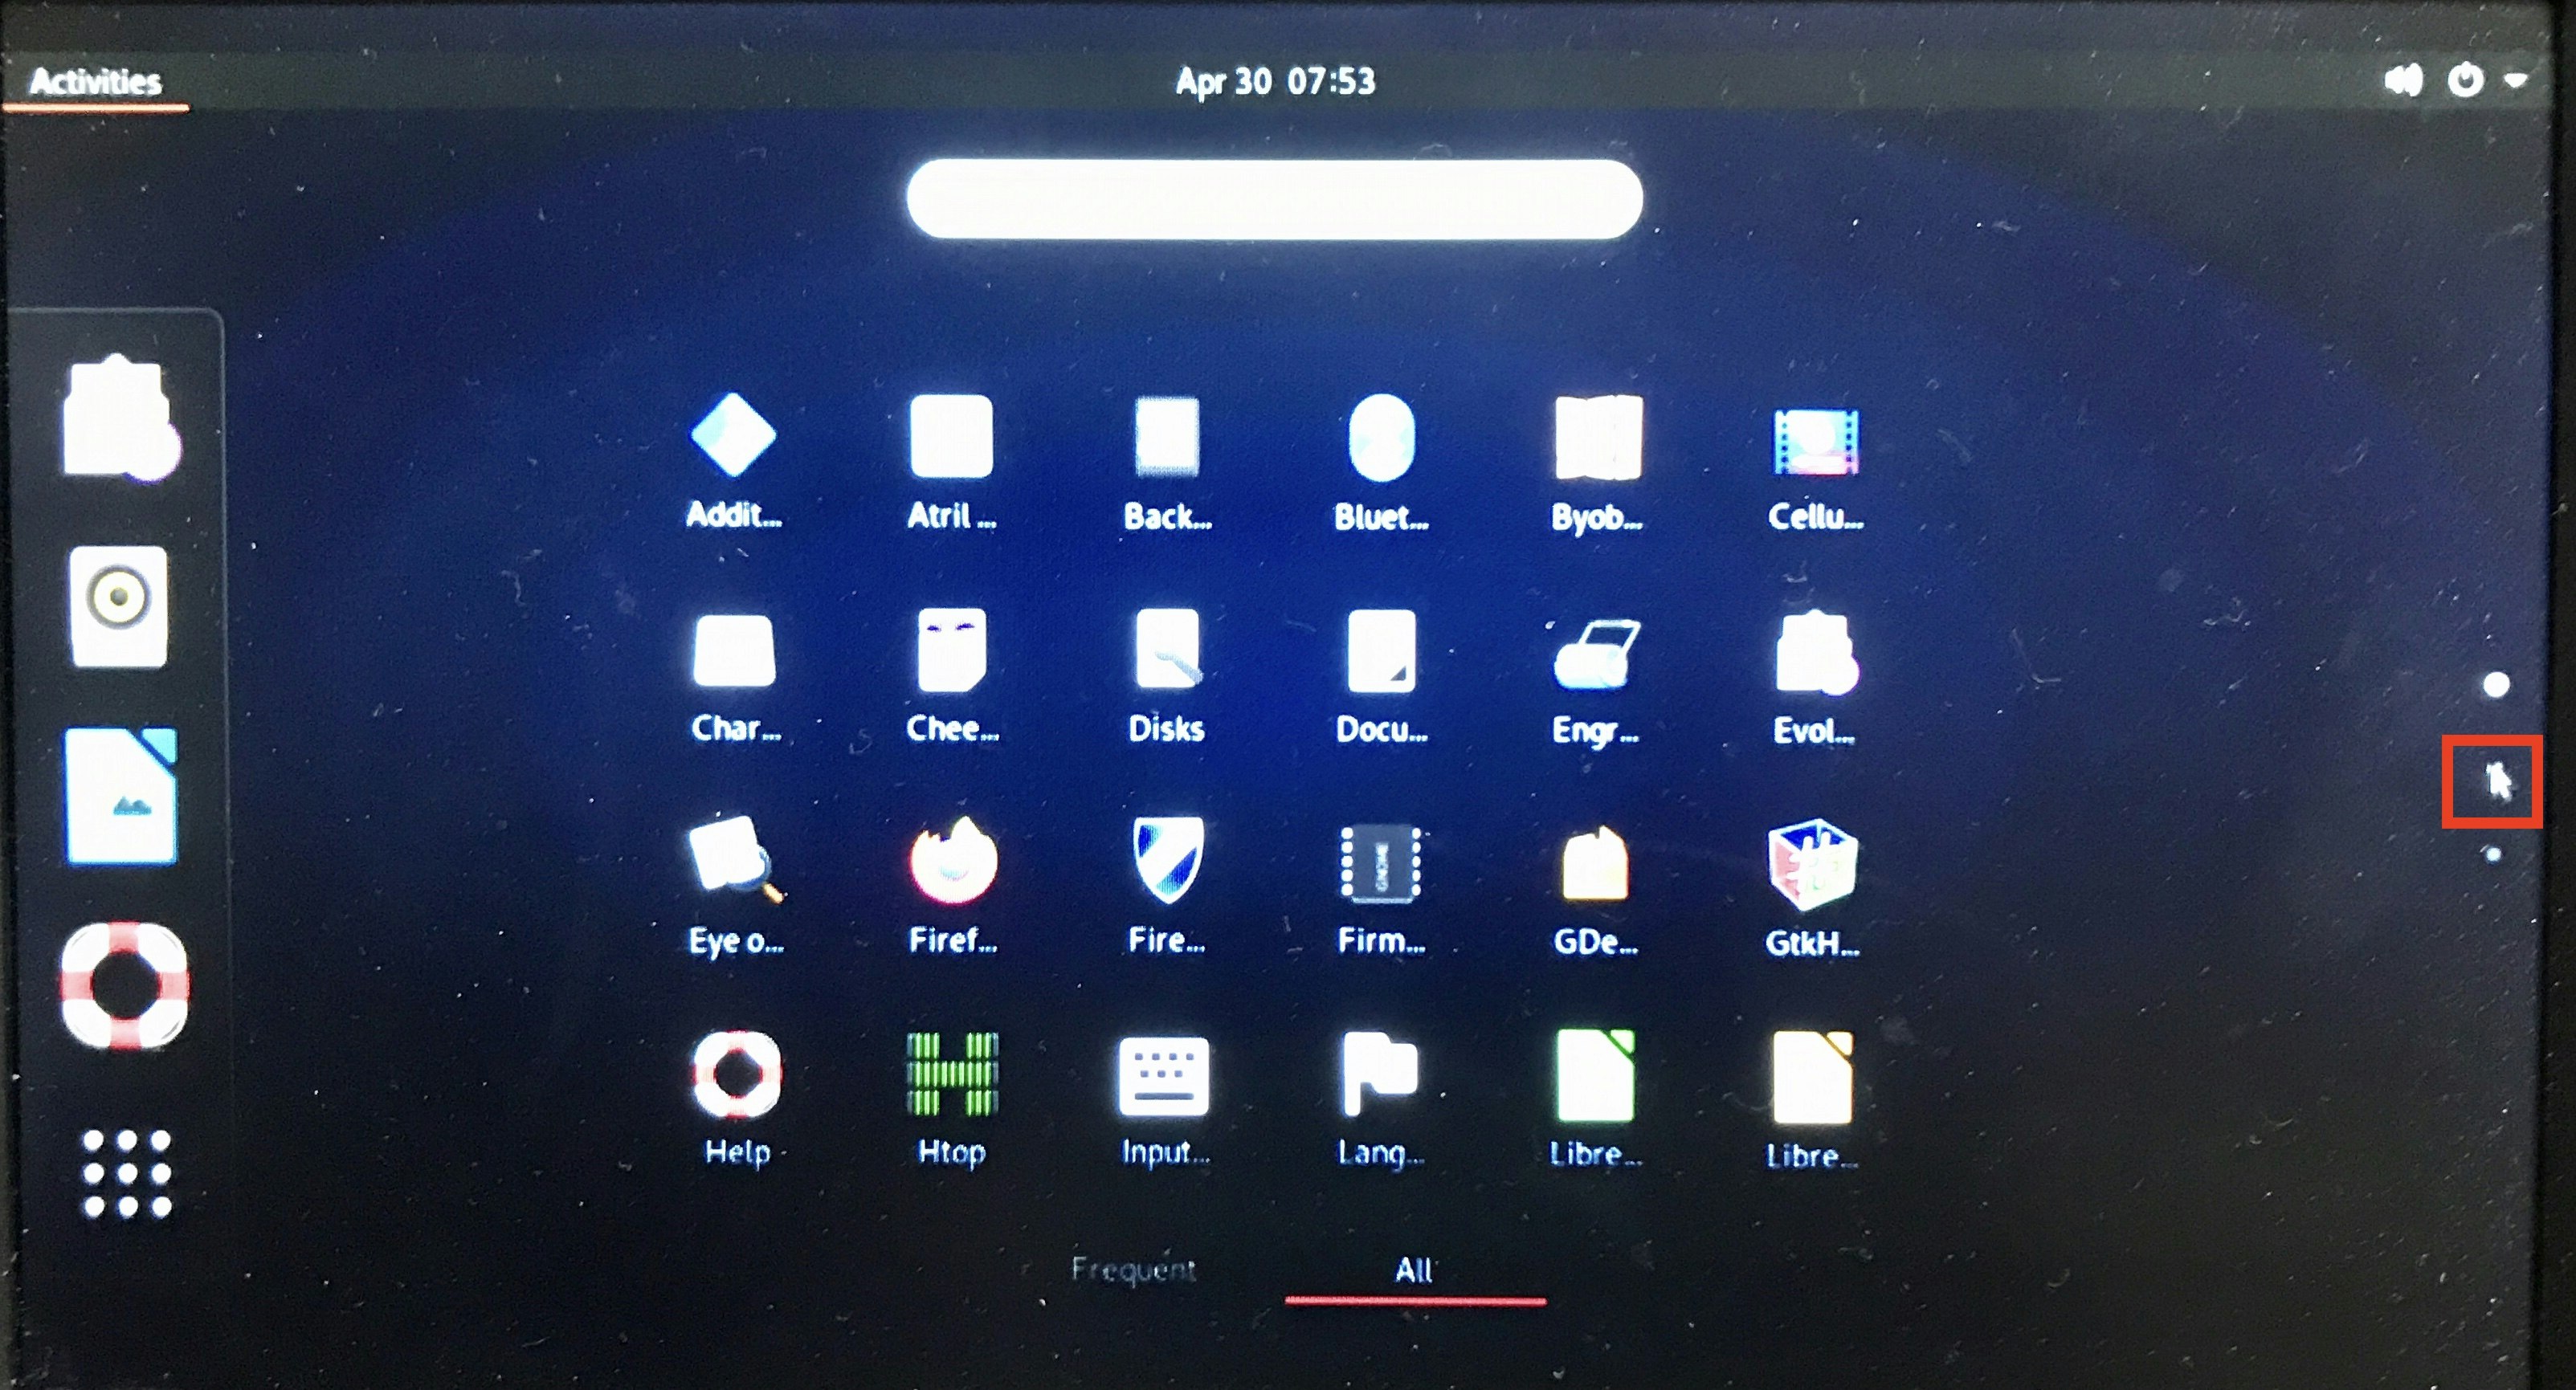
画面右端、上から2つ目の「 ・ 」をクリックします
MATE Terminalをダブルクリックして起動します
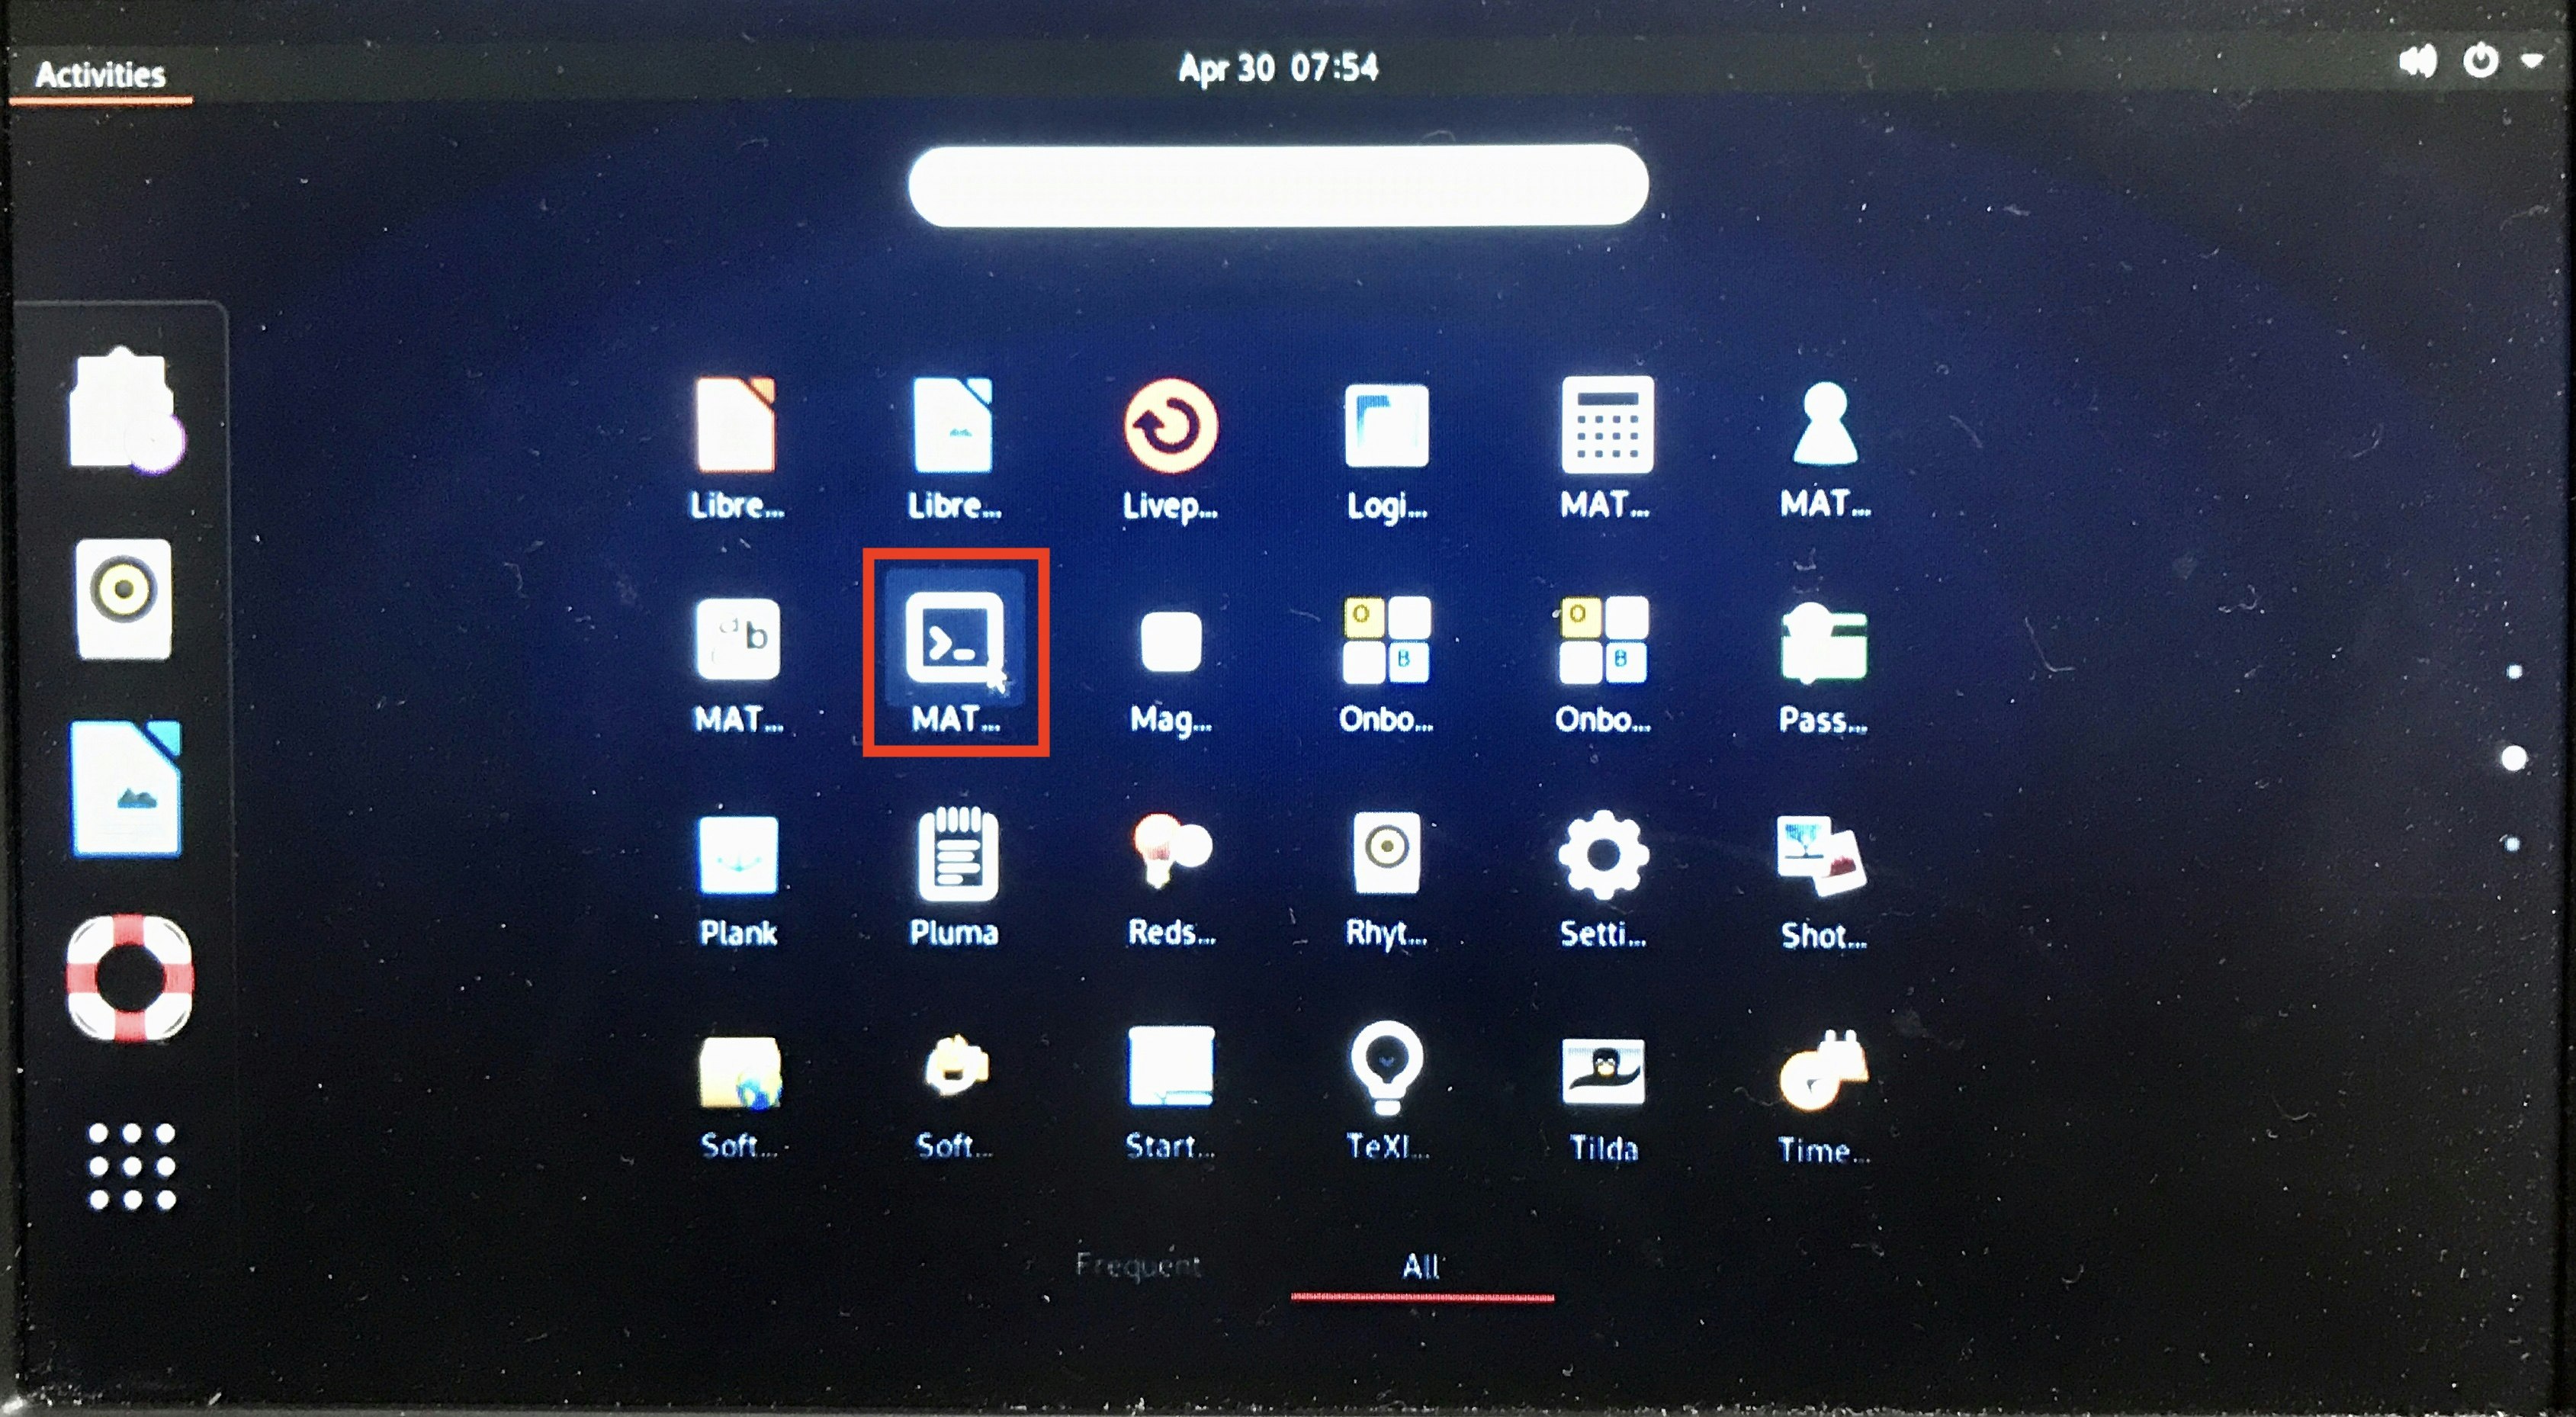
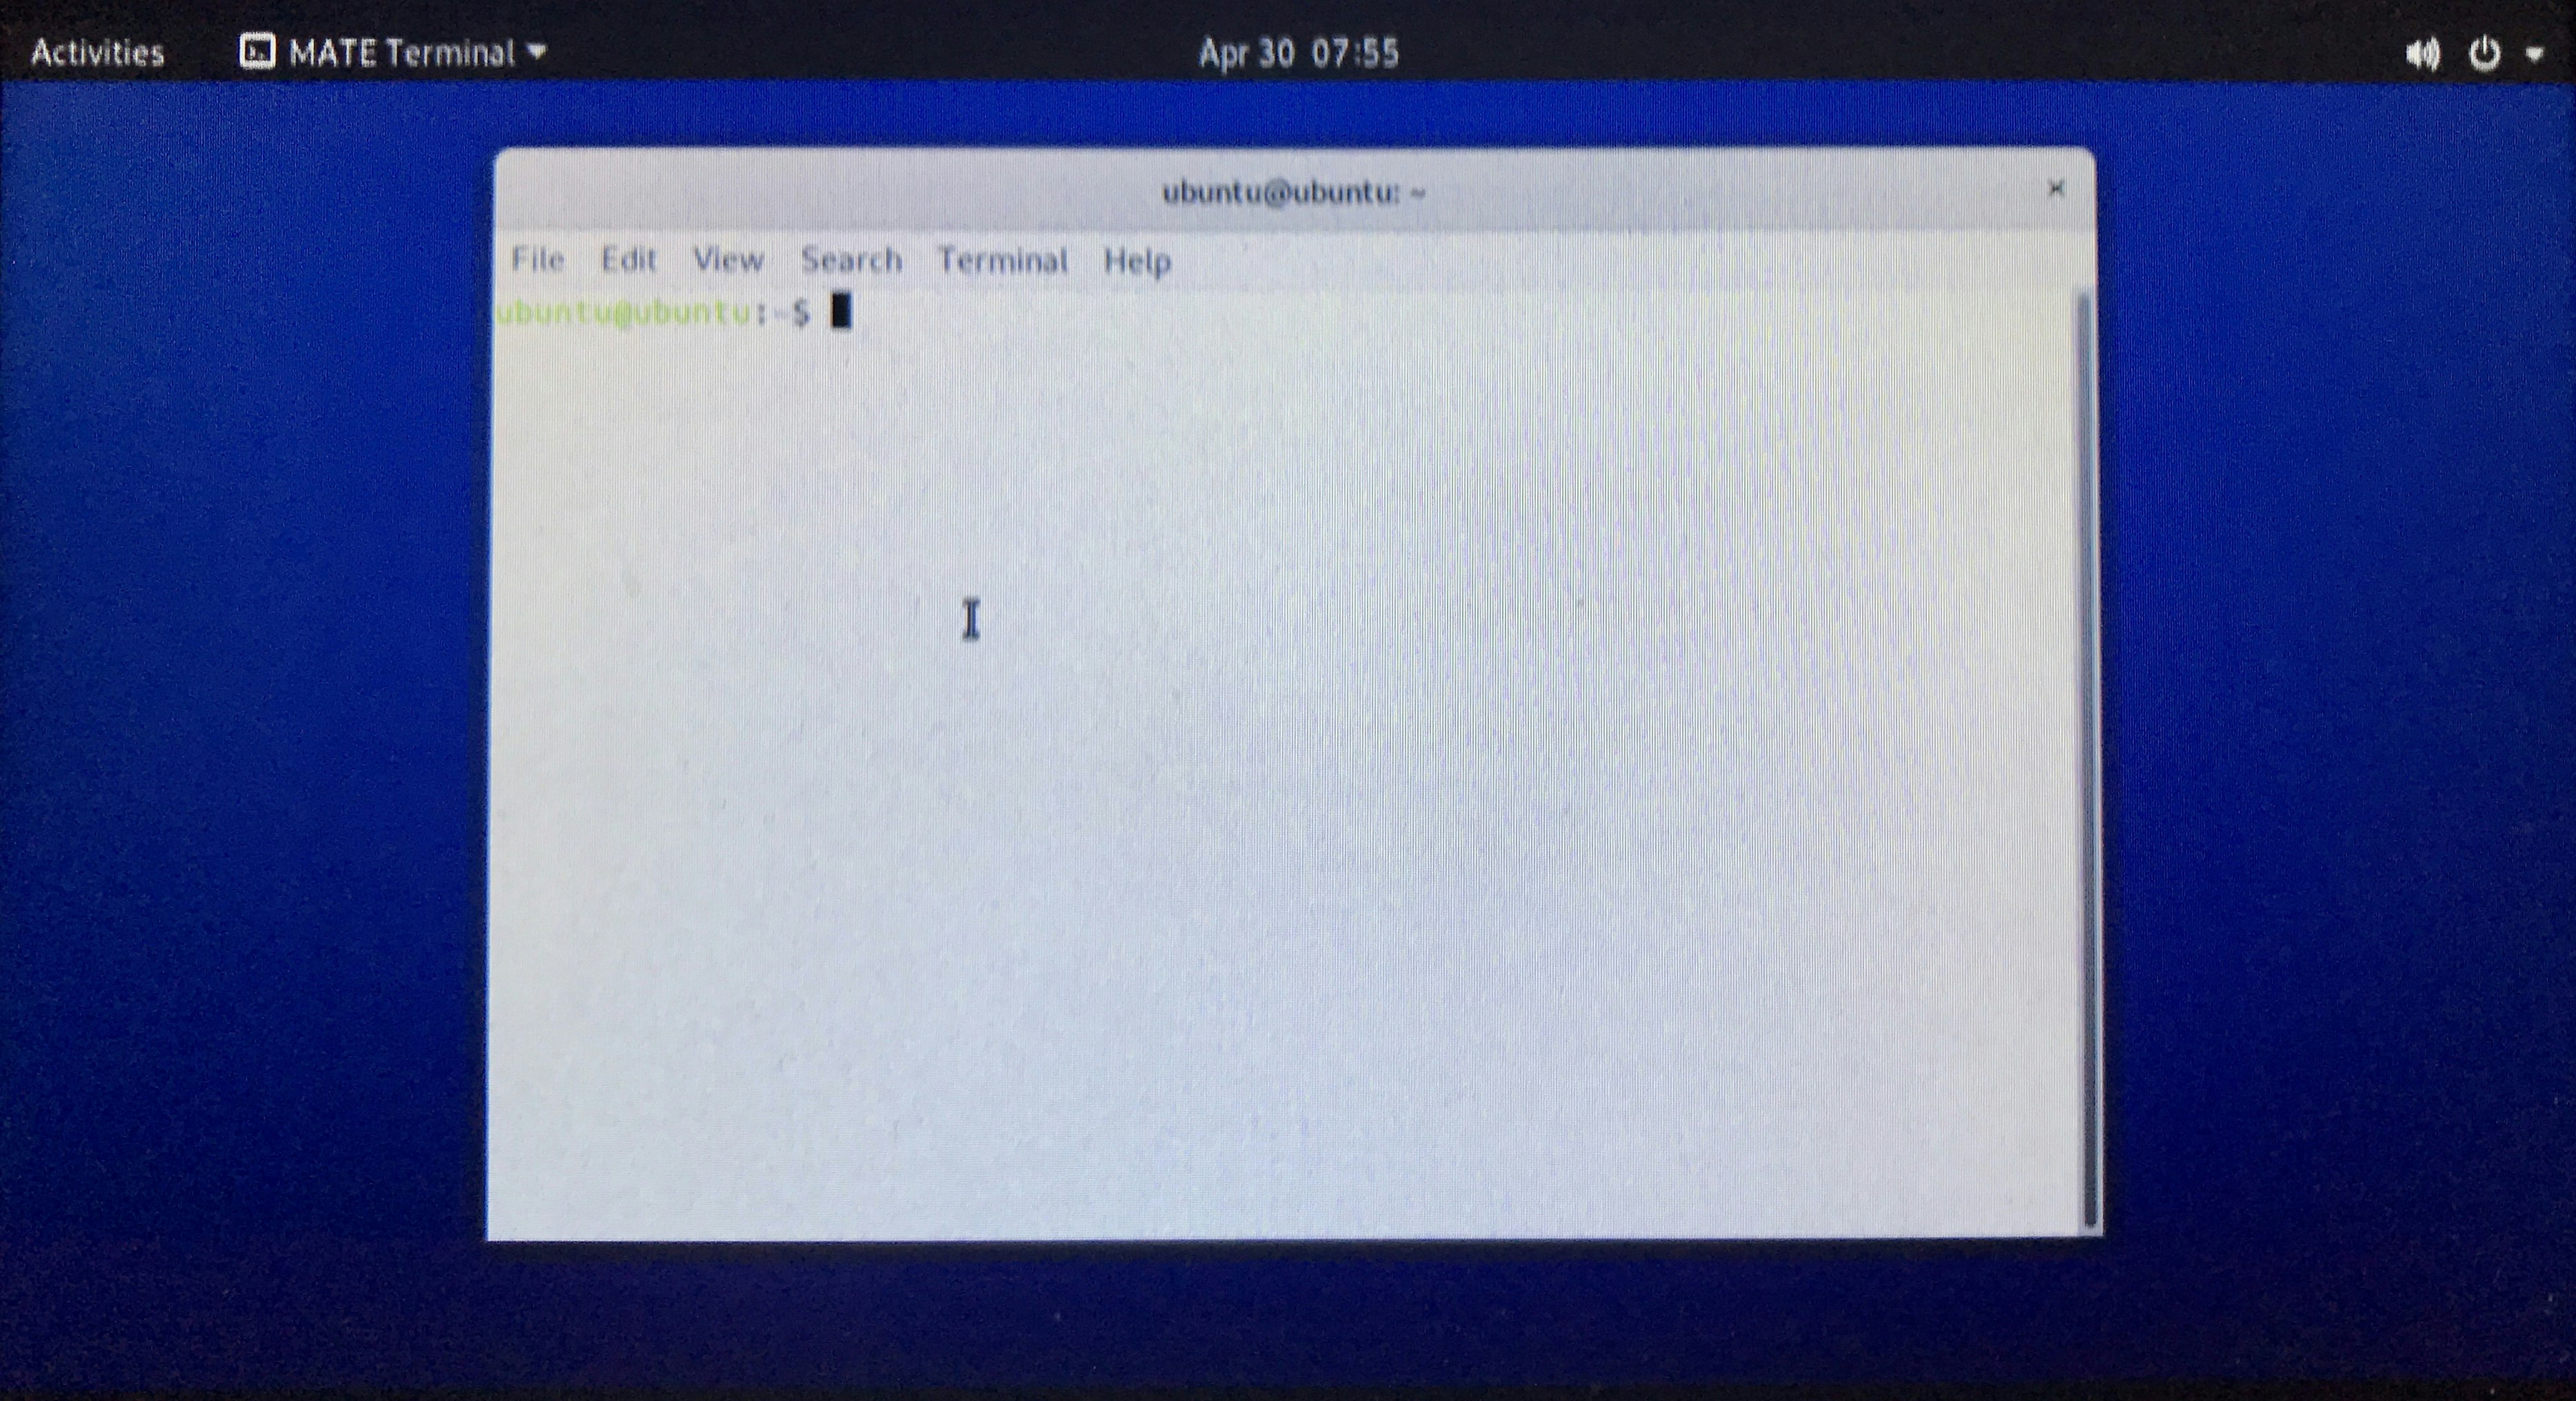
画面にMATE Terminalが表示されます
Ubuntuの更新
MATE Terminalで作業を行います。(以降省略)
sudo apt update
sudo apt upgrade