実装内容
Ajaxを用いて非同期処理を行い、コメント機能を実装していきます。
- コメント作成
- コメントの削除
- コメントの表示(開閉式ボタン)
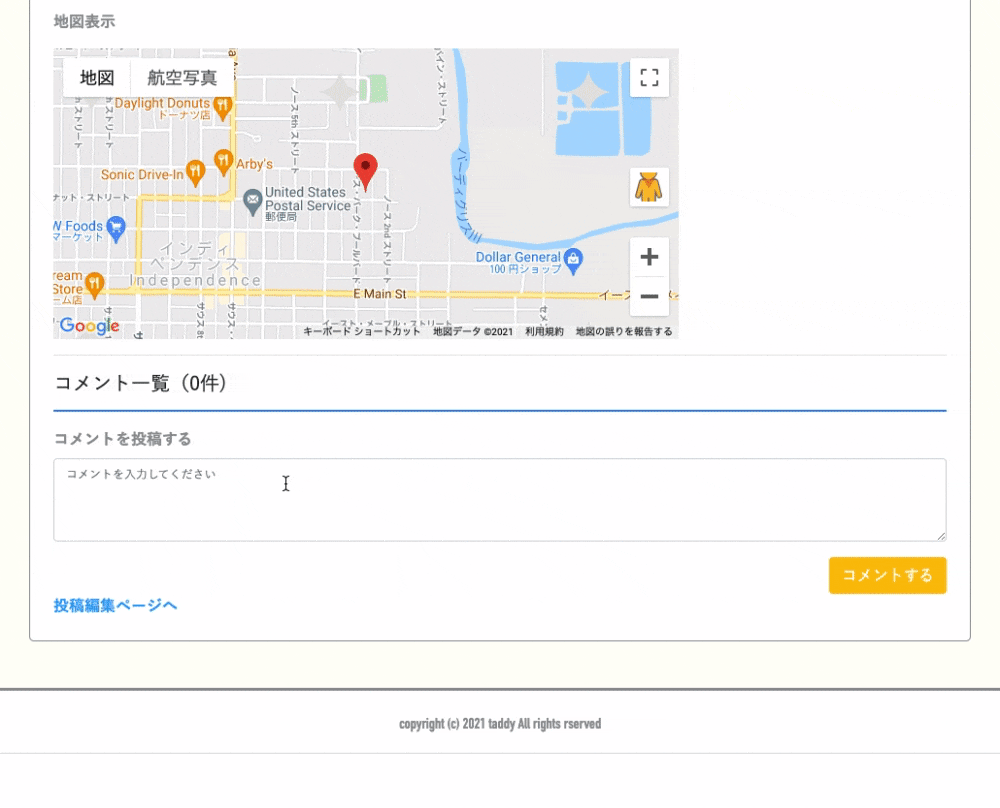
完成形はこちら
コメントの投稿と削除
コメントの表示(開閉ボタン)

環境
macOS Big Sur 11.2.3
ruby: 2.7.2
rails: 6.1.3
テンプレートエンジン: slim
レイアウト: Bootstrap4
DB設計(ER図)
users : travel_records = 1対多
users : comments = 1対多
travel_records : comments = 1対多
comments = usersとravel_recordsの中間テーブル

モデルの作成
UserモデルとTravelRecordモデルは作成した前提で勧めていきます。
% rails g model Comment comment:text user_id:integer travel_record_id:integer
% rails db:migrate
上記実装後の結果↓
  create_table "comments", force: :cascade do |t|
    t.text "comment"
    t.integer "user_id"
    t.integer "travel_record_id"
    t.datetime "created_at", precision: 6, null: false
    t.datetime "updated_at", precision: 6, null: false
  end
関連付け(アソシエーション)
Userモデル
class User < ApplicationRecord
  has_many :travel_records, dependent: :destroy
  has_many :comments, dependent: :destroy
end
TravelRecordモデル
class TravelRecord < ApplicationRecord
  belongs_to :user
  has_many :comments, dependent: :destroy
end
Commentモデル
class Comment < ApplicationRecord
  belongs_to :user
  belongs_to :travel_record
  validates :comment, presence: true, length: { maximum: 300 }
end
dependent: :destroyを付与することで、「親モデルを削除する際に、その親モデルに紐づく「子モデル」も一緒に削除できる」ようになります。
今回の場合、userがtarvel_record(投稿記事)を削除すると、その投稿記事に投稿されたコメントも一緒に削除されます。
Commentモデルには、空白では投稿できないようにするpresence: trueとコメントの長さ(最大300文字)を制限するlength: { maximum: 300 }をバリデーションとして掛けています。
コントローラの作成
% rails g controller comments
ルーティングの作成
Rails.application.routes.draw do
  resources :users
  resources :travel_records do
    resources :comments, only: [:create, :destroy]
  end
end
travel_recordsコントローラへのルーティングの記述の中に、commentsコントローラをネストすることで、どの投稿に紐付いたコメントなのかをURLが判別できるようにしています。
上記の記述により生成されるURLは、**「/travel_records/id/comments」**になります。
もっと具体的に言うと、とある投稿記事にコメントすると「/travel_records/13/comments」のようなURLが生成されます。この「13」という数字は投稿記事のid番号です。
つまり、このコメントは13番目のツイートに対するコメントですよということが、URLから判断することができます。
また、only: [:create, :destroy]としているのはコメントの投稿と削除のみを利用するためです。
ルーティング設定についての要注意ポイント
ルーティングを自動生成してくれるメソッドとして「resourcesメソッド」と「resourceメソッド」が存在します。
複数形(resources)と単数形(resource)の違いなのですが、resourceメソッドは、コントローラの7つのアクションに対して、indexとid付きのパスが生成されません。
そのため設定する際は、resourcesメソッド(複数形)でルーティングを設定しないと正常に動作しないので注意が必要です。
コントローラの編集
travel_recordsコントローラ
class TravelRecordsController < ApplicationController

  def show
    @travel_record = TravelRecord.find(params[:id])
    # コメント一覧表示で使用する全コメントデータを代入(新着順で表示)
    @comments = @travel_record.comments.order(created_at: :desc)
    # コメントの作成
    @comment = Comment.new
order(created_at: :desc)を付与することで、コメントを新着順(降順)で表示することができます。
commentsコントローラ
class CommentsController < ApplicationController
  def create
    # コメントをする対象の投稿(travel_record)のインスタンスを作成
    @travel_record = TravelRecord.find(params[:travel_record_id])
    #投稿に紐づいたコメントを作成
    @comment = @travel_record.comments.new(comment_params)
    # コメント投稿者(user)のidを代入
    @comment.user_id = current_user.id
    if @comment.save
      flash.now[:notice] = "コメントの投稿に成功しました。"
      render :index
    else
      flash.now[:alert] ="コメントの投稿に失敗しました。"
      render :index
    end
  end

  def destroy
    @comment = Comment.find(params[:id])
    @comment.destroy
    flash.now[:notice] = "コメントを削除しました。"
    render :index
  end

  private
    def comment_params
      params.require(:comment).permit(:comment, :user_id, :travel_record_id)
    end
end
コメントが保存がされると、render :indexによってapp/views/comments/index.js.erbを探しにいきます。
ビューの編集
travel_records/show(投稿詳細ページ)
# comments_area
  = render 'comments/index', comments: @comments
- if user_signed_in?
  = render 'comments/form', travel_record: @travel_record, comment: @comment
#comments_areaをターゲットにid内をAjaxで書き換えます。
コメント一覧とコメント入力フォームはそれぞれパーシャルにしています。
= renderの後の 'comments/index'がパーシャル名でcomments: @commentsがローカル変数名: インスタンス変数名になります。
最初は理解するのに苦労しました(すいません、現在もの間違いでした、、)
複数箇所で使用するコードはパーシャル化しておくと、可読性と汎用性の向上につながります(下記参考)
comments/_index.html.slim(コメント一覧)
/ ----- 'travel_records/show'で使用中 -----
h5 コメント一覧(#{comments.count}件)
hr
= render 'layouts/flash_messages'
- comments.first(2).each do |comment|
  = render 'comments/hide_comments', comment: comment
/ ----- コメントが3件以上の場合、残りのコメントをプルダウンで表示するボタンの作成 -----
- comments.offset(2).any?
  .text-right
    button.btn.btn-primary[data-toggle="collapse" data-target="#collapseExample" aria-expanded="false" aria-controls="collapseExample"]
      | もっと見る....
.collapse#collapseExample
  - comments.where(parent_id: nil).offset(2).each do |comment|
    = render 'comments/hide_comments', comment: comment
(#{comments.count}件)でコメント数を表示しています。
each文のcomments.first(2)で最初の2件、comments.offset(2)で最初の2件以外を取ってきています。
コメントが3件以上の場合、通常は隠しておき、開閉式の「もっと見る....」ボタンをクリックすることで残りのコメントを表示させるようにしています。
また、comments.offset(2)の後に.any?というメソッドを付与することでコメントが3件以上の場合のみ、ボタンを表示させています。
開閉ボタンはBootstrap4のCollapseというコンポーネントを使用しています(下記参考)
comments/_hide_comments.html.slim
/ ----- 'comments/_index'で使用中 -----
.container
  / ユーザー詳細の表示
  .row.d-flex.align-items-center.pb-3
    .col
      - if comment.user.profile_image?
        = link_to image_tag(comment.user.profile_image.thumb.url), user_path(comment.user.id)
      - else
        = link_to image_tag('no_profile_img.png'), user_path(comment.user.id)
      = link_to "#{comment.user.name}さん", user_path(comment.user.id), class: 'link pl-1'
    .col.d-flex.justify-content-end
      = comment.created_at.strftime('%Y/%m/%d')
  / コメントの表示
  .card-body.border.rounded.mb-3
    = comment.comment
  hr.d-none
    - if comment.user == current_user
      = link_to travel_record_comment_path(comment.travel_record_id, comment.id), method: :delete, remote: true do
        .text-right
          button.btn.btn-outline-secondary
            | 削除する
  hr
BootstrapのCardというコンポーネントを使用し、その中でコメントを表示させています(下記参考)
コメントの削除機能ですが、まずif文でコメント投稿者のみに表示されるようにしております。
= link_to内にremote: trueを付与することで、commentsコントローラのdestroyアクションからhtmlファイルではなく、jsファイルを探しに行ってくれるようになります。
また、第2引数のパス「travel_record_comment_path」には引数として「comment.travel_record_id, comment.id」を付与しており、これは投稿のidとコメントのidを渡すためのものでコメントを削除するために必要になります。
comments/_form.html.slim(コメント投稿フォーム)
/ ----- 'travel_records/show'で使用中 -----
= form_with model: [travel_record, comment], local: false do |f|
  .form-group
    = f.label "コメントを投稿する"
    = f.text_area :comment, :size => "3x3", autocomplete: 'off', placeholder: "コメントを入力してください", class: 'form-control'
  .text-right
    = f.submit "コメントする", class: 'btn btn-warning text-white'
= form_with内のmodel: [travel_record, comment]は、**travel_records/show(投稿詳細ページ)**の= render 'comments/form', travel_record: @travel_record, comment: @commentで渡しているインスタンスのローカル変数です。投稿に紐付いたコメントを生成するため、必要になります。
⚠ここで一番のつまずきポイントに遭遇!
それが、= form_with内に付与されているlocal: falseというオプションです。
実はRails 6.1 から仕様が変わり, local: true がデフォルトになってしまったため、jsファイルを呼び出すには local: false が必要になってしまいました。
そうとは知らず、削除できないと嘆きながら時間のみが溶けていったのは、良い思い出なので一旦置いときます(下記参考)
comments/index.js.erb(create,destroy兼用)
$("#comments_area").html("<%= j(render 'index', { comments: @comment.travel_record.comments.order(created_at: :desc)}) %>");
$("textarea").val('');
このjsファイルで**travel_records/show(投稿詳細ページ)**の#comments_areaとした箇所を書き換える処理を記載しています。
$("#comments_area")で#comments_areaをターゲットとし、j(render 'index'で指定しているパーシャル「comments/_index.html.slim」の内容を書き換えています。
{ comments: @comment.travel_record.comments.order(created_at: :desc) }は、@comment.travel_record.comments.order(created_at: :desc)をローカル変数のcommentsに渡しています。
@comment.travel_record.commentsは、コメント一覧表示に必要な全てのコメントが格納されています。また、.order(created_at: :desc)を付与することで非同期でも新着順(降順)で表示されるようになります。
そして、$("textarea").val('')でコメント投稿後のコメント入力フォームを空にしています。
最後に
以上で非同期でのコメント投稿機能(投稿・削除)の実装になります!
自分も陥った開発環境の違いから、正常に動作せず、苦労することも多々あると思うのですが、諦めずに実装できたときの喜びもひとしおです!
また、近日にはコメント返信機能も投稿予定ですので、興味がある方は是非ご覧下さい。
間違っている箇所や分かりづらい箇所が多々あるかと思います。
その際は、気軽にコメントいただけれると幸いです![]()
最後までご覧いただき、ありがとうございました!
参考記事