まず始めに自分が管理しているドメインの向き先をConohaに向けて下さい。
お名前のネームサーバーを変更する場合
こんな感じに変更出来ます。
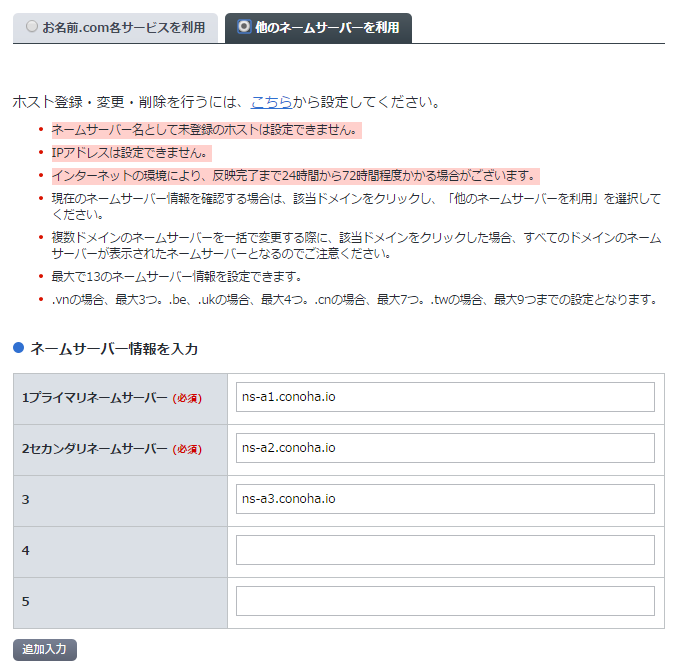
Conohaのネームサーバー情報
ns-a1.conoha.io
ns-a2.conoha.io
ns-a3.conoha.io
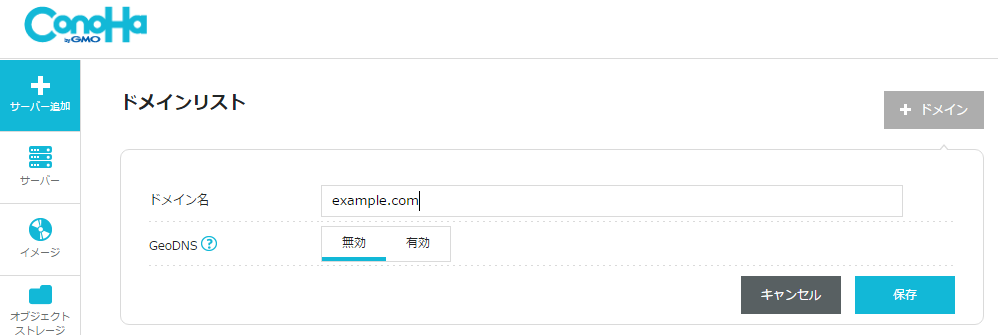
Conohaでドメインの設定をする
次にこのはの画面からドメインを設定します。
AレコードにサーバーのIPアドレスを設定して下さい。
しばらく時間が経つと反映されます。
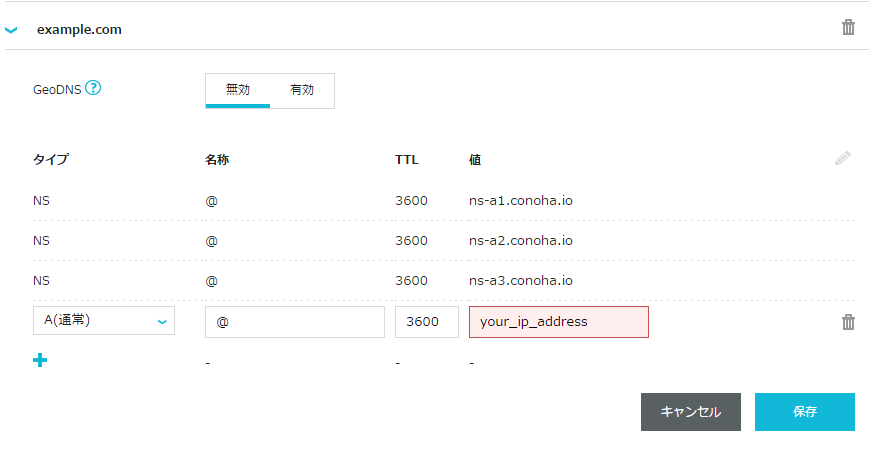
ドメインが引けるようになると、letsencryptを取得する準備OKです。
※前提条件として、所有しているドメインでWEBサイトが公開されている必要があります。
your_domain_name とyour_mail_address を
自分のドメイン名とメールアドレスに置き換えて下さい。
SSL 機能を付けるための mod_ssl モジュールを導入します。
$ yum -y install mod_ssl
letsencryptのリポジトリをクローン
$ git clone https://github.com/letsencrypt/letsencrypt
letsencryptのヘルプ表示
$ ./letsencrypt-auto --help
Conoha でRuby on Railsを選択した場合のpath
./letsencrypt-auto certonly --webroot -w /usr/share/nginx/html -d your_domain_name -m your_mail_address --agree-tos
証明書置き場
/etc/letsencrypt/live/your_domain_name/
Port 443の開放
# 確認
$ firewall-cmd --list-all

# アクセス許可
$ firewall-cmd --permanent --add-service=https

# 設定を有効化
$ firewall-cmd --reload

# 確認
$ firewall-cmd --list-all
nginxの Version Up
nginxが古いとhttp2に対応出来ない為、updateします。
vim /etc/yum.repos.d/nginx.repo
# nginx.repo

[nginx]
name=nginx repo
baseurl=http://nginx.org/packages/centos/7/$basearch/
gpgcheck=0
enabled=1
nginx のupdate
yum update -y nginx
脆弱な暗号化スイートの無効化
$ mkdir /etc/nginx/ssl
$ cd /etc/nginx/ssl
$ openssl dhparam 2048 -out dhparam.pem
nginx置き場
/etc/nginx/conf.d/sample.conf
nginx デフォルト設定
server {
    listen       80;
    location ~ ^/sample/assets/(.*) {
        alias /home/rails/sample/public/assets/$1;
    }

    location /sample {
        proxy_pass http://unicorn;
    }
}
変更後のnginx設定
server {
    listen      80;
    listen [::]:80;
    return 301 https://$host$request_uri;
}

server{
    listen 443 ssl http2;
    listen [::]:443 ssl http2;
    ssl_protocols TLSv1 TLSv1.1 TLSv1.2;
    server_name your_domain_name;

    ssl_certificate /etc/letsencrypt/live/your_domain_name/fullchain.pem;
    ssl_certificate_key /etc/letsencrypt/live/your_domain_name/privkey.pem;
    ssl_prefer_server_ciphers on;
    ssl_ciphers ECDHE+RSAGCM:ECDH+AESGCM:DH+AESGCM:ECDH+AES256:DH+AES256:ECDH+AES128:DH+AES:!aNULL!eNull:!EXPORT:!DES:!3DES:!MD5:!DSS;
    ssl_dhparam /etc/nginx/ssl/dhparam.pem;
    add_header Strict-Transport-Security 'max-age=31536000; includeSubDomains;';
    client_max_body_size 64M;

    # OCSP Staplingを有効にする
    ssl_stapling on;
    ssl_stapling_verify on;
    ssl_trusted_certificate /etc/letsencrypt/live/your_domain_name/fullchain.pem;

    # OCSP StaplingのためにはDNSリゾルバを指定する必要がある
    resolver 8.8.8.8;

    location ~ ^/sample/assets/(.*) {
        alias /home/rails/sample/public/assets/$1;
    }

    location /sample {
        proxy_pass http://unicorn;
    }
}
Nginxのリロード
systemctl restart nginx
Railsをデーモンで起動
bundle exec rails s -p 8080 &
Qualys SSL Reportのセキュリティ評価
今回設定した際のセキュリティ評価はAでした。
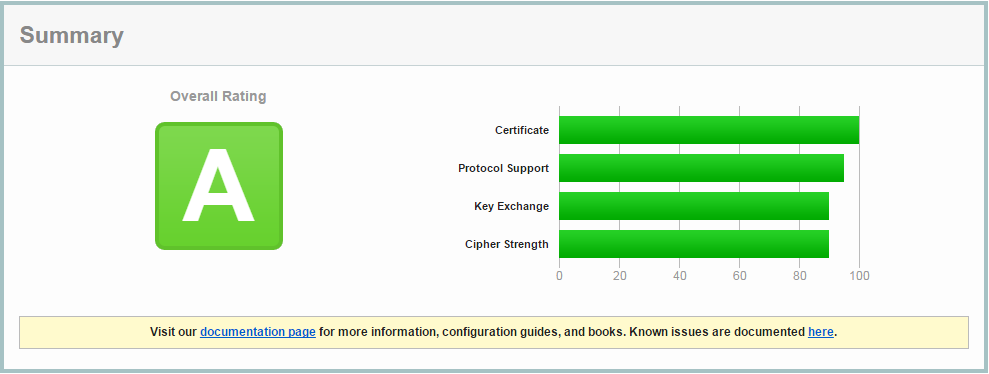
これでConohaで常時SSLとHTTP2に対応出来ました。
SSLの対応が出来たので、今話題のLine-botを作ってみるのもいいですね。