はじめに
前回(より時間は経ってしまいましたが)は、WindowsへのOn-prem Agentのインストールについて説明しました。
今回は、Linuxへのエージェントのインストール方法について説明します。
注意事項
Windowsへのインストールの際にも記載しましたが、TLSインスペクションを行うセキュリティ製品が導入されている環境下においては、On-prem Agentは正常に動作しない場合があります。そのような環境下で利用の際は、予め所属されている組織の情報システム部門等へご確認ください。また、情報システム部門に所属されている方の場合は、お使いになられているセキュリティ製品のベンダーあるいはパートナーへご相談ください。
手順
1.「Tools」-「On-prem groups」をクリックします。
2.「Create HA on-prem group」または「New group」をクリックします。
3.Group nameに任意の名称を入力し、「Create group」をクリックします。
4.「Add on-prem agent」をクリックします。
5.Agent nameにエージェント名(任意の名称)を入力し、Operating systemでエージェントインストール先環境のOSを選択し、「Next」をクリックします。
6.「I have read and agree to the above End User License Agreement」にチェックを入れ、「Next」をクリックします。
7.ディストリビューションにあわせて、ファイルのダウンロートとインストール、あるいはディストリビューションのパッケージリポジトリ設定を行います。
tar.gz:ディストリビューション非依存
1)上記「Download installer」を右クリックし、「リンクのアドレスをコピー」をクリックします。
2)以下の通りコマンドの入力を進めます。
$ sudo -s
# cd /opt
# wget <Download installerのリンク先URL(上記手順で「リンクのアドレスをコピー」したURL)>
# tar zxvf workato-agent-linux-amd64-x.xx.x.tar.gz
# mv workato-agent-linux-amd64-x.xx.x workato
# groupadd -r workato
# useradd -c "Workato On-Premise Agent" -g workato -s /sbin/nologin -r -d /opt/workato-agent workato
# chown -R workato:workato /opt/workato-agent
rpm:Redhat系(RHEL, RockyLinux, AlmaLinux, CentOS7等)をお使いの場合
deb:Debian系(Debian, Ubuntu等)をお使いの場合
8.Workatoへ戻り、「Download agent key」をクリック、証明書をダウンロードします。
9.ダウンロードした証明書をエージェントのインストール先へコピー(アップロード)します。
転送用のソフトウェアはどのようなものでも構いませんが、Windowsの場合はTeraTermを使用するのが手軽です。

10.アップロードした証明書ファイルを展開し、展開されたファイルを所定のディレクトリへ移動します。
tar.gz
以下のコマンドを実行します。
# unzip cert.zip
# mv cert.key /opt/workato-agent/conf/
# mv cert.pem /opt/workato-agent/conf/
rpm, deb
以下のコマンドを実行します。
# unzip cert.zip
# mv cert.key /etc/workato-agent/
# mv cert.pem /etc/workato-agent/
サービスとして登録し、On-prem Agentを起動します。
tar.gz
1)以下のコマンドを入力し、systemdのユニットファイルを作成します。
# sudo cat > /lib/systemd/system/workato-agent.service <<EOF
# Systemd unit file for default Workato On-Premise Agent
#
# To create clones of this service:
# DO NOTHING, use workato@.service instead.

[Unit]
Description=Workato On-Premise Agent
After=syslog.target network.target

[Service]
Type=simple
WorkingDirectory=/opt/workato
ExecStart=/usr/bin/java -Djava.security.egd=file:/dev/urandom -cp "/opt/workato/lib/*" com.workato.agent.Main
User=workato

[Install]
WantedBy=multi-user.target
EOF
2)以下のコマンドを実行します。
# systemctl start workato-agent.service
# systemctl enable workato-agent.service
rpm, deb
以下のコマンドを実行します。
# systemctl start workato-agent.service
# systemctl enable workato-agent.service
11.Workatoへ戻り、「Next」をクリックします。
(6) Move to server, (7)Setup OPA, (8)Run agent 全て「Next」をクリックして進めます。
12.「Test agent」をクリックします。
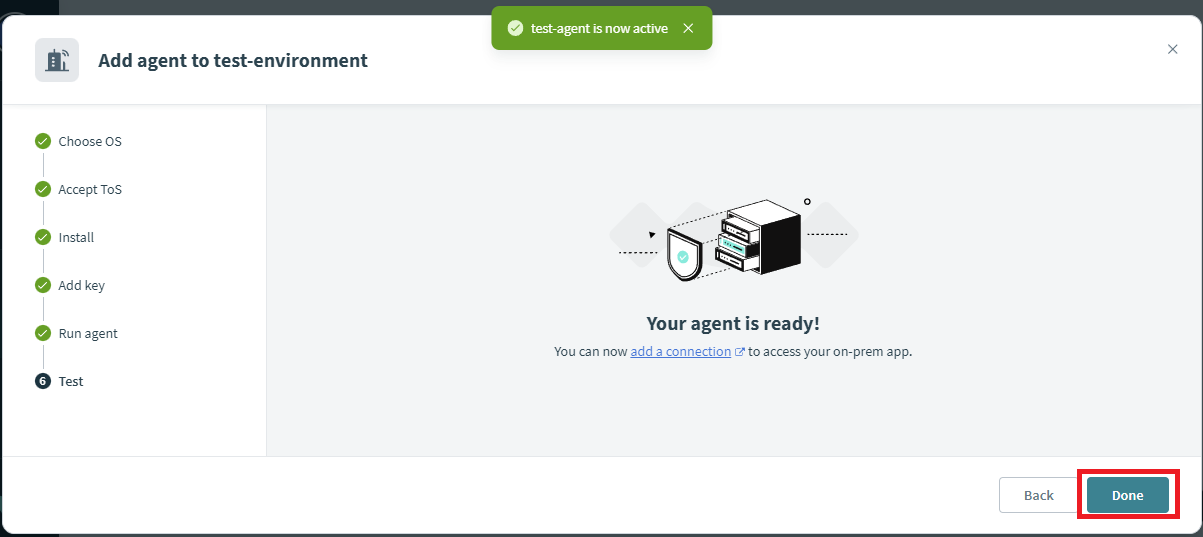
13.テストが成功したことを確認し、「Done」をクリックします。
14.エージェントが追加され、ステータスが「Active」であることを確認します。
参考


