Python 3とSeleniumとGoogle ChromeでWebページのスクリーンショットを取得する方法の1つとして、Selenium標準の save_screenshot メソッドを使う方法がありますが、この方法の場合、指定されたサイズ(ウインドウサイズ)のスクリーンショットを取得することはできますが、Webページ全体のスクリーンショットを取得することはできません。
Googleで検索してみると、色々な方法がヒットしますが、最も簡単で、かつ再利用性の高い方法は、Selenium-Screenshotパッケージを使う方法です。Selenium-Screenshotパッケージを使用すると、簡単にWebページ全体のスクリーンショットや、HTML要素を指定したスクリーンショットを取得することができます。
インストール
1.Python3のダウンロードとインストール
Windowsの場合は、下記URLよりインストーラーをダウンロードしてインストールする方法が簡単です。
https://www.python.jp/
LinuxやMac, FreeBSDなどでは、パッケージマネージャからインストールします。
例えば、Ubuntu 18.04LTSの場合はちょっと古いですが(実行時にDeprecatedが出るかも知れませんが)以下が参考になるでしょう。
Ubuntu 18.04LTSとchromium-browser(Headless)とpython3でSeleniumする
Pythonのバージョン複数分けて使いたい場合は、pythonbrewのようなvirtualenvっぽい何かを利用したり、Dockerで環境を分けるのが良いでしょう。
2.パッケージのインストール
seleniumと、Selenium-Screenshotパッケージをインストールします。
pip install selenium
pip install Selenium-Screenshot
3.ChromeDriverのダウンロード
下記URLより、自分の環境(Chromeのバージョン)に合ったChromeDriverをダウンロードします。
https://chromedriver.chromium.org/downloads
なお、Windows以外でパッケージマネージャよりSeleniumをインストールした場合は、パッケージマネージャよりChromeDriverをインストール出来る場合があります。その場合は、特別な事情(パッケージマネージャよりインストールされるものが満足に動作しない、機能が足りない等)を除き、可能な限りパッケージマネージャよりインストールされるものを使用するのが良いでしょう。
コード例
以下はWindowsで、https://www.asahi.com/ のスクリーンショットを取得する例です。
なお、ChromeDriver(chromedriver.exe)はPythonスクリプトと同じフォルダ(ディレクトリ)にあることを、ここでは想定しています。
環境に合わせて、executable_path(ChromeDriverのパス)を変更することで、Windowsに限らず他のOSでも動作します。
from Screenshot import Screenshot_Clipping
from selenium import webdriver
from selenium.webdriver.common.keys import Keys
from selenium.webdriver.chrome.options import Options
import time
options = Options()
options.add_argument('--headless')
options.add_argument('--disable-gpu')
ob=Screenshot_Clipping.Screenshot()
driver = webdriver.Chrome(executable_path=r".\chromedriver.exe", options=options)
driver.set_window_size(1280, 720)
driver.get("https://www.asahi.com/")
ob.full_Screenshot(driver, save_path=r'.', image_name='Myimage.png')
driver.close()
driver.quit()
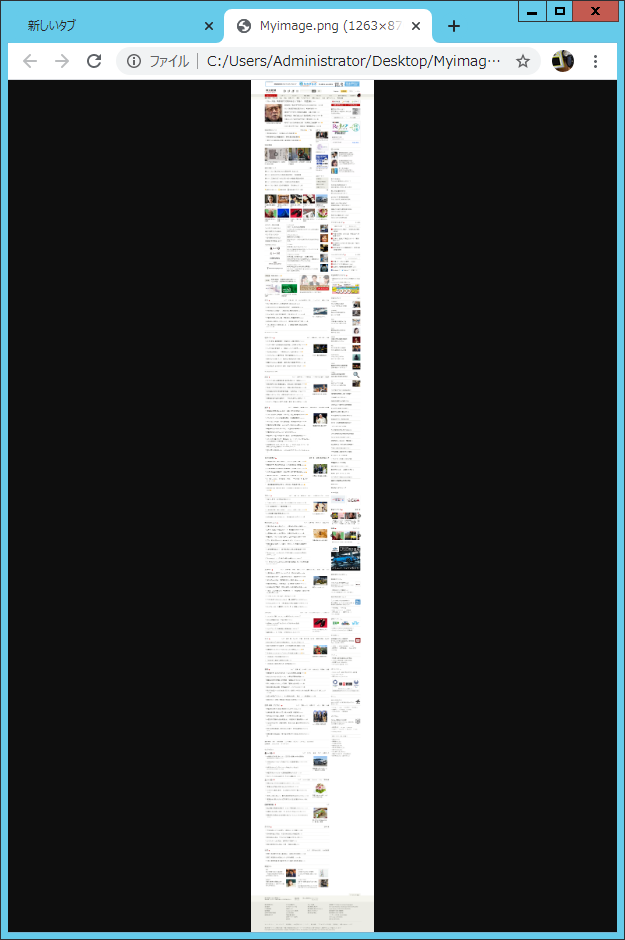
上記Pythonスクリプトを実行すると、Myimage.pngというファイル名でスクリーンショット画像が出力されます。
その画像を開くと、以下のようにWebページ全体のスクリーンショットを確認することができます。
