はじめに

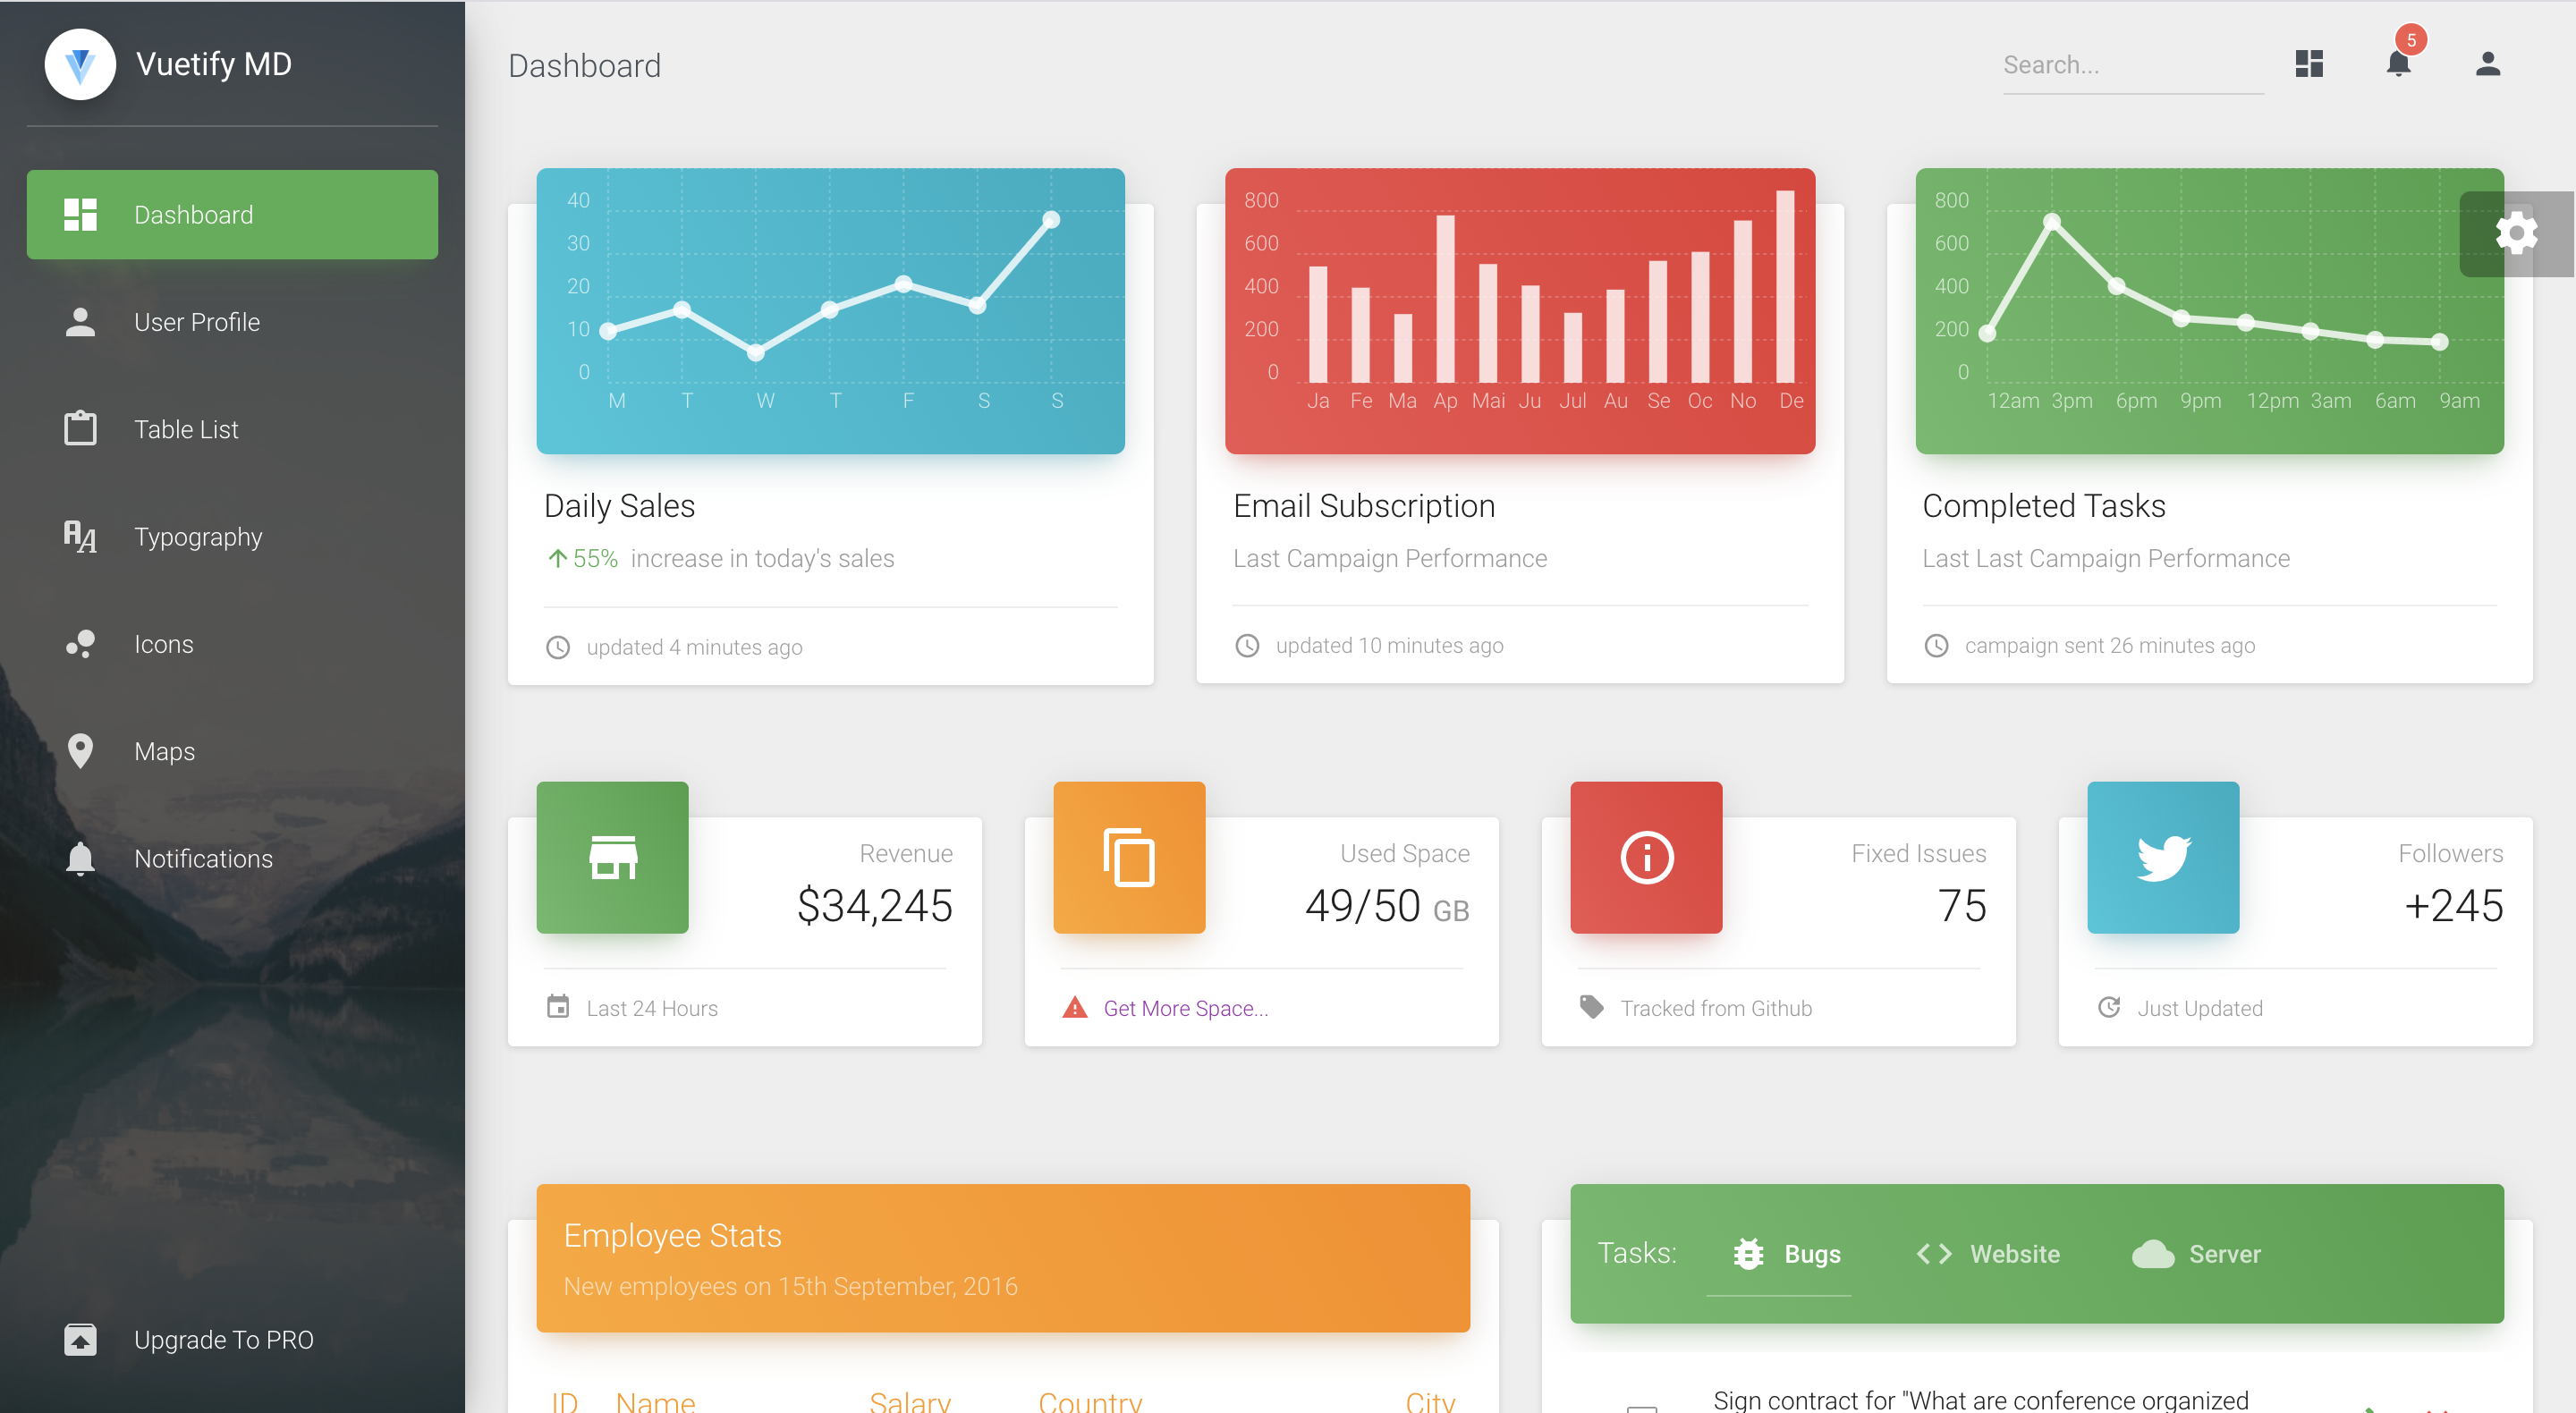
vuetify-material-dashboardはvue+vuetifyベースで作成された管理画面用のフレームワークです。
このフレームワークが、初期状態だとPWA対応していなかったため、pwa化した時の手順です。
PWA化に必要なモジュール追加
- vuetify-masterial-dashbordのpackage.jsonがあるディレクトリで下記を実行
yarn add --dev @vue/cli-plugin-pwa
yarn add register-service-worker
ソースコード修正
-
src/router/index.jsとsrc/router/router.jsの変更 - buildしたファイルを読み込んだ際に、redirectされた/dashbordを読み込めなかったためです。
(redirectを書き直せば、問題なさそうですが、一旦以下の対応です。)
index.js
変更前
routes: paths.map(path => route(path.path, path.view, path.name)).concat([
  { path: '*', redirect: '/dashboard' }
]),
変更後
routes: paths.map(path => route(path.path, path.view, path.name)),
paths.js
変更前
  path: '/dashboard',
  // Relative to /src/views
変更後
  path: '/',
  name: 'Dashboard',
ファイルの追加
public/img/icons/
- icons配下にはアイコン画像が複数枚(iOSやAndroid用にサイズ違いで)
- manifest.jsonにアイコン画像のパスを指定するので、それに合わせて適当に用意する。
manifest.json
public/manifest.json
{
    "name": "vuetify-materila-dashbord",
    "short_name": "vm-bord",
    "icons": [
      {
        "src": "./img/icons/ic_launcher.png",
        "sizes": "144x144",
        "type": "image/png"
      },
      {
        "src": "./img/icons/Icon-App-20x20@3x.png",
        "sizes": "60x60",
        "type": "image/png"
      },
      {
        "src": "./img/icons/Icon-App-29x29@3x.png",
        "sizes": "87x87",
        "type": "image/png"
      },
      {
        "src": "./img/icons/Icon-App-40x40@3x.png",
        "sizes": "120x120",
        "type": "image/png"
      },
      {
        "src": "./img/icons/Icon-App-60x60@3x.png",
        "sizes": "180x180",
        "type": "image/png"
      }
    ],
    "start_url": "./index.html",
    "display": "standalone",
    "background_color": "#FFFFFF",
    "theme_color": "#4e342e"
  }
robots.txt
public/robots.txt
User-agent: *
Disallow:
registerServiceWorker.js
src/registerServiceWorker.js
/* eslint-disable no-console */

import { register } from 'register-service-worker'

if (process.env.NODE_ENV === 'production') {
  register(`${process.env.BASE_URL}service-worker.js`, {
    ready () {
      console.log(
        'App is being served from cache by a service worker.\n' +
        'For more details, visit https://goo.gl/AFskqB'
      )
    },
    registered () {
      console.log('Service worker has been registered.')
    },
    cached () {
      console.log('Content has been cached for offline use.')
    },
    updatefound () {
      console.log('New content is downloading.')
    },
    updated () {
      console.log('New content is available please refresh.')
    },
    offline () {
      console.log('No internet connection found. App is running in offline mode.')
    },
    error (error) {
      console.error('Error during service worker registration:', error)
    }
  })
}
以上です。