はじめに
業務でMDMの開発をやっていてiOS端末をMDM認証する場合SSL対応したサーバを用意する必要があり、SSL証明書取得の流れを知っておきたかった。
そもそもどういう技術でHTTPS通信が成り立っているかから調べてみた。
SSL通信とは
SSL通信とはHTTP通信における暗号化のことを指している。
現在ではTLSによる暗号化の方が一般的だが、過去の経緯もありSSL通信と呼ばれることが多い。
このSSL通信は共通鍵暗号と公開鍵暗号の2つが併用されている。
公開鍵暗号は以降で利用される「共通鍵」の受け渡しに初回のみ利用され、共通鍵暗号はその後の暗号化通信において利用される。
SSLサーバ証明書とは
SSL通信で利用される共通鍵の受け渡しをする際に使われるのがSSLサーバ証明書である。
サービスを提供するWebサーバが公開鍵とFQDNやドメインの所有者等の情報を認証局に渡すともらえるのがSSLサーバ証明書となる。
これをWebサーバにインストールすることでクライアントがサーバから渡される公開鍵の妥当性を確認することができる。
CSRとは
Certificate Signing Requestの略のことで、自分の組織等の情報が暗号化されたもの。
これを認証局に提出することで上記のSSL証明書が払い出される。
Let's Encryptとは
無料でSSL証明書を払い出してくれる認証局の役割を果たしてくれるサービス。
2018年1月にワイルドカード証明書を自動更新できるよう対応してくれたらしい。
Certbotとは
Let's EncryptによるSSL証明書の払い出しまでを簡単にやってくれるツールみたいなもの。
How To Secure Nginx with Let's Encrypt on Ubuntu 16.04
WordPressをSSL化する
今回は仮想環境のUbuntuに入れたWordPressをSSL対応させた。
環境
Ubuntu16.04
nginx/1.10.3 (Ubuntu)
mysql Ver 14.14 Distrib 5.7.27
前提
以下の2つの準備をする必要がある。
- ドメイン
- DNS
ドメインは誤解を恐れず簡単に言えば、人間にわかりやすいURLのこと。
例えばexample.comとか。
たまに広義のFQDNという意味でも使われるかも。
DNSとはIPアドレスとドメインを紐づけてくれるサービスのこと。
そのサービスを提供してくれるサーバをDNSサーバと言う。
どちらも無料で作成・設定が可能な方法でやっていく。
SSL証明書の取得
ほぼ以下のエントリーを参考にした。圧倒的感謝。
Ubuntu+nginxの組み合わせで、Let's encryptのワイルドカード証明書取得
DNSは上に倣ってcloudflareを使った。1ドメインなら無料。こちらにも感謝!
vagrant@ubuntu-xenial:~$ sudo certbot certonly --manual -d *.example.tk --preferred-challenges dns-01 --server https://acme-v02.api.letsencrypt.org/directory
Saving debug log to /var/log/letsencrypt/letsencrypt.log
Plugins selected: Authenticator manual, Installer None
Starting new HTTPS connection (1): acme-v02.api.letsencrypt.org
Obtaining a new certificate
Performing the following challenges:
dns-01 challenge for example.tk

- - - - - - - - - - - - - - - - - - - - - - - - - - - - - - - - - - - - - - - -
NOTE: The IP of this machine will be publicly logged as having requested this
certificate. If you're running certbot in manual mode on a machine that is not
your server, please ensure you're okay with that.

Are you OK with your IP being logged?
- - - - - - - - - - - - - - - - - - - - - - - - - - - - - - - - - - - - - - - -
(Y)es/(N)o: Y

- - - - - - - - - - - - - - - - - - - - - - - - - - - - - - - - - - - - - - - -
Please deploy a DNS TXT record under the name
_acme-challenge.example.tk with the following value:

bdxxxxxxxxxxxxxxxxxxxxxxxxxxxxxxxxxxxxxxxxxcww

Before continuing, verify the record is deployed.
- - - - - - - - - - - - - - - - - - - - - - - - - - - - - - - - - - - - - - - -
Press Enter to Continue
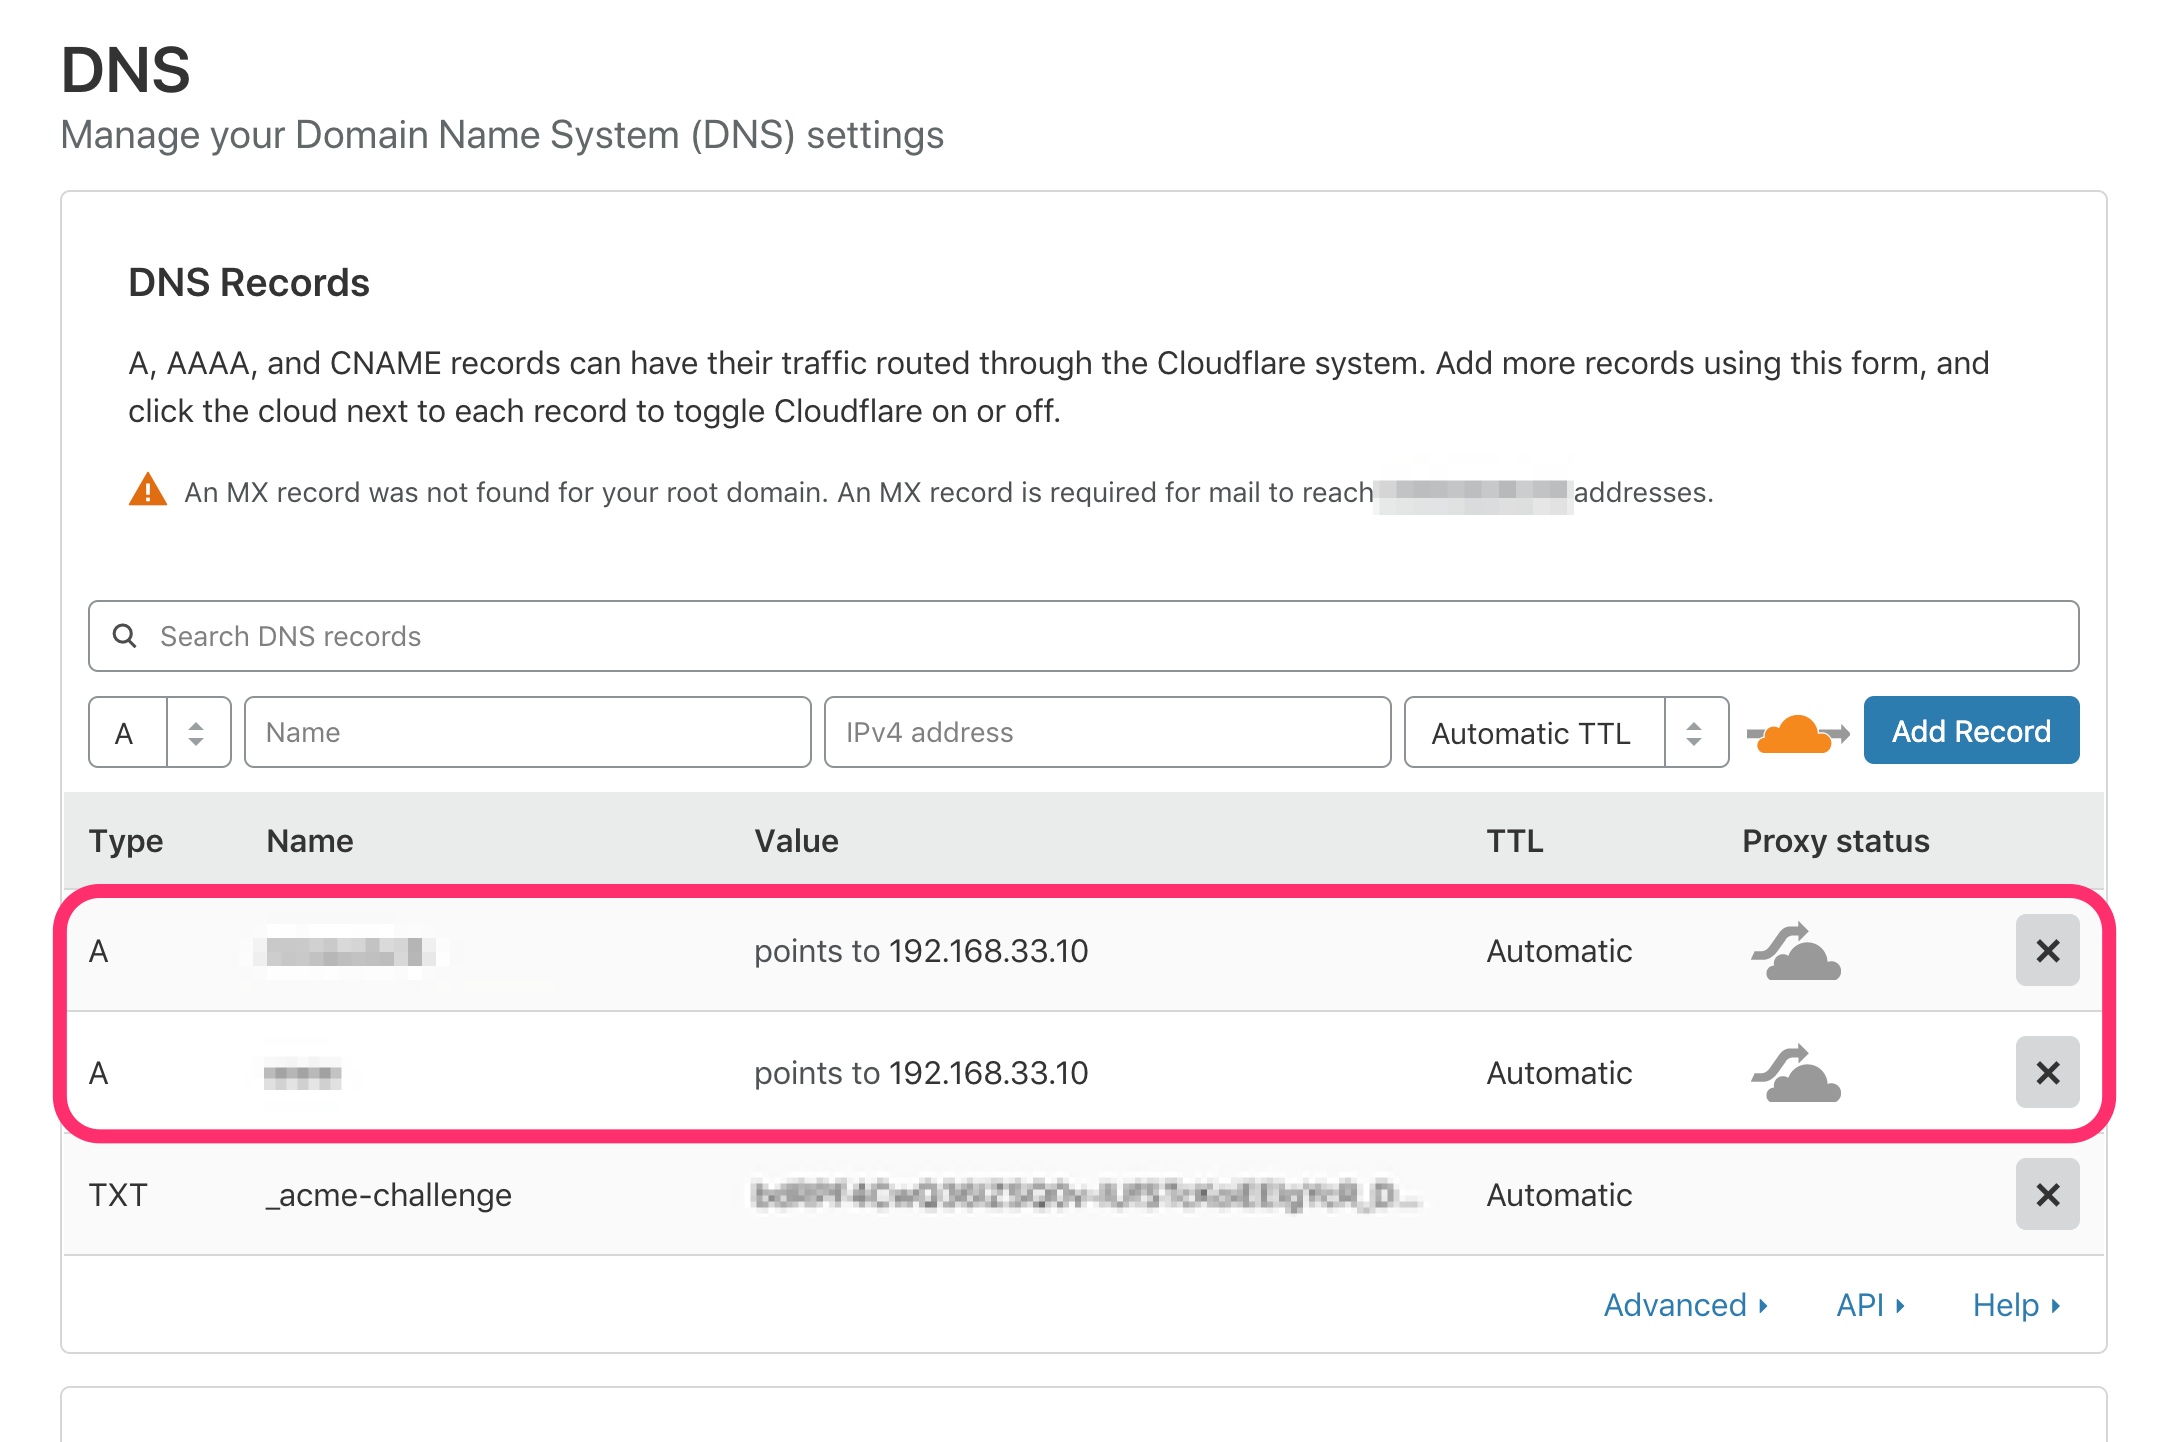
ここでcloudflareにログインして(サインインしておく)、DNSレコードのTypeにTXT、Nameに_acme-challenge、Valueにワンタイムトークンを入力して登録後、ネームサーバー名(xxx.ns.cloudflare.com)を指定したらEnter


Waiting for verification...
Resetting dropped connection: acme-v02.api.letsencrypt.org
Cleaning up challenges
Resetting dropped connection: acme-v02.api.letsencrypt.org

IMPORTANT NOTES:
 - Congratulations! Your certificate and chain have been saved at:
   /etc/letsencrypt/live/example.tk/fullchain.pem
   Your key file has been saved at:
   /etc/letsencrypt/live/example.tk/privkey.pem
   Your cert will expire on 2019-09-17. To obtain a new or tweaked
   version of this certificate in the future, simply run certbot
   again. To non-interactively renew *all* of your certificates, run
   "certbot renew"
 - If you like Certbot, please consider supporting our work by:

   Donating to ISRG / Let's Encrypt:   https://letsencrypt.org/donate
   Donating to EFF:                    https://eff.org/donate-le
以上で設定は完了。
念の為、以下でワンタイムトークンが帰ってくることを確認する。
vagrant@ubuntu-xenial:~$ dig -t txt _acme-challenge.example.tk @xxx.ns.cloudflare.com

; <<>> DiG 9.10.3-P4-Ubuntu <<>> -t txt _acme-challenge.example.tk @xxx.ns.cloudflare.com
;; global options: +cmd
;; Got answer:
;; ->>HEADER<<- opcode: QUERY, status: NOERROR, id: 15351
;; flags: qr aa rd; QUERY: 1, ANSWER: 1, AUTHORITY: 0, ADDITIONAL: 1
;; WARNING: recursion requested but not available

;; OPT PSEUDOSECTION:
; EDNS: version: 0, flags:; udp: 512
;; QUESTION SECTION:
;_acme-challenge.example.tk.	IN	TXT

;; ANSWER SECTION:
_acme-challenge.example.tk. 300 IN	TXT	"bdxxxxxxxxxxxxxxxxxxxxxxxxxxxxxxxxxxxxxxxxxcww"

;; Query time: 33 msec
;; SERVER: 173.245.58.58#53(173.245.58.58)
;; WHEN: Thu Jun 20 00:26:01 JST 2019
;; MSG SIZE  rcvd: 112
返ってきてそう。
DNSの設定
AレコードにwwwありとなしのIPを登録する。
ローカルネットワークのIPを登録する場合プロキシを外しておく。
(この辺よくわかってないのだが、cloudflareを経由するようにすると別のネットワークのIPだと間違えてしまうから?)
外し方はDNS設定画面でオレンジの雲アイコンをクリックする。

WordPressのインストール
以下を参考にした。
How To Install WordPress with LEMP on Ubuntu 16.04
Webサーバの設定
今回はNginxを使った。
WordPressを入れる場合Apacheとの組み合わせが多いので日本語の記事が少なく苦労した。
以下の設定でSSL化できるようになった。
server {
  listen 80 default_server;
  listen [::]:80 default_server;
  server_name example.tk www.example.tk;
  return 302 https://$server_name$request_uri;
}

server {
  listen 443 ssl http2 default_server;
  listen [::]:443 ssl http2 default_server;
  server_name example.tk www.example.tk;
  ssl on;
  # 以下に先ほど取得した証明書と秘密鍵を指定する
  ssl_certificate     /etc/letsencrypt/live/example.tk/fullchain.pem;
  ssl_certificate_key /etc/letsencrypt/live/example.tk/privkey.pem;

  root /var/www/html;

  index index.php index.html index.htm index.nginx-debian.html;

  server_name example.tk www.example.tk;

  location / {
    try_files $uri $uri/ /index.php$is_args$args;
  }

  location ~ \.php$ {
    include snippets/fastcgi-php.conf;
    fastcgi_pass unix:/run/php/php7.0-fpm.sock;
    include fastcgi_params;
    fastcgi_param SCRIPT_FILENAME $document_root$fastcgi_script_name;
  }

  location ~ /\.ht {
    deny all;
  }

  location = /favicon.ico { log_not_found off; access_log off; }
  location = /robots.txt { log_not_found off; access_log off; allow all; }
  location ~* \.(css|gif|ico|jpeg|jpg|js|png)$ {
    expires max;
    log_not_found off;
  }
}
結果

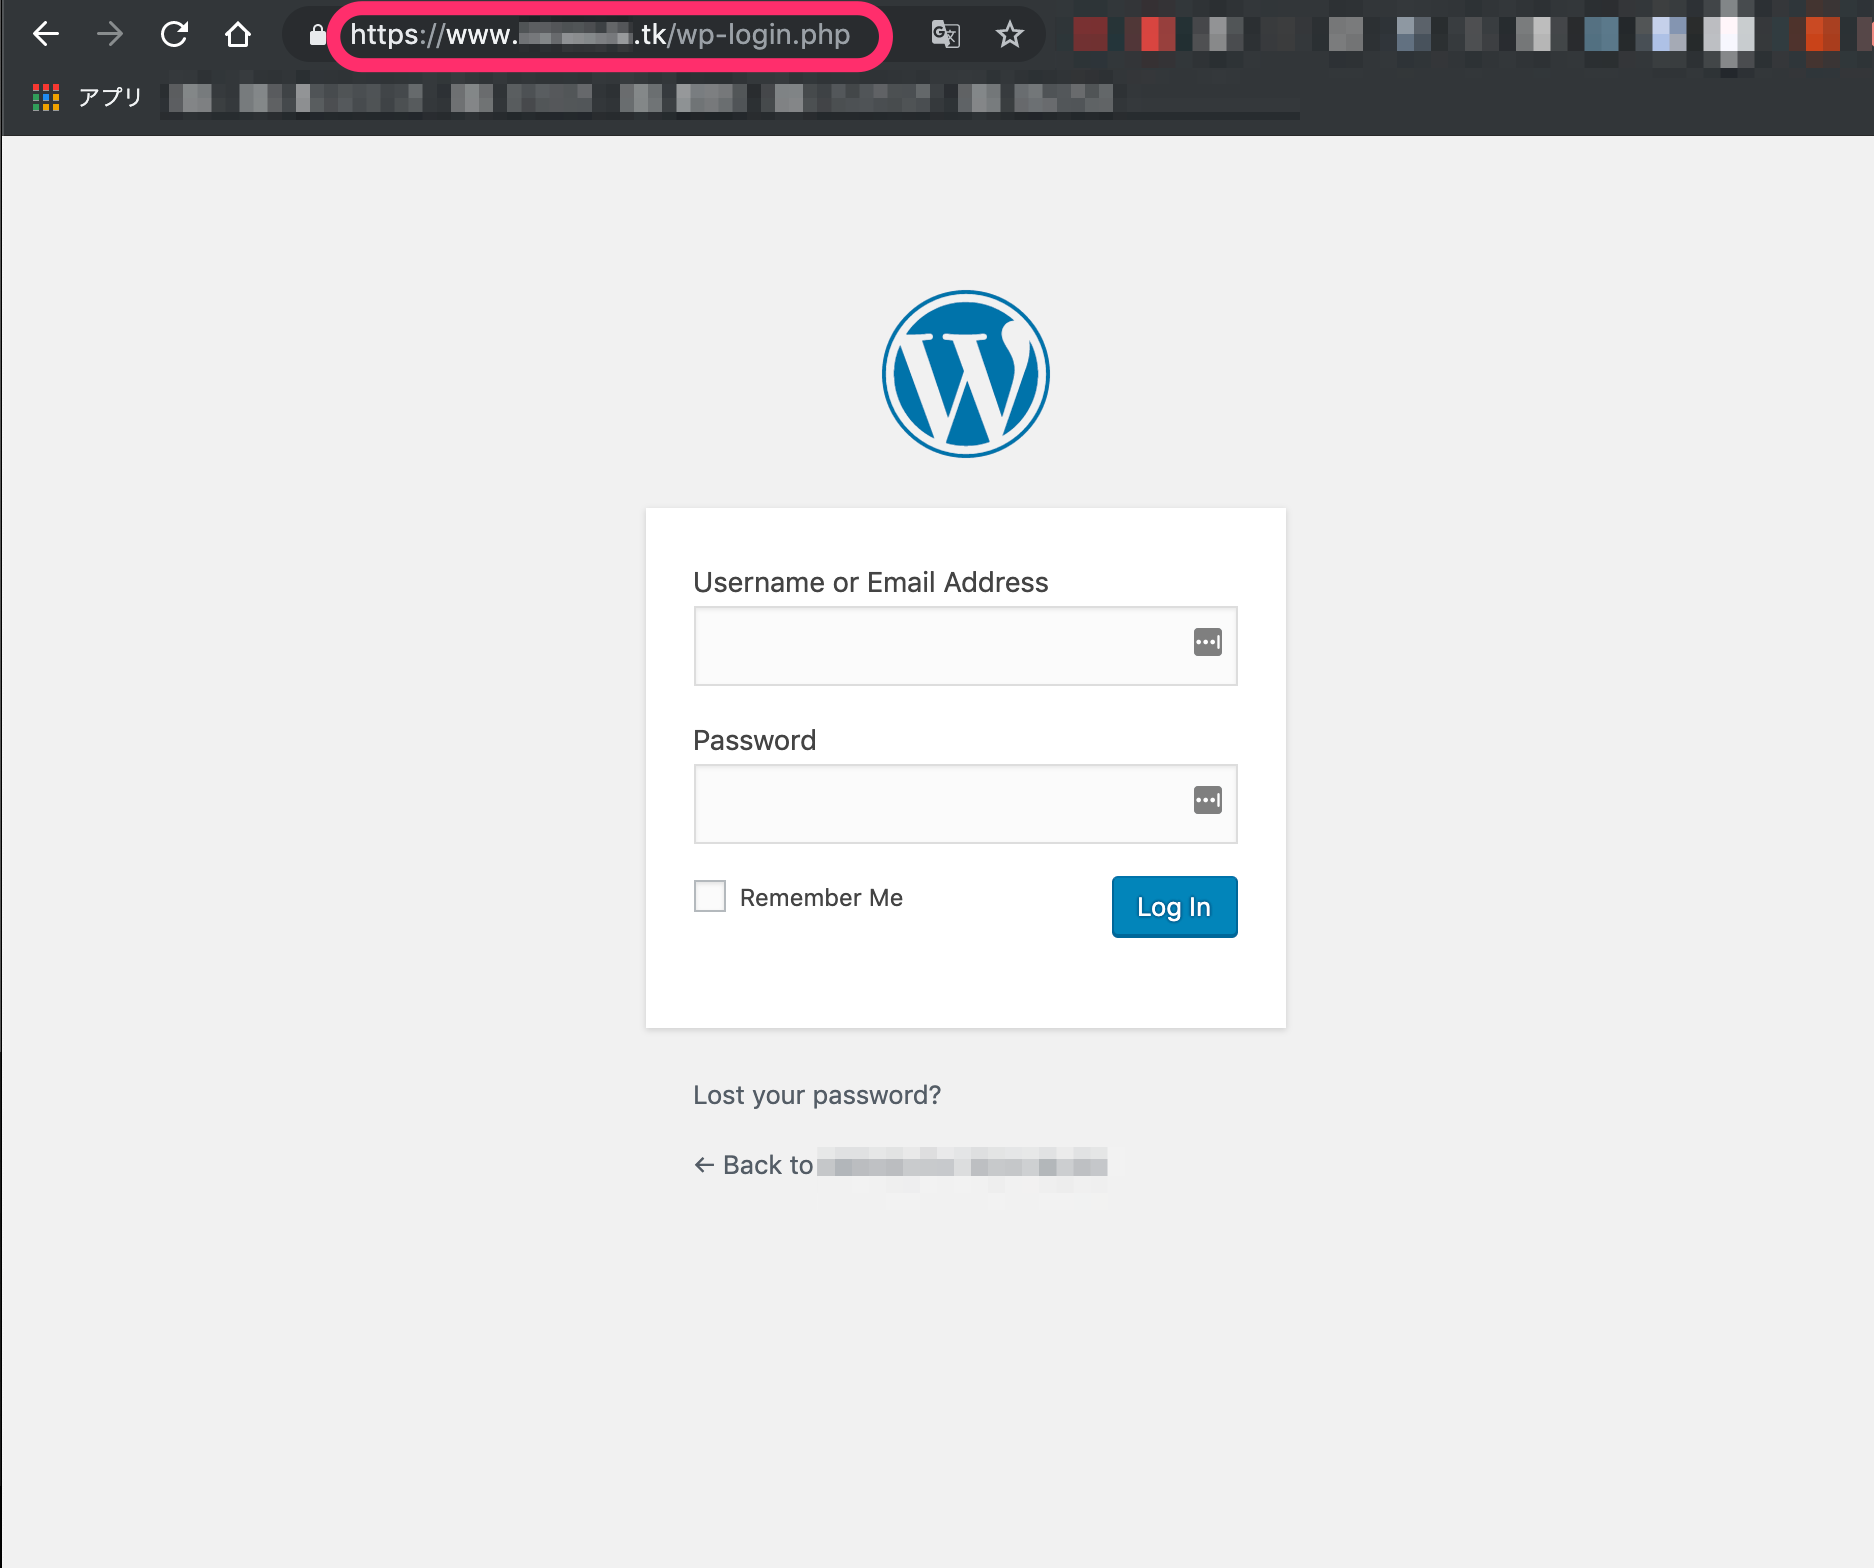
やったぜ。
今後
ワイルド証明書を作成した場合、サブドメインごとに複数の証明書登録する必要がなくなる。
ブログのみでなく、Redmineでタスク管理したりGrowiでWikiを作ったりしたい。
Let's Encryptの採用事例
はてな
よくわからんかった
freenomでドメイン取得したけど、DNSもそのままfreenomで設定すればCloudflareに登録しなくてもよかったのではないか???
もうやってしまったので忘れることにしよう、、、
あと今回の設定はLAN内でしかアクセスができないと思ってるんだけどあってる?
ネットワークわからないマンつらみある。
こんどやる
サブドメインも共通の証明書を使えるようにワイルドカード証明書として証明書を作成したらドメインが*.example.tkとなっていて、example.tkでアクセスするとNET::ERR_CERT_COMMON_NAME_INVALIDと怒られた。
当面はwwwつきで回避して、余裕が出てきたら登録ドメインを*example.tkとかに変更するか、Nginxの設定でwwwなしをwwwありにリダイレクトさせるかしたい。
参考にした
サーバ証明書のAレコード、TXTレコード
ワイルドカード証明書の取得手順
Certbotのインストール、ファイアウォール設定、SSL証明書作成
Certbotの使い方
エラーログ
WordPressのインストール