はじめに
Amazon CognitoでIDプロバイダーを設定して、ホストされたUI(Hosted UI)を利用した際にホストされたUI(Hosted UI)を表示せず、IDプロバイダーのサインイン画面を表示する方法を残します。
前提
Amazon CognitoにIDプロバイダーとしてGoogleを設定した例とします。設定方法は、以下を参照すると良いです。
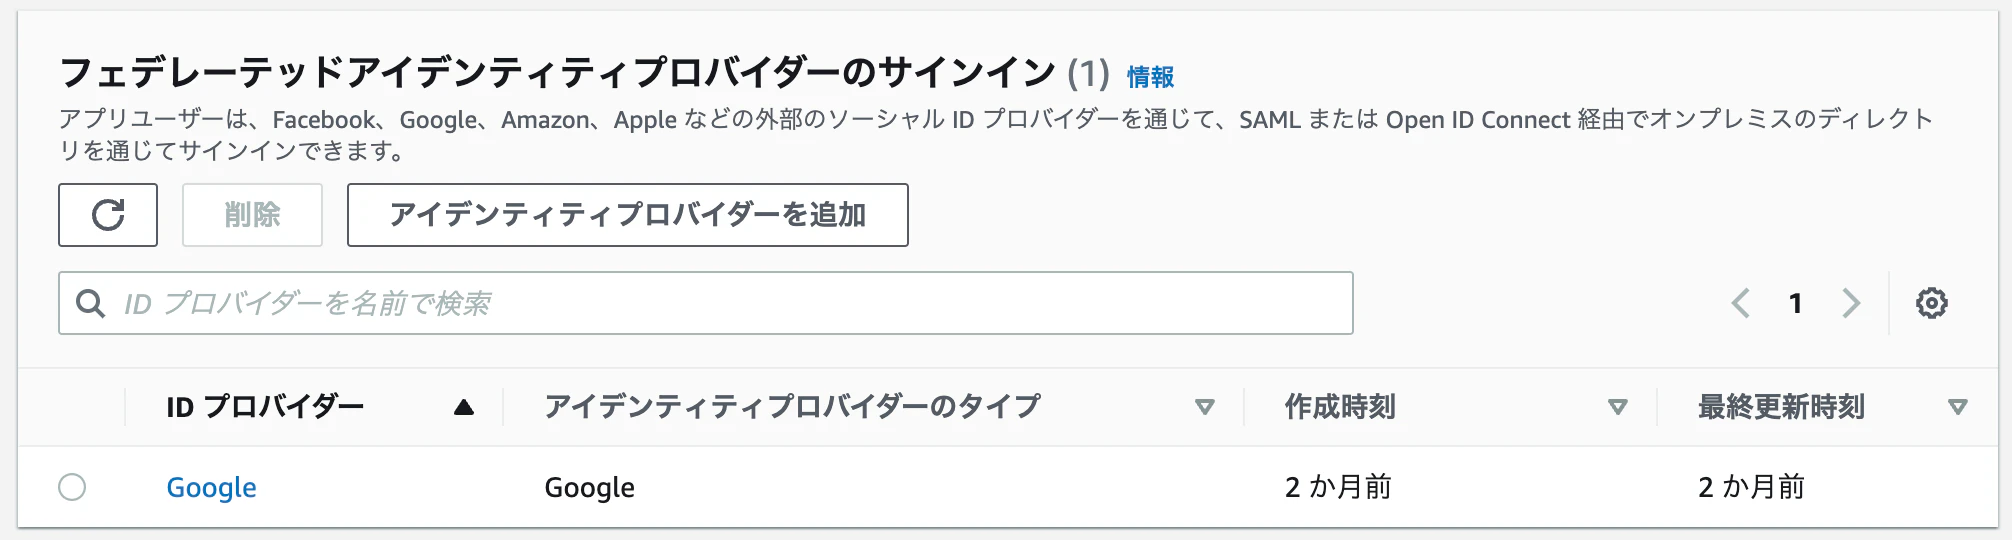
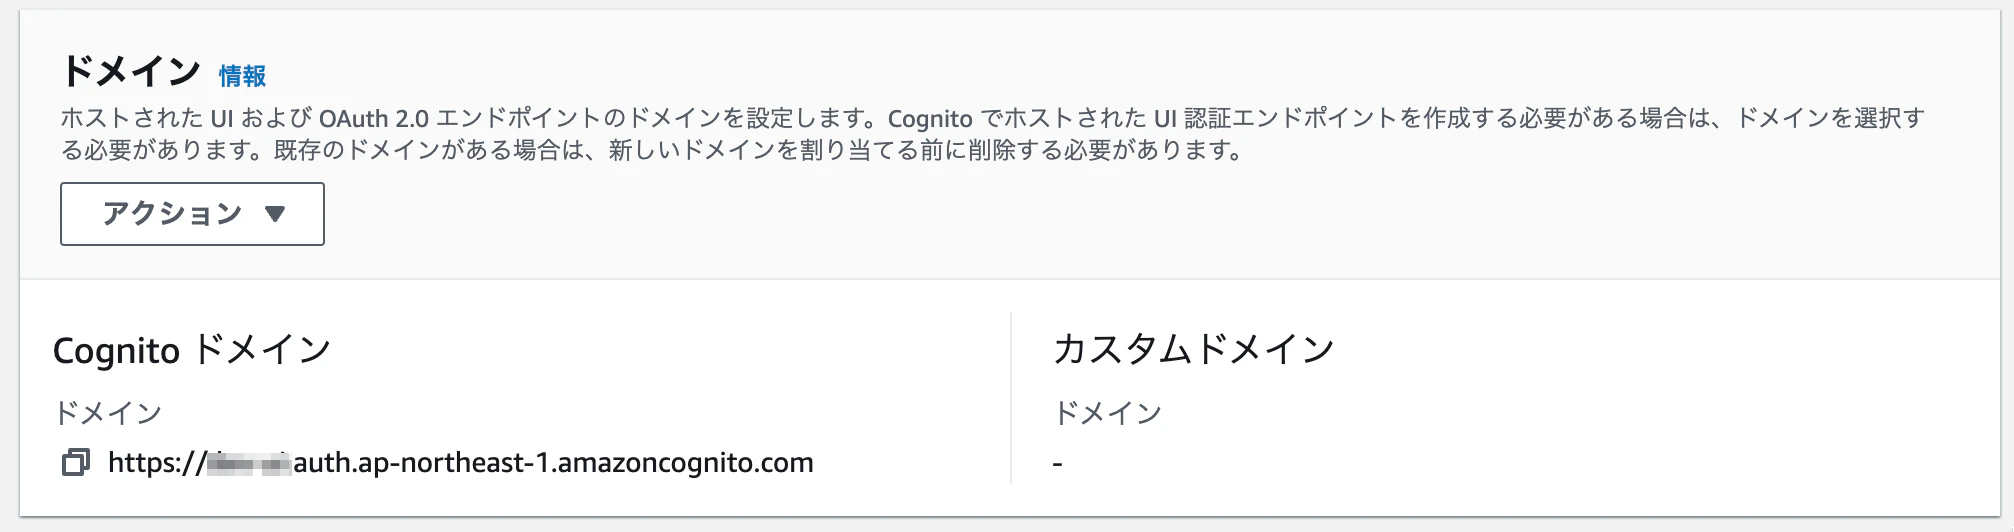
こんな形でIDプロバイダー、ドメインを設定しておきます。
通常の場合
ホストされたUI(Hosted UI)を利用した場合、以下の流れになります。
アクセス先→ホストされたUI(Hosted UI)→Googleサインインボタンをクリック→Google認証→アプリケーション
アクセス先
※サンプルになります。穴埋めしてお使いください。
https://[Cognitoで設定したドメイン].auth.[リージョン].amazoncognito.com/login?client_id=[クライアントID]&response_type=code&scope=email+openid+profile&redirect_uri=[リダイレクト先URL]
アクセスすると、以下の画面が表示されます。
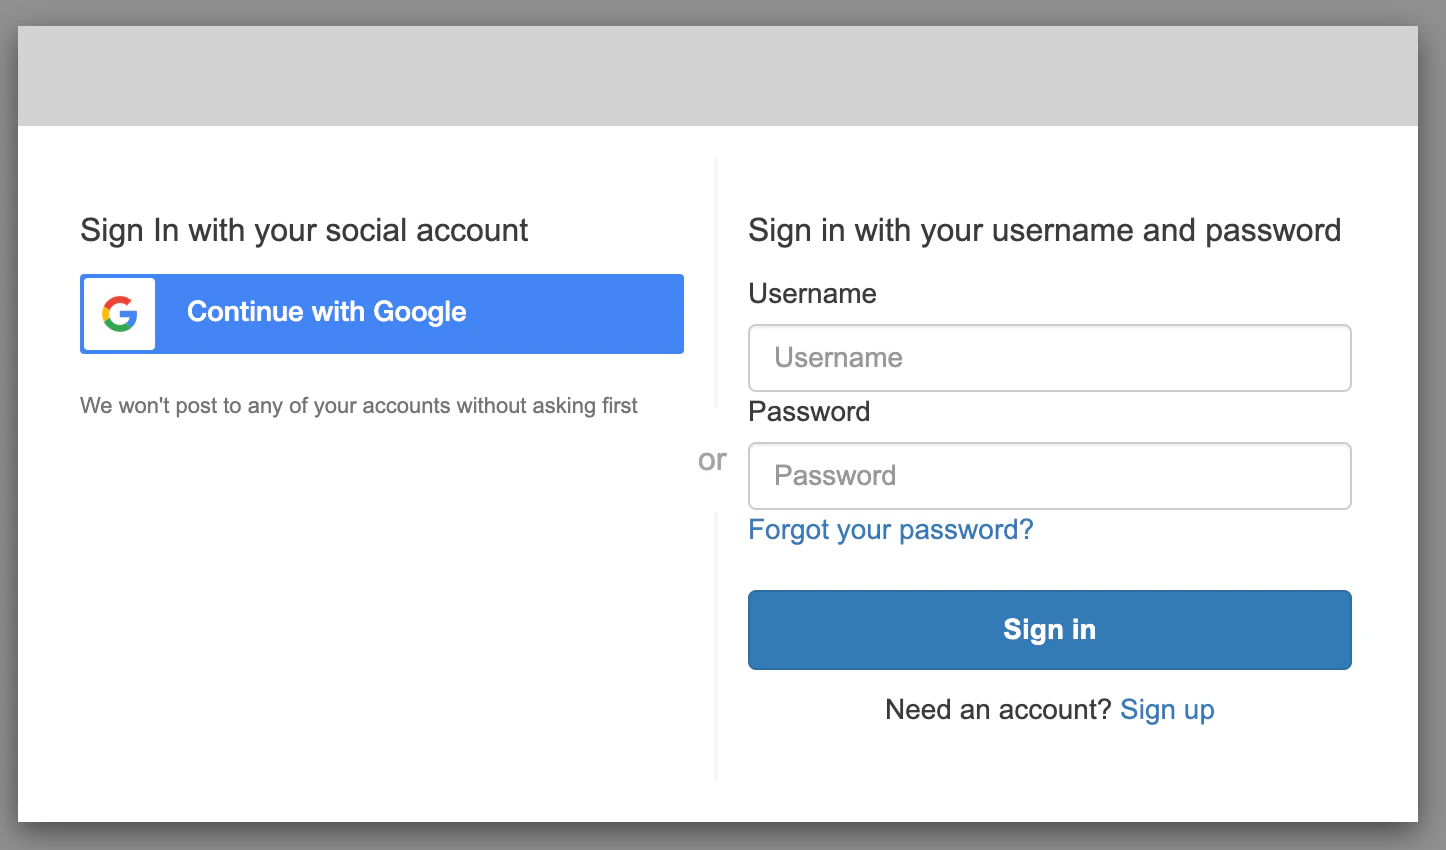
その後、「Continue with Google」をクリックすると、Googleのサインイン画面が表示されます。
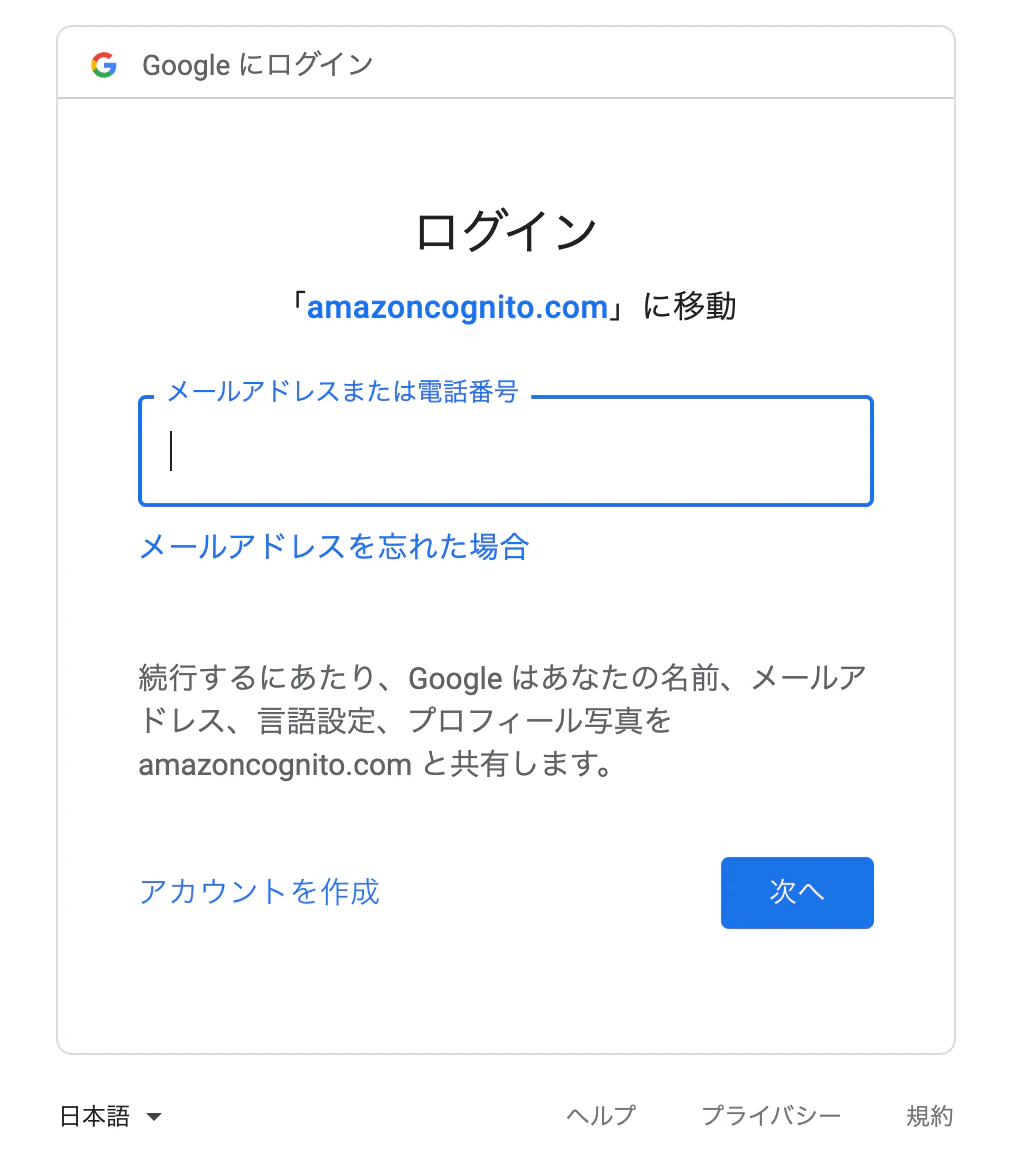
認証を行った後、リダイレクト先に遷移することになります。
ホストされたUI(Hosted UI)を表示しない場合
ホストされたUI(Hosted UI)を利用した場合でホストされたUI(Hosted UI)を表示せず、Google認証へ遷移させたい場合は、以下の流れになります。
アクセス先→Google認証→アプリケーション
アクセス先
※サンプルになります。穴埋めしてお使いください。
https://[Cognitoで設定したドメイン].auth.[リージョン].amazoncognito.com/oauth2/authorize?client_id=[クライアントID]&response_type=code&scope=email+openid+profile&redirect_uri=[リダイレクト先URL]&identity_provider=[IDプロバイダー名(今回だとGoogle)]
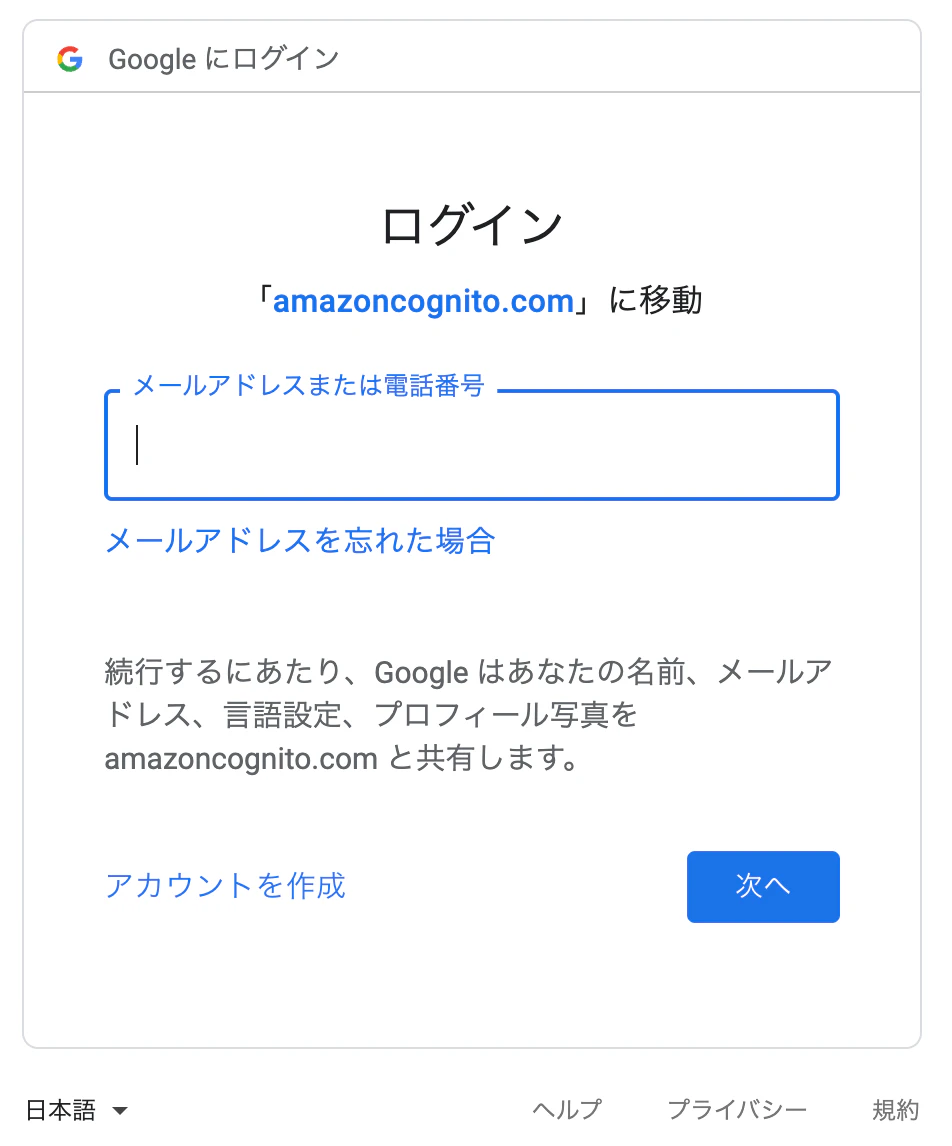
アクセス先にアクセスすると、すぐに以下へ遷移します。
まとめ
アクセス先を変えるだけで「Continue with Google」をクリックすることなく、すぐに認証できる流れになるため、スッキリした流れになります。もちろん、特定のIDプロバイダーで利用したい場合に限りますが、「それやりたかった!」という方もいるのではないでしょうか。他のIDプロバイダーでも利用できます。ぜひ、ご活用ください。
では。