背景
Googleログインを採用したい気持ちがあり、やり方を調べ、実装したが、思うところがあったので、記事にします。後、備忘録としても。
思うところ
よくみるGoogleログインは、ページがリダイレクトして、Googleアカウントログインページが表示され、callbackでログイン後のページが表示されます。
しかし、SPAでこれと同じ挙動を実装しようとすると、どうすればいいのか悩みました。
そこで調べてみると、Googleログインには、リダイレクト以外にポップアップによるログインページ表示があることがわかりました。
でも、ポップアップでログインページを表示するのをあまり見たことがないので、SPAでリダイレクトによりGoogleログインを実現するために、どうすればいいか試したことを書きます。
前準備
まず、GoogleCloudPratform上にプロジェクトを作成します。
このへんの作成手順は、検索するとでてくるので割愛し、プロジェクトが作成されている前提で話を進めます。
ポップアップによるGoogleログイン(クライアント)
以下URLを参考にHTMLを作成します。
https://developers.google.com/identity/sign-in/web/sign-in
<!DOCTYPE html>
<html>
<head>
  <title>GoogleLogin(ポップアップ/client)</title>
  <script src="https://apis.google.com/js/platform.js" async defer></script>
  <meta name="google-signin-client_id" content="YOUR_CLIENT_ID.apps.googleusercontent.com">
</head>
<body>
  <div class="g-signin2" data-onsuccess="onSignIn"></div>
  <div id="email"></div>
  <div id="img"></div>
  <script>
    function onSignIn(googleUser) {
      const profile = googleUser.getBasicProfile();

      const email = document.createElement('p');
      email.innerText = profile.getEmail();

      const img = document.createElement('img');
      img.src = profile.getImageUrl();

      document.getElementById('email').appendChild(email);
      document.getElementById('img').appendChild(img);
    }
  </script>
</body>
</html>
YOUR_CLIENT_ID.apps.googleusercontent.com には、作成したプロジェクトの認証情報を記載してください。
これを動かします。
ローカルにhtml単体で作成してアクセスするとうまく動かないみたいなので、適当なWebサーバ上で動かします。
今回は、Node.jsのプロジェクトを作成して動かしました。
Webページ上でログインするだけで、自分のサーバにリクエストを飛ばしたりは、何もしていないです。
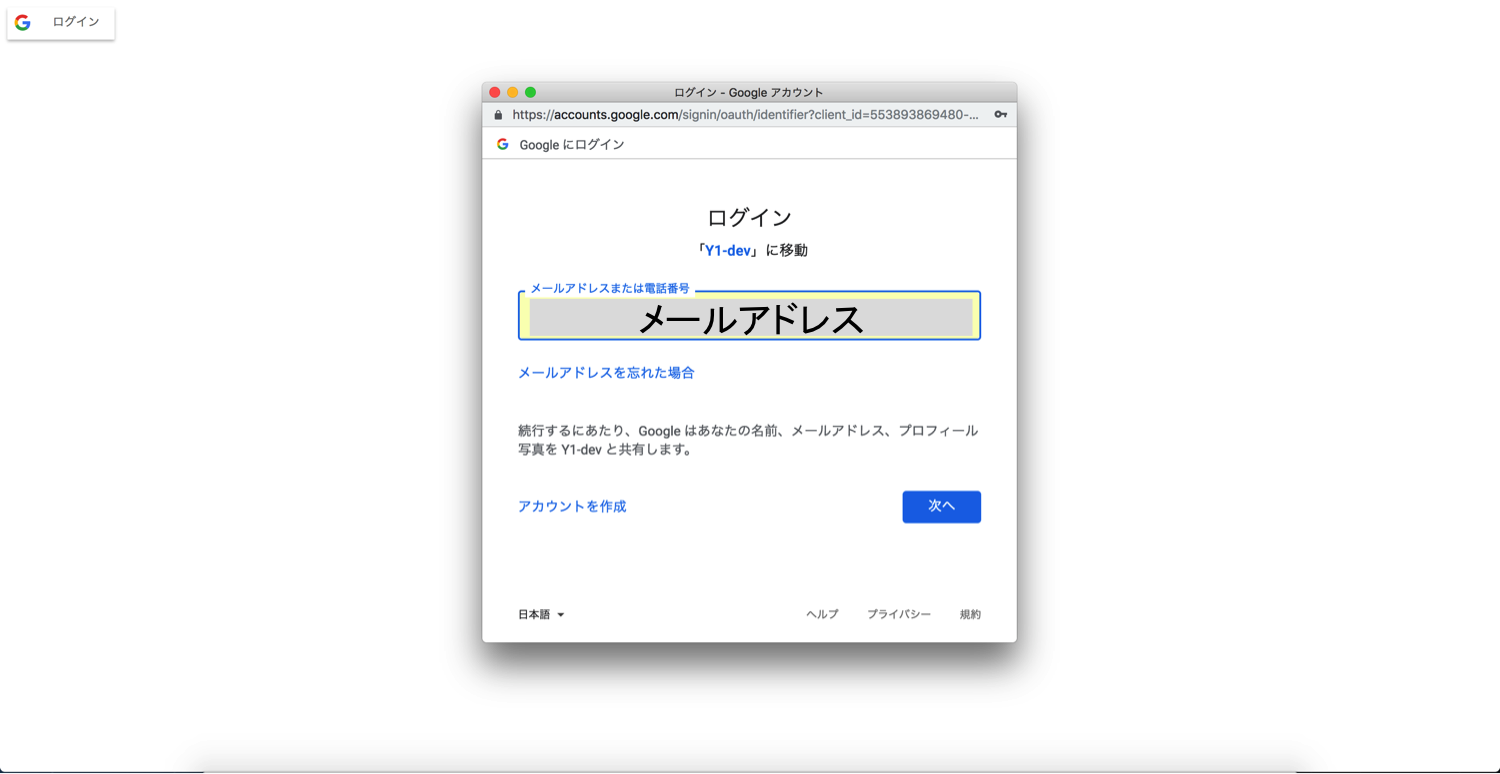
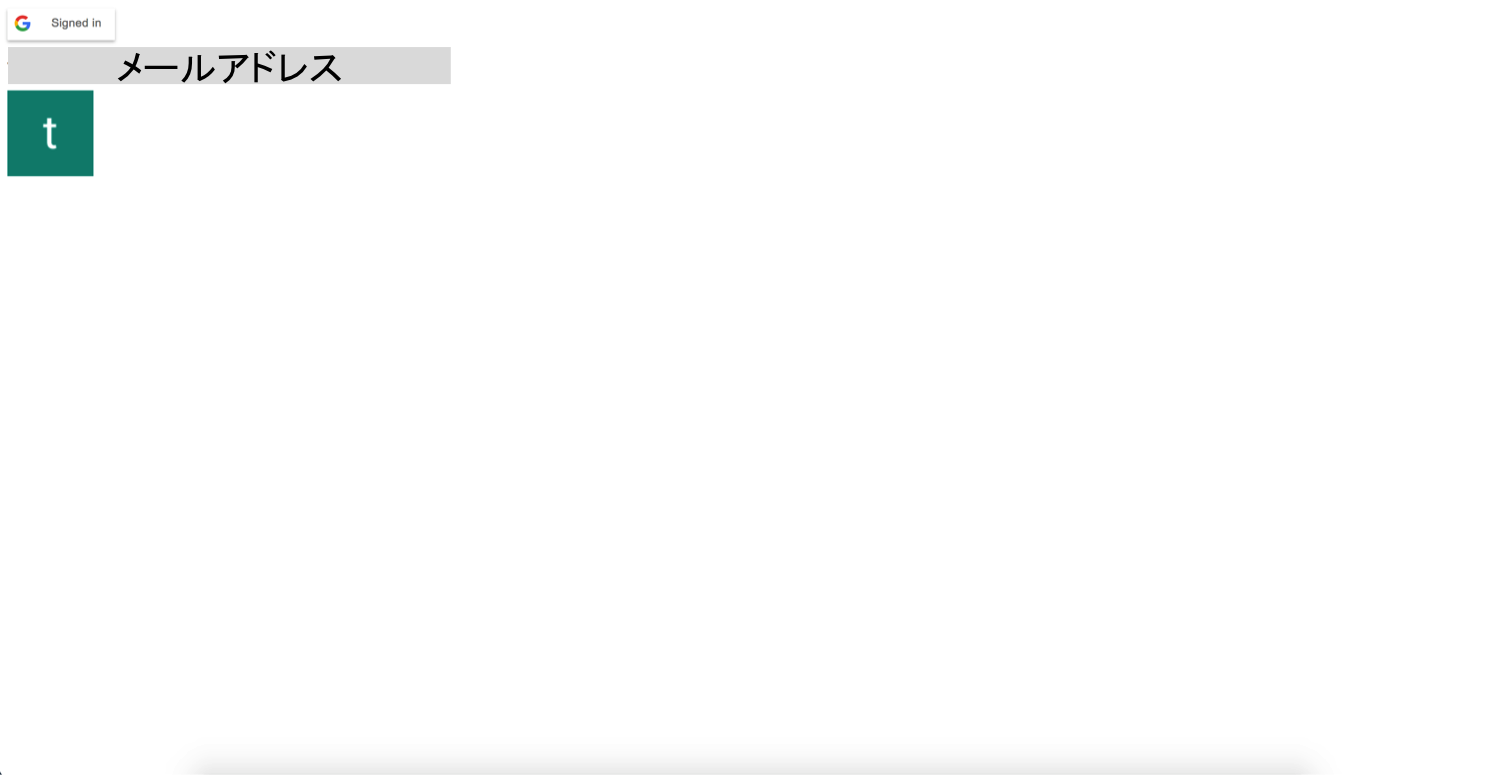
左上のログインボタンを押すとGoogleログイン用画面がポップアップ表示されます。
その後、メールアドレスとパスワードを入力すると、 onSignIn 関数が呼ばれ、登録されている情報を受け取ることができます。
↓
ポップアップによるGoogleログイン(サーバ)
次に、サーバ側にリクエストをして、サーバからGoogleへ認証を行う方式でLoginを行います。
以下URLを参考にHTMLを作成します。
https://developers.google.com/identity/sign-in/web/backend-auth
<!DOCTYPE html>
<html>
<head>
  <title>GoogleLogin(ポップアップ/server)</title>
  <script src="https://apis.google.com/js/platform.js" async defer></script>
  <meta name="google-signin-client_id" content="YOUR_CLIENT_ID.apps.googleusercontent.com">
</head>
<body>
  <div class="g-signin2" data-onsuccess="onSignIn"></div>
  <div id="email"></div>
  <div id="img"></div>
  <script>
    function onSignIn(googleUser) {
      var id_token = googleUser.getAuthResponse().id_token;
      var xhr = new XMLHttpRequest();
      xhr.open('POST', 'http://localhost:3000/auth');
      xhr.setRequestHeader('Content-Type', 'application/x-www-form-urlencoded');
      xhr.onload = function() {
        const response = JSON.parse(xhr.responseText);

        const email = document.createElement('p');
        email.innerText = response.email;

        const img = document.createElement('img');
        img.src = response.picture;

        document.getElementById('email').appendChild(email);
        document.getElementById('img').appendChild(img);
      };
      xhr.send('idtoken=' + id_token);
    }
  </script>
</body>
</html>
同じく YOUR_CLIENT_ID.apps.googleusercontent.com には、作成したプロジェクトの認証情報を記載してください。
動きの見た目は、先ほどのものと同じです。
ただし、内部の処理が異なっていて、Googleログイン処理成功後に、サーバへ id_token をpostしています。
var id_token = googleUser.getAuthResponse().id_token;
その後、サーバ側で受け取った id_token が正しいものかをチェックしています。
問題なければ、ログインしたユーザーの情報を返すような処理の流れになっています。
const {OAuth2Client} = require('google-auth-library');
app.post('/auth', (req, res) => {
  const token = req.body.idtoken;
  const client = new OAuth2Client(CLIENT_ID);
  async function verify() {
    const ticket = await client.verifyIdToken({
      idToken: token,
      audience: CLIENT_ID,
    });
    const payload = ticket.getPayload();
    const user = {};
    user.email = payload['email'];
    user.picture = payload['picture'];
    res.send(user);
  }
  verify().catch(console.error);
});
リダイレクトによるGoogleログイン
今までポップアップによるGoogleログインを試してきましたが、
僕がよくみる方式は、リダイレクトした後にGoogleログインのページが表示されて、
ログイン処理を済ますと、ログイン後ページに遷移するものです。
これをやってみます。
htmlとしては、ログインボタンを置いて、クリックするとサーバ側にGetリクエストが飛ぶようにします。
<!DOCTYPE html>
<html>
<head>
  <title>GoogleLogin(リダイレクト/server)</title>
</head>
<body>
  <a href="http://localhost:3000/login/google/redirect" className="btn btn-google">
    <img src="http://webdemo.dac.co.jp/infeed/google_login.png" width='280px' />
  </a>
</body>
</html>
const passport = require('passport');
const GoogleStrategy = require('passport-google-oauth20').Strategy;

app.use(passport.initialize());
app.use(passport.session());

function extractProfile (profile) {
  let imageUrl = '';
  if (profile.photos && profile.photos.length) {
    imageUrl = profile.photos[0].value;
  }
  return {
    id: profile.id,
    displayName: profile.displayName,
    image: imageUrl
  };
}

passport.use(new GoogleStrategy({
  clientID: 'YOUR_CLIENT_ID.apps.googleusercontent.com',
  clientSecret: 'YOUR_CLIENT_SECRET',
  callbackURL: 'http://localhost:3000/login/google/callback',
  accessType: 'offline'
}, (accessToken, refreshToken, profile, cb) => {
  cb(null, extractProfile(profile));
}));

passport.serializeUser((user, cb) => {
  cb(null, user);
});

passport.deserializeUser((obj, cb) => {
  cb(null, obj);
});

app.get('/login/google/redirect', (req, res, next) => {
    if (req.query.return) {
      req.session.oauth2return = req.query.return;
    }
    next();
  },
  passport.authenticate('google', { scope: ['email', 'profile'] })
);

app.get('/login/google/callback', passport.authenticate('google'), (req, res) => {
  const redirect = req.session.oauth2return || '/';
  delete req.session.oauth2return;
  res.redirect(redirect);
});
ログイン後ページがないので、 / に遷移させています。
処理の流れとしては、 Passport.jsという認証用のミドルウェアを利用して、
WebブラウザからのリクエストをGoogleログインページに飛ばしています。
Googleログイン処理が終わると、callbackで指定したURLにリダイレクトで遷移するような流れになっています。
 ↓

↓

↓
SPA+JWT+リダイレクトによるGoogleログイン
SPAでアプリケーションを作成した場合、JWTを使って認証処理を行うことがあると思います。
JSON Web Token の効用
認証におけるJWTの利用について
SPAの場合、サーバとの通信は基本的に非同期になるため、Googleログインのcallbackが呼ばれた後に、
どのように処理をすればいいのか悩みました。
仮にログイン後見ることができるページのURLを渡したとしても、そのページを表示するためのJWTの認証処理で弾かれてしまうと思います。
やりたいこと
Googleログインのcallback後に、ユーザー動作なしでログイン後ページに飛ばしたい。
考えた方法
通常ログインの場合、ログインIDとパスワードを送信して、authTokenを発行してもらいcookie/localStorageにセット、そのauthTokenを利用して認証を行うと思います。
なので、authTokenをcookie/localStorageに保存することができれば、その後の画面操作をスムーズに行うことができます。
上記を行うために考えた結果、URLのパラメータとしてauthTokenを渡して、処理するようにしました。
http://my-service.co.jp/login?token=123456789
Googleログインのcallbackで呼ばれる処理の中で、ログインIDを利用してauthTokenを発行。
それをパラメータにつけて、ログインページにリダイレクトさせます。
そのページ内の処理でリクエストパラメータを取得し、cookie/localStorageに保存。
ここまでくれば通常のログイン処理後の動きと同等なので、後は、既存の処理に任せます。
ちなみにReactの実装では、以下のような記述をしております。
  componentWillMount() {
    const url = location.href;
    const params = url.split('?')[1];
    if(params){
      const key = params.split('=')[0];
      if(key === 'token') {
        const token = params.split('=')[1];
        this.props.onSocialLogin(token);
      }
    }
  }
最後に
ソースは以下のリポジトリにあげてます。
https://github.com/takuhou/google-login
※React部分はないです。
ポップアップ形式のログインを使えばこんなことを考えなくてもいいのですが、どうしてもリダイレクト方式で実現したく。
後、この部分だけSPAにしないとか、ちゃんとしたやり方があると思うのですが、ベストプラクティスがわからなかったので詳しい人いたら教えていただけると幸いです。