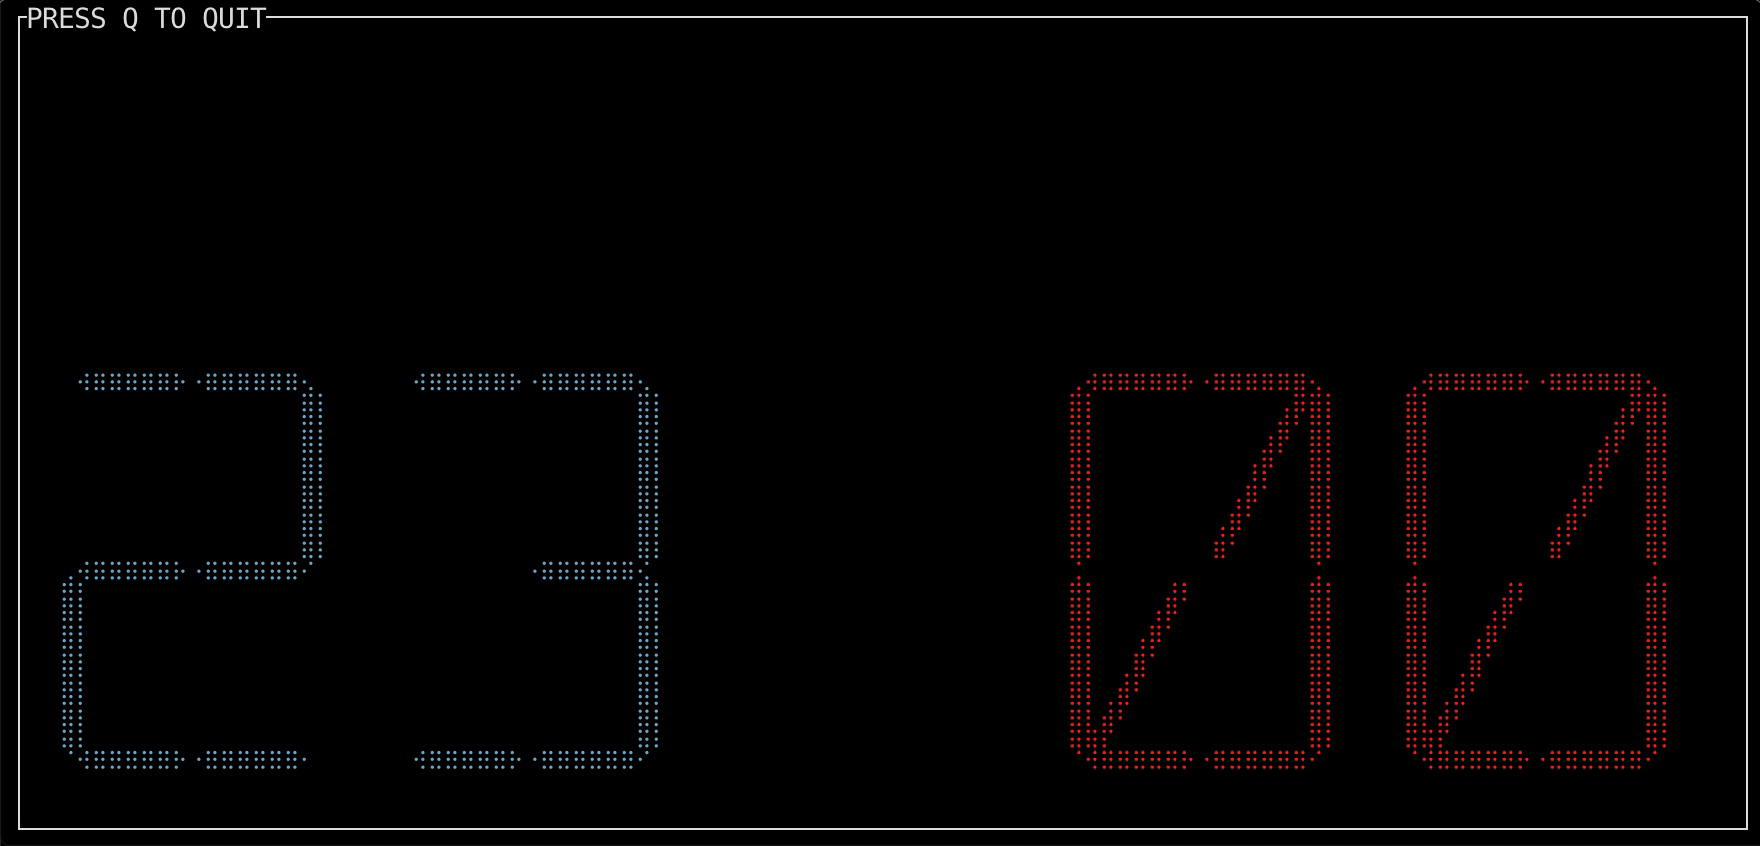
最終的に作るもの
HackerNewsのTUIコマンドであるhnをGoで作成します。
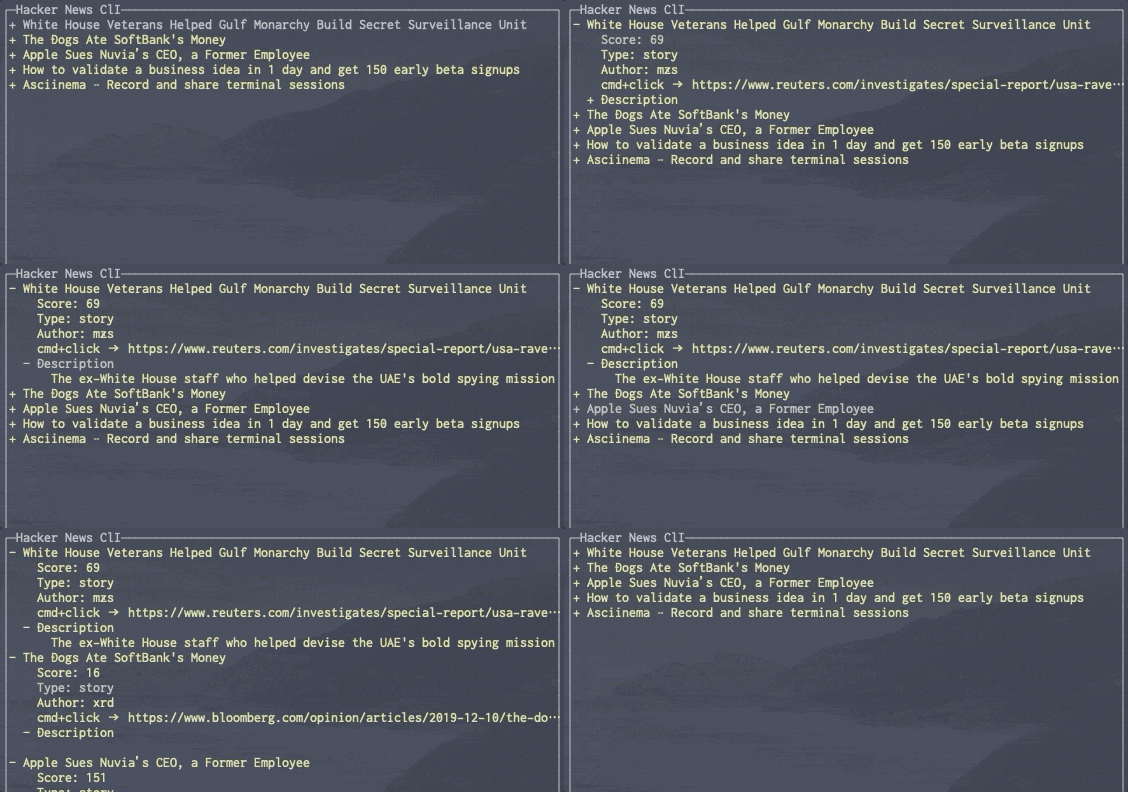
背景
HackerNewsをわりと良く見るのですが、terminalでも見れないかなーと思っていた所、良い感じなのがありました。
| 言語 | URL |
|---|---|
| Python | https://github.com/donnemartin/haxor-news |
| Go | https://github.com/andrewstuart/hn |
最近少し、Goの勉強をしているということでGo製の方を動かしたい!と思っていたら。。。
依存しているライブラリがインストールできない?!見に行くと2年くらい更新されておらず。。。原因を突き止めるのも面倒だと思い、自分で作ることにしました。
ライブラリ調査
単なるcli操作でHackNewsの一覧を出すのでは、面白くないと思い。TUI(テキストユーザインタフェース)のライブラリを探しました。
TUIはCUIと違い、GUIのように画面全体を利用します。しかし、GUIとも異なり一般的なテキスト端末で表示できる記号や文字だけで画面を構成します。
こんな感じの見た目になります。↓↓
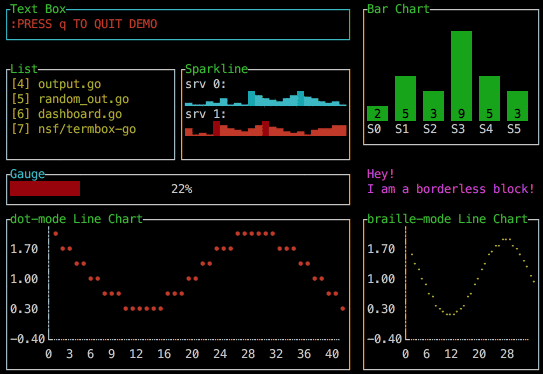
termuiのREADMEから引用
私自身ライブラリを探す時はawesome-goから見に行き、その後にGithub内を調査しています。今回探したのもawesome-goから見つけました。
以下は自分がHackerNews TUIを作成する際に見つけた候補ライブラリ集です。
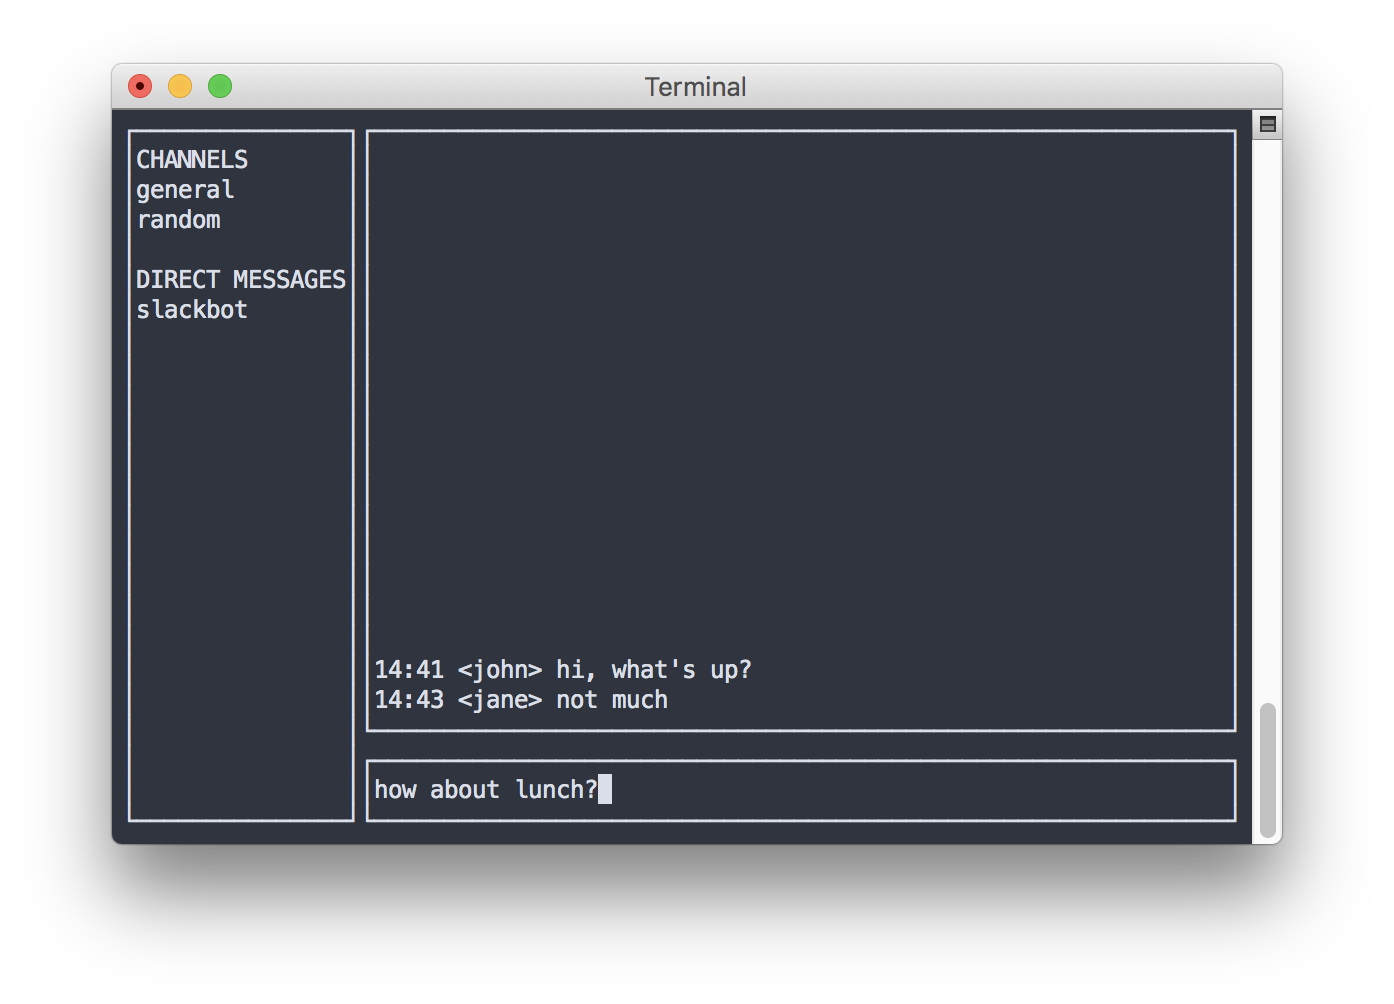
それぞれのREADMEにはGIF画像が挿入されているのでよりわかりやすいです。ぜひ見てみてください![]()
tui-go
GitHub - marcusolsson/tui-go: A UI library for terminal applications.
term-ui
GitHub - gizak/termui: Golang terminal dashboard

termbox-go
GitHub - nsf/termbox-go: Pure Go termbox implementation
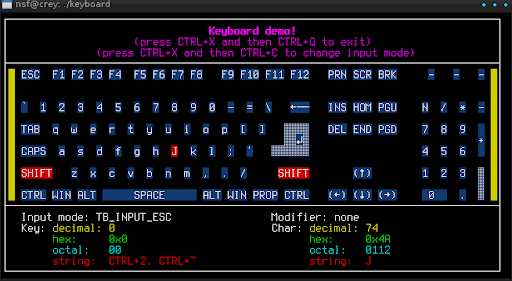
tview
GitHub - rivo/tview: Rich interactive widgets for terminal-based UIs written in Go
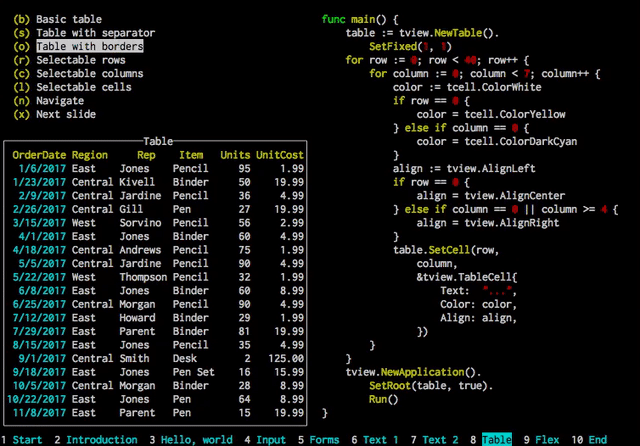
termdash
GitHub - mum4k/termdash: Terminal based dashboard.
HackerNews CUIの実装
今回は、demo,exampleディレクトリなどの実装を見てしっくりきたtviewを利用しました。
HackerNews APIから記事一覧を取得
HackerNews CUIの実装を見ると、goqueryなどでスクレイピングをしている実装も多く見られましたが、今回はFirebaseで用意されているHackerNes APIを使用します。
package main

import (
	"encoding/json"
	"github.com/otiai10/opengraph"
	"io/ioutil"
	"log"
	"net/http"
	"strconv"
)

type HackerNews struct {
	By          string `json:"by"`
	Score       int    `json:"score"`
	Title       string `json:"title"`
	Type        string `json:"type"`
	Url         string `json:"url"`
	Description string
}

func GetHackerNews(n int) []HackerNews {
	res, err := http.Get("https://hacker-news.firebaseio.com/v0/topstories.json?print=pretty")
	if err != nil {
		log.Fatal(err)
	}

	body, err := ioutil.ReadAll(res.Body)
	if err != nil {
		log.Fatal(err)
	}
	var idHn []int
	json.Unmarshal(body, &idHn)

	var hns []HackerNews
	var hn HackerNews
	cnt := 0
	for _, s := range idHn {
		if cnt > n-1 {
			break
		}
		url := "https://hacker-news.firebaseio.com/v0/item/" + strconv.Itoa(s) + ".json?print=pretty"
		res, _ := http.Get(url)
		body, _ := ioutil.ReadAll(res.Body)
		json.Unmarshal(body, &hn)
		og, err := opengraph.Fetch(hn.Url)
		if err != nil {
			log.Fatal(err)
		}
		hn.Description = og.Description
		hns = append(hns, hn)
		cnt += 1
	}

	return hns
}
HackerNews APIのそれぞれの記事の詳細を取得すると以下の様なjsonが返ってくると思います。hn_api.goはこれから必要な情報を構造体にぶち込んで行き、その構造体の配列を返します。
{
  "by" : "dhouston",
  "descendants" : 71,
  "id" : 8863,
  "kids" : [ 8952, 9224, 8917, 8884, 8887, 8943, 8869, 8958, 9005, 9671, 8940, 9067, 8908, 9055, 8865, 8881, 8872, 8873, 8955, 10403, 8903, 8928, 9125, 8998, 8901, 8902, 8907, 8894, 8878, 8870, 8980, 8934, 8876 ],
  "score" : 111,
  "time" : 1175714200,
  "title" : "My YC app: Dropbox - Throw away your USB drive",
  "type" : "story",
  "url" : "http://www.getdropbox.com/u/2/screencast.html"
}
HackerNewsの記事のタイトルだけでは、内容がよくわからないことがあるので、その記事のURLからog:descriptionを取得することにしました。
og:descriptionの取得には、otiai10/opengraphというOpen Graph Parserを利用しました。urlを指定するだけで戻り値として構造体が返却され、メソッドチェーンで使用できるため利用しました。
TUI作成
uiを作成するui.goです。
package main

import (
	"fmt"
	ui "github.com/gizak/termui/v3"
	"github.com/gizak/termui/v3/widgets"
	"log"
	"strconv"
)

type nodeValue string

func (nv nodeValue) String() string {
	return string(nv)
}

func generateTreeNodes(n int) []*widgets.TreeNode {
	hns := GetHackerNews(n)
	var nodes []*widgets.TreeNode
	for _, hn := range hns {
		fmt.Println(hn.Score)
		node := widgets.TreeNode{
			Value: nodeValue(hn.Title),
			Nodes: []*widgets.TreeNode{
				{
					Value: nodeValue("Score: " + strconv.Itoa(hn.Score)),
					Nodes: nil,
				},

				{
					Value: nodeValue("Type: " + hn.Type),
					Nodes: nil,
				},
				{
					Value: nodeValue("Author: " + hn.By),
					Nodes: nil,
				},
				{
					Value: nodeValue("cmd+click →  " + hn.Url),
					Nodes: nil,
				},
				{
					Value: nodeValue("Description"),
					Nodes: []*widgets.TreeNode{
						{
							Value: nodeValue(hn.Description),
							Nodes: nil,
						},
					},
				},
			},
		}
		nodes = append(nodes, &node)
	}

	return nodes
}

func hnUi(n int) {

	if err := ui.Init(); err != nil {
		log.Fatalf("failed to init")
	}
	defer ui.Close()

	nodes := generateTreeNodes(n)

	t := widgets.NewTree()
	t.Title = "Hacker News ClI"
	t.TextStyle = ui.NewStyle(ui.ColorYellow)
	t.WrapText = false
	t.SetNodes(nodes)
	x, y := ui.TerminalDimensions()
	t.SetRect(0, 0, x, y)
	ui.Render(t)
	Keybindings(t)
}
tviewのtreeview demoを参考に作成しました。
対応するキーバインドはkeybindings.goに記述しました。
package main

import (
	ui "github.com/gizak/termui/v3"
	"github.com/gizak/termui/v3/widgets"
)

func Keybindings(t *widgets.Tree) {
	uiEvents := ui.PollEvents()
	for {
		e := <-uiEvents
		switch e.ID {
		case "q", "<C-c>":
			return
		case "k":
			t.ScrollUp()
		case "j":
			t.ScrollDown()
		case "E":
			t.ExpandAll()
		case "C":
			t.CollapseAll()
		case "<Enter>":
			t.ToggleExpand()
		}
		ui.Render(t)
	}
}
switch文に登録されているキーが入力されると、それに合わせた画面描画処理と再レンダリングが行われます。
cliのオプションを設定する
最後に、cliのオプションを設定するためにurfave/cliを使用します。
urfave/cliはGoでコマンドラインアプリを構築するためのシンプルで高速で楽しいパッケージです。
package main

import (
	"github.com/urfave/cli"
	"os"
)

func main() {
	app := cli.NewApp()
	app.Name = "hn"
	app.Usage = "This is a tool to see 'Hacker News' made with Go"

	app.Flags = []cli.Flag{
		cli.IntFlag{
			Name:  "number, n",
			Value: 10,
			Usage: "option for number of Hacker News acquisitions",
		},
	}

	app.Action = func(c *cli.Context) error {
		hnUi(c.Int("number"))

		return nil
	}
	app.Run(os.Args)
}
並行処理で高速化
HackerNewsから各記事の詳細を取ってくる部分が遅いのでGoroutineを使って高速化しようと思います。
Goroutine無
現在のAPIクライアントはこんな感じです。記事のidの配列数文だけgetリクエストを回している。
func GetHackerNewsDetail(ids []int) []HackerNews {
	var hns []HackerNews
	var hn HackerNews
	for _, s := range ids {
		url := "https://hacker-news.firebaseio.com/v0/item/" + strconv.Itoa(s) + ".json?print=pretty"
		res, _ := http.Get(url)
		body, _ := ioutil.ReadAll(res.Body)
		json.Unmarshal(body, &hn)
		og, err := opengraph.Fetch(hn.Url)
		if err != nil {
			log.Fatal(err)
		}
		hn.Description = og.Description
		hns = append(hns, hn)
	}
	fmt.Println()
	return hns
}
idの数を20個に設定し、計測してみると
❯ go run measurement/hn_api.go
18.335145秒
Goroutine有
Gorutineを使って書き換えて見ました。
各Gorutineで各記事の詳細urlのgetリクエストを並行処理させ、HackerNewsの構造体をチャネルで渡します。
func GetHackerNewsDetail(ids []int) []HackerNews {
	wg := new(sync.WaitGroup)
	var hns []HackerNews
	var chn = make(chan HackerNews, len(ids))
	for _, s := range ids {
		wg.Add(1)
		url := "https://hacker-news.firebaseio.com/v0/item/" + strconv.Itoa(s) + ".json?print=pretty"
		var hn HackerNews
		go func(url string) {
			res, _ := http.Get(url)
			body, _ := ioutil.ReadAll(res.Body)
			json.Unmarshal(body, &hn)
			if hn.Url != "" {
				og, err := opengraph.Fetch(hn.Url)
				if err != nil {
					log.Fatal(err)
				}
				hn.Description = og.Description
			}
			chn <- hn
			wg.Done()
		}(url)
		hns = append(hns, <-chn)
	}
	defer close(chn)
	wg.Wait()
	fmt.Println()
	return hns
}
こちらもidの数を20個に設定し、計測してみると
❯ go run measurement/hn_api_goroutine.go
13.051096秒
なんと5秒も速くなっている!
Goは簡単に並行処理が実装できて良いですね。
※この速さはgetリクエストということもあり、ネットワーク速度やPCの性能に依存してしまうので環境によって秒数はことなると思います。
最後に
作成したものをGitHubにあげ、go getをすると使用できるようになります。
$ go get github.com/<Account Name>/hn

