はじめに
今回は kubernetes 上に Keycloak を Deploy します。
Keycloak は ID 管理ソフトウェアであり SSO(Single Sing On) や、OAuth、OIDC(Open ID Connect) といった認証・認可の API にも対応しております。
Rancher のログイン認証にも利用できることから、今回はまず Keycloak の Deploy から行っていこうと思います。
Deploy 方法は helm v2 を利用していきます。
構成
docker-ce:18.09
kubernetes:1.17
Rancher:2.4.2
Longhorn:0.8.0
helm:2.16.6
Keycloak:9.0.2
※以前の記事でも載せていますが、vagrant 上の CentOS で k8s クラスタを組んでます。
※Keycloak のデータストアに postgresql を利用しており、PV/PVC として Longhorn を利用しています
⇒構築はこちらを参照してください。
前準備
今回は keycloak を helm で Deploy していきます。
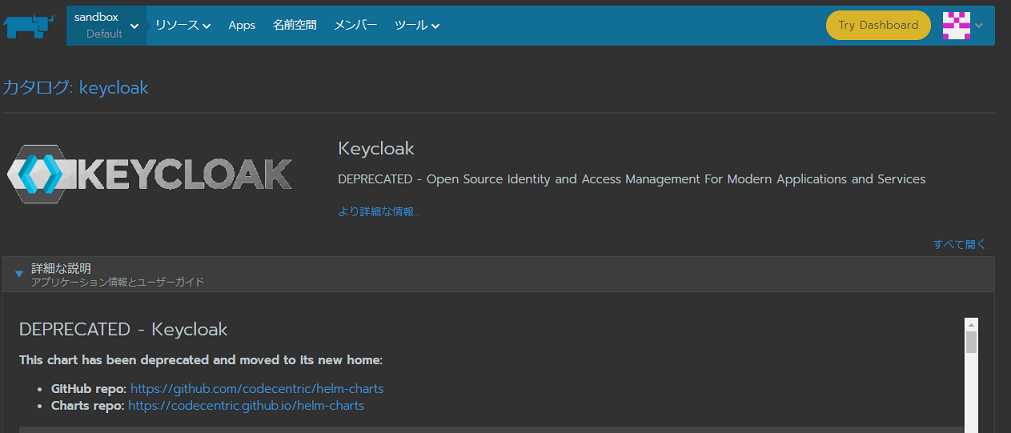
※Keycloak の Chart は helm 公式のカタログからは既に移動しており、非推奨であったため、公式から移動した先の github から Chart をダウンロードして Deploy します
※Rancher に、移動先の github の URL をカタログとして登録し Deploy を試みたのですが、依存が解決できず Deploy できませんでした・・・
まずは準備として、helm をインストールします。
# バイナリダウンロード
$ wget https://get.helm.sh/helm-v2.16.6-linux-amd64.tar.gz

# 解凍・配置
$ tar xzvf helm-v2.16.6-linux-amd64.tar.gz
linux-amd64/
linux-amd64/README.md
linux-amd64/LICENSE
linux-amd64/tiller
linux-amd64/helm

$ mv linux-amd64/helm /usr/local/sbin/

# helm セットアップ前準備
$ kubectl -n kube-system create serviceaccount tiller
serviceaccount/tiller created

$ kubectl create clusterrolebinding tiller --clusterrole=cluster-admin --serviceaccount=kube-system:tiller
clusterrolebinding.rbac.authorization.k8s.io/tiller created

# helm セットアップ
$ helm init --service-account tiller
Creating /root/.helm
・・・
Adding stable repo with URL: https://kubernetes-charts.storage.googleapis.com
Adding local repo with URL: http://127.0.0.1:8879/charts
$HELM_HOME has been configured at /root/.helm.

Tiller (the Helm server-side component) has been installed into your Kubernetes Cluster.
・・・

# 動作確認
$ helm version
Client: &version.Version{SemVer:"v2.16.6", GitCommit:"dd2e5695da88625b190e6b22e9542550ab503a47", GitTreeState:"clean"}
Server: &version.Version{SemVer:"v2.16.6", GitCommit:"dd2e5695da88625b190e6b22e9542550ab503a47", GitTreeState:"clean"}
準備完了です。helm を使って Deploy していきます。
Deploy
まずは必要な Chart 一式をダウンロードします。
# git clone
$ git clone https://github.com/codecentric/helm-charts.git
$ cd helm-charts/charts/keycloak/
Deploy 用に変数ファイルを編集します。
※ServiceType に NodePort を指定しています
※データストアに PostgreSQL を指定し、PV を利用するように設定しています
$ vim values.yaml

# 原本との比較
$ diff -u values.yaml{.org,}
--- values.yaml.org     2020-04-19 20:53:12.327210392 +0900
+++ values.yaml         2020-04-19 21:56:49.148103595 +0900
@@ -223,7 +223,7 @@

     ## ServiceType
     ## ref: https://kubernetes.io/docs/user-guide/services/#publishing-services---service-types
-    type: ClusterIP
+    type: NodePort

     ## Optional static port assignment for service type NodePort.
     # nodePort: 30000
@@ -287,10 +287,10 @@
   ## Persistence configuration
   persistence:
     # If true, the Postgres chart is deployed
-    deployPostgres: false
+    deployPostgres: true

     # The database vendor. Can be either "postgres", "mysql", "mariadb", or "h2"
-    dbVendor: h2
+    dbVendor: postgres

     ## The following values only apply if "deployPostgres" is set to "false"
     dbName: keycloak
@@ -332,7 +332,7 @@
   persistence:
     ## Enable PostgreSQL persistence using Persistent Volume Claims.
     ##
-    enabled: false
+    enabled: true

 test:
   enabled: true
namespace を作成し、Deploy します。
# namespace 作成
$ kubectl create ns keycloak
namespace/keycloak created

# deploy
# --dep-up:依存関係のある Chart をダウンロードします
# --name:helm 管理用の名前
# --namespace:deploy 先 namespace
$ helm install --dep-up --name keycloak --namespace keycloak ./
Hang tight while we grab the latest from your chart repositories...
・・・
...Successfully got an update from the "stable" chart repository
Update Complete.
Saving 1 charts
Downloading postgresql from repo https://kubernetes-charts.storage.googleapis.com/
Deleting outdated charts

NAME:   keycloak
LAST DEPLOYED: Sun Apr 19 22:00:23 2020
NAMESPACE: keycloak
STATUS: DEPLOYED

RESOURCES:
==> v1/ConfigMap
NAME              DATA  AGE
keycloak-sh       1     1s
keycloak-startup  1     1s
keycloak-test     1     1s

==> v1/Pod(related)
NAME                   READY  STATUS   RESTARTS  AGE
keycloak-postgresql-0  0/1    Pending  0         1s
keycloak-postgresql-0  0/1    Pending  0         1s

==> v1/Secret
NAME                 TYPE    DATA  AGE
keycloak-http        Opaque  1     1s
keycloak-postgresql  Opaque  1     1s

==> v1/Service
NAME                          TYPE       CLUSTER-IP    EXTERNAL-IP  PORT(S)                      AGE
keycloak-headless             ClusterIP  None          <none>       80/TCP,8443/TCP              1s
keycloak-http                 NodePort   10.43.111.55  <none>       80:32051/TCP,8443:31402/TCP  1s
keycloak-postgresql           ClusterIP  10.43.98.107  <none>       5432/TCP                     1s
keycloak-postgresql-headless  ClusterIP  None          <none>       5432/TCP                     1s

==> v1/StatefulSet
NAME                 READY  AGE
keycloak             0/1    1s
keycloak-postgresql  0/1    1s

NOTES:

Keycloak can be accessed:
・・・
Login with the following credentials:
Username: keycloak

To retrieve the initial user password run:
kubectl get secret --namespace keycloak keycloak-http -o jsonpath="{.data.password}" | base64 --decode; echo
WebUI にアクセス
作成した Keycloak に早速アクセスしてみましょう。
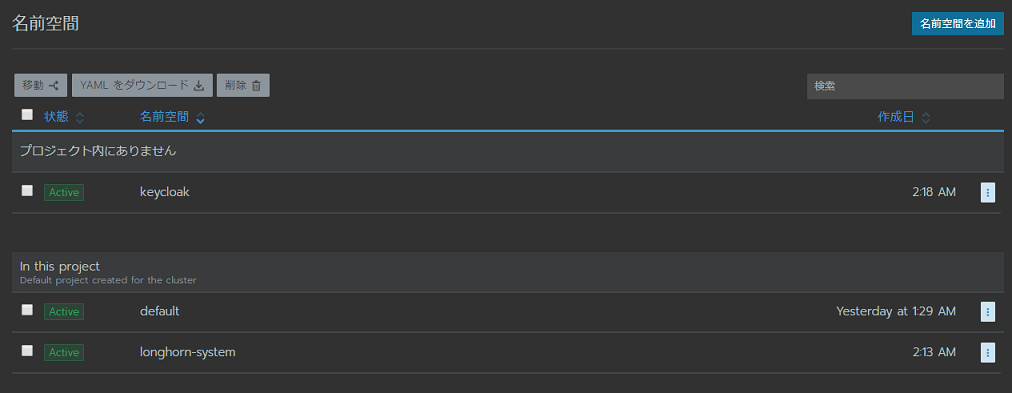
Rancher ではコマンドで作成した namespace のワークロードを見る際には対象の namespace をプロジェクトに追加します。
namespace 横の「・・・」から「移動」を選択し、「Default」プロジェクトに移動しましょう。
移動すると、ワークロードにも deploy したリソースが表示されます。
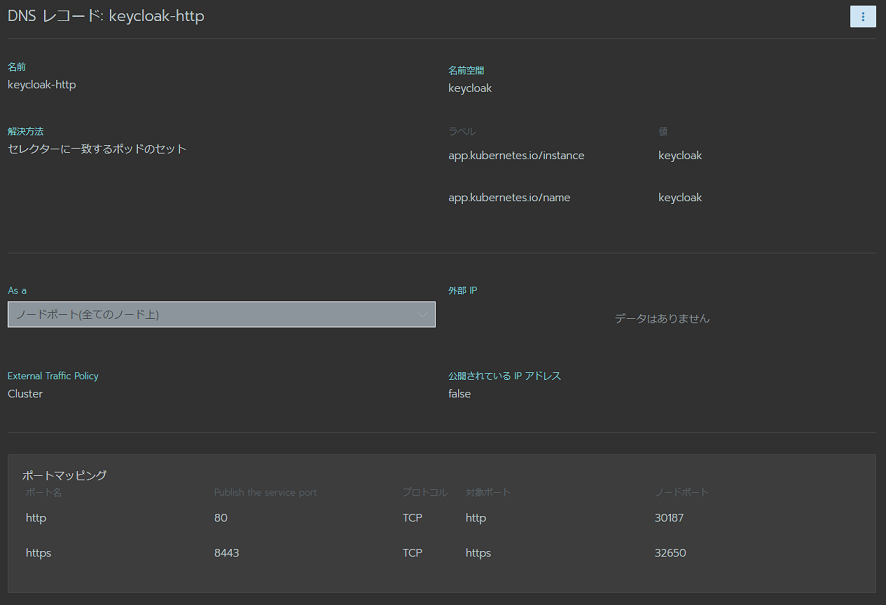
NodePort で作成したのでアクセス先の IP は worker の IP になるのですが、Port については以下で確認できます。
# kc get svc -n keycloak keycloak-http
NAME            TYPE       CLUSTER-IP     EXTERNAL-IP   PORT(S)                       AGE
keycloak-http   NodePort   10.43.187.78   <none>        80:30187/TCP,8443:32650/TCP   8m40s
Rancher の管理画面から、「リソース」⇒「ワークロード」⇒「サービスディスカバリ」からも確認できます。
私の環境の場合、worker#1 の IP アドレスが 192.168.10.51 のため、
http://192.168.10.51:30187
https://192.168.10.51:32650
でアクセスできます。
※80 が http、8443 が https の通信となります
※https は自己署名証明書です
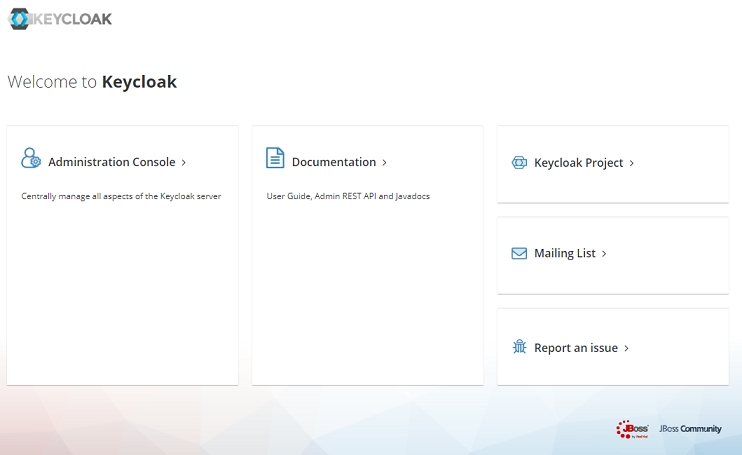
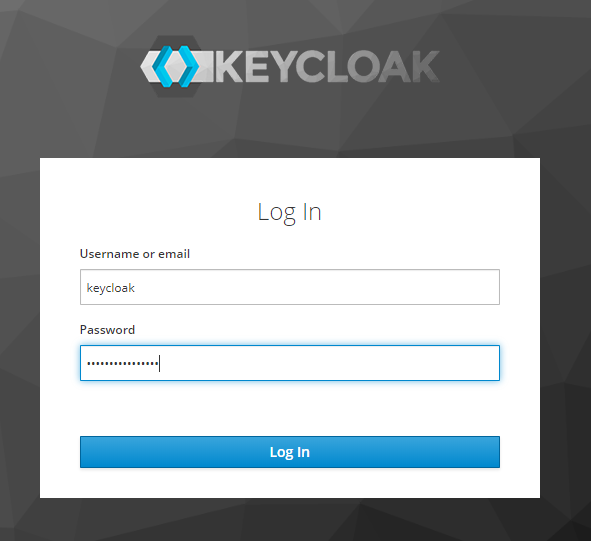
「Administration Console」をクリックするとログイン画面がでます。
Username は「keycloak」を指定し、パスワードは以下で取得できます。
$ kubectl get secret --namespace keycloak keycloak-http -o jsonpath="{.data.password}" | base64 --decode; echo
ログイン画面
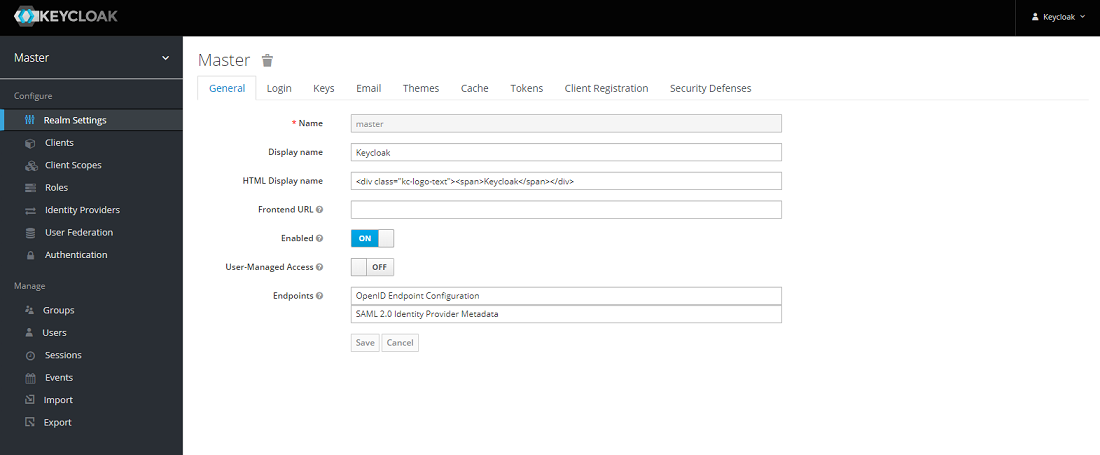
Dashboad(Master realm)
おわりに
Keycloak の環境は helm であっというまに構築できました。
Deploy 時の設定は values.yaml を編集することでカスタマイズできるので、確認して自分の環境にあった設定をすることをお勧めします。
特に ServiceType / Ingress などのアクセス用の設定はしておきましょう。
次回は、Rancher のログイン認証用に、Keycloak を利用してみたいと思います。
