はじめに
SwiftUIで複数のボタンを並べた時に同時押しを制御して1つのタップイベントのみ受け取る方法について調べたことをまとめました。
環境
Xcode 16.1 (16B40)
Apple Swift version 6.0.2 (swiftlang-6.0.2.1.2 clang-1600.0.26.4)
1つのタップイベントのみ受け取る実装
設計の雛形をChat GPTとのやりとりを繰り返し作りました。
ボタンのタップ状態を管理するStateを追加しています。
具体的にはExclusiveButtonStateでタップしたボタンのidを保持し、idがリセットされるまで他のボタンのアクションを実行できないように制御する仕組みになります。
ExclusiveButtonと組み合わせて、この状態管理を実現しています。
final class ExclusiveButtonState: ObservableObject {
    @Published var activeButtonID: String?

    func isButtonActive(_ buttonID: String) -> Bool {
        return activeButtonID == buttonID
    }

    var canPress: Bool {
        return activeButtonID == nil
    }

    func setActiveButton(_ buttonID: String) {
        activeButtonID = buttonID
    }

    func resetActiveButton() {
        activeButtonID = nil
    }
}

struct ExclusiveButton<Content: View>: View {
    let id: String
    @ObservedObject var buttonState: ExclusiveButtonState
    let action: () -> Void
    let content: () -> Content // ボタンの外観を定義するクロージャ

    var body: some View {
        Button(action: {
            if buttonState.canPress {
                buttonState.setActiveButton(id)
                action()
            }
        }) {
            content() // 外部から提供されるView
        }
        .disabled(!buttonState.canPress && !buttonState.isButtonActive(id))
    }
}
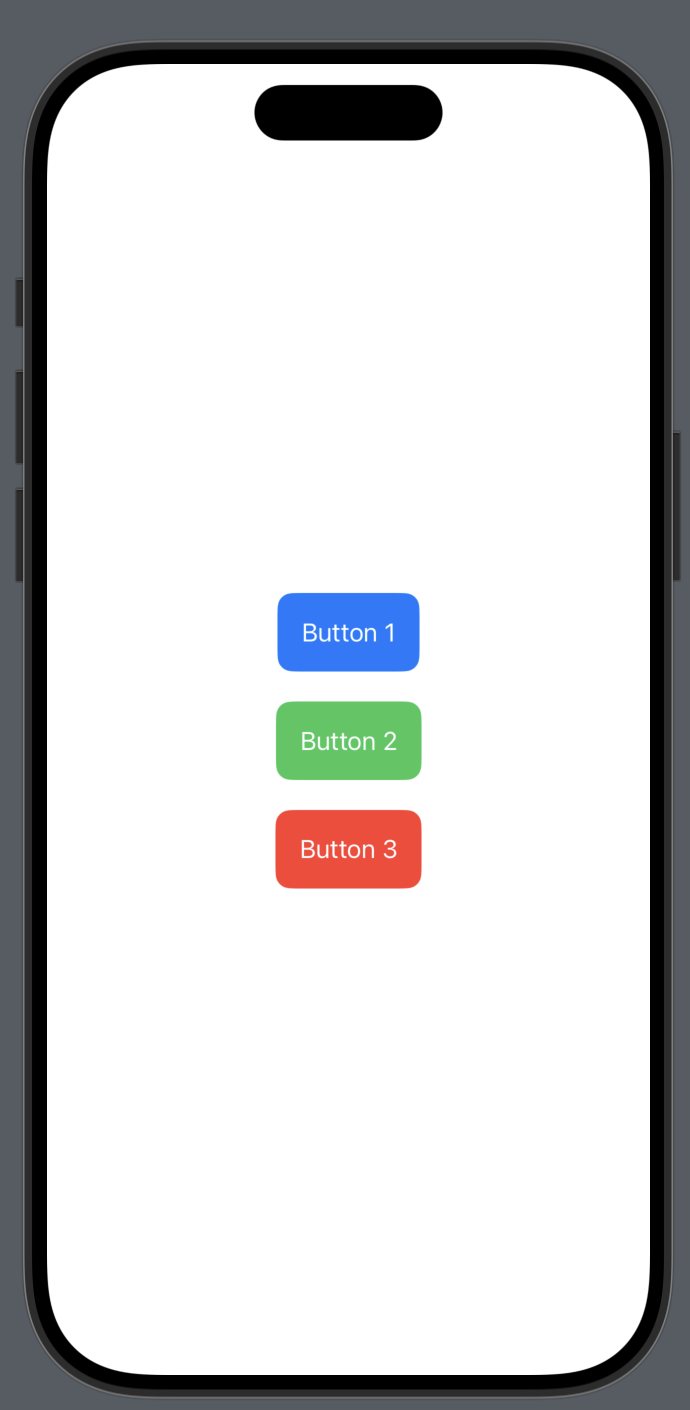
ボタンを3つ並べたサンプルを作りました。
1つボタンを押すと1秒後にButtonのidのリセットを行うことで1つのアクションのみ受け付けるようにしました。
struct ExclusiveButtonView: View {
    @StateObject private var buttonState = ExclusiveButtonState()

    var body: some View {
        VStack(spacing: 20) {
            ExclusiveButton(id: "button1", buttonState: buttonState) {
                simulateLongTask()
            } content: {
                Text("Button 1")
                    .padding()
                    .background(Color.blue)
                    .foregroundColor(.white)
                    .cornerRadius(10)
            }

            ExclusiveButton(id: "button2", buttonState: buttonState) {
                simulateLongTask()
            } content: {
                Text("Button 2")
                    .padding()
                    .background(Color.green)
                    .foregroundColor(.white)
                    .cornerRadius(10)
            }

            ExclusiveButton(id: "button3", buttonState: buttonState) {
                simulateLongTask()
            } content: {
                Text("Button 3")
                    .padding()
                    .background(Color.red)
                    .foregroundColor(.white)
                    .cornerRadius(10)
            }
        }
    }

    func simulateLongTask() {
        DispatchQueue.main.asyncAfter(deadline: .now() + 1) {
            buttonState.resetActiveButton()
        }
    }
}

#Preview {
    ExclusiveButtonView()
}

タップ時に1つのボタンのみハイライトさせたい
最初のコードでは、複数のボタンを同時に押すとすべてのボタンがハイライトされてしまいます。改善策として、ボタンのtouchDownタイミングでアクションを制御する必要があります。
下記の記事を参考にButtonStyleを定義し、touchDownを取得可能にします。
onTouchDownでアクションの制御をし、onTouchUpでbuttonのidをリセットし、タップを有効に戻します。
ハイライト時のUIはButtonStyleで実装します。
struct TouchTrackingButtonStyle: ButtonStyle {
    let onTouchDown: () -> Void
    let onTouchUp: () -> Void

    func makeBody(configuration: Configuration) -> some View {
        configuration.label
            .onChange(of: configuration.isPressed) { isPressed in
                if isPressed {
                    onTouchDown()
                } else {
                    onTouchUp()
                }
            }
            .opacity(configuration.isPressed ? 0.6 : 1.0) // ハイライト効果として透明度を変更
            .contentShape(Rectangle())
    }
}

struct ExclusiveButton<Content: View>: View {
    let id: String
    @ObservedObject var buttonState: ExclusiveButtonState
    let action: () -> Void
    let content: () -> Content // ボタンの外観を定義するクロージャ

    var body: some View {
        Button {
            // 空のアクション(TouchTrackingButtonStyleで管理するため)
        } label: {
            content() // 外部から提供されるView
        }
        .buttonStyle(TouchTrackingButtonStyle(
            onTouchDown: {
                if buttonState.canPress {
                    buttonState.setActiveButton(id)
                    action() // Touch Downでのアクション
                }
            },
            onTouchUp: {
                buttonState.resetActiveButton()
            }
        ))
        .disabled(!buttonState.canPress && !buttonState.isButtonActive(id))
    }
}
ButtonStyleを拡張することでアニメーションも追加できます。
struct AnimatedTouchTrackingButtonStyle: ButtonStyle {
    let onTouchDown: () -> Void
    let onTouchUp: () -> Void

    func makeBody(configuration: Configuration) -> some View {
        configuration.label
            .onChange(of: configuration.isPressed) { isPressed in
                if isPressed {
                    onTouchDown()
                } else {
                    onTouchUp()
                }
            }
            .opacity(configuration.isPressed ? 0.6 : 1.0) // ハイライト効果として透明度を変更
            .scaleEffect(configuration.isPressed ? 1.1 : 1.0) // 押下時に拡大
            .animation(.easeInOut(duration: 0.2), value: configuration.isPressed)
            .contentShape(Rectangle())
    }
}
まとめ
SwiftUIにおいて複数ボタンの中で1つのタップイベントのみを受け付ける機能を実現できました。また、タップ時に1つのボタンだけがハイライトされるよう、ButtonStyleをカスタマイズすることでUIも改善しました。