概要
Laravel(+Vue)とThree.jsで、
ブラウザ上でWebGLの3D描画できる環境を作って遊んでみよう。
想定
- Laravelを自分でインストールしてみたことがある
※使おうとしてくじけた人や、実装からしたことがない人でもOK - コマンドラインの操作が多少できる
![]() 3Dモデリングとかライティングとかになってくると、 別途ドキュメントとかを読んでくださいませー。
3Dモデリングとかライティングとかになってくると、 別途ドキュメントとかを読んでくださいませー。
#準備
用意するもの
各インストール
- ComposerはLinux版とWindows版で異なります。
- Node.jsは記述時点で推奨版の12が良いと思います。
- Laravelは通常通り、公式ドキュメント記載の方法でインストールして構いません。
laravel new testなど。
インストール後の確認
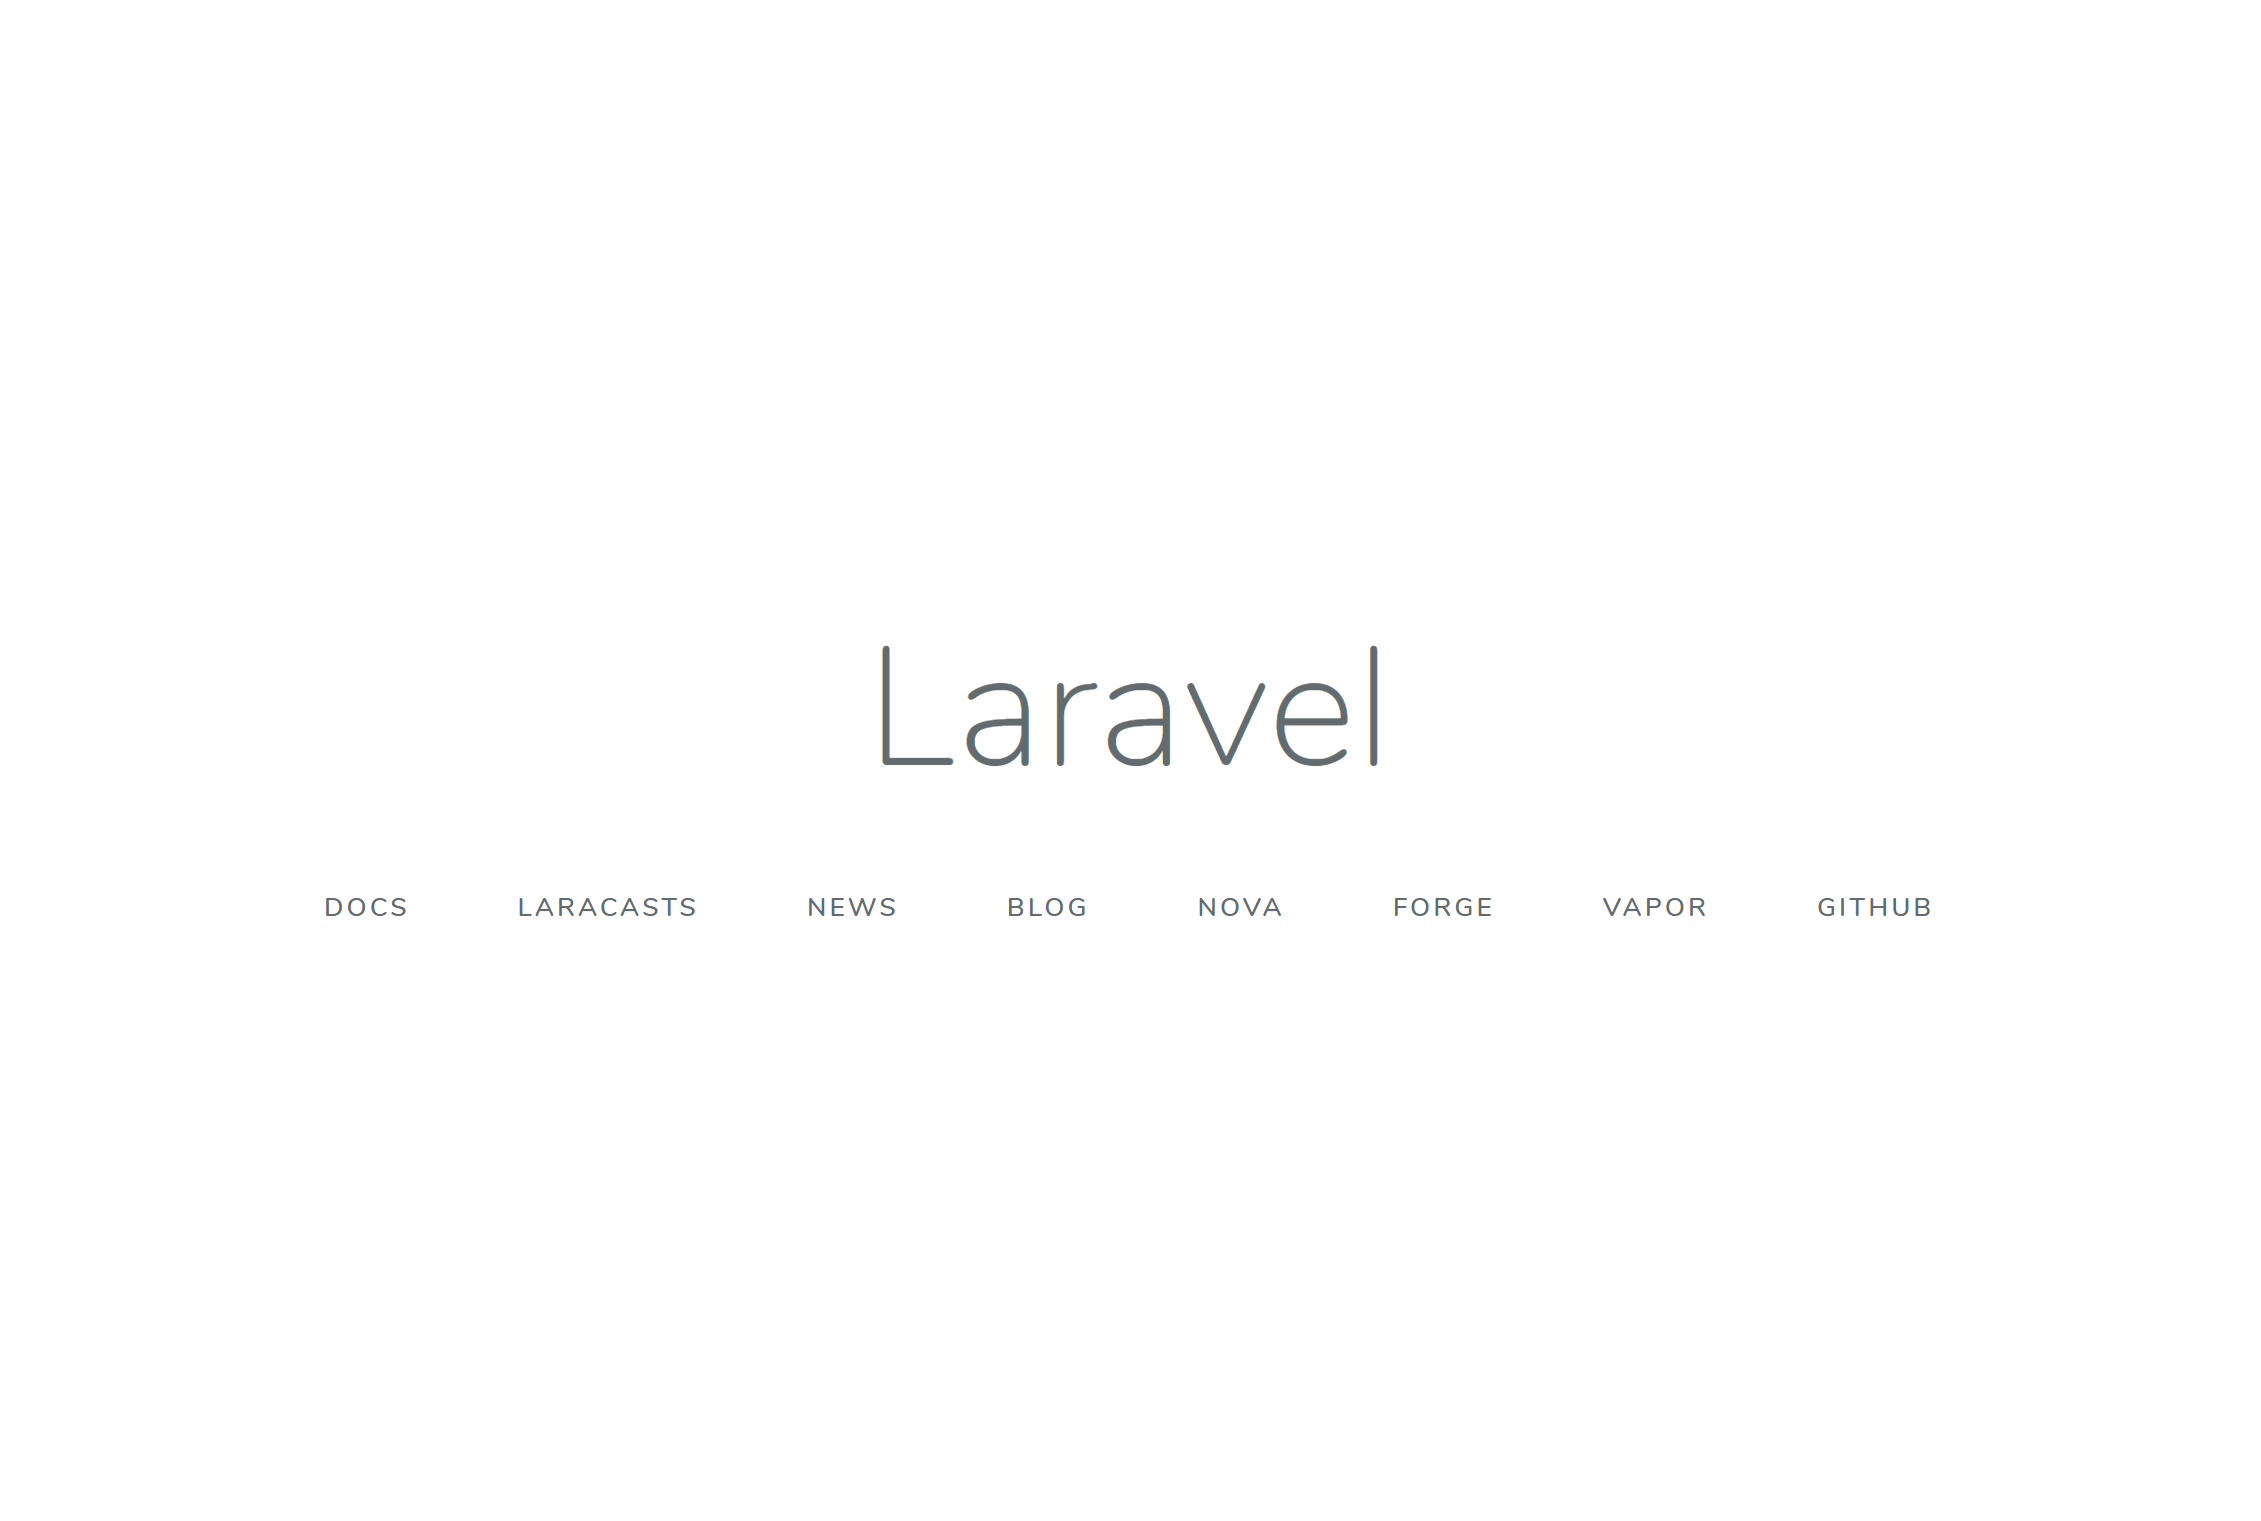
インストール先のパスをWEBブラウザで叩くと、
Laravelのデフォルトのページが表示されます。
 |
|---|
Three.jsとVue.jsの追加
Three.jsとは?
Three.js (github : mrdoob/three.js)
- MIT License
- (大雑把に言うと)HTML5の3Dコンテンツ作成用jsライブラリ。
- Mr.doob氏が中心となって開発。
Vue.jsは?
- MIT License
- UI用のフレームワークです。
- 追加実装が容易。
ライブラリ追加
Laravelのインストールしてあるディレクトリで、
下記コマンドを実行して追加してください。
npm install
npm install three.js vue
viewの作成
さて、最初に見えているwelcomeページのviewは、/resources/views/welcome.blade.phpに記述されています。
これをそのまま書き換えてもいいのですが、今回はVueを使用するので
/resources/views/test.blade.phpを別途作成し、
下記のような感じで必要な内容をゴソッと書いていきます。
コメントがついている辺りが実装の大事なところです。
<!doctype html>
<html lang="{{ app()->getLocale() }}">
    <head>
        <meta charset="utf-8">
        <meta name="viewport" content="width=device-width, initial-scale=1">
        <meta name="csrf-token" content="{{ csrf_token() }}">
        <title>Test</title>
        <link rel="stylesheet" href="css/app.css">

        <!-- 特に通信はしていないけど、csrf対策でトークンを付ける -->
        <script>
            window.Laravel = {};
            window.Laravel.csrfToken = "{{ csrf_token() }}";
        </script>
    </head>
    <body oncontextmenu="return false;">
        <div id="app">
            <!-- ここにvue.jsのコンポーネントが表示されたり -->
            <test></test>
        </div>
    </body>
    <!--ビルドしたjsの読み込み-->
    <script src="js/app.js"></script>
</html>
routesの書き換え
素の状態のLaravelは下記のように/がwelcomeのviewを向くようになっています。
Route::get('/', function () {
    return view('welcome');
});
これを書き換えて先ほどのテスト用のviewを向くように修正しましょう。
Route::get('/', function () {
    return view('test');
});
💡:ここまで記述したら、一度npm run devでビルドして表示されるか確認しましょう。
bootstrap.jsへの追記
bootstrap.jsで必要なコンポーネントを読み込んでいます。
lodashの行ぐらいにwindow.Vue = require('vue');の一行を追加し、次のような感じにしましょう。
window._ = require('lodash');

window.Vue = require('vue');

/**
 * We'll load the axios HTTP library which allows us to easily issue requests
 * to our Laravel back-end. This library automatically handles sending the
 * CSRF token as a header based on the value of the "XSRF" token cookie.
 */

window.axios = require('axios');
//以下略
app.jsへの追記
app.jsというメインになるjsファイルがあり、
これでビルドすることになります。
初期では下記のようにポツンと1行書いてあります。
require('./bootstrap');
これに追加で次のようにVueを使用するための記述を行います。
require('./bootstrap');

// コンポーネント読み込み
// .default は、あとでコンポーネントを export defaultで宣言している関係で必要
Vue.component('test', require('./components/test.vue').default);

// Vueがルートとして使う要素を指定。
// test.blade.phpのid="app"が記述されたdivの部分が相当。
const app = new Vue({
    el: '#app'
});
#Vueコンポーネントの用意
次に、先ほど読み込む指定をしたtestコンポーネントを用意します。
<template>
    <div class="content">
    </div>
</template>

<script>
/* ここに処理などを実装していきます */
export default {
    name: 'test',

    data () {
        // データです。
        return {
        };
    },
    created () {
        // コンポーネント作成時の処理を記述します。
    },
    mounted () {
        // 要素へのマウントがされた後に実行される処理を書きます。
    },
    methods: {
        // メソッドを実装します。
    }
}
</script>
💡:ここまで記述したら、一度npm run devして表示されるか確認しましょう。
Three.jsによる描画処理の実装
では、先ほどのVueコンポーネントの中身を実装します。
描画領域の指定
コンポーネントの先頭部分に、描画領域になる要素を記述、指定します。
myCanvasと指定した要素に描画が行われます。
<template>
    <div class="content">
        <h1>Merry X'mas !!</h1>
        <!--idではなくrefで指定-->
        <div ref="myCanvas" style="width:320px;height:240px;background-color:#08cc08;"></div>
    </div>
</template>
描画処理の記述
Three.jsで描画するコードをscriptタグ内に記述していきます。
やっていることは、およそThree.jsのドキュメントの冒頭とほぼ同様です。
シーン(舞台)を作成して、そこに物体・光源・カメラを配置して、
animateメソッド内でレンダラーで描画を繰り返しています。
若干異なるのは、初期化と実行タイミングをVueのcreatedやmountedに記述するようにした点などになります。
<script>
import * as THREE from 'three'; // three.jsをimport

/* ここに描画処理などを実装していきます */
export default {
    name: 'test',

    data () {
        // シーン
        // 物体を配置する舞台を宣言します
        let scene = new THREE.Scene();

        // 物体
        let geometryBox = new THREE.BoxGeometry (2, 2, 2);
        let geometryBoxTop = new THREE.BoxGeometry (2.1, 0.8, 2.1);
        let geometryRibbon1 = new THREE.BoxGeometry (0.6, 2.11, 2.11);
        let geometryRibbon2 = new THREE.BoxGeometry (2.11, 2.11, 0.6);

        let geometryRibbonTop1 = new THREE.BoxGeometry (0.7, 0.1, 0.7);
        let geometryRibbonTop2 = new THREE.BoxGeometry (0.7, 0.1, 0.7);
        let geometryRibbonTop3 = new THREE.BoxGeometry (0.7, 0.1, 0.7);
        let geometryRibbonTop4 = new THREE.BoxGeometry (0.7, 0.1, 0.7);

        // 色と質感
        // Mesh~の部分で物体の光沢感などの指定をしています。
        let material1 = new THREE.MeshLambertMaterial ({ color: 0xff5555 });
        let material2 = new THREE.MeshStandardMaterial ({ color: 0xffff33 });

        // メッシュ
        // これは、面(ポリゴン)の集合のこと
        let box = new THREE.Mesh (geometryBox, material1);
        let boxTop = new THREE.Mesh (geometryBoxTop, material1);
        let ribbon1 = new THREE.Mesh (geometryRibbon1, material2);
        let ribbon2 = new THREE.Mesh (geometryRibbon2, material2);
        let ribbonTop1 = new THREE.Mesh (geometryRibbonTop1, material2);
        let ribbonTop2 = new THREE.Mesh (geometryRibbonTop2, material2);
        let ribbonTop3 = new THREE.Mesh (geometryRibbonTop3, material2);
        let ribbonTop4 = new THREE.Mesh (geometryRibbonTop4, material2);

        // 移動と回転
        boxTop.position.set(0, 0.65, 0);
        ribbonTop1.position.set(0.3, 1.1, 0);
        ribbonTop1.rotation.x -= Math.PI/4;
        ribbonTop1.rotation.y += Math.PI/8;
        ribbonTop2.position.set(0, 1.1, 0.3);
        ribbonTop2.rotation.x -= Math.PI/8;
        ribbonTop2.rotation.y -= Math.PI/4;
        ribbonTop3.position.set(-0.3, 1.1, 0);
        ribbonTop3.rotation.x += Math.PI/4;
        ribbonTop3.rotation.y += Math.PI/8;
        ribbonTop4.position.set(0, 1.1, -0.3);
        ribbonTop4.rotation.x += Math.PI/8;
        ribbonTop4.rotation.z -= Math.PI/4;

        // グループ化
        let presentBox = new THREE.Group();
        presentBox.add(box);
        presentBox.add(boxTop);
        presentBox.add(ribbon1);
        presentBox.add(ribbon2);
        presentBox.add(ribbonTop1);
        presentBox.add(ribbonTop2);
        presentBox.add(ribbonTop3);
        presentBox.add(ribbonTop4);

        // 光源
        let light = new THREE.DirectionalLight(0xffffff);

        // カメラ
        let camera = new THREE.PerspectiveCamera();

        // レンダラー
        let renderer = new THREE.WebGLRenderer ({antialias : true, alpha: true});

        return {
            scene: scene,
            presentBox: presentBox,
            light: light,
            camera: camera,
            renderer: renderer,
        };
    },
    created () {
        // 箱の位置設定
        this.presentBox.position.set(0, 0, 0);

        // 光源位置設定
        this.light.position.set(3, 3, 3);

        // カメラの位置を設定
        this.camera.position.set(1, 4, 5);

        // カメラの向き先を設定
        this.camera.lookAt(new THREE.Vector3(0, 0, 0));

        // シーンに配置
        this.scene.add( this.presentBox );
        this.scene.add( this.light);
        this.scene.add( this.camera );

        // レンダラー設定
        this.renderer.setPixelRatio( window.devicePixelRatio );
        this.renderer.autoClear = false;
    },
    mounted () {
        // 要素へのマウントがされた後に実行される処理を書きます。

        // 描画領域サイズ
        const width  = 320;
        const height = 240;

        // カメラ設定
        const fov     = 45;           // 画角
        const aspect  = width/height; // アスペクト比
        const near    = 0.1;          // 最低描画距離
        const far     = 10000;        // 最大描画距離

        this.scene.fog = new THREE.Fog( 0xddeeff, 0, 750 );   // 空気遠近

        this.renderer.setSize( width, height );

        // カメラ設定
        this.camera.fov    = fov;
        this.camera.aspect = width / height;
        this.camera.near   = near;
        this.camera.far    = far;

        // カメラ更新
        this.camera.updateProjectionMatrix();

        // 描画領域を実装
        this.$refs.myCanvas.appendChild( this.renderer.domElement );

        this.animate();
    },
    methods: {
        // メソッドを実装します。
        animate () {
            requestAnimationFrame( this.animate );

            //this.presentBox.rotation.x += 0.01;
            this.presentBox.rotation.y += 0.01;

            this.renderer.clear();
            this.renderer.depthTest = true;
            this.renderer.depthWrite = true;
            this.renderer.render( this.scene, this.camera );
        }
    }
}
</script>
全て記述し終えたら、npm run devし、
画面を更新してみてください。ちゃんと描画されたら成功です![]()
余談
- jsやthreeのカレンダーもあったんですが、
設定して記述するところからなのでLaravel分類でいいかなぁー、と。 - ここまで出来ていればThree.jsのサンプルもちょっと加工して組み込めば動くはずですので、是非色々試して遊んでみてくださいね

- 時間がなかったのでjs部分がごっちゃごちゃですね。特にジオメトリの部分は一個のメソッドに分けた方がよかったなぁ。
- XREAサーバ上でLaravelを動かす方法はこちらの記事にまとめてます。:XREAでLaravel6.xを導入する方法