概要
Serverless Frameworkを使って天気を教えてくれるLineBotを作りました。
筆者の起きる毎朝8:00に横浜の天気を教えてくれるのと、
「〇〇の天気を教えて」と送ると、その場所の天気を教えてくれます。
せっかくなので最近勉強したAWSのServerless Frameworkを使いました。
Serverless Frameworkを知らない人のために簡単に書いておくとAWS LambdaとAWS API Gatewayを利用したサーバレスなアプリケーションを構築するためのツールです。
LineBotはLINE Messaging APIを使って作りました。
環境はWindowsで実施しています。
準備
LINE Developersの登録とチャネルの作成
以下のLINE Developers公式サイトの手順を参考にBot用のチャネルを作成します。
https://developers.line.me/ja/docs/messaging-api/getting-started
今回のBot作成に必要な情報を取得します。
作成したチャネルを選択し、「基本情報」にあるChannel Secretの「再発行」ボタンをクリックします。
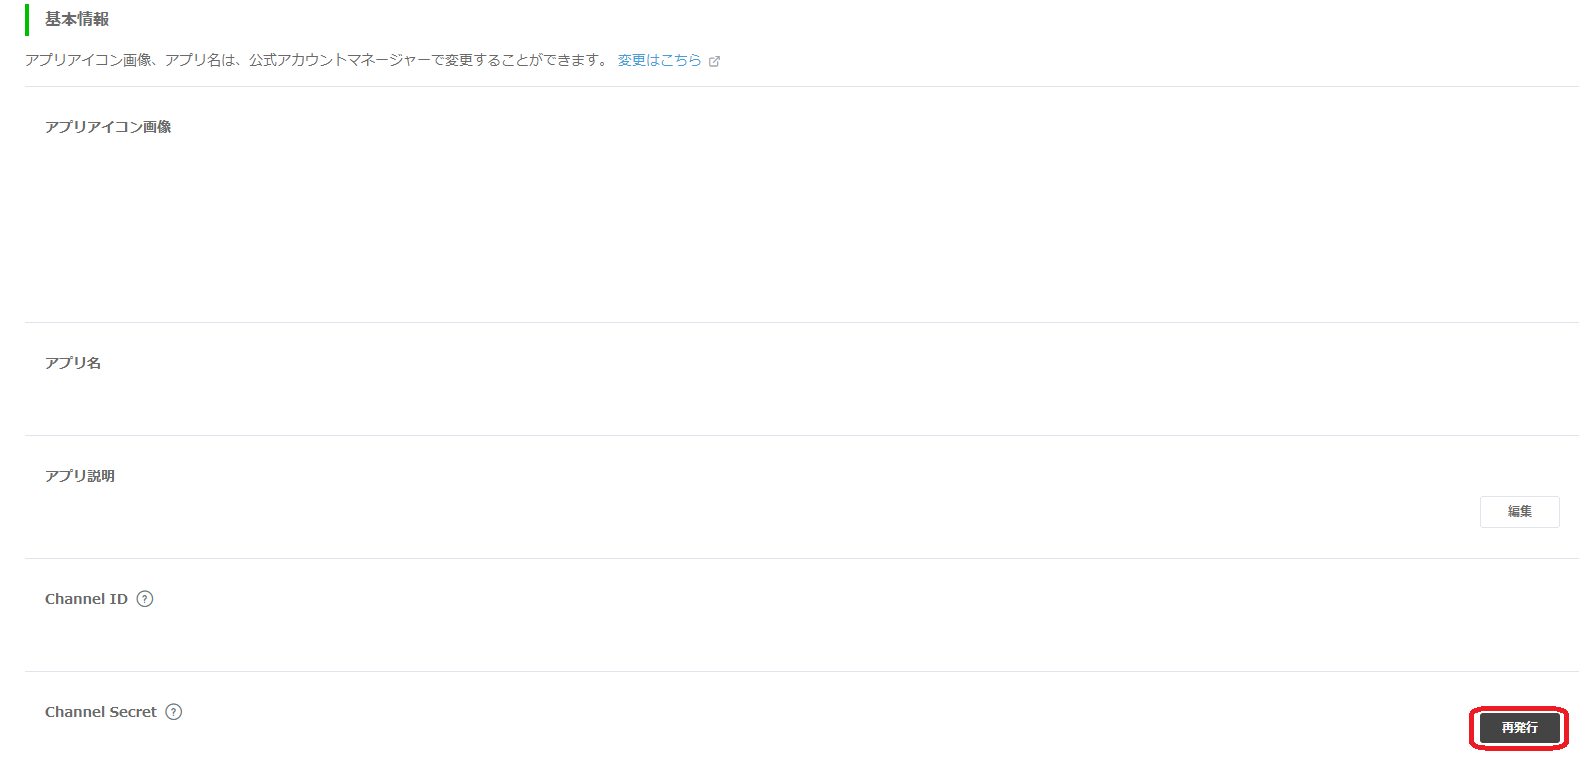
表示されるChannel Secret IDは後程利用するので、手元に控えておいてください。
続いてアクセストークンを取得します。
「メッセージ送受信設定」にあるアクセストークンの「再発行」ボタンをクリックします。
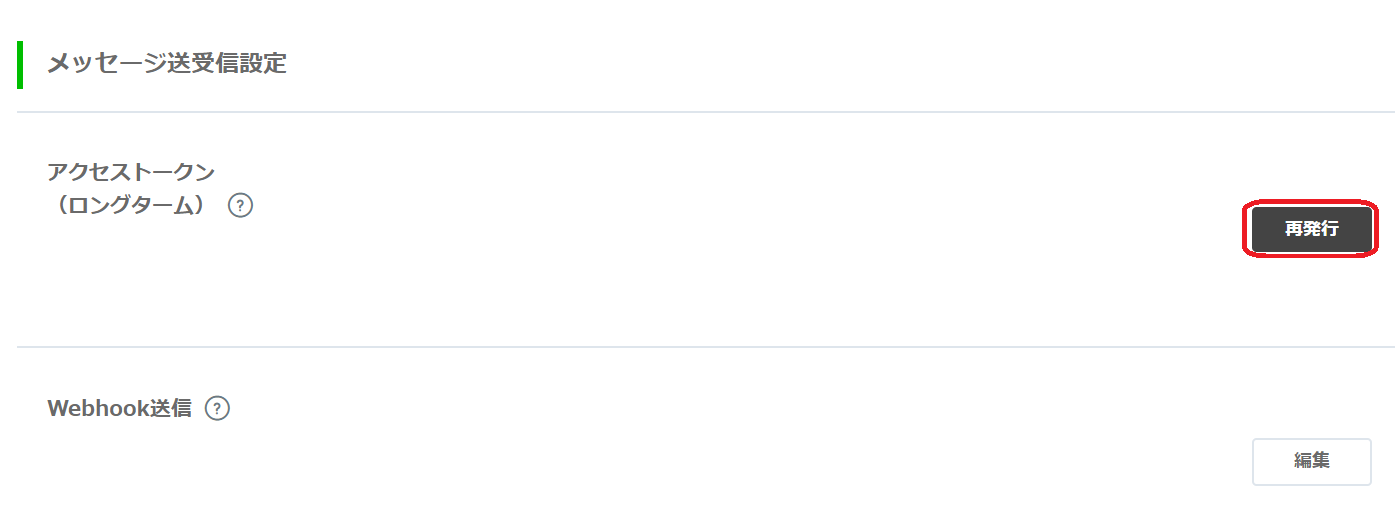
アクセストークンも後程利用するので、手元に控えておいてください。
最後にユーザIDを取得します。
画面の一番下にYour user IDがあるのでこちらも手元に控えておいてください。

環境準備(Python, Serverless Framework, LINE公式のpython SDK)
Pythonのインストールは色々な場所に説明があるので、ここでの説明は省きます。
私のローカルのPythonのバージョンは3.6でした。
Serverless Frameworkはnpmでいれました。yum等でも入れられると思います。
(他の入れ方は他の人が書いていると思うのでそちらを参照ください)
> npm install serverless -g
正常にインストールできたことを確認します。
> sls --help

Commands
* You can run commands with "serverless" or the shortcut "sls"
* Pass "--verbose" to this command to get in-depth plugin info
* Pass "--no-color" to disable CLI colors
* Pass "--help" after any <command> for contextual help

Framework
* Documentation: http://slss.io/docs

Environment Variables
* Set SLS_DEBUG=* to see debugging logs
* Set SLS_WARNING_DISABLE=* to hide warnings from the output

config ........................ Configure Serverless
config credentials ............ Configures a new provider profile for the Serverless Framework
create ........................ Create new Serverless service
install ....................... Install a Serverless service from GitHub or a plugin from the Serverless registry
package ....................... Packages a Serverless service
deploy ........................ Deploy a Serverless service
deploy function ............... Deploy a single function from the service
deploy list ................... List deployed version of your Serverless Service
deploy list functions ......... List all the deployed functions and their versions
invoke ........................ Invoke a deployed function
invoke local .................. Invoke function locally
info .......................... Display information about the service
logs .......................... Output the logs of a deployed function
metrics ....................... Show metrics for a specific function
print ......................... Print your compiled and resolved config file
remove ........................ Remove Serverless service and all resources
rollback ...................... Rollback the Serverless service to a specific deployment
rollback function ............. Rollback the function to a specific version
slstats ....................... Enable or disable stats
plugin ........................ Plugin management for Serverless
plugin install ................ Install and add a plugin to your service
plugin uninstall .............. Uninstall and remove a plugin from your service
plugin list ................... Lists all available plugins
plugin search ................. Search for plugins
login ......................... Login or sign up for Serverless
logout ........................ Logout from Serverless
generate-event ................ Generate event
test .......................... Run HTTP tests
dashboard ..................... Open the Serverless dashboard

Plugins
AwsCommon, AwsCompileAlbEvents, AwsCompileAlexaSkillEvents, AwsCompileAlexaSmartHomeEvents, AwsCompileApigEvents, AwsCompileCloudFrontEvents, AwsCompileCloudWatchEventEvents, AwsCompileCloudWatchLogEvents,
 AwsCompileCognitoUserPoolEvents, AwsCompileEventBridgeEvents, AwsCompileFunctions, AwsCompileIoTEvents, AwsCompileLayers, AwsCompileS3Events, AwsCompileSNSEvents, AwsCompileSQSEvents, AwsCompileScheduledE
vents, AwsCompileStreamEvents, AwsCompileWebsockets, AwsConfigCredentials, AwsDeploy, AwsDeployFunction, AwsDeployList, AwsInfo, AwsInvoke, AwsInvokeLocal, AwsLogs, AwsMetrics, AwsPackage, AwsProvider, Aws
Remove, AwsRollback, AwsRollbackFunction, Config, Create, Deploy, Info, Install, InteractiveCli, Invoke, Logs, Metrics, Package, Plugin, PluginInstall, PluginList, PluginSearch, PluginUninstall, Print, Rem
ove, Rollback, ServerlessEnterprisePlugin, SlStats
上記のように表示が出ればインストールは成功です。
LINE公式のpython SDKはpipを使って下記のようにインストールします。
> pip install line-bot-sdk -t ./
天気APIの登録
天気の情報を取得するためOpenWeatherMapの無料天気予報APIを使用します。
下記のURLから無料アカウント登録をしてAPI KEYを取得してください。
https://openweathermap.org
実装
Serverless Frameworkを使ってAWS Lambdaを実装していきます。
今回は2種類のLambda関数を作りました。
1.ユーザの投稿が「〇〇の天気を教えて」だったら天気の情報を返し、それ以外ならオウム返しする。
2.毎朝8時に横浜の天気を教えてくれる。
では以下から実装していきます。
Serverlessのプロジェクト作成
プロジェクトを作成するディレクトリでコマンドプロンプトを起動し、
下記のコマンドでプロジェクトを作成します。
aws-python3のテンプレートを用います。
sls create -t aws-python3
ディレクトリにプロジェクトが作成され、handler.pyやserverless.ymlが作成されます。
handler.py: Lambdaの実行ファイル
serverless.yml: Serverless Frameworkの設定ファイル
>dir

(中略)
2019/10/14  17:02    <DIR>          .
2019/10/14  17:02    <DIR>          ..
2019/10/14  17:02               199 .gitignore
2019/10/14  17:02               497 handler.py
2019/10/14  17:02             3,203 serverless.yml
               3 個のファイル               3,899 バイト
               2 個のディレクトリ  747,493,756,928 バイトの空き領域
Serverlessの設定
serverless.ymlを下記のように変更します。
service: linebot-serverless

provider:
  name: aws
  runtime: python3.7

  stage: dev
  region: us-west-2

functions:
  reply:
    handler: handler.linebot
    events:
      - http:
          path: linebot
          method: get
      - http:
          path: linebot
          method: post
  weather:
    handler: handler.notice_weather
    events:
      - schedule: cron(0 8 * * ? *)
簡単に中身を解説すると、(間違っていたらすみません。。その場合はやさしく教えてくれると喜びます。)
service: サービス名
provider: Serverless Frameworkで今回使われている言語やリージョンが記載されています。
(筆者はオレゴンリージョンで行っていますが、ここは適宜変えてください)
functions: この中で関数の設定を行います。
reply, weather: 関数名です。任意の名前を付けてください。
handler: Lambdaの関数と対応させます。(pyファイル名).(関数名)となっています。
event: 関数が呼ばれる条件を記載しています。
今回reply関数はhttpアクセスがあったとき(Lineの投稿があったとき)、
weather関数はcronで毎朝8時に起動するように設定しています。
Lambdaの実装
handler.pyを下記のように変更します。
3関数に分かれていて下記のようになっています。
linebot: ユーザの投稿が「〇〇の天気を教えて」だったら天気の情報を返し、それ以外ならオウム返しする。
notice_weather: 毎朝8時に横浜の天気を教えてくれる。
get_weather: 天気を取得する。
※遊びで作ったのであまりリファクタリングしていないのはご容赦ください。。
# coding: utf-8
import logging
from linebot import (
    LineBotApi, WebhookParser
)
from linebot.exceptions import (
    InvalidSignatureError, LineBotApiError
)
from linebot.models import TextSendMessage

import requests

logger = logging.getLogger()
logger.setLevel(logging.INFO)


def linebot(oevent, context):
    # リクエスト本体と、X-LINE-Signatureヘッダを取出す
    logger.info(f"Get message: {oevent}")
    body = oevent['body']
    signature = oevent['headers']['X-Line-Signature']

    # Channel Secretを使って入力が正しいかを確認する
    secret = '(自分のChannel Secretを入力してください。)'
    parser = WebhookParser(secret)
    logger.info("Authentication OK.")

    # LineBotAPIオブジェクトを作成する
    token = '(自分のトークンを入力してください。)'
    line_bot_api = LineBotApi(token)

    try:
        events = parser.parse(body, signature)
    except InvalidSignatureError:
        return {"stautsCode": 400, "body": ""}

    for event in events:
        logger.info(event)
        if event.type == 'message':
            reply_token = event.reply_token
            try:
                msg = event.message.text
                if "の天気を教えて" in msg:
                    place = msg.rstrip("の天気を教えて")
                    weather = get_weather(place)
                    line_bot_api.reply_message(reply_token, TextSendMessage(text=weather))
                else:
                    line_bot_api.reply_message(reply_token, TextSendMessage(text=msg))
            except LineBotApiError as e:
                print(e.status_code)
                print(e.error.message)
                print(e.error.details)

    return {"stautsCode": 200, "body": "OK"}


def notice_weather(oevent, context):
    logger.info("Notice weather")
    user_id = "(自分のユーザIDを入力してください。)"
    token = '(自分のトークンを入力してください。)'
    line_bot_api = LineBotApi(token)

    # 天気情報取得
    city_name = "yokohama"
    weather = get_weather(city_name)

    try:
        line_bot_api.push_message(user_id, TextSendMessage(text=weather))
    except LineBotApiError as e:
        print(e.status_code)
        print(e.error.message)
        print(e.error.details)

    return {"stautsCode": 200, "body": "OK"}


def get_weather(city_name):
    if city_name == "横浜":
        city_name = "yokohama"
    elif city_name == "東京":
        city_name = "tokyo"
    API_KEY = "OpenWeatherMapのAPI KEYを入力してください。"
    url = f'http://api.openweathermap.org/data/2.5/weather?units=metric&q={city_name}&APPID={API_KEY}'
    response = requests.get(url)
    data = response.json()
    logger.info(data)
    weather = {}
    weather['天気'] = data["weather"][0]["icon"]
    weather['気温'] = f'{int(data["main"]["temp"])}℃'
    weather['最低気温'] = f'{int(data["main"]["temp_min"])}℃'
    weather['最高気温'] = f'{int(data["main"]["temp_max"])}℃'

    if weather['天気'] == '01n' or weather['天気'] == '01d':
        weather['天気'] = '快晴'
    elif weather['天気'] == '02n' or weather['天気'] == '02d':
        weather['天気'] = '晴れ'
    elif weather['天気'] == '03n' or weather['天気'] == '03d':
        weather['天気'] = '曇り'
    elif weather['天気'] == '04n' or weather['天気'] == '04d':
        weather['天気'] = '曇り'
    elif weather['天気'] == '09n' or weather['天気'] == '09d':
        weather['天気'] = '小雨'
    elif weather['天気'] == '10n' or weather['天気'] == '10d':
        weather['天気'] = '雨'
    elif weather['天気'] == '11n' or weather['天気'] == '11d':
        weather['天気'] = '雷雨'
    elif weather['天気'] == '13n' or weather['天気'] == '13d':
        weather['天気'] = '雪'
    elif weather['天気'] == '50n' or weather['天気'] == '50d':
        weather['天気'] = '霧'

    city = city_name
    if city_name == "yokohama":
        city = "横浜"
    elif city_name == "tokyo":
        city = "東京"
    return f'{city}\n天気: {weather["天気"]}\n現在の気温: {weather["気温"]}\n最低気温: {weather["最低気温"]}\n' \
        f'最高気温: {weather["最高気温"]}'
notice_weatherでは、筆者の住んでいる横浜の天気を教えてくれるようにしているので、
ここは好きな場所にしていただければと思います。
「〇〇の天気を教えて」はよく使う東京と横浜のみ漢字で入力しても大丈夫なようにしましたが、他の地域については「okinawaの天気を教えて」のようにローマ字で打つ必要があります。(天気APIの仕様により)
実行
いよいよ動かしていきましょう!
Serverless Frameworkのデプロイ
Serverless Frameworkは非常に簡単で下記のコマンド一発でデプロイできます。
> sls deploy
Serverless: Packaging service...
Serverless: Excluding development dependencies...
Serverless: Uploading CloudFormation file to S3...
Serverless: Uploading artifacts...
Serverless: Uploading service linebot-serverless.zip file to S3 (2.24 MB)...
Serverless: Validating template...
Serverless: Updating Stack...
Serverless: Checking Stack update progress...
....................
Serverless: Stack update finished...
Service Information
service: linebot-serverless
stage: dev
region: us-west-2
stack: linebot-serverless-dev
resources: 16
api keys:
  None
endpoints:
  GET - https://XXXXXXXX.execute-api.us-west-2.amazonaws.com/dev/linebot
  POST - https://XXXXXXXX.execute-api.us-west-2.amazonaws.com/dev/linebot
functions:
  reply: linebot-serverless-dev-reply
  weather: linebot-serverless-dev-weather
layers:
  None
Serverless: Removing old service artifacts from S3...
Serverless: Run the "serverless" command to setup monitoring, troubleshooting and testing.
Webhook URLへの登録
立ち上がったエンドポイントをLineのWebhook URLへ登録します。これでLineと紐づけます。
sls deployをうった後に出てきたendpointsに記載されている
https://XXXXXXXX.execute-api.us-west-2.amazonaws.com/dev/linebot
が登録するURLになります。
Line Developersの画面で「メッセージ送受信設定」のWebhook URLの編集を押して、
下記のようにhttps://以下を登録します。

これで完了です!
Lineを送ってみましょう
先ほどのLine Developersのページの「Bot情報」に、今回作ったボットの登録用QRコードがあるので、携帯アプリから読み込んで友達になりましょう。

実装通りに返ってきました!
まとめ
Serverless Frameworkを使ってAWS Lambda上に、LINE Messaging APIを用いた天気を教えてくれるLineBotを作成しました。
Serverless Frameworkを使うと簡単にサーバーレスアプリケーションが作成できるので、
是非皆さんも使ってみてください(^^♪