MAヒーローズ・リーグ アドベントカレンダー 5日目として書いた記事です。
先日行われた 学生リーグ2019決勝審査会 にお手伝いで参加したのですが、 作品として 機械学習 をうまく使った作品がいくつかあり、とても刺激をうけたので参加した学生に教えてもらった PoseNet と Firebase で 簡単な 厨二病 作品を作ってみました!
Firebase とは
Firebase
Google が提供する モバイルおよびWebアプリケーション開発プラットフォームです。
無料枠もあり、BaaS なので構築も楽なのでおすすめです。
PoseNet とは
PoseNet
Webブラウザでリアルタイムに人間の姿勢推定を可能にする機械学習モデル
TensorFlow.jsバーションを利用しました。
貧弱なPCやAndroidでも ChromeブラウザとWebカメラだけで 姿勢推定が可能です。
作るもの
厨二病 ポーズ をしたら PC 画面に 文字列が表示される ような作品をサクッとつくりたいと思います。Firebaseは Hosting と 動画の保存先に Storage を利用します。

ヒーローズリーグ 応募作品 CR - 厨二病現実感 を再現。
ソースコード一式
設置先
左肘近くに右手をもっていくとエフェクト再生させる。
Firebase 環境を作る
BaaS なので コマンドラインから デプロイなどができます。まずは Firebase CLI を
自分のPCにインストールして firebase コマンドが動作するようにしてみます。
*環境によっては 事前に npm や git のインストールも必要です。
npm install -g firebase-tools
firebase login
Firebase プロジェクトを作成
Firebase console にアクセスして新規プロジェクトを作る

ここでは walpurgisnacht と名付けてみました。
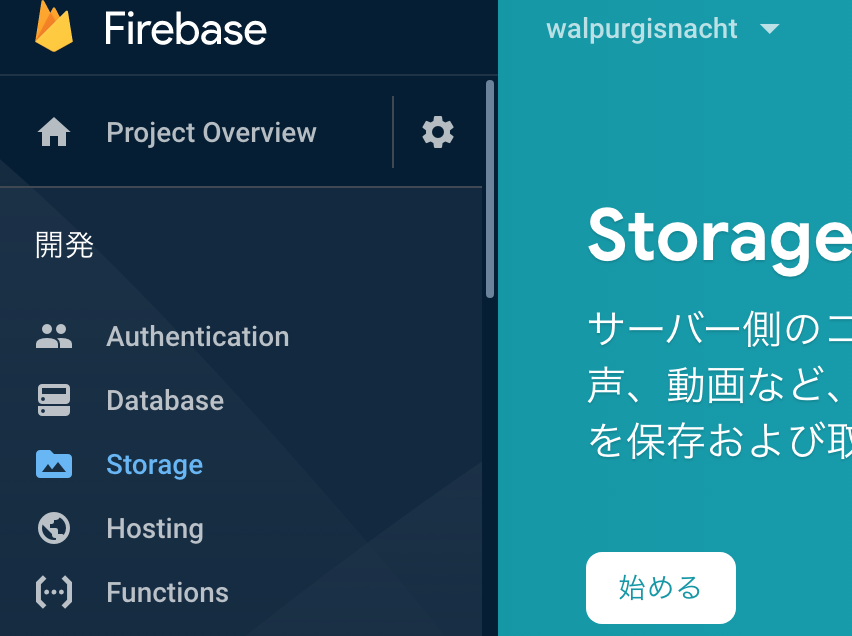
Firebase Storage 設定を変更する
ロケーション未設定の場合 次の手順で失敗するので必ず確認する必要があります。
Firebase Console 左メニューの Storage を選択して はじめる ボタンを押して初期誠意手をおこなってください。
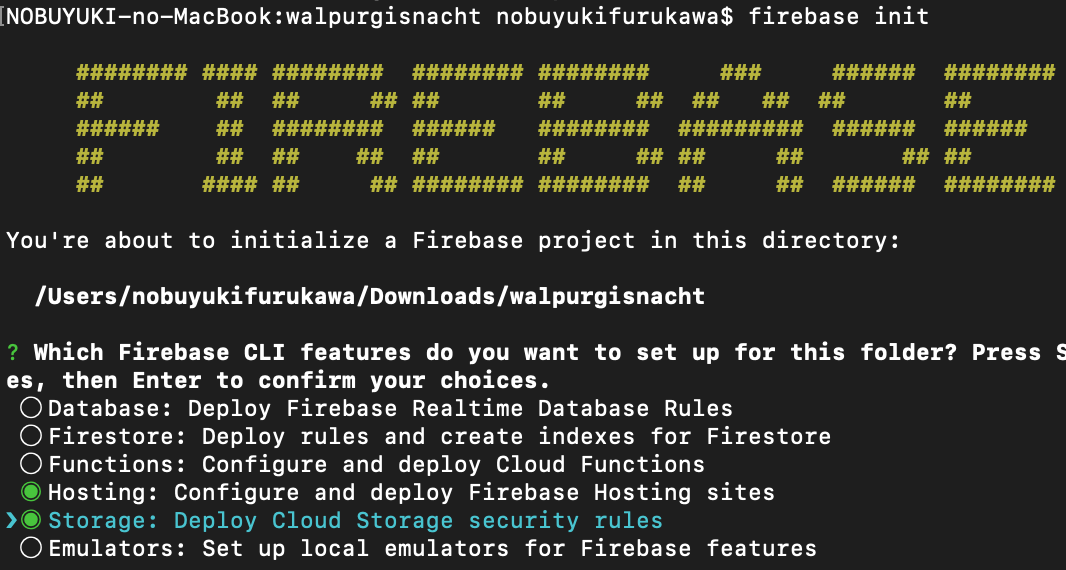
Firebase CLI で プロジェクト雛形を生成する。
Firebase CLI を使ってプロジェクの雛形を作成しましょう。 Hosting と Storage だけ有効にして Use an existing project で先程作った walpurgisnacht を指定してその他は適当に設定する。
mkdir walpurgisnacht
cd walpurgisnacht
firebase init
PoseNet を 組み込む
index.html に PoseNet サンプルを参考に組み込む。
...
      function posenetOnLoad() {
        const img = new Image();
        img.crossOrigin = "anonymous";
        img.src = 'https://placekitten.com/300/300';
        console.log("img", img);
        posenet.load().then(function(net) {
          console.log("net", net);
          const pose = net.estimateSinglePose(img, {flipHorizontal: true});
          return pose;
        }).then(function(pose){
          console.log('pose', pose);
        })
      }

      document.addEventListener('DOMContentLoaded', function() {
        posenetOnLoad();
....
Firebase 開発サーバを起動してブラウザで確認する
javascript コンソールに スコア などが表示される事を確認する。
firebase serve
http://localhost:5000/

PoseNet で姿勢推定
PoseNetが組み込めたので カメラの画像を元に姿勢推定するコードに書き換えてみます。
ボタンと vide と canvas タグを追加する。
<style>
# container {
 position: relative;
}
# video,#overlay {
 position: absolute;
}
</style>
...
<button id='btn' onclick="clickBtn()">カメラ</button>
<div id='container'>
 <video id='video'></video>
 <canvas id='overlay'></canvas>
</div>
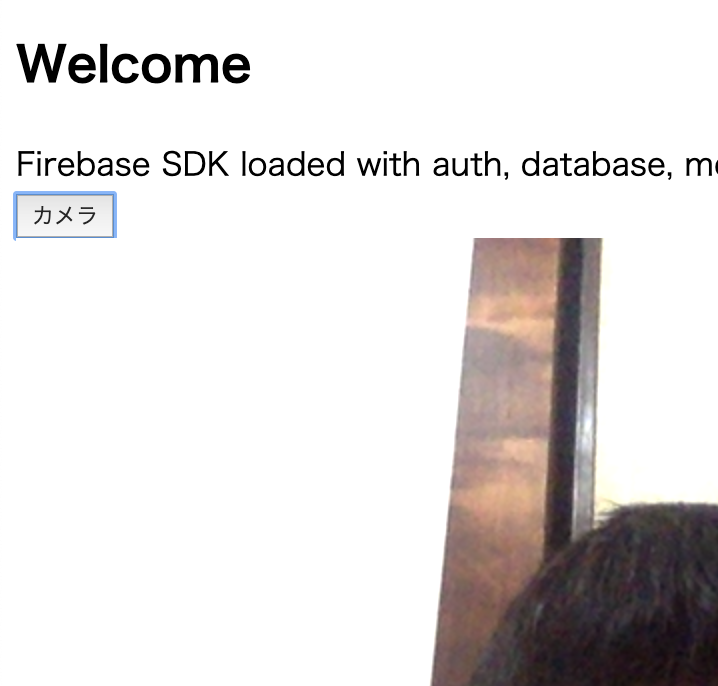
ボタンで カメラを開始して、video タグに表示させるコードを追加する。
...
const SIZE = {width:640,height:480};
var _stream = null;
var video = null;
function clickBtn(){
  console.log('clickBtn');
  if (_stream){
    _stream.getVideoTracks()[0].stop();
    _stream = null;
  }
  else{
    const container = document.getElementById('video');
    video = document.getElementById('video');
    overlay = document.getElementById('overlay');

    // 必須 width, height を設定する
    container.width = SIZE.width;
    container.height = SIZE.height;
    video.width = SIZE.width;
    video.height = SIZE.height;
    overlay.width = SIZE.width;
    overlay.height = SIZE.height;
    navigator.mediaDevices.getUserMedia({audio:false,video:SIZE})
      .then((stream) => {
        _stream = stream;
        video = document.getElementById('video');
        video.srcObject = stream;
        video.play();
        video.onloadedmetadata = () => {
          // onloadedmetadata が発生後に 描画 処理をする
          drawLoop();
        }
    });
  }
}

function drawLoop() {
  requestAnimationFrame(drawLoop);
}
...
実行してカメラ表示がでるか確認する。
firebase serve
http://localhost:5000/
PoseNet に video タグ データを設定して初期化する
var _stream = null;
var _net = null;
...
function dwawPose(pose) {
  console.log('pose', pose);
}

function drawLoop() {
  if (_stream === null) return;
  const imageScaleFactor = 0.2;
  const flipHorizontal = true;
  const outputStride = 16;
  const pose = await _net.estimateSinglePose(video, imageScaleFactor, flipHorizontal, outputStride);
  dwawPose(pose);
  requestAnimationFrame(drawLoop);
}

function posenetOnLoad() {
  posenet.load().then((net) => {
    _net = net;
  });
}

document.addEventListener('DOMContentLoaded', function() {
  posenetOnLoad();
...

ポイントを オーバーレイ 表示させてみる。
dwawPose に変更をして両腕に印をオーバーレイ描画してみる
function drawWristPoint(wrist, ctx, color){
  // console.log('wrist', wrist.position);
  ctx.beginPath();
  ctx.arc(wrist.position.x , wrist.position.y, 6, 0, 2 * Math.PI);
  ctx.fillStyle = color;
  ctx.fill();
}

function dwawPose(pose) {
  console.log('pose', pose);
  ctx.clearRect(0, 0, 640, 480);
  ctx.drawImage(video, 0, 0, 640, 480);

  [pose].forEach(({ score, keypoints }) => {
      // keypoints[9]には左手、keypoints[10]には右手の予測結果が格納されている
      drawWristPoint(keypoints[9],ctx, 'red');
      drawWristPoint(keypoints[10],ctx, 'blue');
  });
}
TODO
Firebase Store に動画をアップロード & 画面に配置
Store のルールを変更する
アップロードしたファイルにアクセスできるようにする為 Store ルールを変更します。

rules_version = '2';
service firebase.storage {
  match /b/{bucket}/o {
    match /{allPaths=**} {
      allow read;
      allow write: if request.auth != null;
    }
  }
}
動画をアプロードして URLを取得する
ファイルをアップロードすると 画像のような 青いリンクが表示されるのでそのURLをコピーする。

アップロード と URL 取得手順
画面へ配置
<video id='effect' src='https://firebasestorage.googleapis.com/v0/b/walpurgisnacht-f96b1.appspot.com/o/nc195768.mp4?alt=media&token=5873c747-a5f7-4d29-a1ae-7fa8797b3450' autoplay></video>
特定の位置に腕を置いた時 エフェクトを再生する
左肘近くに右手をもっていくとエフェクト再生させる。
// エフェクト再生 ポーズ判定
function effectPose(rightWrist, leftElbow, size) {
  var result = false;
  if((leftElbow.position.x - size)  <= rightWrist.position.x && rightWrist.position.x <= (leftElbow.position.x + size) &&
      (leftElbow.position.y - size) <= rightWrist.position.y && rightWrist.position.y <= (leftElbow.position.y + size)){
      result = true;
  }
  // console.log('effectPose x', rightWrist.position.x, leftElbow.position.x);
  // console.log('effectPose y', rightWrist.position.y, leftElbow.positiony);
  return result;
}
....
[pose].forEach(({ score, keypoints }) => {
    // keypoints[9] 左手首、keypoints[10] 右手首
    drawWristPoint(keypoints[9],ctx, 'red');
    drawWristPoint(keypoints[10],ctx, 'blue');
    // 左肘 keypoints[7]
    drawWristPoint(keypoints[7],ctx, '#0ff');

    // 右手首,左肘 が近くにあるか確認する
    if (effectPose(keypoints[10],keypoints[7], 20)) {
      effect.style.display = 'block';
      effect.play();
    }
});
....
まとめ
腕の重なり等で ターゲット外れるようで 厨二病 にはなれませんでした…。
カメラからの距離や位置をうまく調整すると、ジェスチャーゲーム作れる気がします。
簡単に動かせたので、ライブラリ動かす事から初めて機械学習, TensorFlowを学んでいくのはいいのかもしれないと感じました。