今回の目的
Excelを取り込んで、編集してExcel,CSVファイルを出力するPythonプログラムを組んでみました。
プログラムの流れ
①sample.xlsxを取り込む
②編集
③sample2.xlsx と sample.csvを出力
プログラムには、コメントをちりばめていますのでそちらをご確認いただければと思います。
あとは、これを応用して仕事の作業をPythonにやらせる事で作業を効率化できればばっちりです。
取り込むエクセル(sample.xlsx)

プログラム
file_edit.py
import pathlib
import openpyxl
import csv

# エクセルファイルを取得
wb = openpyxl.load_workbook("./data/sample.xlsx")

# sheet「名:Sheet1」を取得
ws = wb["Sheet1"]

# セルA1のデータを出力 ※パターン1
print(ws["A1"].value)  #A1セルを指定して取得

# セルA1のデータを出力 ※パターン2
row1 = ws[1]           #sheet「名:Sheet1」の1行目を取得
print(row1[0].value)   #1行目の1列目を取得⇒結果、A1のセル

# 全データを出力
print("全データ>")
for row in ws.rows:
	for cell in row:
	    print(cell.value)

# セルA1のデータを書き換え
ws["A1"].value = "★A1です"

# 読み込んだエクセルを別名で保存
# ※上書きの場合は読み込みファイルパスを指定
wb.save("./data/sample2.xlsx")

# CSVファイルを出力
with open("./data/csvsample.csv", "w", encoding="utf_8_sig") as fp:
    writer = csv.writer(fp, lineterminator="\n")
    for row in ws.rows:
        writer.writerow([col.value + "csv" for col in row])
実行結果

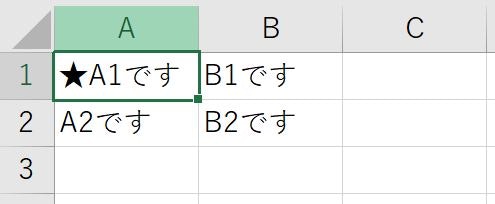
出力ファイル(sample2.xlsx)
出力ファイル(sample.csv)
