はじめに
久しぶりにRailsを触るにあたり、RubyとRailsを最新版にして作業をしました。
色々と忘れがちなので、基本的なRailsアプリケーションの作成方法までを含めて備忘として残しておきます。
1. Rubyのアップデート
Homebrewとrbenvのアップデート
以下のコマンドで、Homebrewとrbenvをアップデートします。
3行目の brew upgrade ruby-build は不要かもしれません。
$ brew update  # Homebrewをアップデートする
$ brew upgrade rbenv  # rbenvをアップグレードする
$ brew upgrade ruby-build  # ruby-buildをアップグレードする(不要かも)
インストールできるRubyのバージョンの確認
インストールできるRubyのバージョンを確認します。
コマンドは、$ rbenv install -l と省略形にしてもOKです。
$ rbenv install --list  # インストールできるRubyのバージョンを確認
  2.6.9
  2.7.5
  3.0.3
最新版のRubyをインストール
最新のRubyは 3.0.3 なので、それをインストールします。
$ rbenv install 3.0.3  # 最新版のRubyをインストール
$ rbenv global 3.0.3  # システム全体で使用するRubyのバージョンを指定
$ rbenv versions  # インストール済のRubyのバージョン一覧
    system
    2.5.1
  * 3.0.3 (set by /Users/takayama/.rbenv/version)
2. Railsのアップデート
以下のコマンドでRailsをアップデートします。
最新版は、6.1.4.1 でした。
$ gem install bundler  # Bundlerのインストール
$ bundler -v  # Bundlerのバージョンを確認
$ gem install rails  # Railsのインストール
$ rails -v  # Railsのバージョン確認
  Rails 6.1.4.1
3. 新規アプリケーションの作成
色々と忘れていたので、新規アプリケーションの作成方法も書いておきます。
新規アプリケーションの作成 ($ rails new)
以下のコマンドで新規アプリケーションを作成します。
データベースにMySQLを使用したいので、オプションで -d mysql と指定します。
$ rails new sample -d mysql
($ rails _6.1.4_ new sample -d mysql)  # Railsのバージョンを指定する場合
Gemfile を確認すると、最新版のRubyとRailsで作成されていることがわかります。
ruby '3.0.3'
gem 'rails', '~> 6.1.4', '>= 6.1.4.1'
データベースの作成 ($ rails db:create)
作成したアプリケーションのディレクトリに移動した上で、rails db:create コマンドでデータベースを作成します。
$ cd sample  # 作成したアプリケーションのディレクトリに移動
$ rails db:create  # データベース作成(アプリケーションのディレクトリで実行)
デフォルト画面の確認 ($ rails s)
いったん、rails s コマンドでサーバを立ち上げます。
$ rails s # サーバ立ち上げ
サーバが立ち上がったら、http://localhost:3000/ にアクセスします。
次のような画面が表示されれば、OKです。
ターミナルで、Control + C をして、サーバを停止しておきます。
Model の作成 ($ rails g model)
まず、Modelから作成します。
Modelを作成することで、データベースのテーブルが作成されます。
モデル名は、sample としました。
$ rails g model sample  # モデル作成
($ rails d model sample  # モデルを削除する場合)
モデルが作成されると、db/migrate/ フォルダに、次のようなマイグレーションファイルというものが自動生成されています。
ここでのファイル名は 20211212073934_create_samples.rb ですが、作るたびに名前は変わります。
以下のようにファイルを編集します。
class CreateSamples < ActiveRecord::Migration[6.1]
  def change
    create_table :samples do |t|
      t.string :memo
      t.timestamps
    end
  end
end
上記コードで書き足したのは、t.string :memo の部分のみです。
これで、カラム名がmemoで、データ型が string型 のカラムが1つ作成されることになります。
マイグレーションファイルの内容を DB に反映 ($ rails db:migrate)
マイグレーションファイルの作成ができたら、データベースにその内容を反映します。
$ rails db:migrate # マイグレーション実行
Controller の作成 ($ rails g controller)
以下のコマンドで、Controllerを作成します。
$ rails g controller samples  # コントローラの作成
($ rails d controller samples  # コントローラを削除する場合)
コマンドを実行するとControllerファイルが作成されるので、次のように編集します。
動作確認用の簡単なアプリなので、アクションは、index と create しか使用していません。
class SamplesController < ApplicationController
  # トップページ
  def index
    @samples = Sample.all  # Sampleテーブルのデータ全てを取得したインスタンス
    @sample = Sample.new  # Sampleテーブルの新しいレコード格納用インスタンス
  end

  # データの登録
  def create
    @sample = Sample.new(sample_params)
    if @sample.save
      redirect_to root_path  # ルートパスにリダイレクト
    end
  end

  # パラメータの受取り
  private
  def sample_params
    params.require(:sample).permit(:memo)
  end
end
その他のアクションは、次の項の一覧表のとおりです。
アクションとルーティング
| アクション | HTTPメソッド | パス | コントローラ#アクション | 実行内容 |
|---|---|---|---|---|
| index | GET | /samples | samples#index | 一覧表示 |
| new | GET | /samples/new | samples#new | 新規作成画面を表示 |
| create | POST | /samples | samples#create | 新規作成の実行 |
| show | GET | /samples/:id | samples#show | 詳細表示 |
| edit | GET | /samples/:id/edit | samples#edit | 更新画面を表示 |
| update | PATCH/PUT | /samples/:id | samples#update | 更新の実行 |
| destroy | DELETE | /samples/:id | samples#destroy | データ削除 |
View の作成
Viewは、次のように簡単に作成しておきます。
<h2>Sample</h2>
<div>
  <%= form_with(model: @sample, local: true) do |form| %>
    <%= form.text_field :memo %>
    <%= form.submit "登録" %>
  <% end %>
</div>
<div>
  <% @samples.each do |sample| %>
    <div>
      <span><%= sample.memo %></span>
    </div>
  <% end %>
</div>
ルーティングの編集
最後に、ルーティングの設定をします。
Rails.application.routes.draw do
  root to: 'samples#index'  # ルートパスに"/samples"を指定
  resources :samples  # samples関連のルーティングを設定
end
ルーティングの確認 ($ rails routes)
rails routes コマンドで、設定されているルーティングの一覧が確認できます。
$ rails routes
     Prefix Verb   URI Pattern                     Controller#Action
       root GET    /                               samples#index
    samples GET    /samples(.:format)              samples#index
            POST   /samples(.:format)              samples#create
 new_sample GET    /samples/new(.:format)          samples#new
edit_sample GET    /samples/:id/edit(.:format)     samples#edit
     sample GET    /samples/:id(.:format)          samples#show
            PATCH  /samples/:id(.:format)          samples#update
            PUT    /samples/:id(.:format)          samples#update
            DELETE /samples/:id(.:format)          samples#destroy
作成したアプリケーションの確認 ($ rails s)
rails s コマンドでサーバを立ち上げます。
$ rails s
サーバが立ち上がったら、http://localhost:3000/ にアクセスします。
次のような画面が表示されれば成功です。
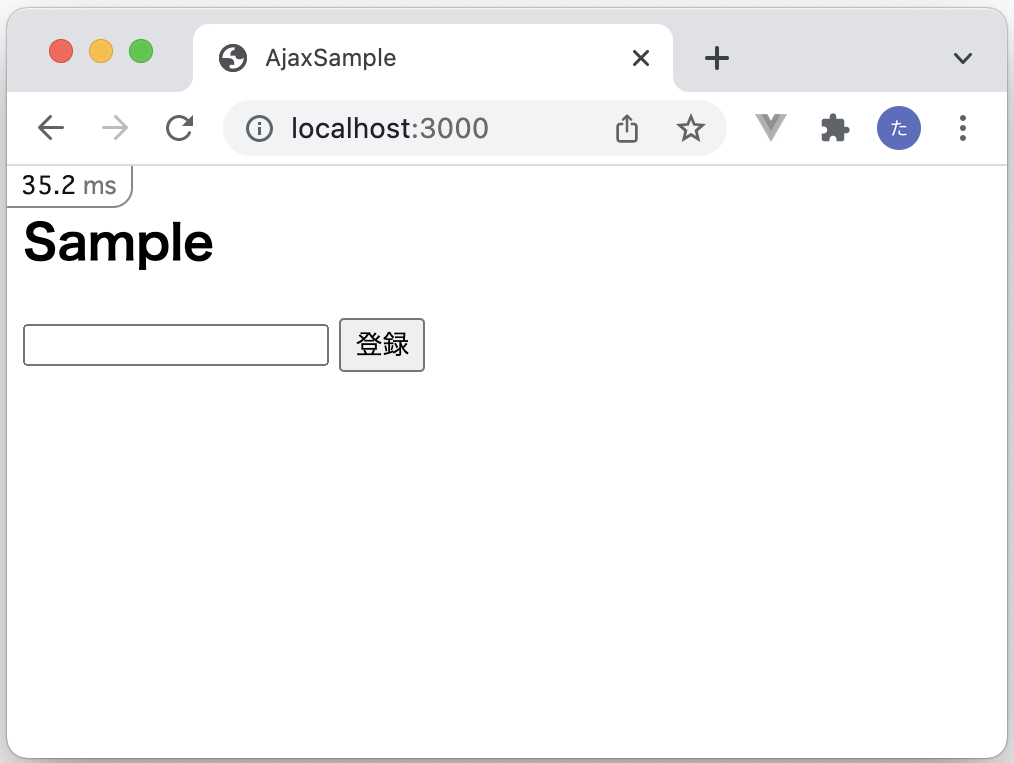
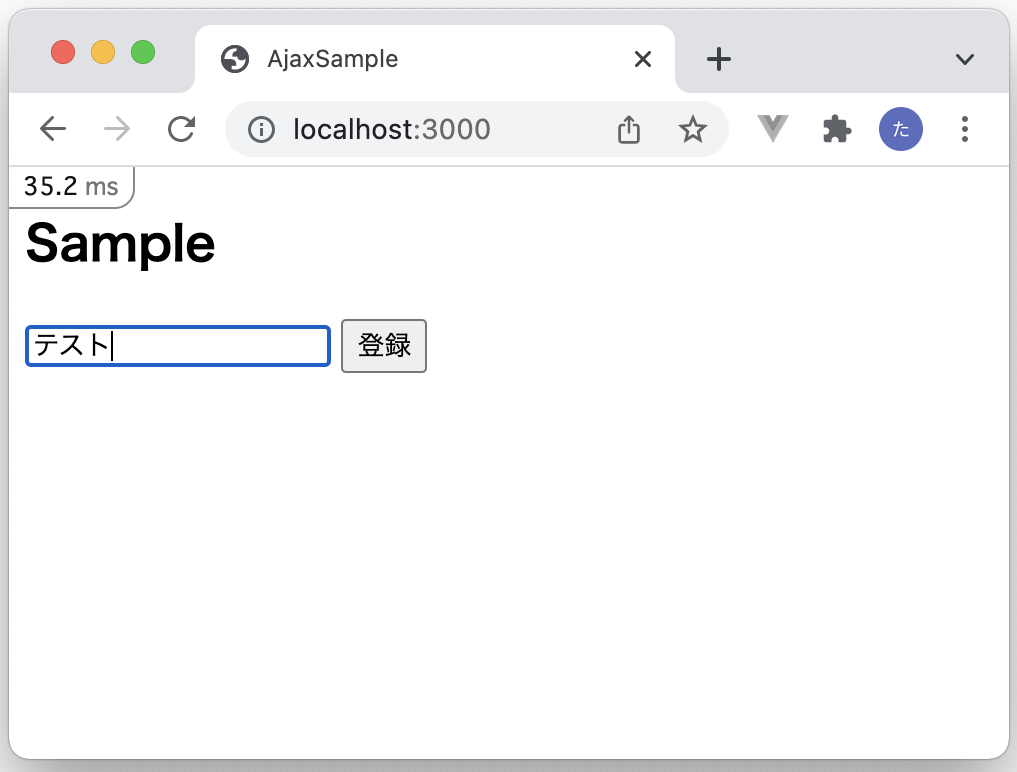
テキストボックスに任意の文字列を打って、登録ボタンを押すと、データベースに保存されます。
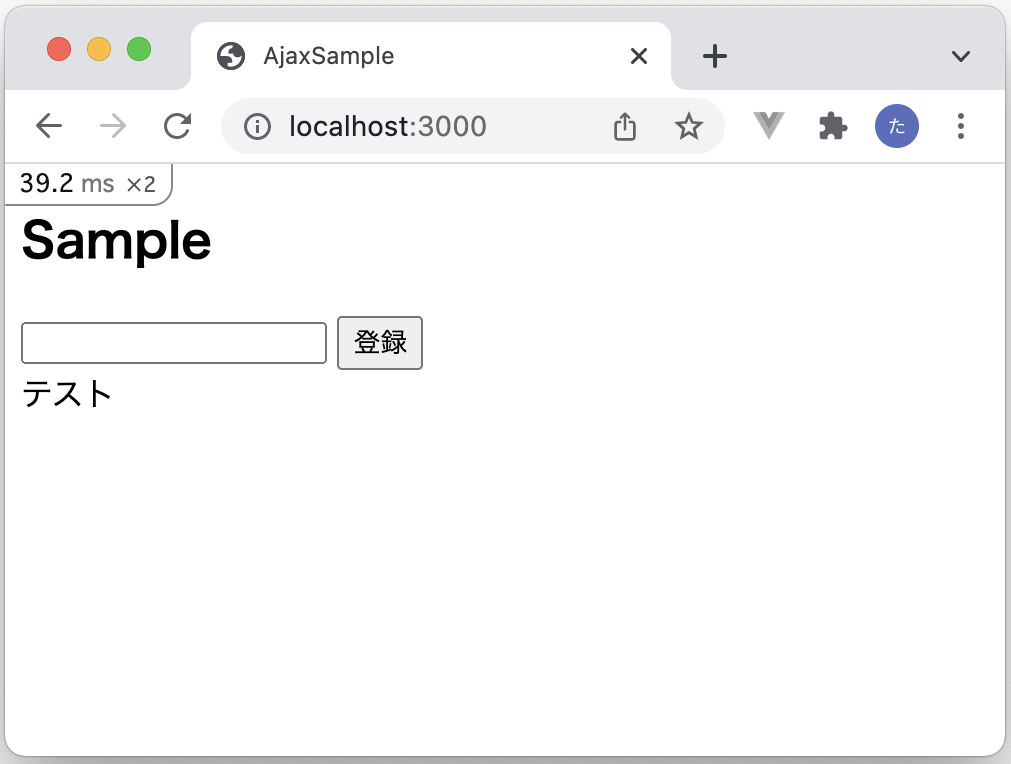
リダイレクトで、再度同じ画面が表示されます。
データベースに登録された文字列が、テキストボックスの下側に、順次表示されます。
以上