この記事は TECH::CAMPAdventCalender2016 21日目の記事です。
みなさんはスライドを作られていますか?
LTやら勉強会の資料やら色々な場面でスライドを用意することがあると思うのですが、大体Keynote、PowerPoint、Googleスライドをよく目にします。
レイアウトやアニメーションに凝り出すと時間もかかって大変ですよね。
qiitaのスライドモードとかはmd形式でかけるので手軽に作れるのですが、レイアウトがちょっと...という人もいるかと。
僕の周りにいる人は基本発表当日とかにスライド作る人がほとんどなので限られた時間の中で綺麗でかつ面白い内容のスライドを作ることは困難かと思われます。
なので今回は手軽に作れて、かつそこそこ見た目も綺麗なreveal.jsでのスライドの作り方について書かせていただこうと思います。
reveal.jsとは
reveal.jsとは、綺麗で手軽にスライドを作成できるフレームワークです。
使ってみる。
実際に使ってみた方がどんなものかイメージしやすいと思うので実践編です。
基本的にはGitHubを見ていただければ使い方はわかるかと思います。
まずはダウンロード。
GitHubからreveal.jsをcloneしてきます。
$git clone https://github.com/hakimel/reveal.js.git
サーバの起動
依存リポジトリをインストールし、サーバを起動します。
$ npm install
$ npm start
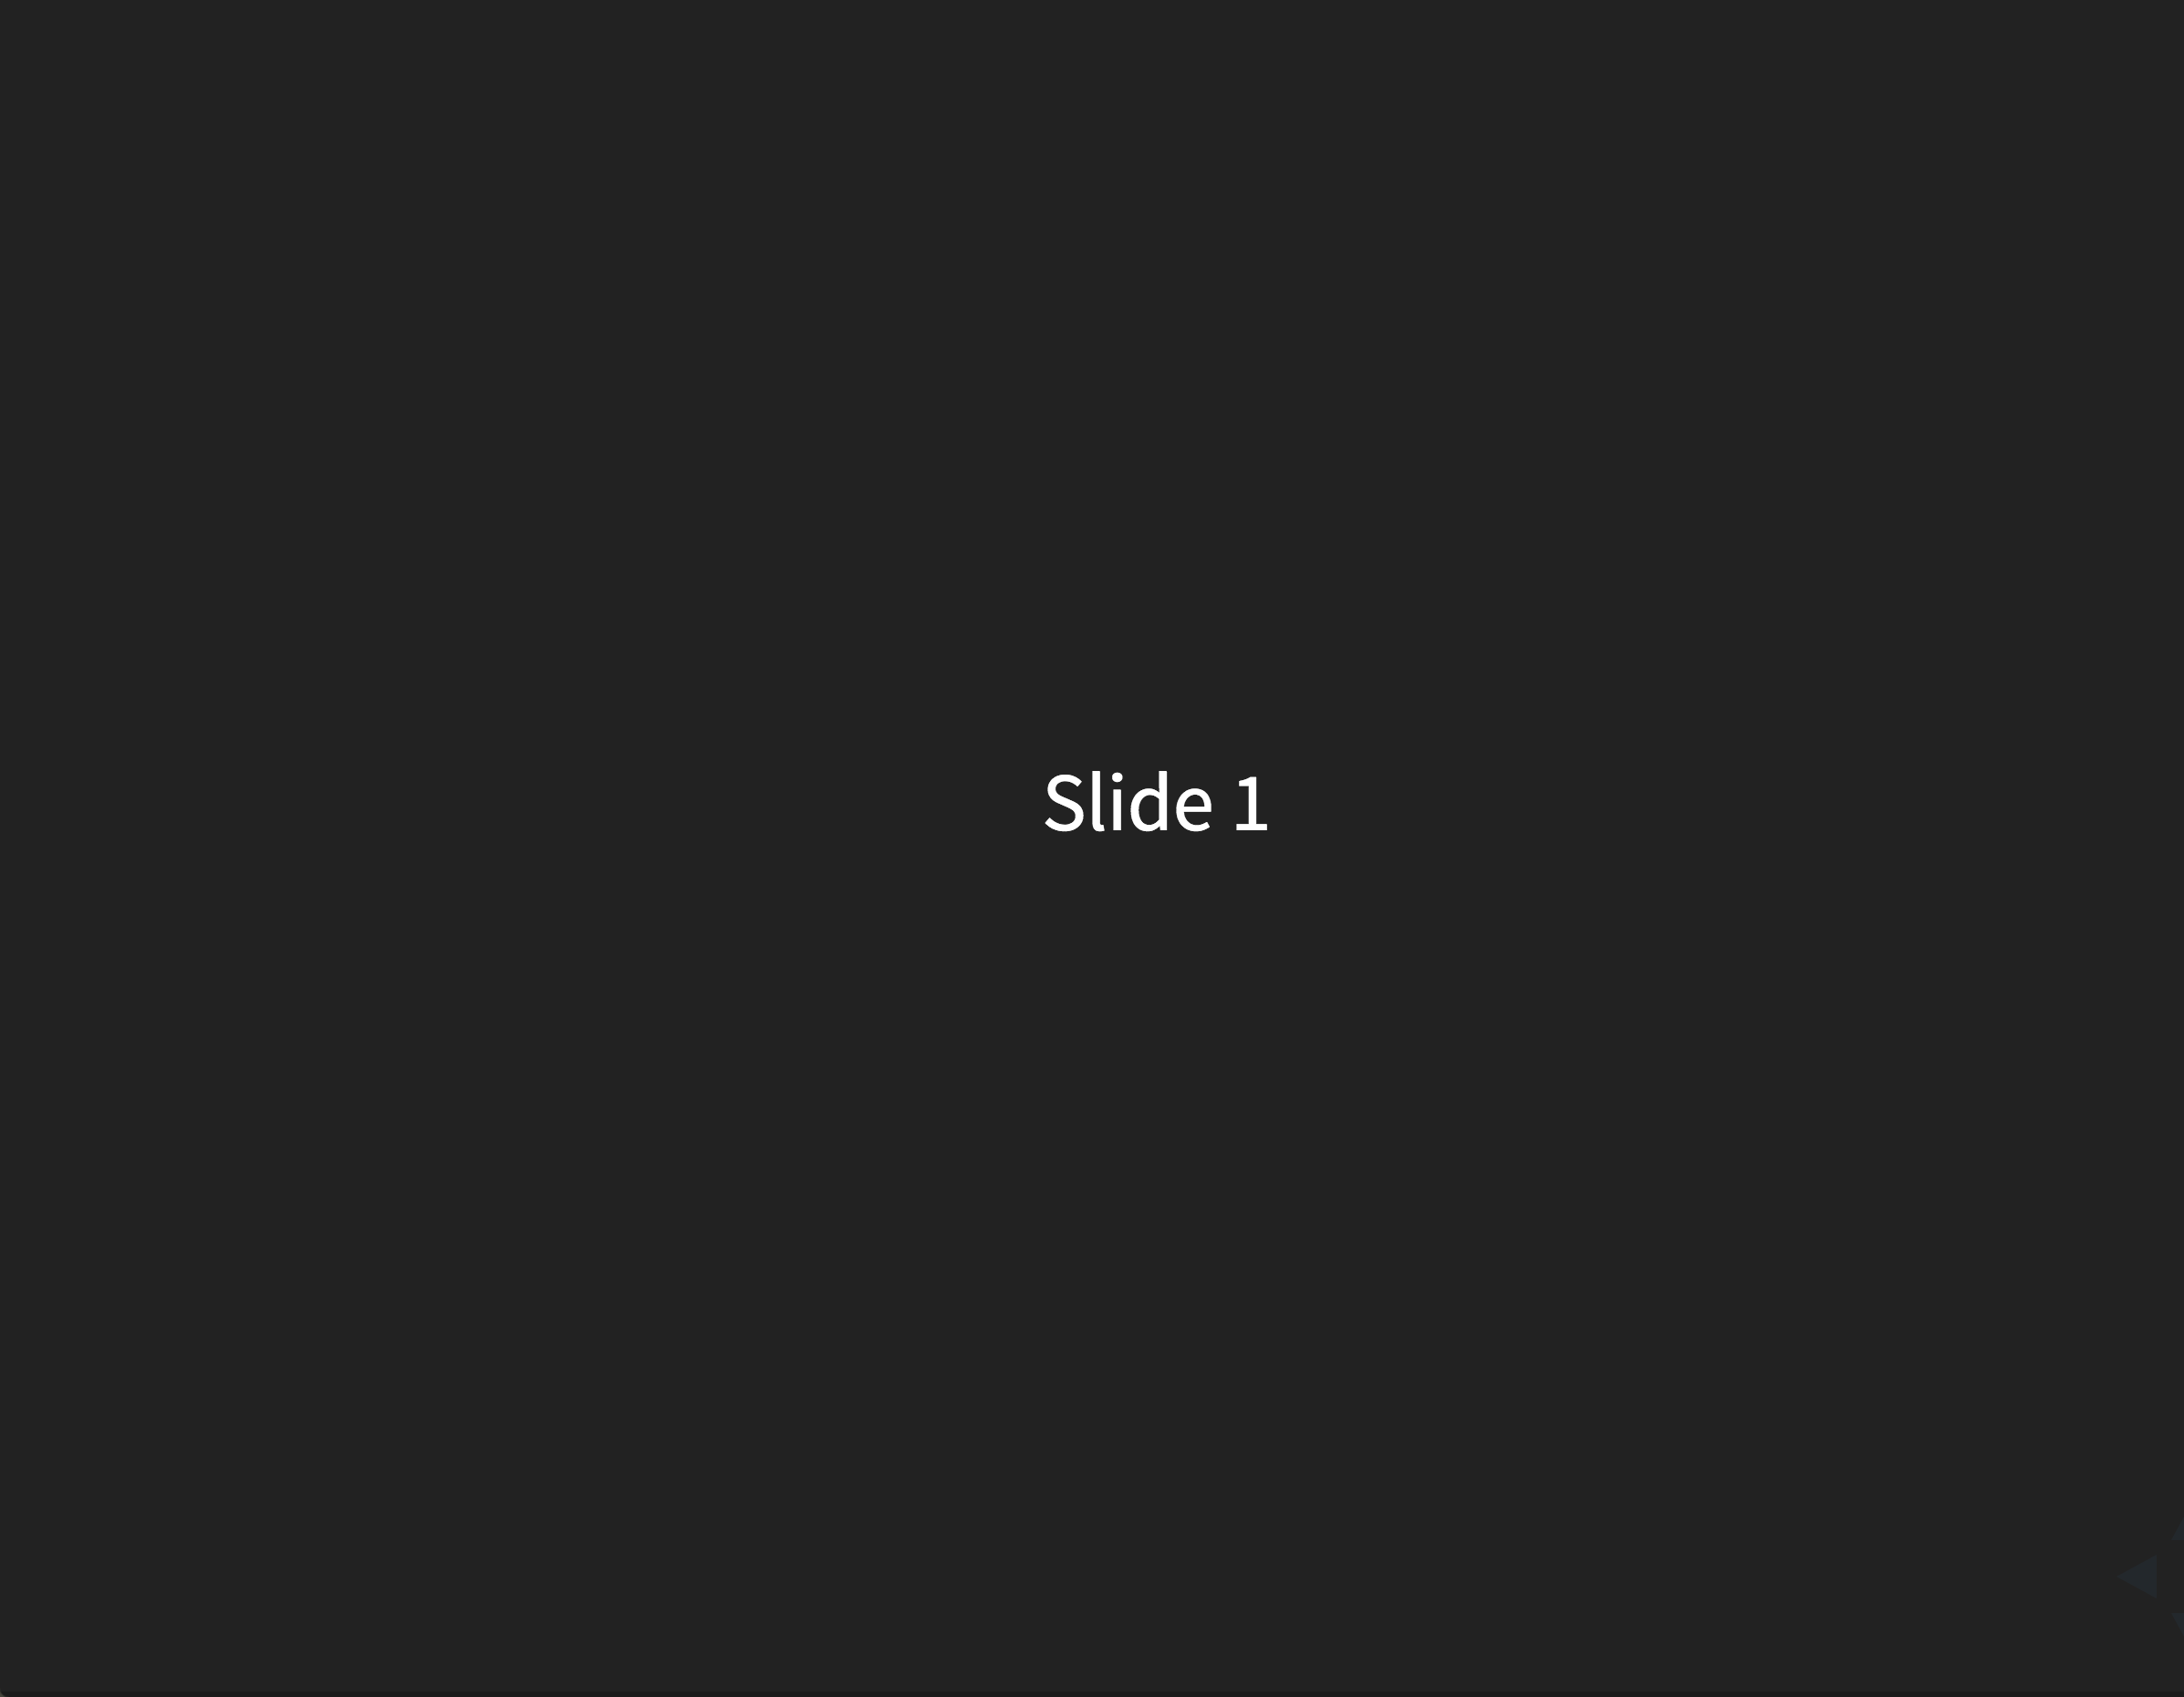
これだけでブラウザが立ち上がり、スライドが表示されます!
HTMLで書くならこれだけでスライド作成ができます。
使い方
スライド
root直下のindex.htmlというファイルを編集することでスライドの内容を書いていくことができます。
<!doctype html>
<html>
	<head>
		<meta charset="utf-8">
		<meta name="viewport" content="width=device-width, initial-scale=1.0, maximum-scale=1.0, user-scalable=no">

		<title>reveal.js</title>

		<link rel="stylesheet" href="css/reveal.css">
		<link rel="stylesheet" href="css/theme/black.css">

		<!-- Theme used for syntax highlighting of code -->
		<link rel="stylesheet" href="lib/css/zenburn.css">

		<!-- Printing and PDF exports -->
		<script>
			var link = document.createElement( 'link' );
			link.rel = 'stylesheet';
			link.type = 'text/css';
			link.href = window.location.search.match( /print-pdf/gi ) ? 'css/print/pdf.css' : 'css/print/paper.css';
			document.getElementsByTagName( 'head' )[0].appendChild( link );
		</script>
	</head>
	<body>
		<div class="reveal">
			<div class="slides">
				<section>Slide 1</section>
				<section>Slide 2</section>
			</div>
		</div>

		<script src="lib/js/head.min.js"></script>
		<script src="js/reveal.js"></script>

		<script>
			// More info https://github.com/hakimel/reveal.js#configuration
			Reveal.initialize({
				history: true,

				// More info https://github.com/hakimel/reveal.js#dependencies
				dependencies: [
					{ src: 'plugin/markdown/marked.js' },
					{ src: 'plugin/markdown/markdown.js' },
					{ src: 'plugin/notes/notes.js', async: true },
					{ src: 'plugin/highlight/highlight.js', async: true, callback: function() { hljs.initHighlightingOnLoad(); } }
				]
			});
		</script>
	</body>
</html>
ページ
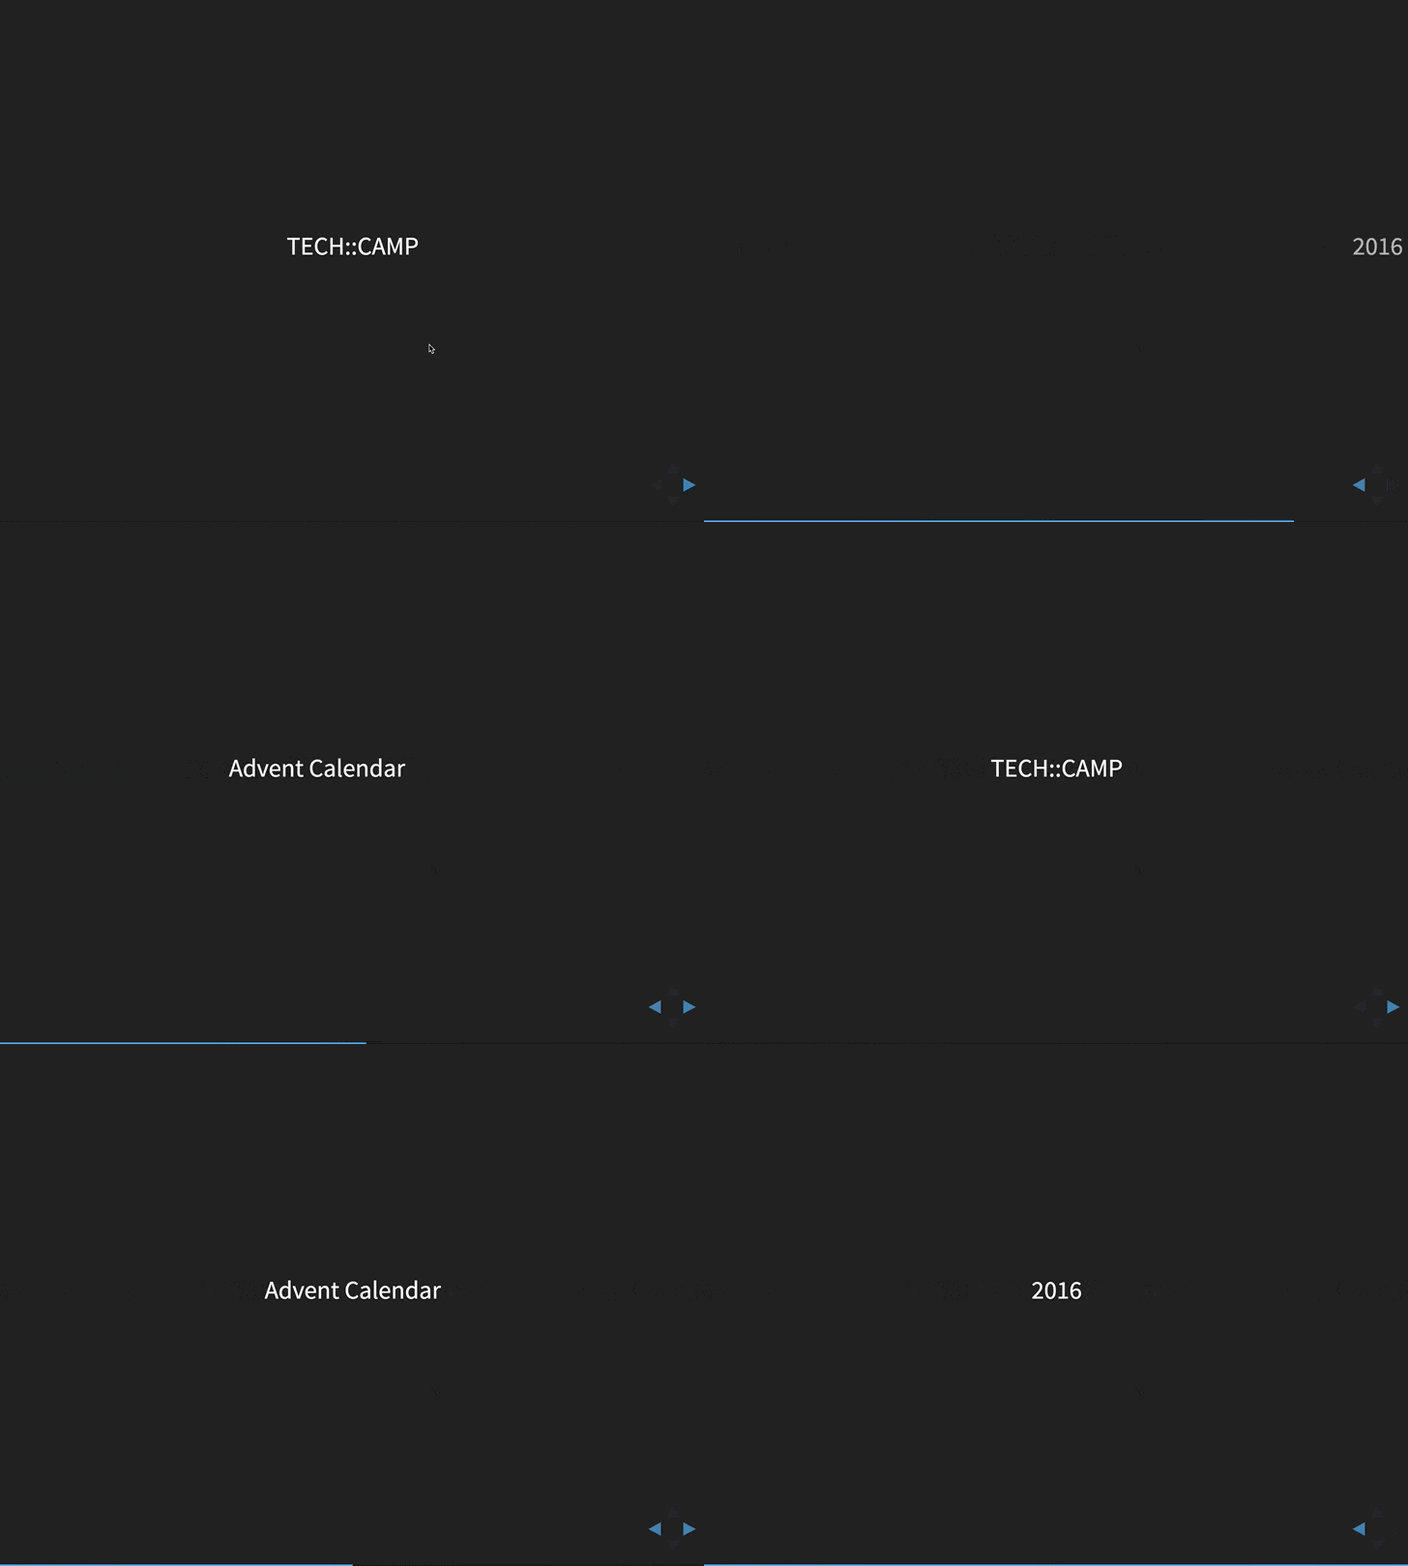
1section、1ページになっているので、revealクラスの中にsectionを追加していけばページが増えてゆきます。
<div class="reveal">
  <div class="slides">
    <section>TECH::CAMP</section>
    <section>Advent Calendar</section>
    <section>2016</section>
  </div>
</div>
簡単ですね^^
ページのネスト
さらにsectionをネストさせることで縦にページを追加することもできます。
内容を深掘りしたい時などに便利ですね。
<div class="reveal">
  <div class="slides">
    <section>
      <section>TECH::CAMP</section>
      <section>人生を変える一ヶ月</section>
      <section>最高のプログラミングスキルを最短で</section>
    </section>
    <section>Advent Calendar</section>
    <section>2016</section>
  </div>
</div>
ちなみに操作はvimのh,j,k,lキーでも行うことができるのでvimmerの方にも親しみやすい?かと。
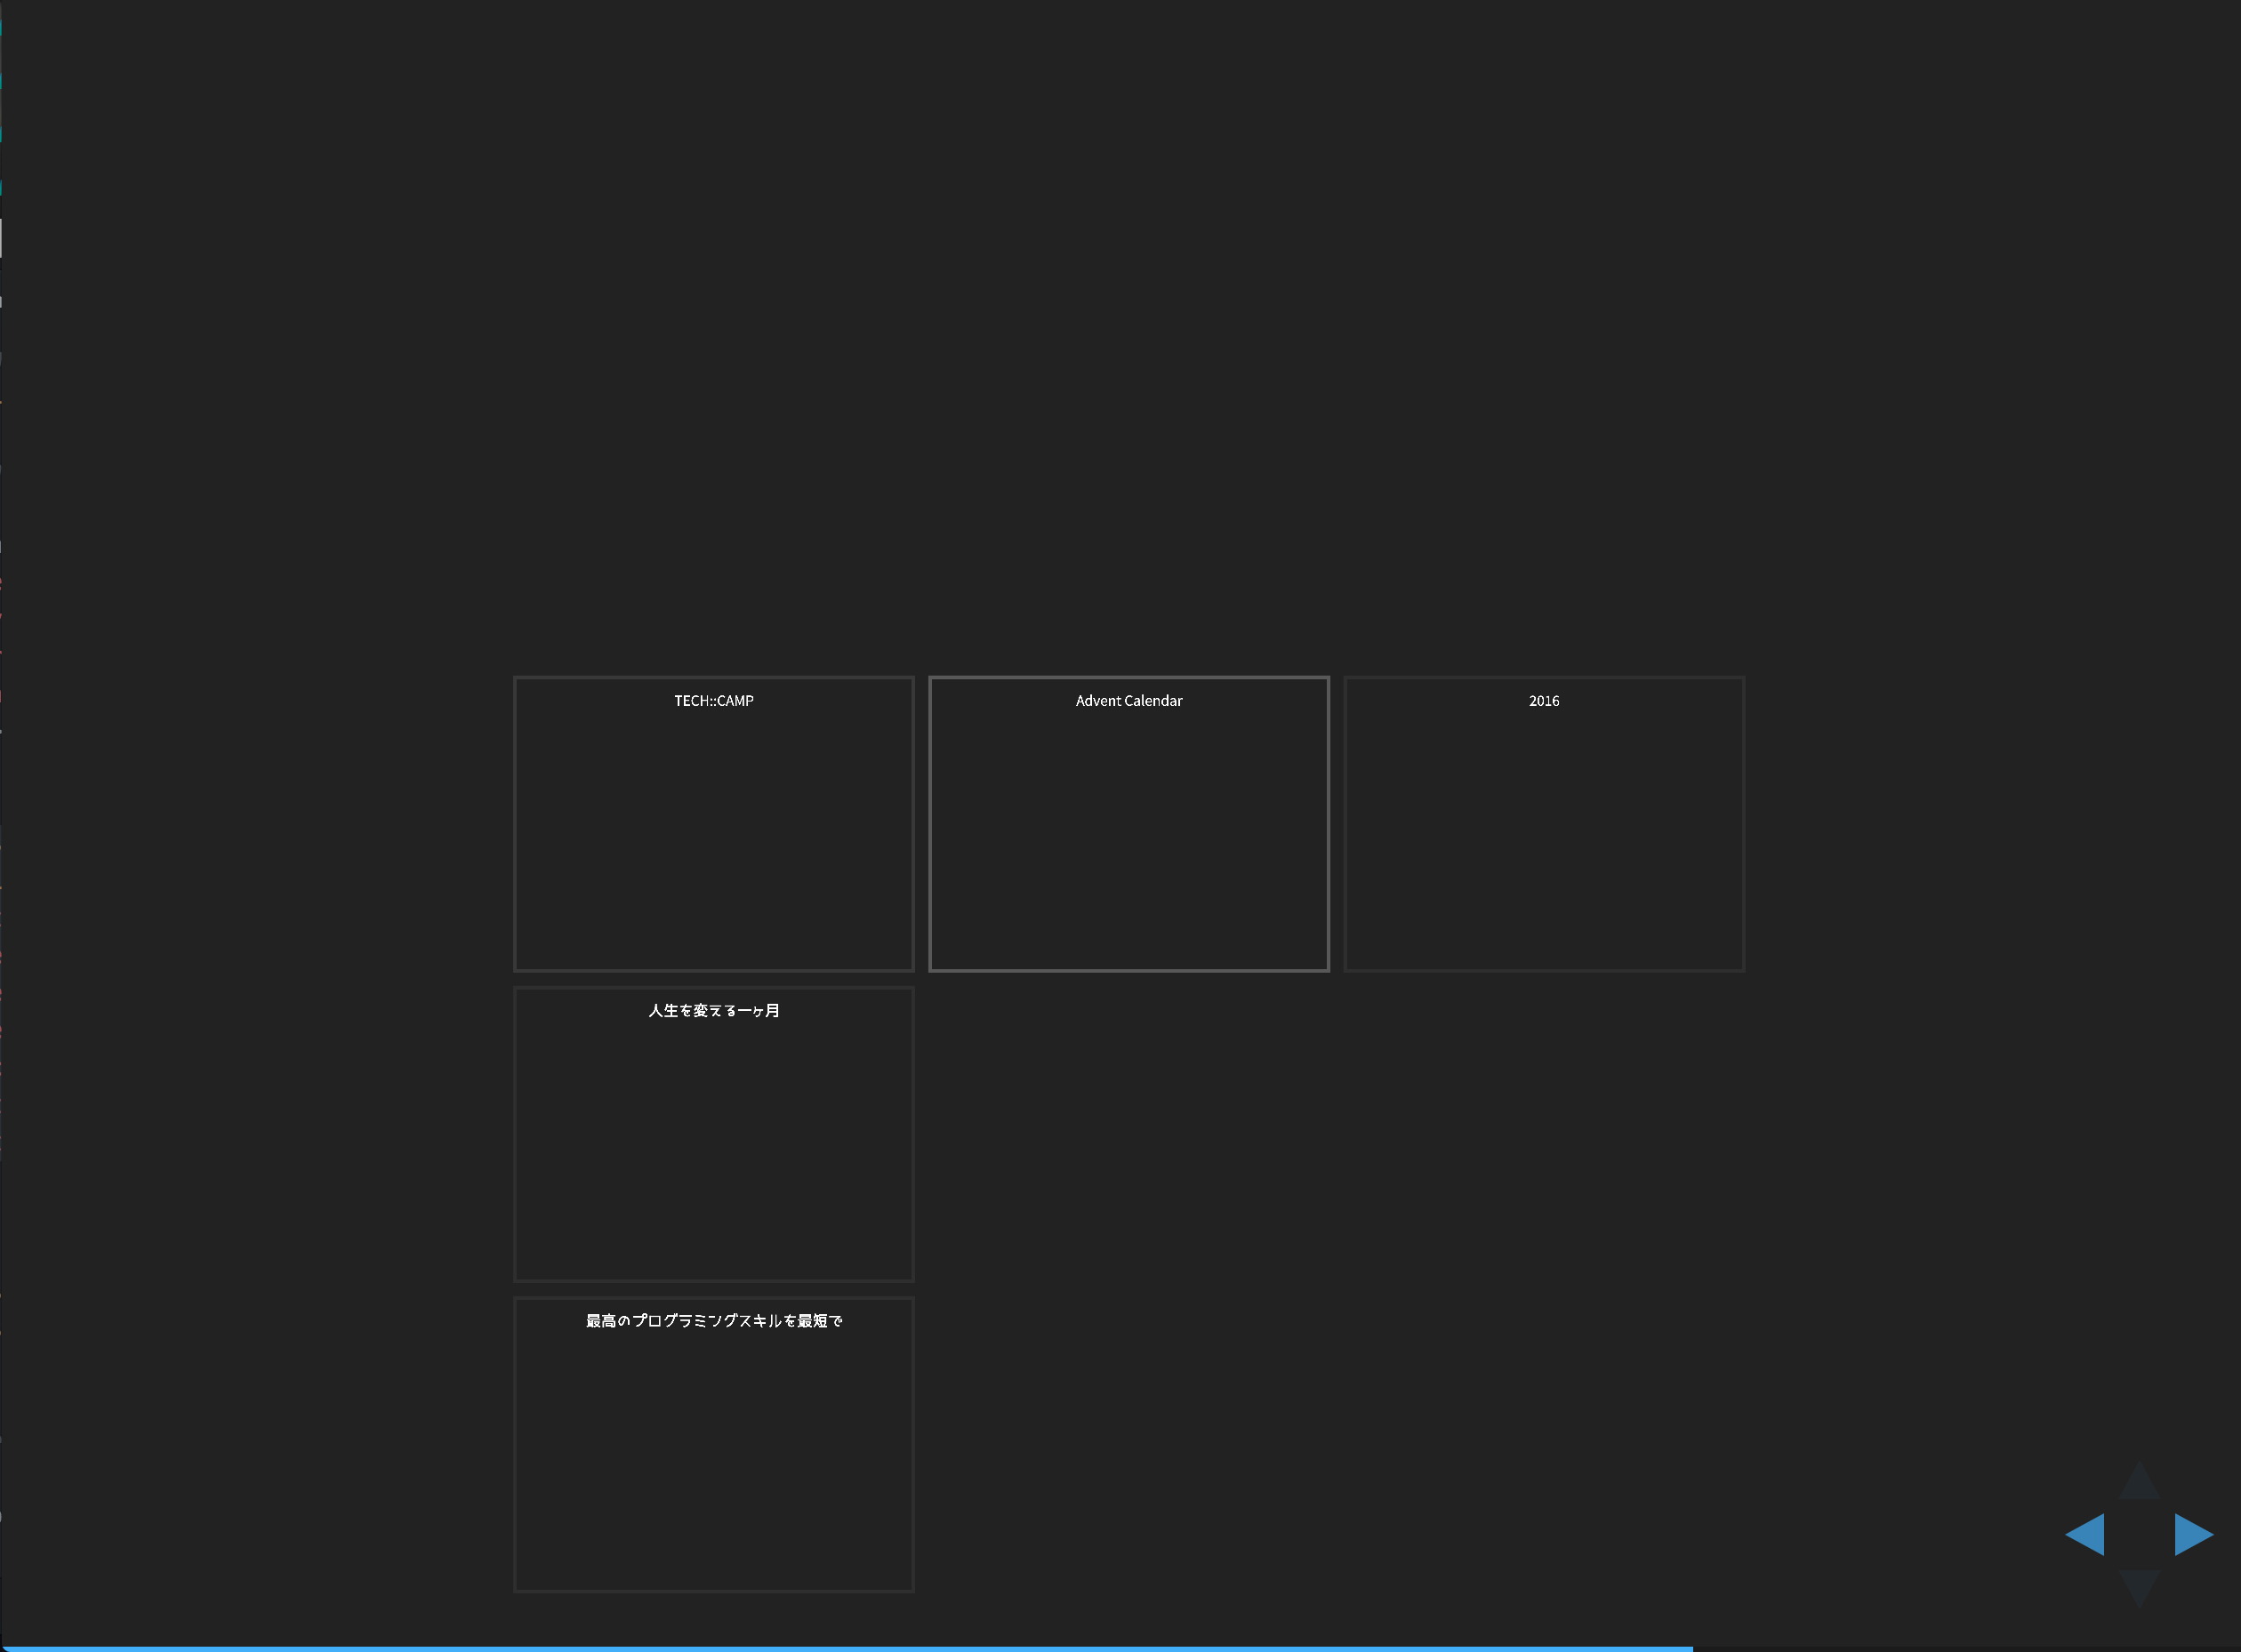
ESCボタンを押すとでページの一覧も観れるので「あのページどこにあるっけ」と探すときに便利です。
マークダウンで書いてみる。
いい感じにスライドを作ることはできるけれどHTMLでいちいちsectionとか書いていくのはめんどくさいですよね。
なので次はmd形式で書いていこうと思います。
初期設定
まずindex.htmlのreveal、slidesクラスの中のsectionを一つにします。
オプションとして、data-markdown、data-separator、data-separator-verticalを追記します。
- data-markdown -> 読み込むマークダウンファイル名を指定します
- data-separator -> ページの区切り(横)を指定します
- data-separator-vertical -> ページの区切り(縦)を指定します
<div class="reveal">
  <div class="slides">
    <section data-markdown="slide.md" data-separator="^\n---\n$" data-separator-vertical="^\n>>>\n$"></section>
  </div>
</div>
今回はslide.mdを読み込み、 ---で横に、 >>>で縦にページを追加できるようにしました。
TECH::CAMP

>>>

人生を変える一ヶ月

>>>

最高のプログラミングスキルを最短で

---

Advent Calendar

---

2016
スライドの内容をファイルで分けられるので便利ですね!
mdでスラスラかけるのも魅力的です。
PDF化
作ったスライドを印刷して配布したり、サーバにあげたりなどするときにPDFにできると便利ですよね。
最後にPDF化をしてみましょう。
http://localhost:8000/?print-pdf#/ にアクセスすると何も表示されなくなりますが、ctl + p を押すといい感じになってます。
あとは、印刷するなりPDFにして保存するなりしてください。
最後に
いかがでしたでしょうか?
LTや勉強会も楽しいですが、スライド作りにも楽しさを見出せると面白いかもですね。
他にも便利なツールがたくさんあるのでよかったら色々試し観てください。


