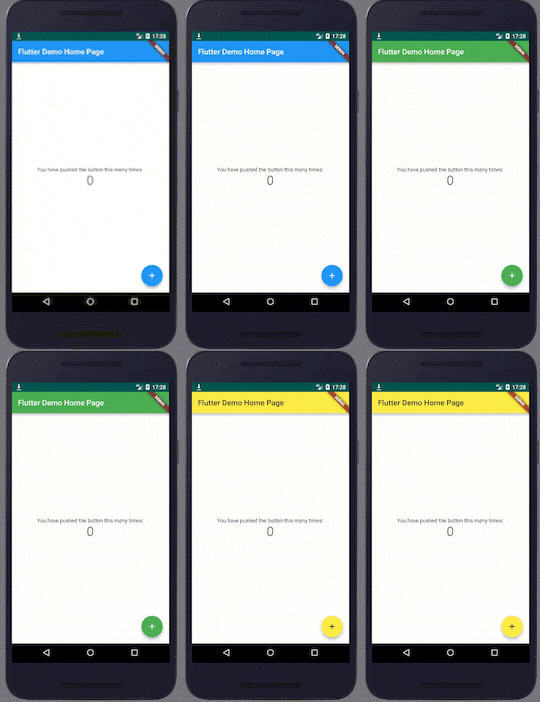
この記事はFlutter Advent Calendar 2018の21日目の記事になります。
はじめに
既に存在しているアプリにFlutterを追加して、一部の画面をFlutterモジュールとして開発したい方向けの記事になります。
公式ドキュメントのAdd Flutter to existing appsから抜粋している箇所も多いので、詳しい内容はそちらを見て頂くのがいいと思います。また、今回紹介するAdd2App projectはまだプレビューの段階なので、今後さらに変更があるかもしれません。
それではさっそくセットアップしていきます!
セットアップ
Flutterモジュールを作成する
-
まずはflutterコマンドを使えるように、下記のリンクからflutterをインストールします
-
次に既存のアプリから呼び出すFlutterモジュール(flutter_sample_app)を作成します
$ cd some/path/
$ flutter create -t module flutter_sample_app
これでFlutterモジュールの作成ができたので、次に各プラットフォームでモジュールを読み込んで呼び出してみます。
iOSアプリからFlutterを呼び出す
-
iOSアプリのPodfileにFlutterの設定スクリプトを実行する行を追加します
もし、Podfileが存在しない場合は
pod initを実行してPodfileを作りましょう。
flutter_application_path = 'path/to/flutter_sample_app/'
eval(File.read(File.join(flutter_application_path, '.ios', 'Flutter', 'podhelper.rb')), binding)
2. `pod install` を実行すると、iOSアプリにFlutterを利用するための設定が追加されます

    ```shell
$ pod install
-
iOSアプリのTARGETSのBuild PhaseにDartをビルドするためのスクリプトを追加します
赤丸の+を押すと、ビルド時に実行するスクリプトを追加できるので、下記のコマンドを追加して
Target Dependenciesの後ろに移動させます。
"$FLUTTER_ROOT/packages/flutter_tools/bin/xcode_backend.sh" build
"$FLUTTER_ROOT/packages/flutter_tools/bin/xcode_backend.sh" embed
<img width="1046" alt="スクリーンショット 2018-12-21 1.43.16.png" src="https://qiita-image-store.s3.amazonaws.com/0/9950/de748e34-abc8-2b88-d9cf-3ddec4f0a553.png">
これでFlutterをiOSアプリから利用するための設定終わりました。次に実際にiOSアプリからFlutterの画面を表示させてみます。
4. `AppDelegate` の親クラスを `FlutterAppDelegate` に置き替えます
```swift
import UIKit
import Flutter
@UIApplicationMain
class AppDelegate: FlutterAppDelegate {
}
```
5. 次のようにiOSアプリからFlutterViewControllerを利用することで、Flutterの画面を表示させることができます
```swift
let flutterViewController = FlutterViewController()
self.present(flutterViewController, animated: false, completion: nil)
```
### AndroidアプリからFlutterを呼び出す
次に同じFlutterモジュールをAndroidに読み込ませて、Flutterの画面を表示させてみます。
1. Androidアプリにある `settings.gradle` に、サブプロジェクトとしてFlutterモジュールを追加します
```groovy
// MyApp/settings.gradle
include ':app'
setBinding(new Binding([gradle: this]))
evaluate(new File(
settingsDir.parentFile,
'path/to/flutter_sample_app/.android/include_flutter.groovy'
))
```
2. `build.gradle` にAndroidアプリによるFlutterモジュールへの依存関係を追加します
```groovy
// MyApp/app/build.gradle
dependencies {
implementation project(':flutter')
}
```
AndroidアプリからFlutterモジュールを使うための準備が整いました。
3. FlutterモジュールのFlutterクラスからFragmentを受け取って、Androidアプリで表示してみます
```kotlin
val transaction = supportFragmentManager.beginTransaction()
transaction.replace(R.id.container, Flutter.createFragment(""))
transaction.commit()
```
Flutterの画面が表示されていると思います。FlutterクラスからはFragmentの他にも、Viewとして受け取ることもできます。
これでiOS/AndroidアプリからFlutterを呼び出して表示することができました!
あとはFlutterモジュールを編集することで、クロスプラットフォームでアプリを開発していくことができます。
## その他
### Hot Reloadを使う
1. iOS or Androidアプリを起動します
2. TerminalでFlutterモジュールに移動して `flutter attach` コマンドを実行します
```shell
$ cd some/path/flutter_sample_app
$ flutter attach
Waiting for a connection from Flutter on Nexus 5X...
```
3. iOS or AndroidアプリでFlutterの画面に遷移すると、Terminalが下記のようになります
```shell
Done.
Syncing files to device Nexus 5X... 5.1s
🔥 To hot reload changes while running, press "r". To hot
restart (and rebuild state), press "R".
An Observatory debugger and profiler on Nexus 5X is available at:
http://127.0.0.1:59556/
For a more detailed help message, press "h". To quit, press "q".
```
4. あとはFlutterのコードを変更して、 `r` を押せばreloadされて再描画されます。

### LaunchScreenを表示させない
FlutterViewControllerは画面を表示する前に、アプリのLaunchScreen.storyboardを表示するようになっています。それを表示させたくない場合、下記のようにsplashScreenViewにViewを設定することで変更することができます。
```swift
let flutterViewController = FlutterViewController()
flutterViewController.splashScreenView = UIView()
self.present(flutterViewController, animated: true, completion: nil)
参考
- Add Flutter to existing apps
- FlutterViewController should not show the Launch storyboard in add2app scenarios