※ これから記載する事項は、私が所属する会社とは一切関係のない事柄です。
この記事では、Business ManagerからSlack連携をし、アラートをSlackに飛ばすための設定を紹介します。
下記3つのヘルプを参考に設定しましたので、詳細はこちらをご覧ください。
- Get a Slack Token for Commerce
- Connect a Slack Workspace to Business Manager
- Configure B2C Alerts in Business Manager and Slack
また、Slack アプリを作成しますので、アプリについての詳細はこちらを参照してください。
手順
Slackアプリを作る
-
アプリのページへ遷移し、
Create an Appを選択。作成済みの場合はそのアプリを選択 。 - ポップアップが出てくるので
From an app manifestを選択。 - 任意のワークスペースを選択して、次へ。
- このmanifestスニペットのnameとdescription, display_nameを好きなものに編集してコピペする。
_metadata:
  major_version: 1
  minor_version: 1
display_information:
  name: <name>
  description: <description>
  background_color: "#2d9c0b"
features:
  bot_user:
    display_name: <display_name>
    always_online: false
oauth_config:
  scopes:
    bot:
      - groups:read
      - channels:read
      - chat:write
      - chat:write.public
5.Create を選択する。
チャネルを作る
SlackのサイドバーのAdd Channels からチャネルを作成。
チャネルにアプリを招待する
作成したチャネルにアプリを招待する。 @{作成したアプリ名} でメンションするのが一番早いです。
SlackアプリのBotトークンを利用してCCのBusiness Managerに設定する
- ここへ行き、作成したアプリを選択する。
- 左ナビの
OAuth & Permissionsを選択する。 -
OAuth Tokens for Your Workspaceにトークンが表示されているのでそれをコピー。 - Business Manager の 管理 > 通知設定 > Slack タブを選択
- ワークスペースへの接続を追加するボタンをクリック。
- トークンの項目に先ほどコピーしたトークンを利用。
- 作成したSlackのチャネルを選択し、接続を追加する。
- Business Managerの 管理 > 通知設定 > 設定 タブに移動し、通知を送りたいイベントに作成したSlackチャネルを設定する。
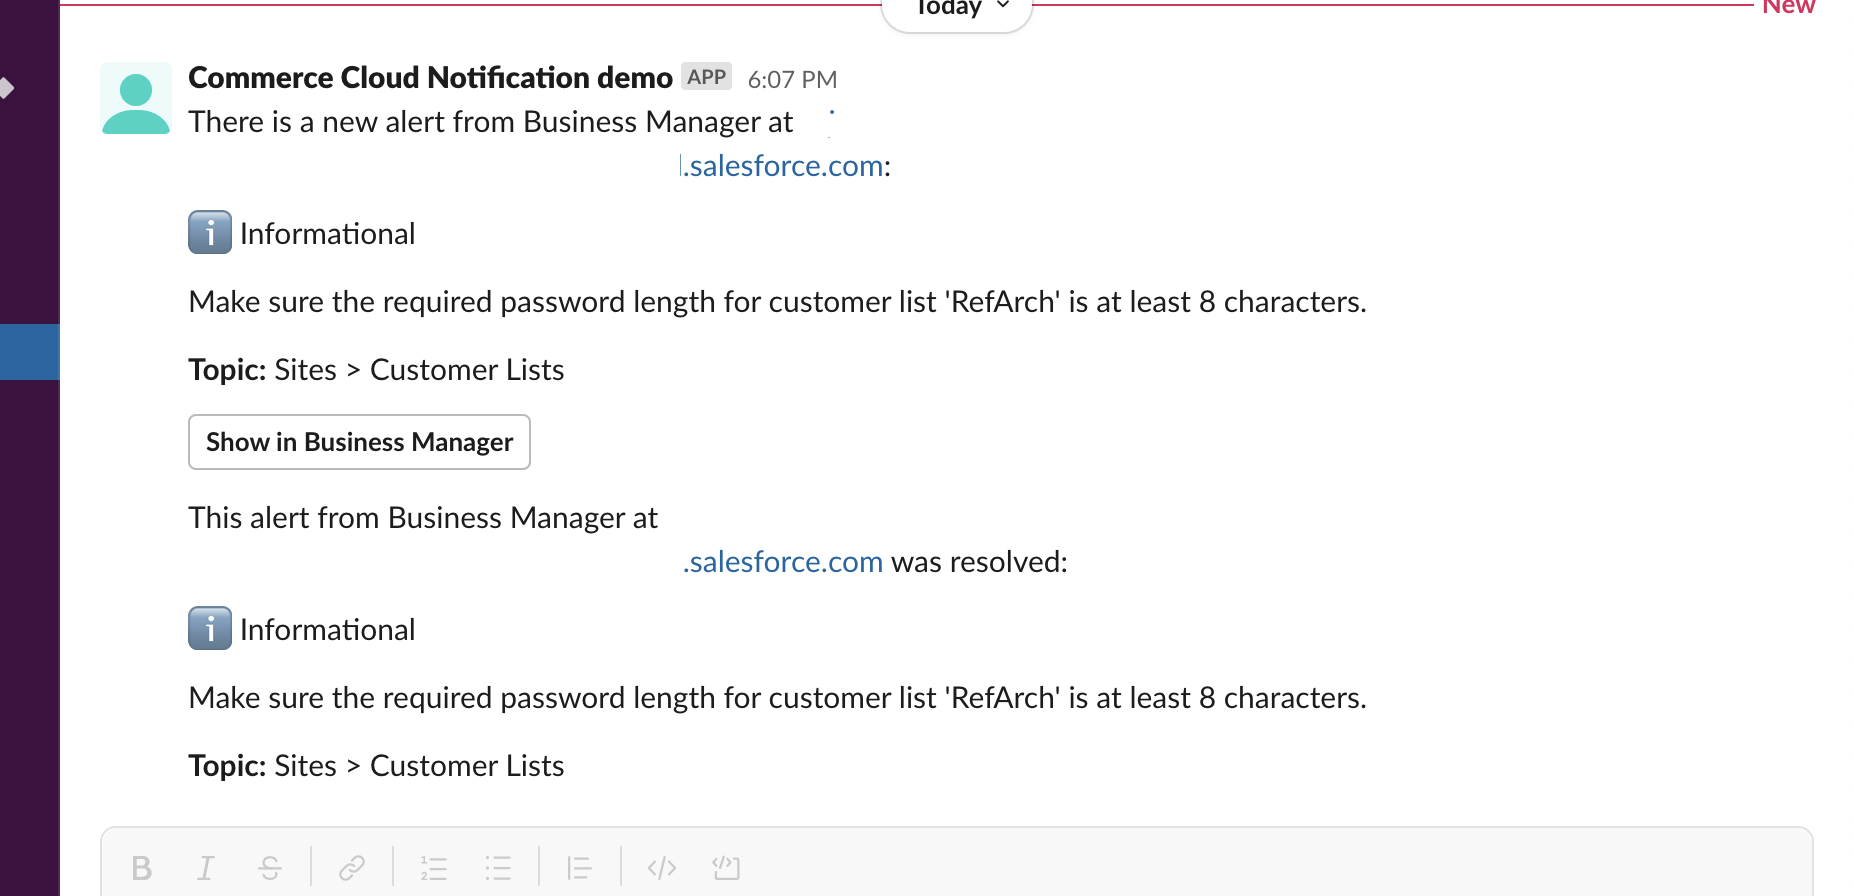
実際にアラートを飛ばしてみる
顧客リストに紐づいたイベントに設定して、パスワードの文字数の要件を8文字以下に変更すると下記のようなアラートが飛んできました。さらに設定を戻すと修正された旨が飛んできます。