Chipwhispererとは
Chipwhispererはターゲットとするチップに対してサイドチャネル攻撃を簡単に行えるツールになります。
ハードウェアの購入はMouserなどからでき、実際に電力を解析する際のソフトウェアはオープンソースでGithubに公開されています。
ソフトウェアのインストール方法は公式サイトまたは自分が書いた記事を参照してください。
用語解説
-
トレース:x軸にサンプル数、y軸に消費電力を取った波形のこと。これをもとにサイドチャネル攻撃を行う。

-
ターゲットボード:攻撃対象のチップを搭載したボード。
-
キャプチャボード:ターゲットボードの消費電力などをキャプチャするためのデバイス
トレースのキャプチャ方法
-
Chipwhisperer を起動し、jupyternotebookが起動することを確認します。起動した画面において、どこでもいいので自分がプログラムを格納したい場所にフォルダを作成し、その中にipnbファイルを作成します。
(今回はtestフォルダの直下にtrace_testというフォルダを置き、そこに作成しました) -
hardware/victims/firmwareの下に攻撃対象にしたいコードを格納します。1で作成したipynbファイルを開き、以下のコードを貼り付け実行することでsimpleserial-baseフォルダをコピーし、それを実験対象フォルダとします。
%%sh
cd ../../hardware/victims/firmware/
mkdir -p trace_test && cp -r simpleserial-base/*
実行すると以下のようになります。
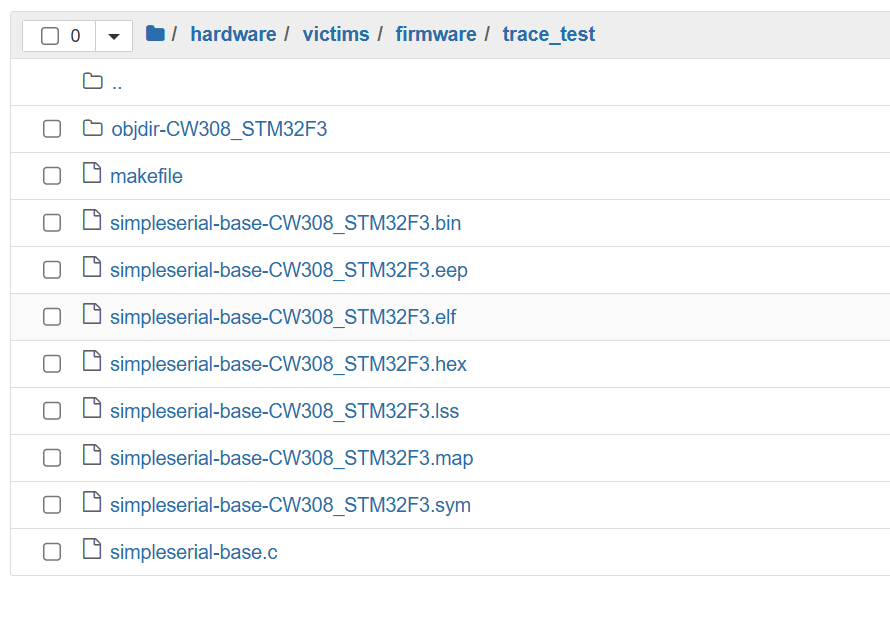
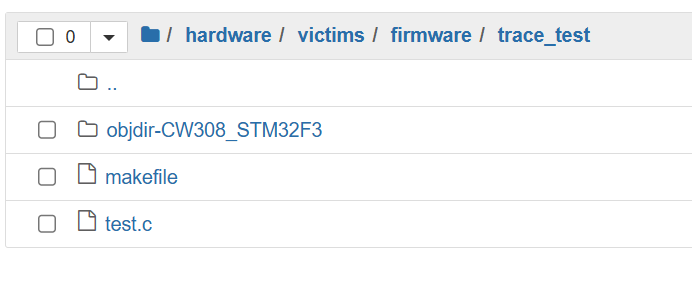
3. simpleserial-base.cを削除して、トレースを取りたいCプログラムを入れます。その後、objdir-CW308_STM32F3とmakefile,入れたプログラム以外を削除します。(邪魔なので)
今回はtest.cという以下のコードを持つファイルを対象とします。
#include "hal.h"
#include "simpleserial.h"
#include <stdint.h>
#include <stdlib.h>

uint8_t get_pt(uint8_t* pt, uint8_t len)
{
    trigger_high();
	volatile int8_t a[16] = {0};
    for(int i=0;i<10;i++){
        a[0]+=1;
    }

    volatile int8_t b = 0;
    for(int j=0;j<10;j++){
        b +=1;
    }
    trigger_low();

    simpleserial_put('r',16,a);
	return 0x00;
}

int main(void)
{
    platform_init();
	init_uart();
	trigger_setup();

	simpleserial_init();
	simpleserial_addcmd('p', 16, get_pt);


	while(1)
		simpleserial_get();
}
その後Makefile内のTARGETとSRCを以下のように編集します。(図は一部抜粋です
# Target file name (without extension).
# This is the name of the compiled .hex file.
TARGET = test

# List C source files here.
# Header files (.h) are automatically pulled in.
SRC += test.c
4.(1)で作成したipnbファイルの方に戻り、以下のコードを追加します。
SCOPETYPE = 'OPENADC'
PLATFORM = 'CW308_STM32F3'
CRYPTO_TARGET='NONE'
SS_VER='SS_VER_1_1'
これはターゲットやキャプチャする際の初期設定です。
- SCOPETYPE:使用するキャプチャデバイスを示します。Chipwhisperer-Lite,PROの場合は'OPENADC'。Chipwhisperer-Nanoの場合は'CWNANO'を選択します。
- PLATFORM:使用するターゲットデバイスを示します。購入したものによって違いますが、jupyter/1 - Connecting to Hardwareに記載の通りにそれぞれ選択します。(今回はSTM32F3)
- SS_VER: SimpleSerialのバージョンです。SimpleSerialはプログラムの出力する値を得たり、逆に送ったりに使います。バージョンが1_1か2_1でプログラムの書き方が少し異なるのと、送受できるバイト数に違いがあります。(1_1の場合16バイトまで、2_1の場合256まで?(ちょっと怪しい))
5. /jupyter/Setup_Scripts以下にあるSetup_Generic.ipynbファイルをコピーし、自身が使用しているフォルダにペーストします。(今回はtrace_test/Setup_Scripts/Setup_Generic.ipynbに置きました)その後、以下のコードをipynb上で実行してSetupを行います。
%run "Setup_Scripts/Setup_Generic.ipynb"
6. コンパイルを行います。ipynbファイルに以下のコード追加して実行してください。
%%sh -s "$PLATFORM" "$CRYPTO_TARGET" "$SS_VER"
cd ../../hardware/victims/firmware/trace_test
make PLATFORM=$1 CRYPTO_TARGET=$2 SS_VER=$3 -j
7.最後にipynbファイルで以下を実行して設定を完了します
cw.program_target(scope, prog, "../../hardware/victims/firmware/trace_test/test-{}.hex".format(PLATFORM))
8.以上で前置きは終わりで、以下は実際のキャプチャ方法です。pythonでトレースをキャプチャする関数を書き、10回実行してみます。
from random import randint
from tqdm import tnrange

def capture_trace(N):
    traces = []
    a=[]

    for i in tnrange(N):
        rnd = bytearray([0]*16)
        scope.arm()

        target.simpleserial_write("p", rnd)

        ret = scope.capture()

        response = target.simpleserial_read_witherrors('r', 16)

        a.append(response['payload'][0])
        traces.append(scope.get_last_trace())
    return (traces,a)
コードの注意点を簡単に説明します。
-
scope.arm()→scope.capture()でCファイルのtrigger_high();以降をキャプチャします。trigger_low()までの範囲だと勘違いしがちですが、scope.adc.samplesで表される値までhigh()から取り続けることになります。(scope.adc.samples = 10000)などで取るサンプル数を変えることが出来ます。
-
C言語ファイル(victimsの対象コード)でsimpleserial_addcmd('p', 16, get_pt);に対応した'p'コードでtarget.simpleserial_write("p", rnd)を利用して値を送ってあげることで、C内のsimpleserial_put('r',16,a);に対応した値をtarget.simpleserial_read_witherrors('r', 16)で得ることが出来ます。
addcmdとwriteは'p'部分を't'などに変更することで複数のバイト列を同時に得ることもできます。(詳しくはhttps://chipwhisperer.readthedocs.io/en/latest/simpleserial.html) -
responseは辞書型になっており、実際の値は'payload'部分に格納されています。
-
先述しましたが、SimpleSerial VER1_1では16バイトまでしか送れないので、それ以上を送りたければ2_1を使用します。2_1でも限界があるので、その際は値をputするだけの関数とaddcmdを増やして分割して送ることもできます。
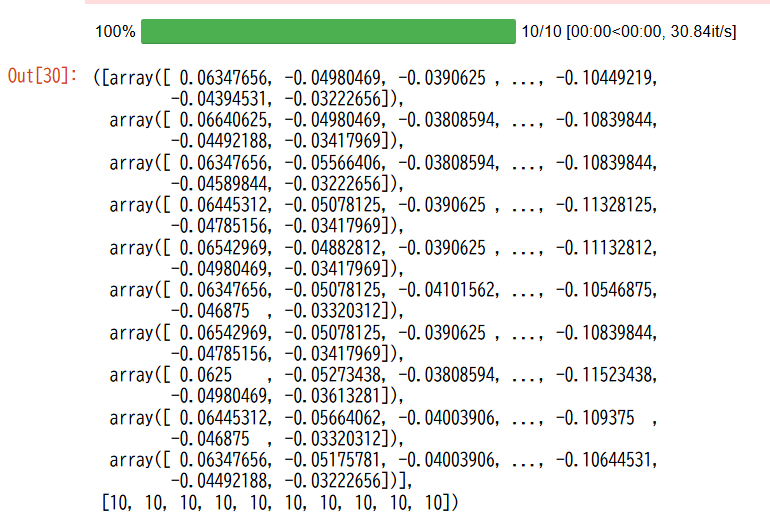
描画すると…
import matplotlib.pyplot as plt
for t in traces:
    plt.plot(t[:1000], linewidth=0.5,color = 'grey')
plt.show()

実際にトレースと値が取れていることがわかります。
以上です。