前回の記事にてVisual Studioという開発環境を用いたCPlusPlus OPのビルドおよびデバッグの方法をまとめたが,Visual Studioは高機能である代わりに習得に時間がかかる.
そこで,軽量かつ操作性の良いエディタであるVisual Studio Code(以下VSCode)で編集できる環境を構築する.
環境
Windows 10 Home
Visual Studio Community 2019
TouchDesigner 2021.13610
ビルド設定
VSCode上でビルドを実行するためにはtasks.jsonというファイルを作成し,ビルドに使用するMSBuildのパスを指定してやる必要がある.
tasks.jsonの生成
今回も前回と同様にC:\Program Files\Derivative\TouchDesigner\Samples\CPlusPlus\DATフォルダ中にあるCPlusPlusDATExampleを実行しながら説明する.
前回の記事と同様にVisual Studioを,さらにVSCodeをインストールしておく.
上記ファイルをデスクトップなどの適当な場所にコピーする.(筆者環境ではC:\Users\sakir\OneDrive\デスクトップ\DATとした.)
VSCodeを立ち上げて[ファイル]>>[フォルダーを開く]から上でコピーしたDATフォルダーを選択する..slnファイルが直下にあるフォルダである必要があるらしい.
ビルドの実行コマンドCtrl + Shift + Bを押下すると,以下の図のようにビルドタスクを構成するという選択肢が表示されるのでクリック

続いてtasks.jsonを生成する選択する.

ビルドに使用するコマンドを選択できるのでMSBuildを選択.

.vscodeフォルダの中にtasks.jsonが生成され,エディタ上でも開かれる.
デフォルトでは以下のように記述されている.
{
    // See https://go.microsoft.com/fwlink/?LinkId=733558
    // for the documentation about the tasks.json format
    "version": "2.0.0",
    "tasks": [
        {
            "label": "build",
            "type": "shell",
            "command": "msbuild",
            "args": [
                // Ask msbuild to generate full paths for file names.
                "/property:GenerateFullPaths=true",
                "/t:build",
                // Do not generate summary otherwise it leads to duplicate errors in Problems panel
                "/consoleloggerparameters:NoSummary"
            ],
            "group": "build",
            "presentation": {
                // Reveal the output only if unrecognized errors occur.
                "reveal": "silent"
            },
            // Use the standard MS compiler pattern to detect errors, warnings and infos
            "problemMatcher": "$msCompile"
        }
    ]
}
tasks.jsonの編集
デフォルトのtasks.jsonのままでCtrl + Shift + Bでビルドを実行するとMSBuildが見つからないとのエラーが出るので,パスを通すかtasks.jsonにフルパスを記載する.
以下のようにフルパスを指定するとビルドが終了し,Debugフォルダの中にCPlusPlusDATExample.dllが生成される.
"command": "C:\\Program Files (x86)\\Microsoft Visual Studio\\2019\\Community\\MSBuild\\Current\\Bin\\MSBuild.exe",
後は前回の記事と同様にTouchDesignerを起動してCPlusPlus DATを作成しdllファイルを指定すると,コードの中身を反映したDATを使用することができる.
デバッグ設定
デバッグを実行するためには,launch.jsonを生成し,実行プログラムであるTouchDesignerとデバッグで使用する.toeファイルを指定してやる.
launch.jsonの生成
左端のデバッグのアイコンをクリックすると表示される[実行とデバッグ]をクリックする

続いてC++ (Windows)を選択

cl.exeを選択
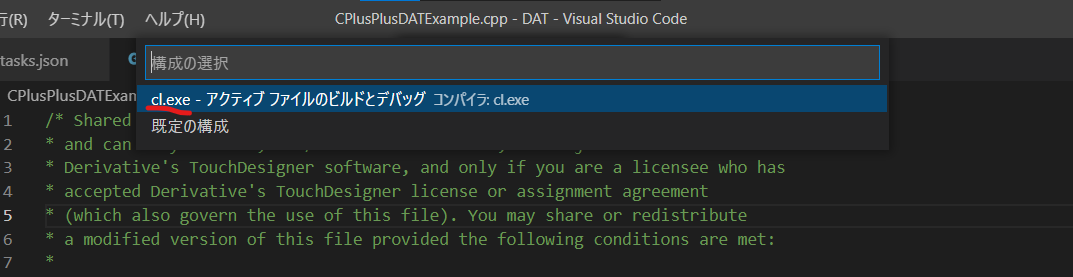
以上の操作でlaunch.jsonが生成される.デフォルトの内容は以下の通り.
{
    // IntelliSense を使用して利用可能な属性を学べます。
    // 既存の属性の説明をホバーして表示します。
    // 詳細情報は次を確認してください: https://go.microsoft.com/fwlink/?linkid=830387
    "version": "0.2.0",
    "configurations": [
        {
            "name": "cl.exe - アクティブ ファイルのビルドとデバッグ",
            "type": "cppvsdbg",
            "request": "launch",
            "program": "${fileDirname}\\${fileBasenameNoExtension}.exe",
            "args": [],
            "stopAtEntry": false,
            "cwd": "${fileDirname}",
            "environment": [],
            "console": "externalTerminal",
            "preLaunchTask": "C/C++: cl.exe アクティブなファイルのビルド"
        }
    ]
}
launch.jsonの編集
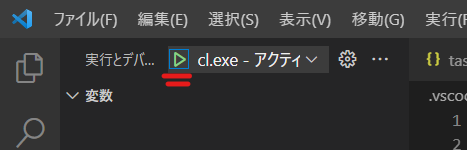
デバッグは以下のボタンから実行できる.
この状態でデバッグを実行すると"C/C++: cl.exe アクティブなファイルのビルド"というタスクが見つけられないというエラーが起こる.
そこで,launch.jsonのpreLaunchTaskを以下のように変更する.
"preLaunchTask": "build"
ここで指定したbuildという名前はtasks.json指定したlabelと対応しており,preLaunchTaskの名前の通りデバッグの実行前に行うタスクを指定している.
つまり,毎回のデバッグの実行前にMSBuildによるビルドを行う設定になる.
続いてデバッグを実行すると,実行ファイルが見つからないとのエラーになるので,前回の記事と同様にTouchDesignerのプログラムと生成されたdllファイルを使用する.toeファイルを指定する.
            "program": "C:\\Program Files\\Derivative\\TouchDesigner\\bin\\TouchDesigner.exe",
            "args": ["C:\\Users\\sakir\\OneDrive\\デスクトップ\\DAT\\CPlusPlus_Debuger.toe"],
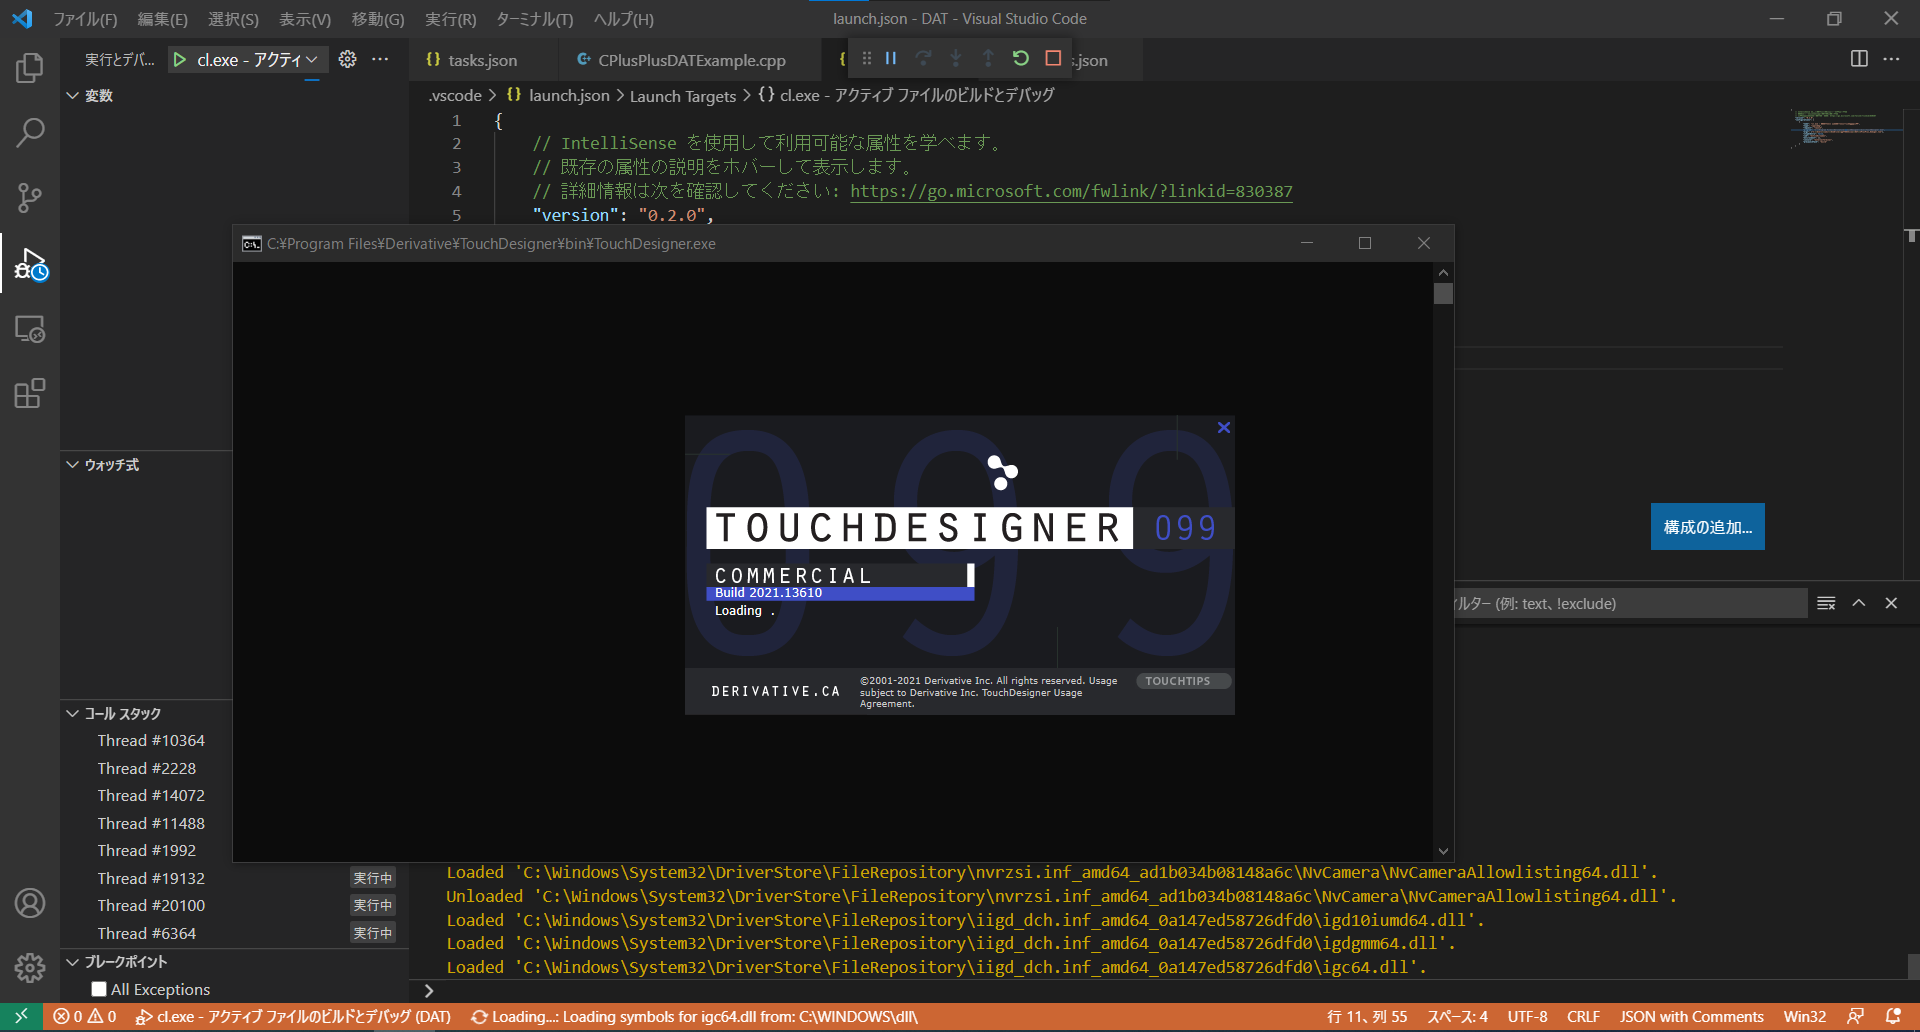
以上が上手くいくと,VSCodeのデバッグを実行するとTouchDesignerが開いてデバッグが開始される.
参考