はじめに
Splunkはルックアップ機能が強力で色々なシーンで活用できます。
例)AD情報をルックアップファイルとして用意しておき、ユーザIDから従業員情報をルックアップ
そんなルックアップファイルをREST経由で管理できたら便利だろうなと思い方法を調べました。
ルックアップファイルにはCSVとKV Storeの2種類があり、KV StoreだとRESTでCRUDできることが分かりました。
REST API仕様はこちらです。
Pythonで一通り確認できたのでメモです。
環境
- Splunk Enterprise or Splunk Cloud
- Lookup File Editor ※Web UIでKV Storeを管理するには必須
- Python
KV Store Collection作成
まずはKV Store Collectionが必要です。
これはDBで言うテーブルみたいなもので、各レコードに含まれるフィールドを定義できます。
本来はcollections.confとtransforms.confの作成が必要なのですがLookup File EditorあればWeb UIで完結します。
(細かいチューニングはできないけど)
それじゃ作っていきます。
Lookup File Editorを開き、Create a New Lookup > KV Store lookup

Name: 適当な名前
App: 適当なApp
Key-value collection schema: このコレクションで使用するフィールド。とりあえずidとvalueをstring形式で用意します。

できました。各フィールドダブルクリックで値を入力できます。
行追加する場合は右クリック。
_keyフィールドが自動生成されています。ここには各レコードを識別するためのユニーク値が自動生成されます。

[Open in Search] をクリックすると、lookup用のtransform作りますねと言ってくれるので、ありがたく作ってもらいましょう。

後は普通にlookupとして使えます。
作成したKV Store Collectionの権限を変えておきましょう。
Lookup File Editorでさっき作成したのを検索して [Edit Permissions] をクリック。

「すべてのApp (システム)」に変更。

準備おしまい。
RESTで操作
作成できたKV Store CollectionをRESTで操作してみます。
まずアクセス情報など共通部分です。
import requests
import json

# アクセス情報
host = "xxx"
port = "8089" # management port。デフォルト値は8089。
userid = "xxx"
userpw = "xxx"

# KVストア情報
app = "search" # 作成したcollectionのApp名
kvcol = "kvstore_rest_test" # 作成したcollection名

# URL
url = "https://" + host + ":" + port + "/servicesNS/nobody/" + app + "/storage/collections/data/" + kvcol
全レコードを取得
res = requests.get(url, verify=False, auth=(userid, userpw))
print(res.json())
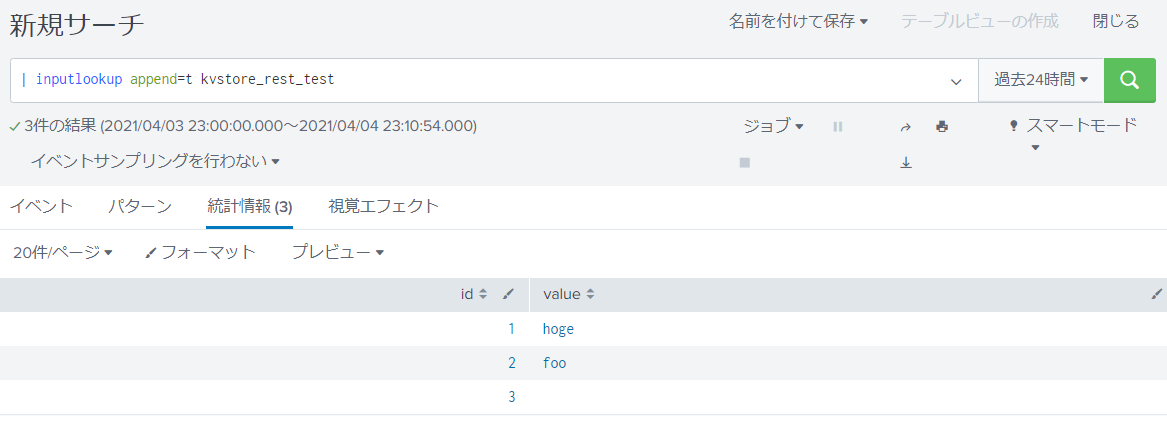
[{'id': '1', 'value': 'hoge', 'wait': True, '_user': 'nobody', '_key': '6069c7c32962ee4fb9621ebd'}, {'id':
'2', 'value': 'foo', 'wait': True, '_user': 'nobody', '_key': '6069c8202962ee4fb9621ebe'}, {'id': '3', 'value': '', 'wait': True, '_user': 'nobody', '_key': '6069c8262962ee4fb9621ebf'}]
条件指定してレコードを取得
使えるオペレーターはこちら。
params = {"query":"{\"value\":{\"$ne\":\"\"}}"} # valueは空ではない
res = requests.get(url, params=params, verify=False, auth=(userid, userpw))
print(res.json())
[{'id': '1', 'value': 'hoge', 'wait': True, '_user': 'nobody', '_key': '6069c7c32962ee4fb9621ebd'}, {'id':
'2', 'value': 'foo', 'wait': True, '_user': 'nobody', '_key': '6069c8202962ee4fb9621ebe'}]
レコードの追加
headers = {'Content-Type': 'application/json'}
payload = {"id": "4", "value": "hoge"}
res = requests.post(url, headers=headers, data=json.dumps(payload), verify=False, auth=(userid, userpw))
print(res.json())
{'_key': '6069ccb42962ee4fb9621ec0'}
レコードの削除
params = {"query":"{\"value\":\"hoge\"}"} # valueがhogeのレコード削除
res = requests.delete(url, params=params, verify=False, auth=(userid, userpw))
なし
_keyを元にレコード取得
key = "6069c8202962ee4fb9621ebe"
res = requests.get(url + "/" + key, verify=False, auth=(userid, userpw))
print(res.json())
{'id': '2', 'value': 'foo', 'wait': True, '_user': 'nobody', '_key': '6069c8202962ee4fb9621ebe'}
_keyを元にレコード更新
key = "6069c8202962ee4fb9621ebe"
headers = {'Content-Type': 'application/json'}
payload = {"id": "2", "value": "foo2"} # 全てのkeyにvalueを設定しないと設定されていないkeyは空白になる
res = requests.post(url + "/" + key, headers=headers, data=json.dumps(payload), verify=False, auth=(userid, userpw))
print(res.json())
{'_key': '6069c8202962ee4fb9621ebe'}
_keyを元にレコード削除
key = "6069c8202962ee4fb9621ebe"
res = requests.delete(url + "/" + key, verify=False, auth=(userid, userpw))
なし
まとめ
KV StoreはRESTでCRUDできることが分かりました。
色々使い勝手がありそうです。