はじめに
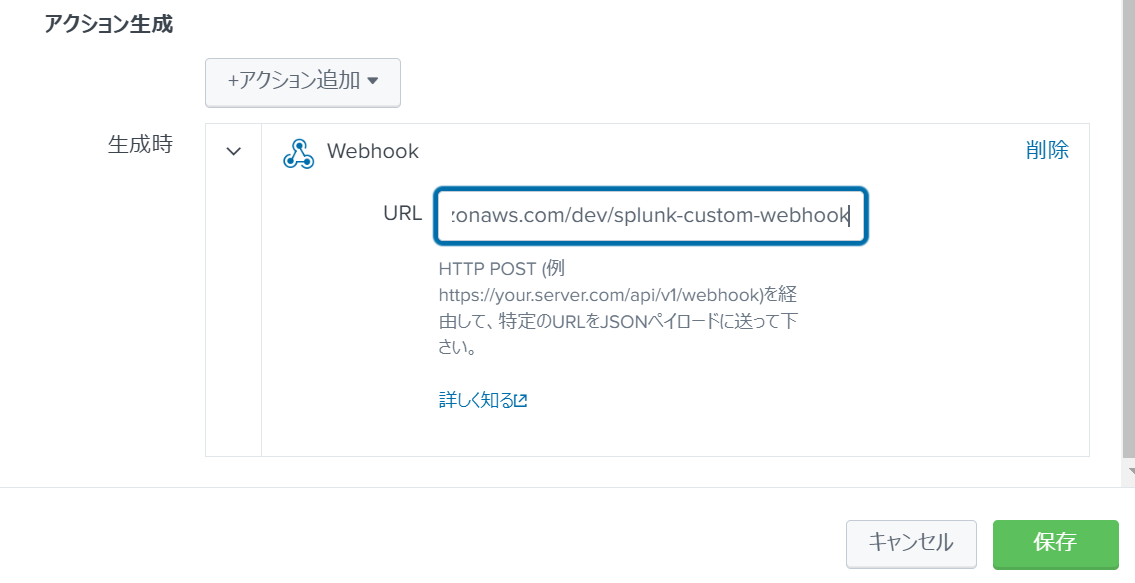
SplunkのアラートアクションでWebhookが使えます。しかしフォーマットが固定なのが玉に瑕です。
Webhookの受け側でフォーマットを変換できればいいのですが、そうではない場合が多いので出し側でなんとかする必要があります。
※そもそもAdd-onがなかった場合を想定しています。Add-onがあればそちらを使ってください。
その場合に取り得る方法は以下です。
- カスタムアラートアクションを作る
- 何らかの中継地点を作り(API Gateway + AWS Lambdaなど)フォーマットを変換させる
メリデメはこんな感じだと思います。
| 方法 | メリット | デメリット |
|---|---|---|
| カスタムアラートアクション | アラート設定時に宛先設定が分かりやすい。 | App開発がちょっと面倒。開発言語がPythonに限定される。 |
| Amazon API Gateway + AWS Lambda | Appなしで作れる。 | 費用がかかる。宛先管理が別途必要。 |
この記事では2. Amazon API Gateway + AWS Lambdaでフォーマットを変換させるを見てみたいと思います。
1はこちら。
どんなフォーマット?
こんなデータを送ってみます。
| makeresults count=2 |eval name="カスタムイベント" |streamstats count as value | table name, value
神のようなWebhookテストサイトがあります。
ここに送ってみると、、、
{
  "sid": "scheduler__admin__search__RMD511a0a555e05c82a2_at_1681782300_5",
  "search_name": "webhook test",
  "app": "search",
  "owner": "admin",
  "results_link": "http://<ホスト名>:8000/app/search/@go?sid=<sid>",
  "result": {
    "name": "カスタムイベント",
    "value": "1"
  }
}
※ちなみに、生成条件を1回にすると一行目のみ、各結果に対してにすると各行が個別に送信されます。
以下のフォーマットに変換することをゴールとします。
実際は送り先の仕様に合わせてください。
{
  "results_link": "http://<ホスト名>:8000/app/search/@go?sid=<sid>",
  "text": "カスタムイベント", #result.nameの値
  "value": "1" #result.valueの値
}
AWS Lambda作成
こんなスクリプトを作ります。
Pythonです。
converted_dataに変換後のフォーマット、<Webhook転送先URL>に本来のWebhook送り先を設定します。
headersも仕様に合わせて適宜変更してください。
import json
import http.client
from urllib.parse import urlencode, urlparse

def lambda_handler(event, context):
    # Convert webhook format
    converted_data = convert_webhook_format(event)

    # Send the converted data to the new webhook
    send_to_new_webhook(converted_data)

    return {
        'statusCode': 200,
        'body': json.dumps('Webhook received and sent successfully')
    }

def convert_webhook_format(data):
    # Convert the original webhook format to the new format as needed
    converted_data = {
        'results_link': data['results_link'],
        'text': data['result']['name'],
        'value': data['result']['value']
        # Add more fields as needed
    }
    return converted_data

def send_to_new_webhook(data):
    new_webhook_url = "<Webhook転送先URL>"
    url_parts = urlparse(new_webhook_url)
    headers = {'Content-Type': 'application/json'}

    # Specify the endpoint and port
    conn = http.client.HTTPSConnection(url_parts.netloc, 443)

    # Execute the request
    conn.request("POST", url_parts.path, json.dumps(data), headers)

    # Get the response
    response = conn.getresponse()
    print(response.status, response.reason)
Amazon API Gateway作成
作成したLambdaをキックするためのAPI Gatewayを作成します。
- AWS Management ConsoleでAPI Gatewayにアクセスし、「APIを作成」をクリック
- 「REST API」の「構築」をクリック
- 「新しいAPI」を選択し、API名と説明を入力し、「APIの作成」をクリック
- 「アクション」メニューから「リソースの作成」をクリックし、リソース名とパスを設定
- 「アクション」メニューから「メソッドの作成」をクリックし、「POST」メソッドを選択
- POSTメソッドの設定画面で、「Integration type」に「Lambda関数」を選択し、「Lambda関数」フィールドに作成したLambda関数の名前を入力し、「保存」をクリック
- 「アクション」メニューから「APIのDeploy」をクリックし、デプロイメントステージを選択または新規作成し、「デプロイ」をクリック
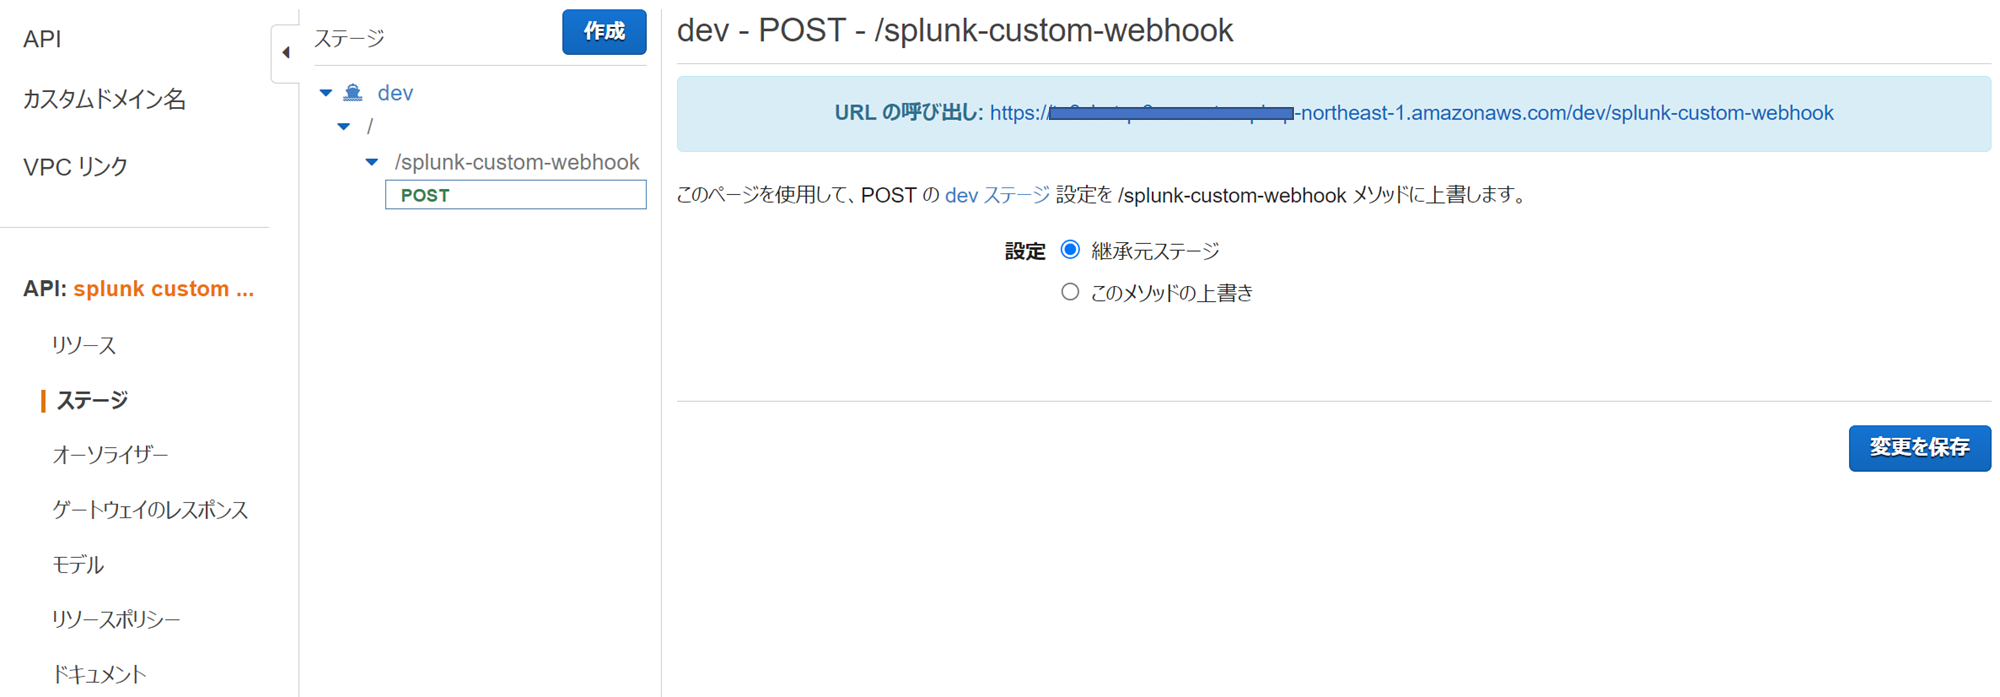
- デプロイが完了すると「URLの呼び出し」が表示されるのでコピー


