空港で飛行機の待ち時間が7時間という・・ことで、さらに入門編行きます。
前回からのあらすじ
Angularアプリを実行する際にはじめに読み込まれるmain.ts, index.htmlを解読。それに紐づいてコンポーネントデコレーターの内容もちらっと見てみました。
では、次はデータバインディングを見ていきましょう。コンポーネントに対して様々な値を設定して表示する仕組みはAngularのコアとなる部分です。
ということで。データバインディングを見ていきます。
データバインディングの基本
データバインディングはコンポーネント(クラス)とテンプレート(ビュー)をつなげる仕組みになります。
データバインディングの種類
データバインディングは
- コンポネントからビュー
- ビューからコンポーネント
- コンポーネントとビューで双方
があります。1,2は片方向データバインディング、3を双方データバインディングと呼びます。
では、早速サンプルアプリを介して1から見ていきましょ
コンポネントからビュー InterpolationとPropertyバインディング
Interporlation
とってもシンプルにクラスで定義した変数を{{}}で囲むだけです。 counter.component.htmlを見てみましょう。
<h1>Counter</h1>

<p>This is a simple example of an Angular component.</p>

<p>Current count: <strong>{{ currentCount }}</strong></p>

<button (click)="incrementCounter()">Increment</button>
{{ currentCount }} 今のカウントを表示するということですね。currentCountを指定しているcounter.component.tsを見てみましょ。
import { Component } from '@angular/core';

@Component({
  selector: 'app-counter-component',
  templateUrl: './counter.component.html'
})
export class CounterComponent {
  public currentCount = 0;

  public incrementCounter() {
    this.currentCount++;
  }
}
CounterComponentにてcurrentCounterを宣言し、counter.component.html内の(click)="incrementCounter()"でthis.currentCount++;にてカウントアップしていますね。そのカウントアップされた値を{{ currentCount }}で表示しています。
Propertyバインディング
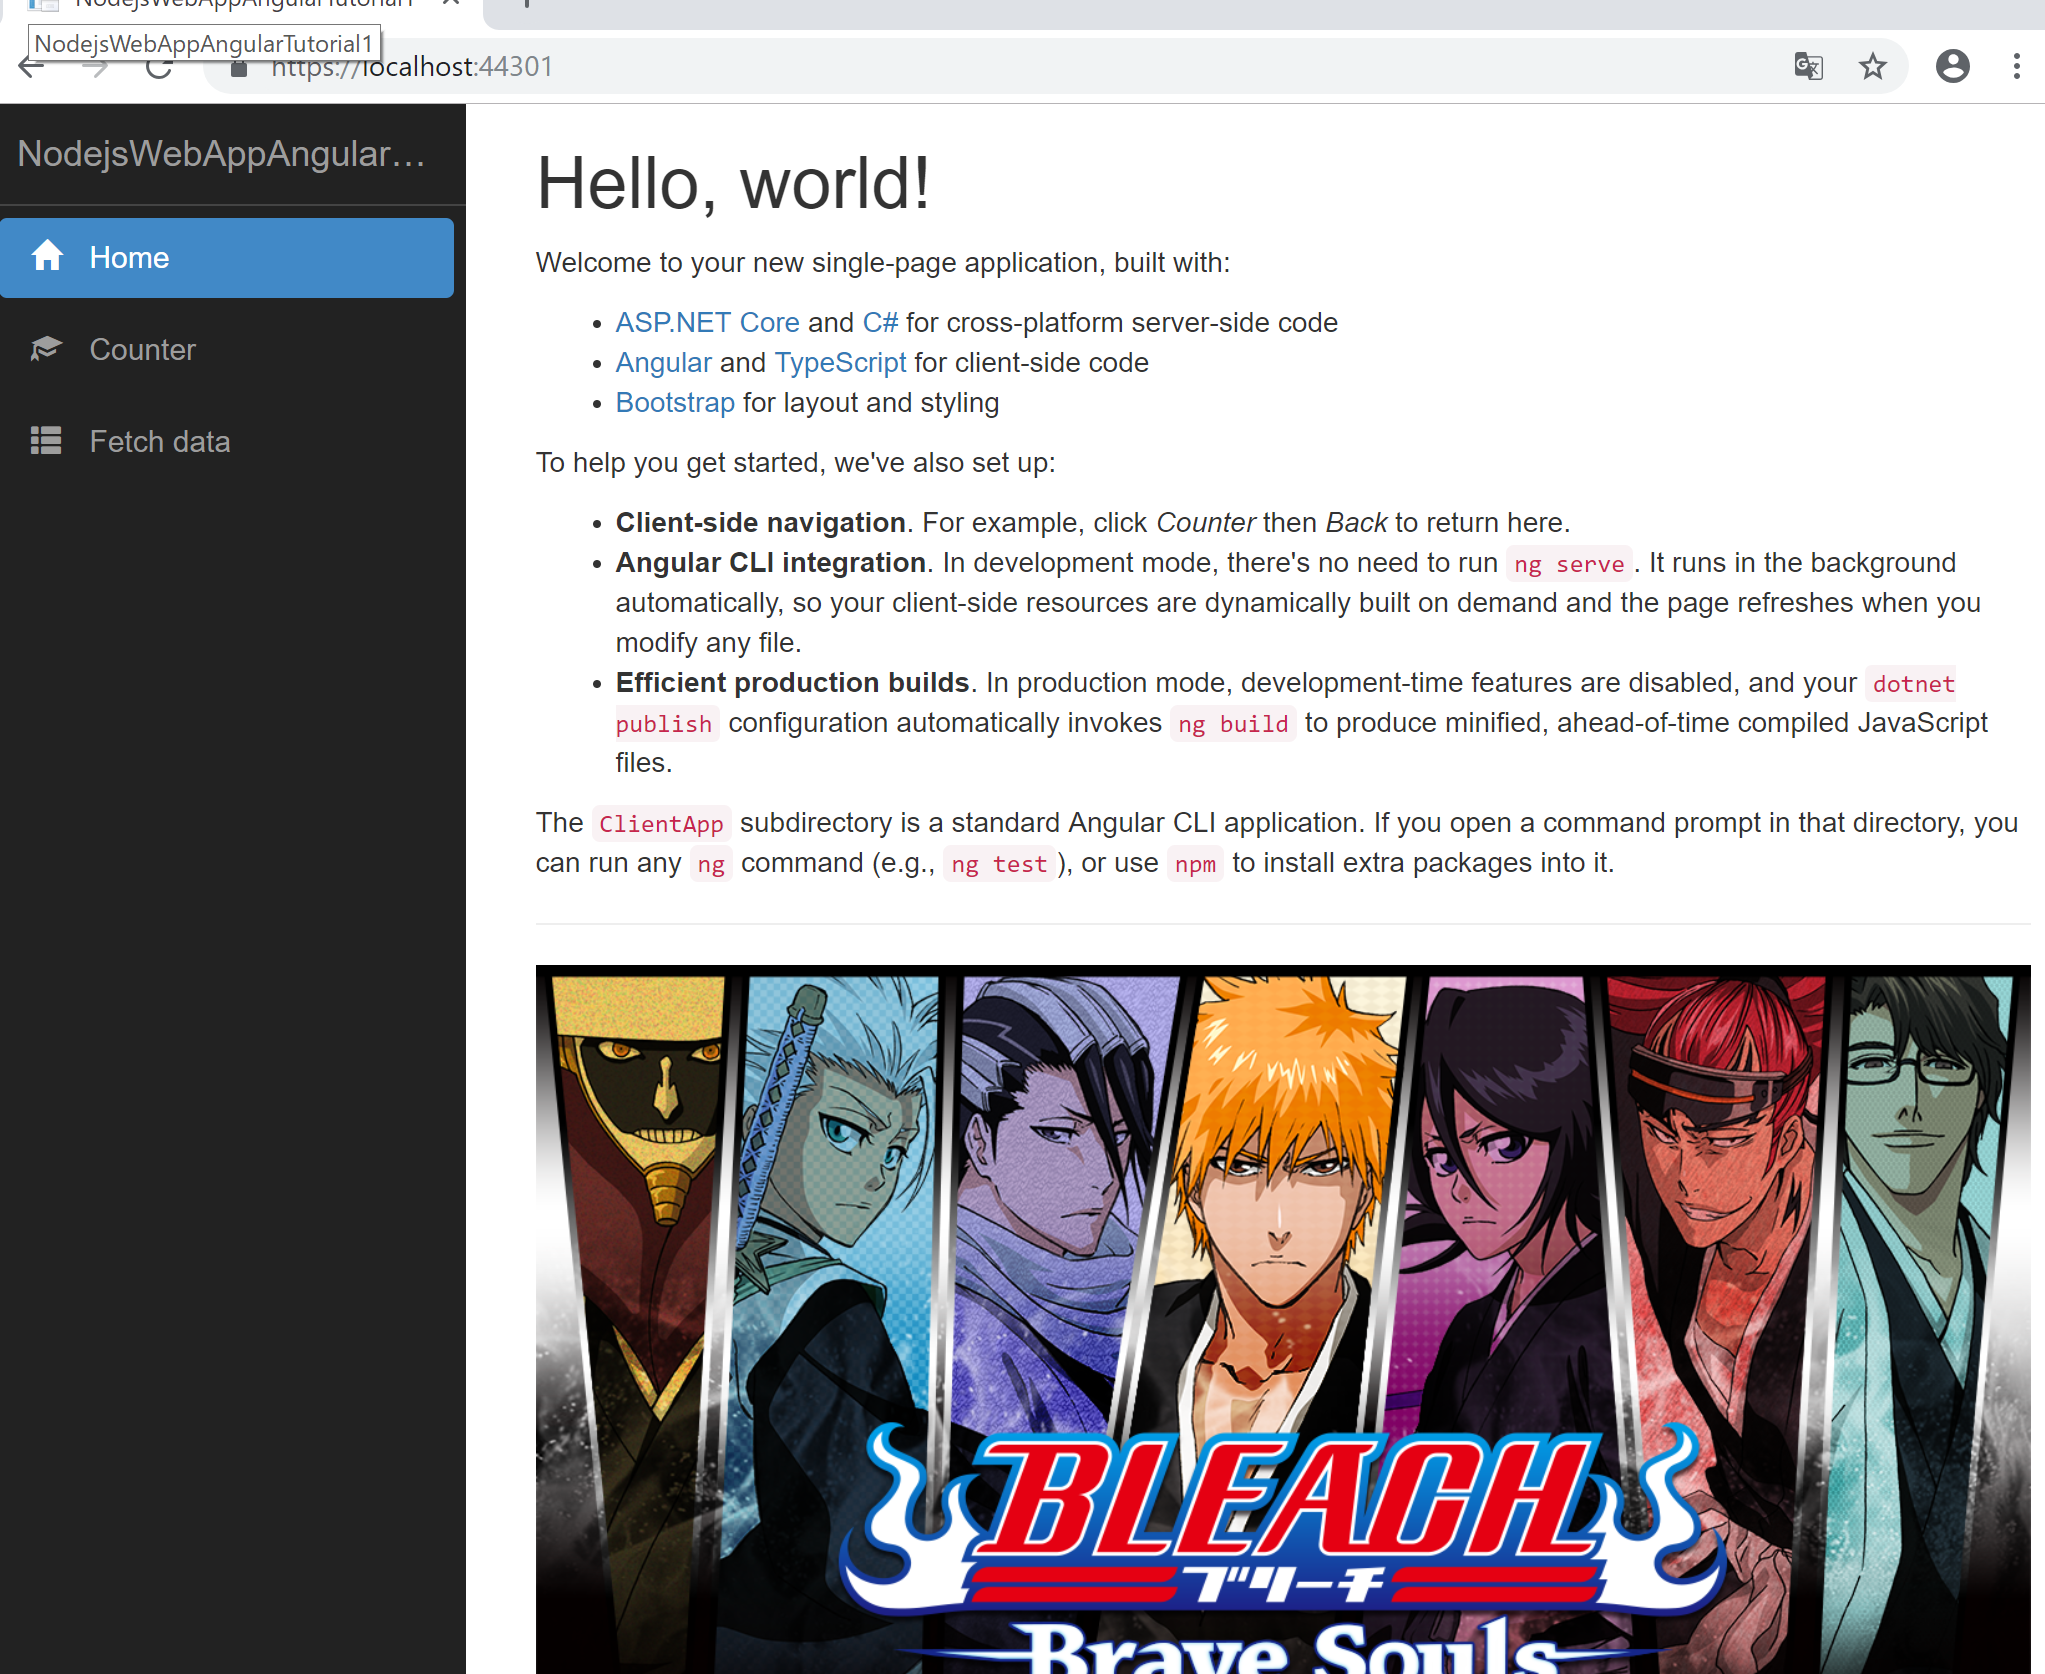
プロパティーバインディングでは要素に対して値を指定することができます。サンプルアプリにはプロパティーバインディング使用しているところがなかったので、home.component.htmlに追記してみます。
<h1>Hello, world!</h1>
<p>Welcome to your new single-page application, built with:</p>
<ul>
  <li><a href='https://get.asp.net/'>ASP.NET Core</a> and <a href='https://msdn.microsoft.com/en-us/library/67ef8sbd.aspx'>C#</a> for cross-platform server-side code</li>
  <li><a href='https://angular.io/'>Angular</a> and <a href='http://www.typescriptlang.org/'>TypeScript</a> for client-side code</li>
  <li><a href='http://getbootstrap.com/'>Bootstrap</a> for layout and styling</li>
</ul>
<p>To help you get started, we've also set up:</p>
<ul>
  <li><strong>Client-side navigation</strong>. For example, click <em>Counter</em> then <em>Back</em> to return here.</li>
  <li><strong>Angular CLI integration</strong>. In development mode, there's no need to run <code>ng serve</code>. It runs in the background automatically, so your client-side resources are dynamically built on demand and the page refreshes when you modify any file.</li>
  <li><strong>Efficient production builds</strong>. In production mode, development-time features are disabled, and your <code>dotnet publish</code> configuration automatically invokes <code>ng build</code> to produce minified, ahead-of-time compiled JavaScript files.</li>
</ul>
<p>The <code>ClientApp</code> subdirectory is a standard Angular CLI application. If you open a command prompt in that directory, you can run any <code>ng</code> command (e.g., <code>ng test</code>), or use <code>npm</code> to install extra packages into it.</p>
<hr/>
<!--追記部分-->
<img [src]='image' style="width: 100%;" />
import { Component } from '@angular/core';

@Component({
  selector: 'app-home',
  templateUrl: './home.component.html',
})
export class HomeComponent {
  image = 'https://cdn-images-1.medium.com/max/1600/1*zfgJnBGbTNhkjBea6NSTIQ.png';
}
下記のようにイメージを指定することができます。
次、イベントバインディング
コンポーネントからビューのデータバインディングはここまでとして(入門なのでサクッと)、
次はビューからコンポーネントのデータバインディング、イベントバインディングを見てみましょう。