本日はShopifyが提供するMultipass APIを理解するため情報をまとめました。
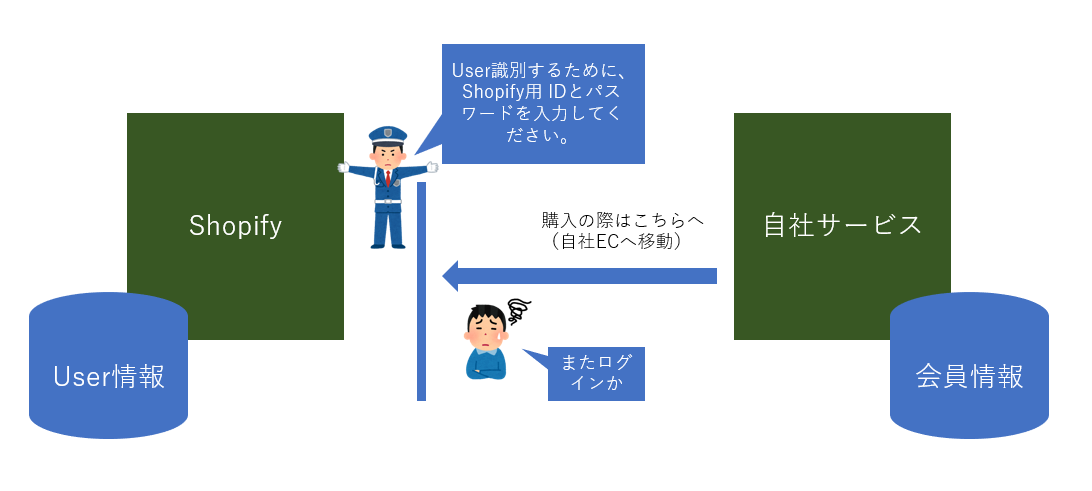
すでに会員管理システムをもつオーナーさんからするとShopoify用(自社EC用)のIDとパスワードを別にもつことはユーザー体験的にもいけてないし管理も煩雑になってしまいます。
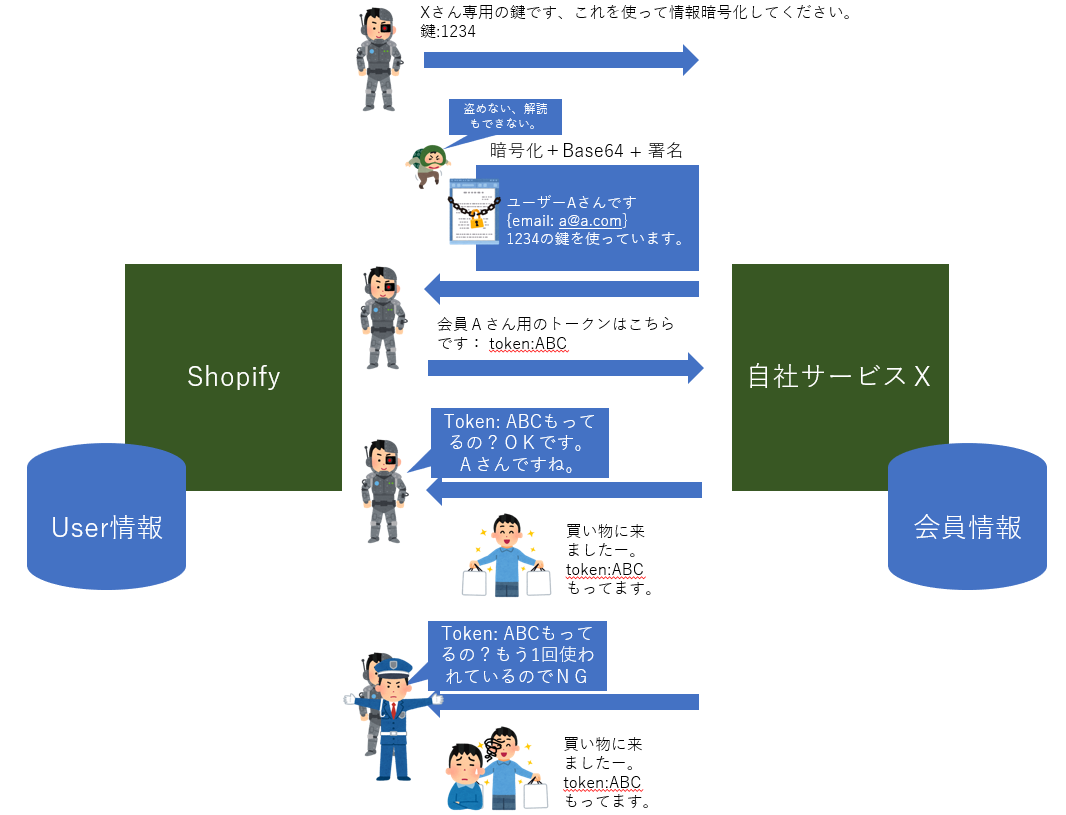
これを解決してくれるのがMultipass APIです。 概念図はこんな感じです。
Multipass 前
Multipass 後
では、具体的にどのようによう活用するか見ていきましょう。
初期設定
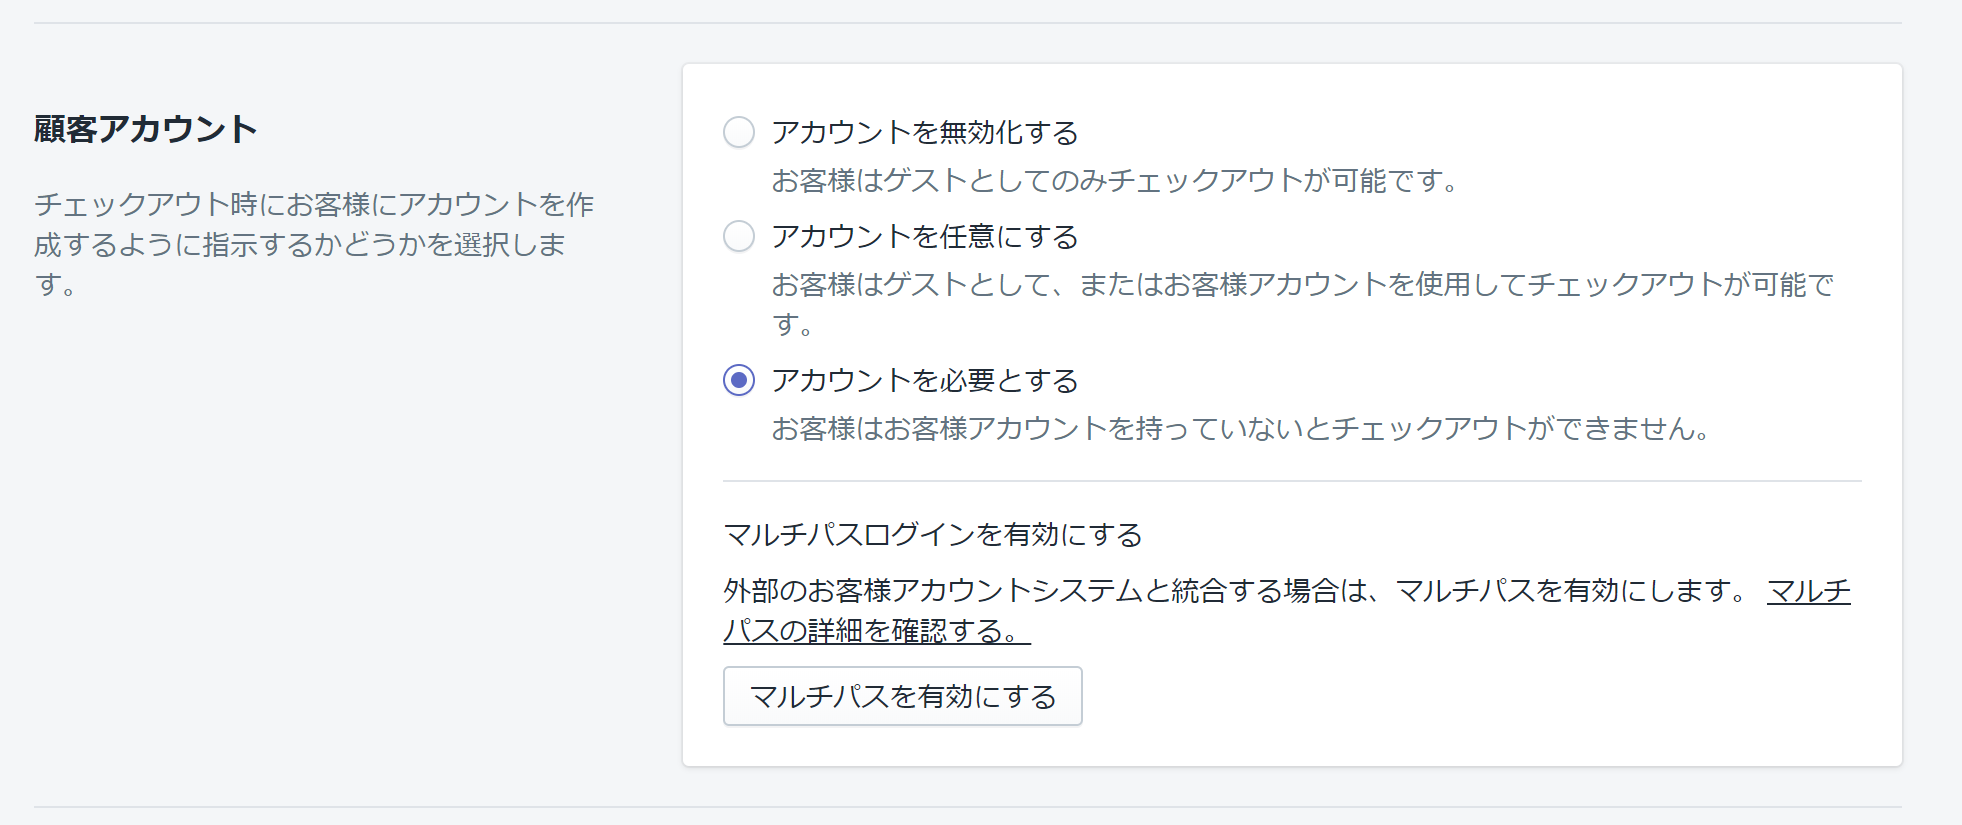
チェックアウトページへ移動します
/admin/settings/checkout
ここで、「アカウントを任意とする」または「アカウントを必要とする」を選択します。
Shopify Plusを契約しているアカウント限定ですが、下記のように Multipassを有効かするボタンがあります。ここでシークレットコードを取得します。
ユーザー情報(JSON)の準備
既存会員DBより下記のようなデータを用意します。
  {
    email: "bob@shopify.com",
    created_at: "2013-04-11T15:16:23-04:00",
  }
created_at にはこのjsonデータを生成した時間をいれます。
ここで生成できるデータタイプはこちらを参照ください。
https://shopify.dev/docs/admin-api/rest/reference/plus/user
メールアドレスをキーとしない場合はidentifierは必須となりますので指定してください。
JSONの暗号化、署名、Base64化
本家資料ではRubyとPHPでのサンプルがありますが、C#だとすでにライブラリーがあり、このあたりの処理をすべて自動で行ってくれます。
利用したライブラリーは下記です。
https://github.com/uoc1691/ShopifyMultipassTokenGenerator
下記が実際に使ったコードです
Controller
using System;
using System.IO;
using System.Security.Cryptography;
using Microsoft.AspNetCore.Mvc;
using Newtonsoft.Json;

namespace WarehouseApplication.Controllers
{
    public class MpController : Controller
    {
        public IActionResult Index()
        {
            return View();
        }

        /// <summary>
        /// The customer information is represented as a hash which must contain at least the email address of the customer
        /// and a current timestamp (in ISO8601 encoding).
        /// </summary>
        public class UserInformation
        {
            public string email { get; set; }
            public string first_name { get; set; }
            public string last_name { get; set; }
            public string created_at { get; set; }

            public UserInformation()
            {
                this.created_at = DateTime.Now.ToString("yyyy-MM-ddTHH\\:mm\\:sszzz");
            }
        }
        public IActionResult CreateToken(string email, string firstName, string LastName)
        {
            if (string.IsNullOrEmpty(email))
            {
                return View();
            }

            var user = new UserInformation()
            {
                email = email,
                first_name = firstName,
                last_name = LastName
            };

            // Serialize the customer data to JSON and encrypt it
            ViewData["Token"] = Hash256It(JsonConvert.SerializeObject(user));

            return View();
        }

        public string Hash256It(string userInformationJsonString)
        {
            // To generate a valid multipass login token, you need the secret given to you in your Shopify admin.
            string shopifyMpKey = "YOUR SECRET KEY HERE";

            var sp = new ShopifyMultipassTokenGenerator.ShopifyMultipass(shopifyMpKey, "gyrocanopy-delivery-motor.myshopify.com");

            var token = sp.Process(userInformationJsonString);

            return token;
        }
    }
}
View
@{
    Layout = null;
}

<!DOCTYPE html>

<html>
<head>
    <meta name="viewport" content="width=device-width" />
    <title>CreateToken</title>
</head>
<body>

    <form action="/Mp/CreateToken" method="post">
        @Html.TextBox("email")
        @Html.TextBox("firstName")
        @Html.TextBox("lastName")
        <button class="" type="submit">
            Generate Token
        </button>
    </form>
    <div>
        @ViewData["Token"]
    </div>
</body>
</html>
Shopへリダイレクト
上記のコードを生成するとShopへのURLが表示されます。そのURLをブラウザー上にコピペすると動作を確認することができます。
下記のURLが生成されました
https://gyrocanopy-delivery-motor.myshopify.com/account/login/multipass/Iy9IuNpCaUBng3ZEYdKAEV7o4Q2zd6zrdl60zW9Xmizkbz6cshZ6aQVxPRJFRrXp76uY4C7WRPWpPjNq0K8BNQwRYajcxbjbY1svgqSN9nLdETsFqUJM6wVnwB30oJk-gKIrIOAtuev5Vqq0FfAUfi0hpSGRhJyyP3AX7ihQUTuGpeSbTWQvXAIRIkFHOnxjAtdN9Cgv1r3dgReMFpy1cIOVKuJ08nn4qFw_KZRnqQg=
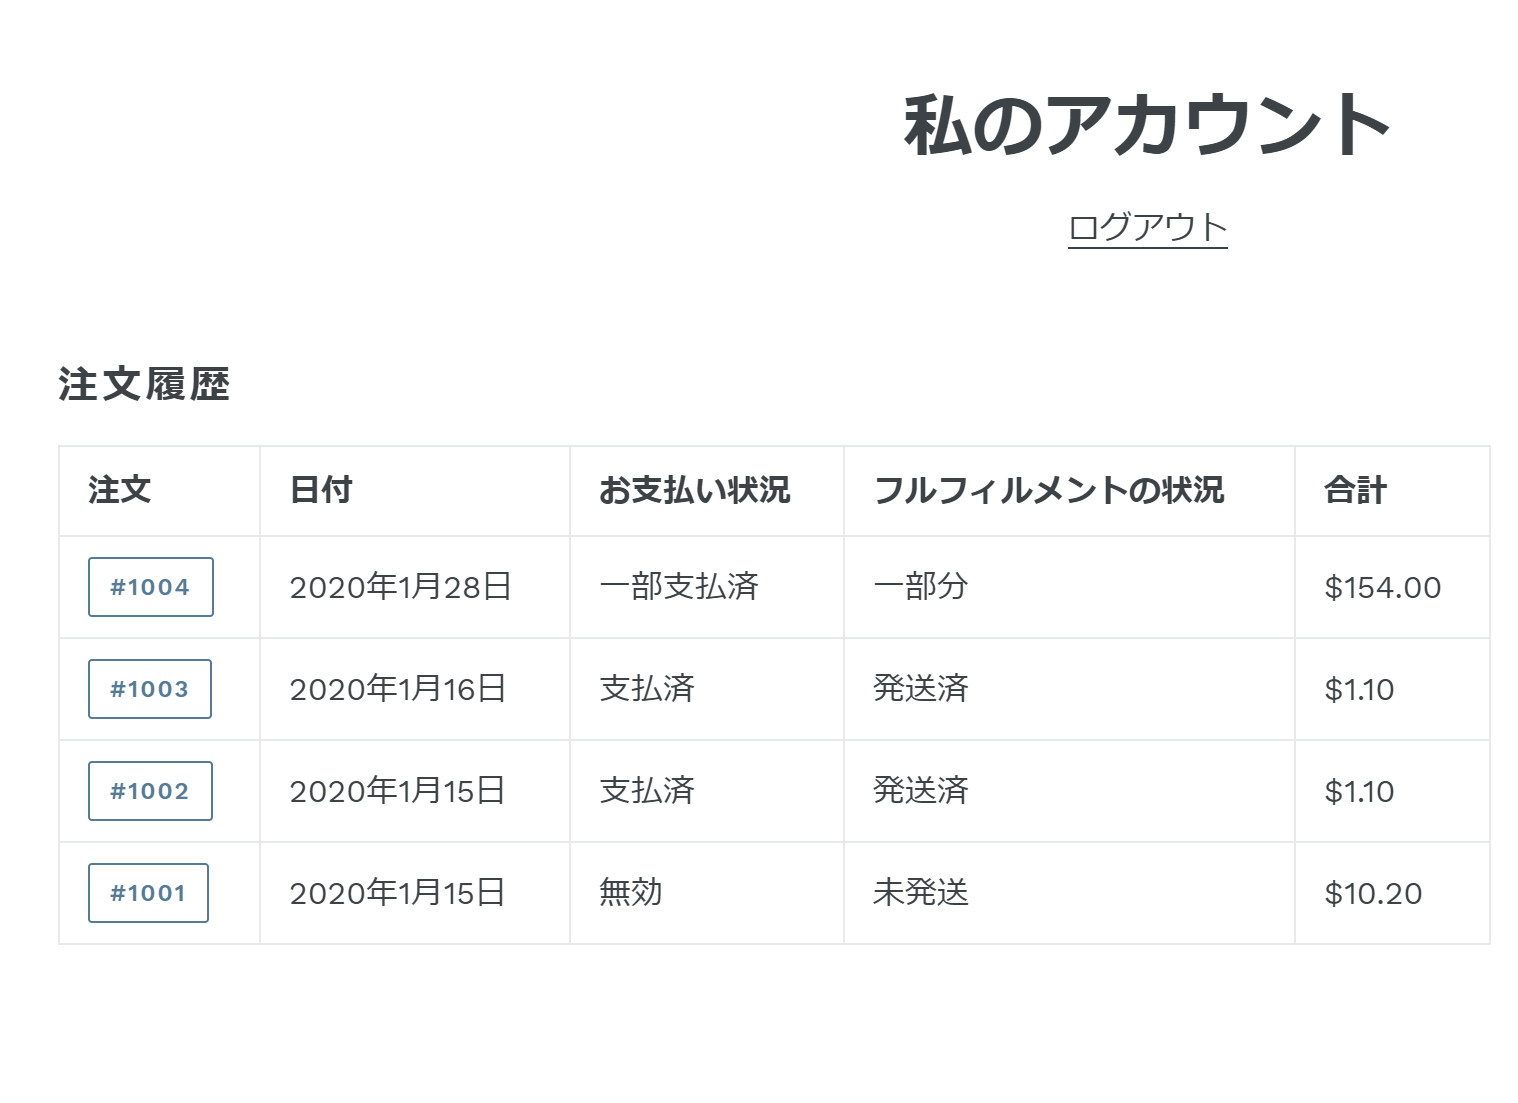
このURLをブラザーにそのままコピペしてみます。そうすると、同じメールアドレスをもったユーザーのアカウントに遷移することができました。
参照
本家資料はこちらを参照ください。
https://shopify.dev/docs/admin-api/rest/reference/plus/multipass


