インターネットは世界中からアクセスすることができます(一部例外あり)、なので色々な言語でコンテンツを用意することは必然となります。
言語だけリソースファイルとして別に保持し、各国の言語のテキストだけ別に管理する方法を今日はまとめます。
言語カルチャー指定方法
サブドメインで切る方法もありますが、今日はPathで切る方法を紹介します。
Pathで指定
日本、日本語なら
localhost/ja-JP/
英語、米国なら
localhost/en-US/
スペイン語、スペインなら
localhost/es-ES/
のように、初めのPathで言語とカルチャーを設定して指定された言語とカルチャーで表示するようにします。
クッキーに設定を書き込んでおく
ページに到着する際にクッキー上に言語カルチャーを指定した履歴がある?あれば、それを利用、なければブラウザーにデフォルト指定されたもの使い、クッキーに設定するようにします。
リソースファイルの作成
まずは言語の情報格納するリソースファイルを作成します。
今回はViewからの多言語化をまず見てます。
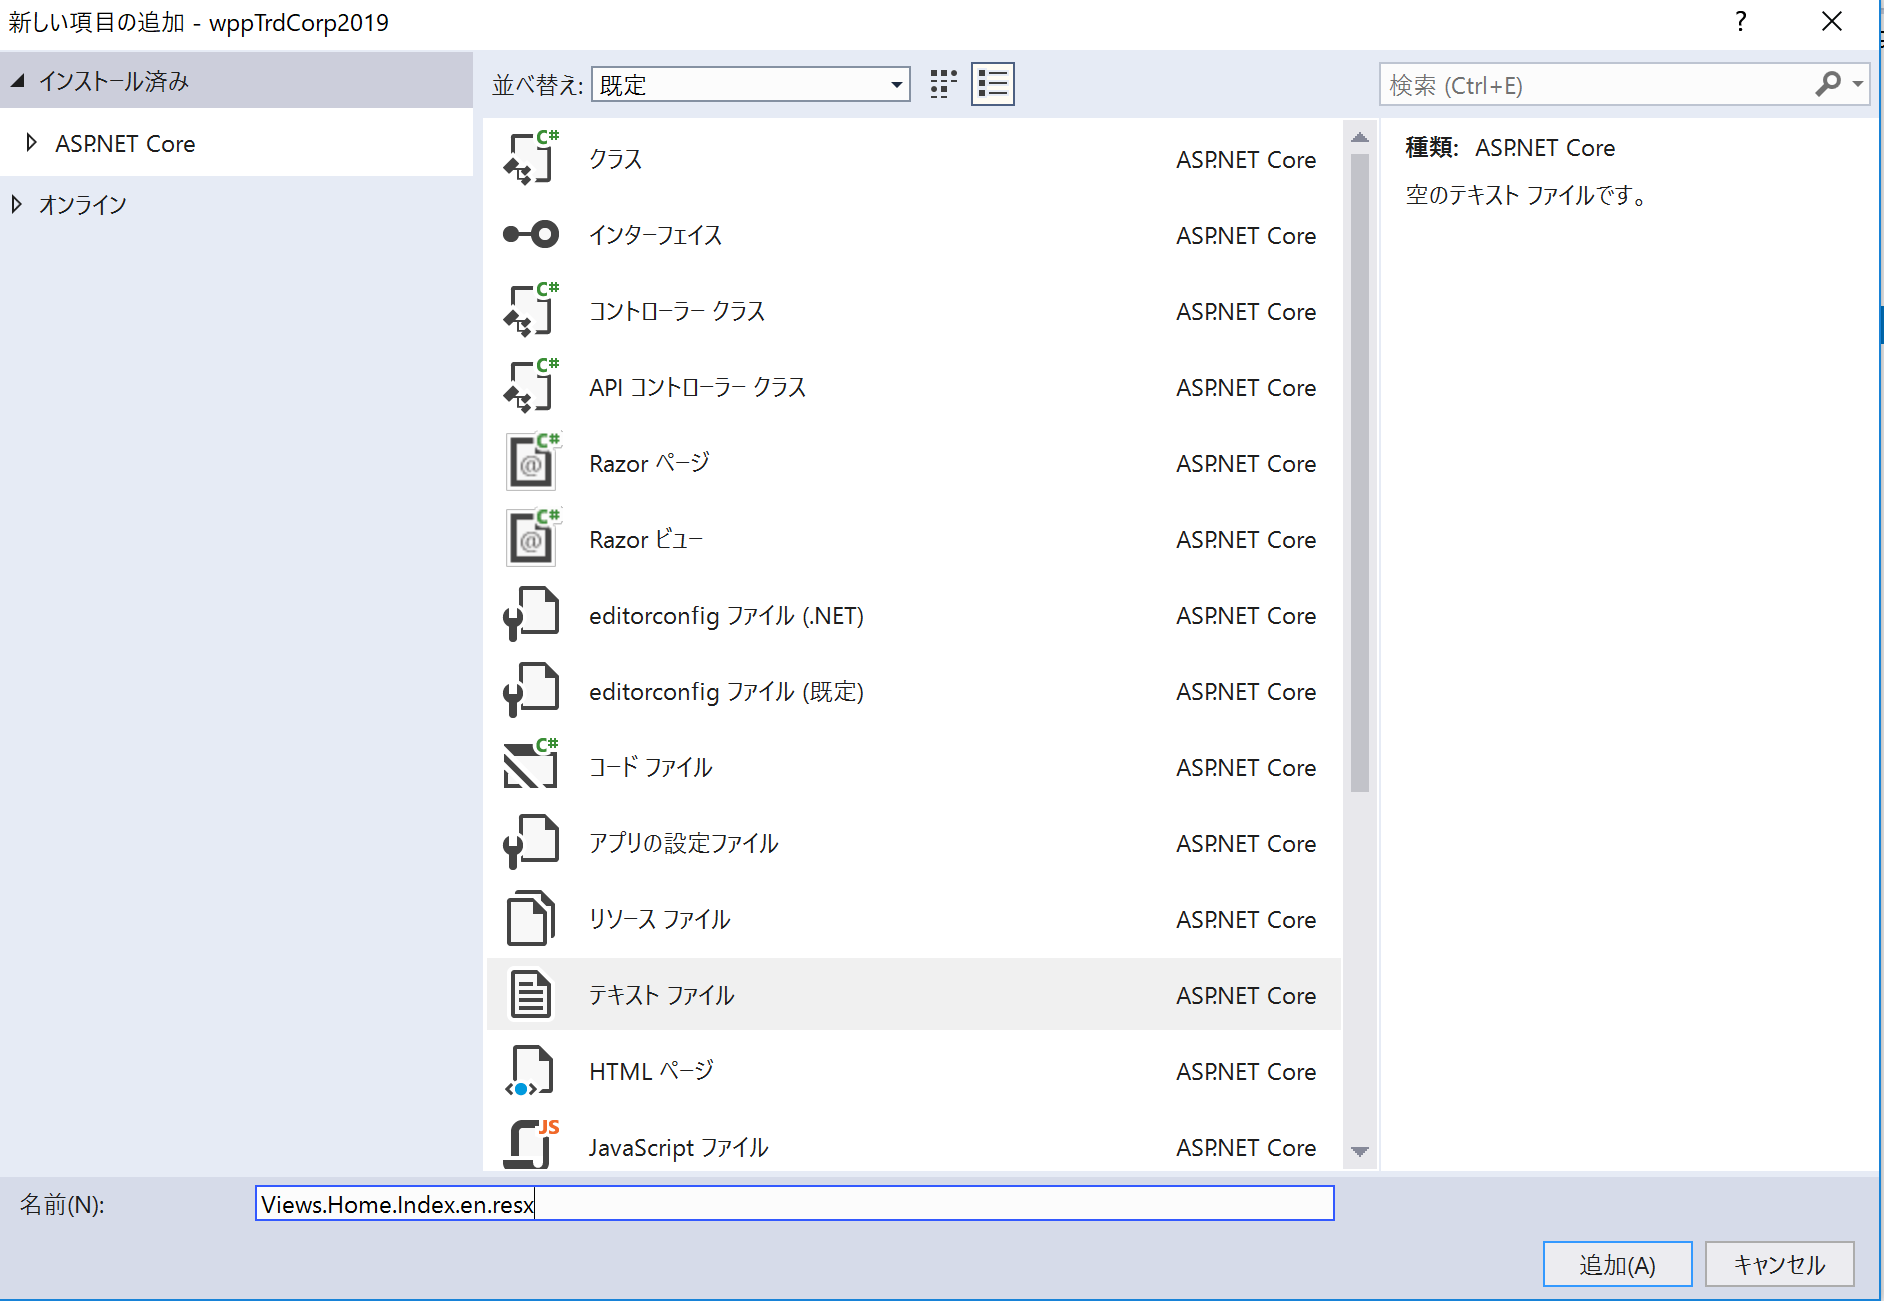
- まずはトップレベルに
Resourceフォルダーを作成。 - 右クリックで新しい項目の追加。
- リソースファイルの追加、リソースファイル項目がでてこない場合(私の場合でてこなかった)はテキストファイルを追加で、ファイルエクステンションを.resxにします。
Viewsフォルダーにあるcshtmlファイル名に沿って
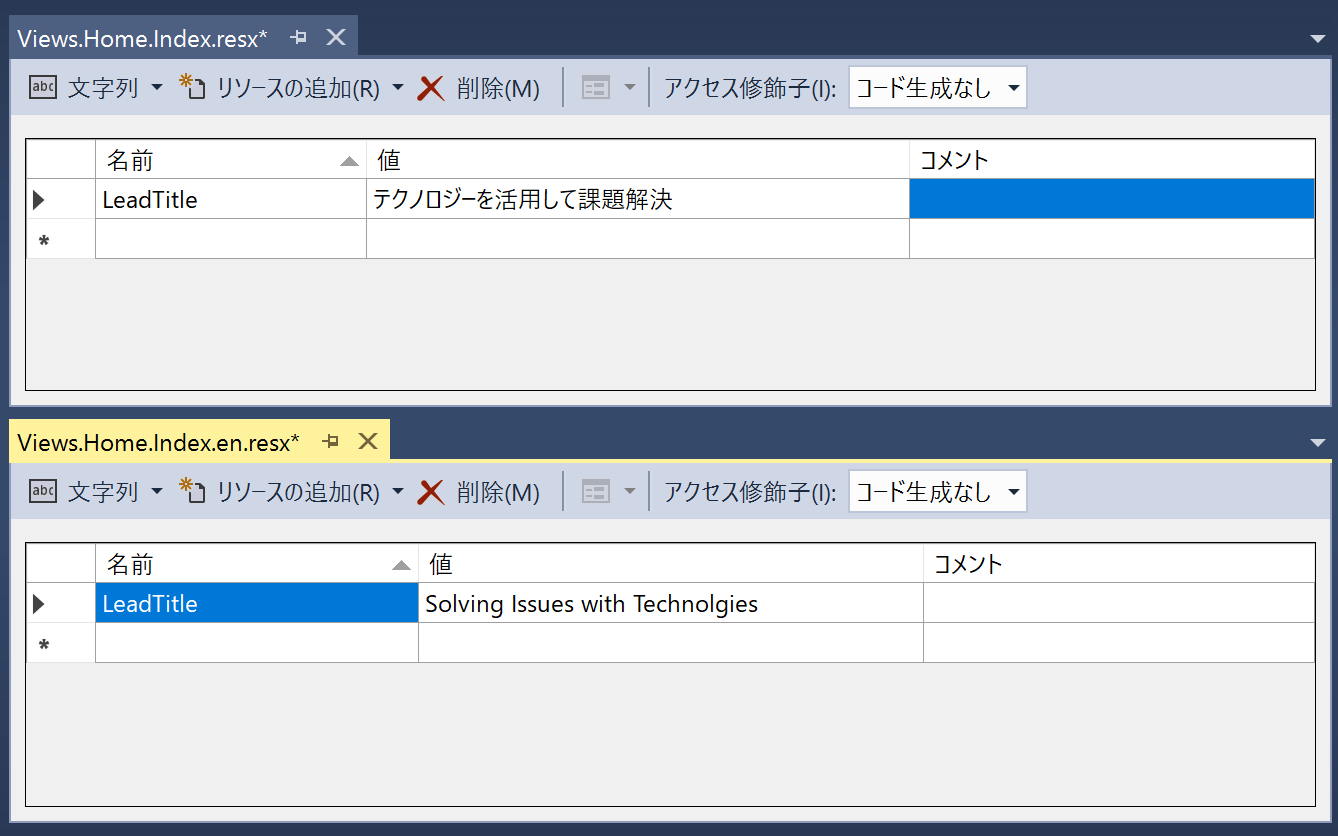
デフォルトリソースファイルであるViews.Home.Index.resxと、英語指定の時に表示すViews.Home.Index.en.resxを作成します。
トップページのリード文を英語と日本語で切替ができるように下記のように両ファイルを作ります。
IViewLocalizer
ビューにてローカライズされた文字列を表示するにはIVewLocalizerというクラスを利用します。このクラスをDIで利用できるようにStartup.csを編集します。
Startup.cs
 public class Startup
    {
        public Startup(IConfiguration configuration)
        {
            Configuration = configuration;
        }

        public IConfiguration Configuration { get; }

        // This method gets called by the runtime. Use this method to add services to the container.
        public void ConfigureServices(IServiceCollection services)
        {

            services.Configure<CookiePolicyOptions>(options =>
            {
                // This lambda determines whether user consent for non-essential cookies is needed for a given request.
                options.CheckConsentNeeded = context => true;
                options.MinimumSameSitePolicy = SameSiteMode.None;
            });

            services.AddLocalization(options => options.ResourcesPath = "Resources");

            services.AddMvc()
                .AddViewLocalization(LanguageViewLocationExpanderFormat.Suffix)
                .SetCompatibilityVersion(CompatibilityVersion.Latest);
        }

        // This method gets called by the runtime. Use this method to configure the HTTP request pipeline.
        public void Configure(IApplicationBuilder app, IHostingEnvironment env)
        {
            if (env.IsDevelopment())
            {
                app.UseDeveloperExceptionPage();
            }
            else
            {
                app.UseExceptionHandler("/Home/Error");
                // The default HSTS value is 30 days. You may want to change this for production scenarios, see https://aka.ms/aspnetcore-hsts.
                app.UseHsts();
            }

            var supportedCultures = new[]
            {
                new CultureInfo("ja-JP"),
                new CultureInfo("en-US"),
            };

            app.UseRequestLocalization(new RequestLocalizationOptions
            {
                DefaultRequestCulture = new RequestCulture("ja-JP"),
                // Formatting numbers, dates, etc.
                SupportedCultures = supportedCultures,
                // UI strings that we have localized.
                SupportedUICultures = supportedCultures
            });


            app.UseHttpsRedirection();
            app.UseStaticFiles();
            app.UseCookiePolicy();

            app.UseMvc(routes =>
            {
                routes.MapRoute(
                    name: "default",
                    template: "{controller=Home}/{action=Index}/{id?}");
            });
        }
    }
Index.cshtml
最終ステップです。
ビューにてローカライズされた文字列を表示しています。
@using Microsoft.AspNetCore.Mvc.Localization
@inject IViewLocalizer Localizer
@{
    ViewData["Title"] = "";
}

<section>
    <div class="container">
        <h1 class="jumbotron-heading">@Localizer["LeadTitle"]</h1>
    </div>
</section>
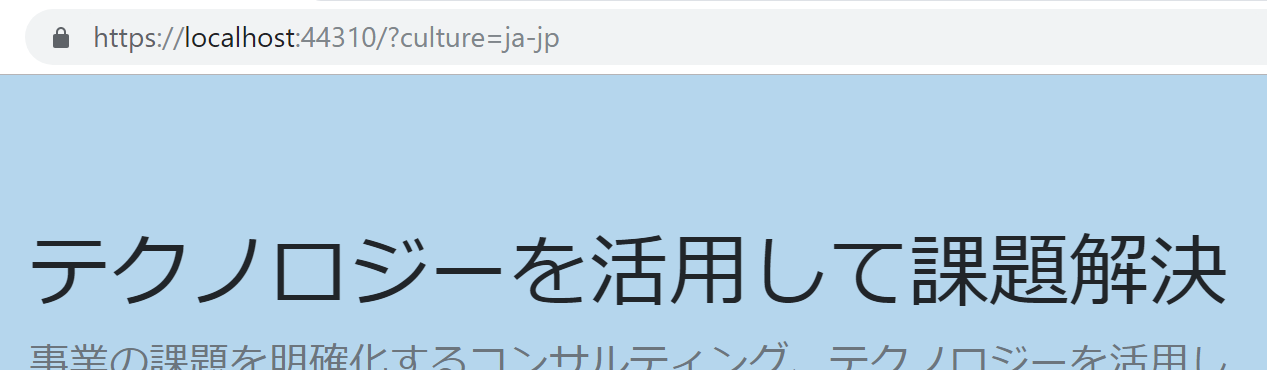
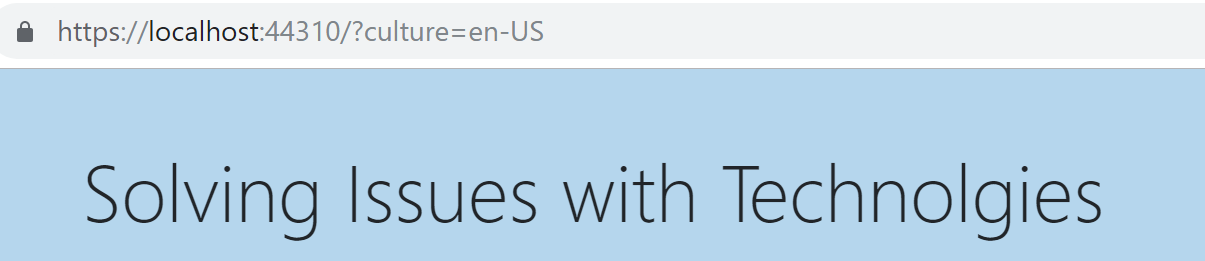
では、
早速パラメターにculture=ja-jpとculture=en-usで正しく表示されるか見てみます。
次
次は言語やカルチャーを選択してクッキーに保存してみます。