AWS AppSync と kintone REST API を接続し、kintoneのレコードを取得するサンプルです。
※レコード作成・削除についての記載はありません。
環境
- mac
- AWS AppSync
- kintone
対象
- AWS AppSync から REST API データソースに接続する方法を知りたい方
- AppSyncコンソールからのスキーマ・リゾルバーの基本的な作成方法を知りたい方
- kintone REST API と AppSync を接続する方法を知りたい方
前提条件
- AWSのアカウントがあること
- AppSyncの基本的な操作が分かること
- kintone REST API の基本的な知識があること
kintone データベース
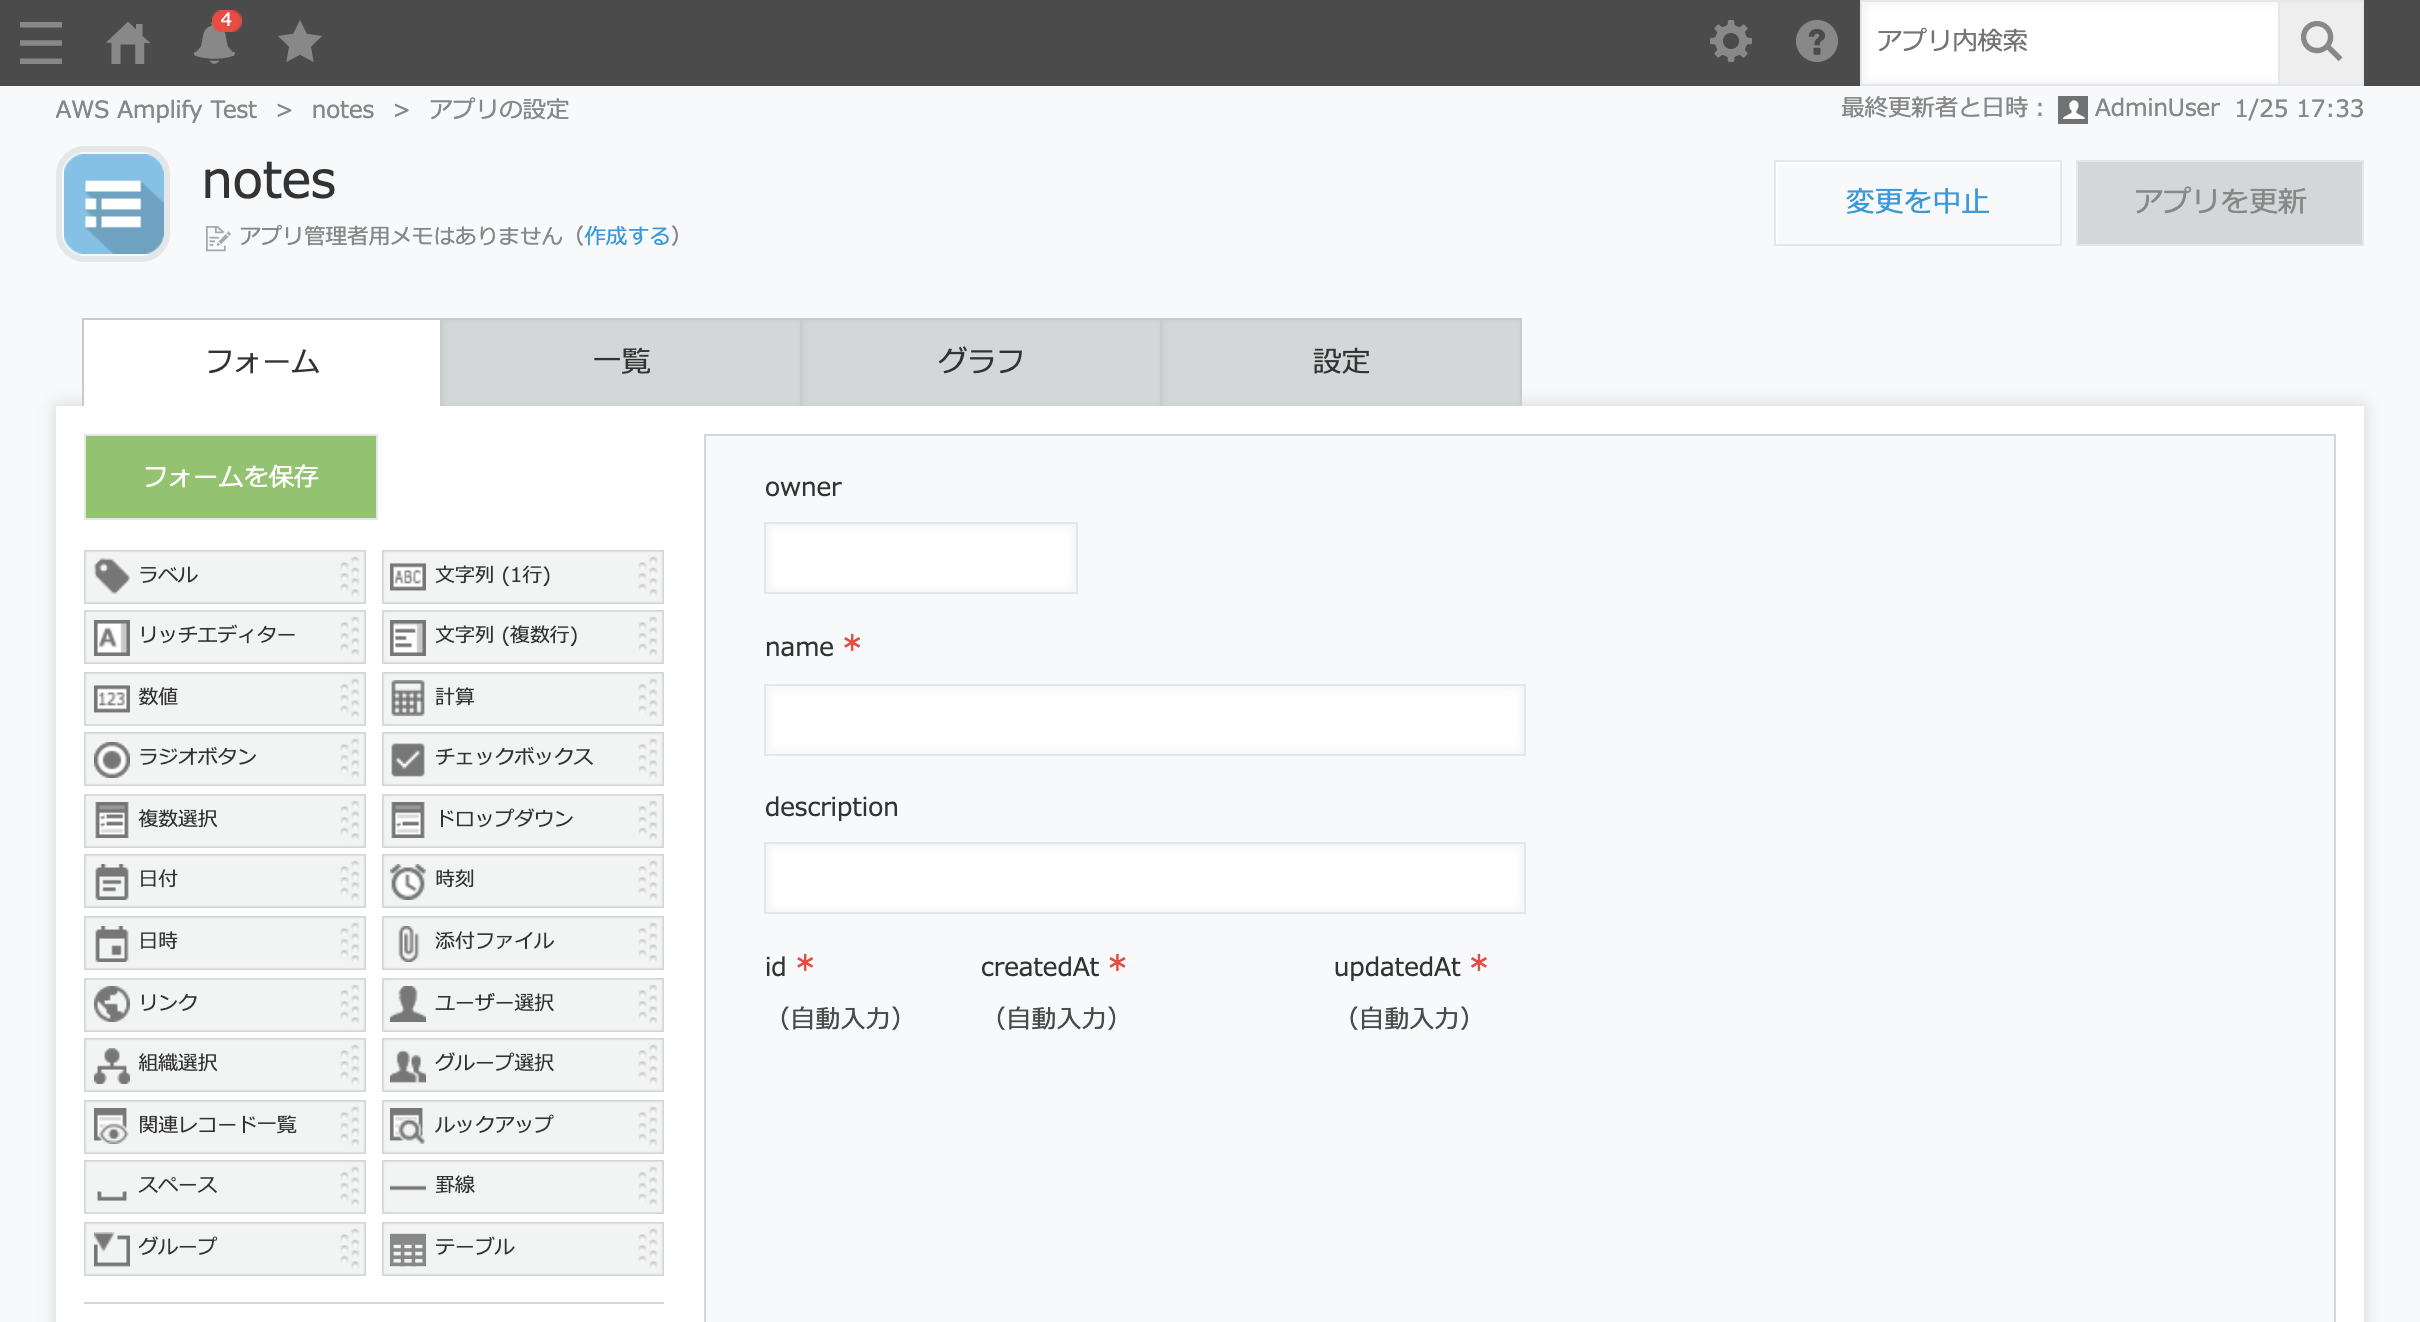
AppSyncから接続する対象の kintoneアプリの設定は下記の通り
- owner 文字列(1行)
- name 文字列(1行)
- description 文字列(1行)
- id レコード番号
- createdAt 作成日時
- updatedAt 更新日時
※フィールドコードとフィールド名は同じです。
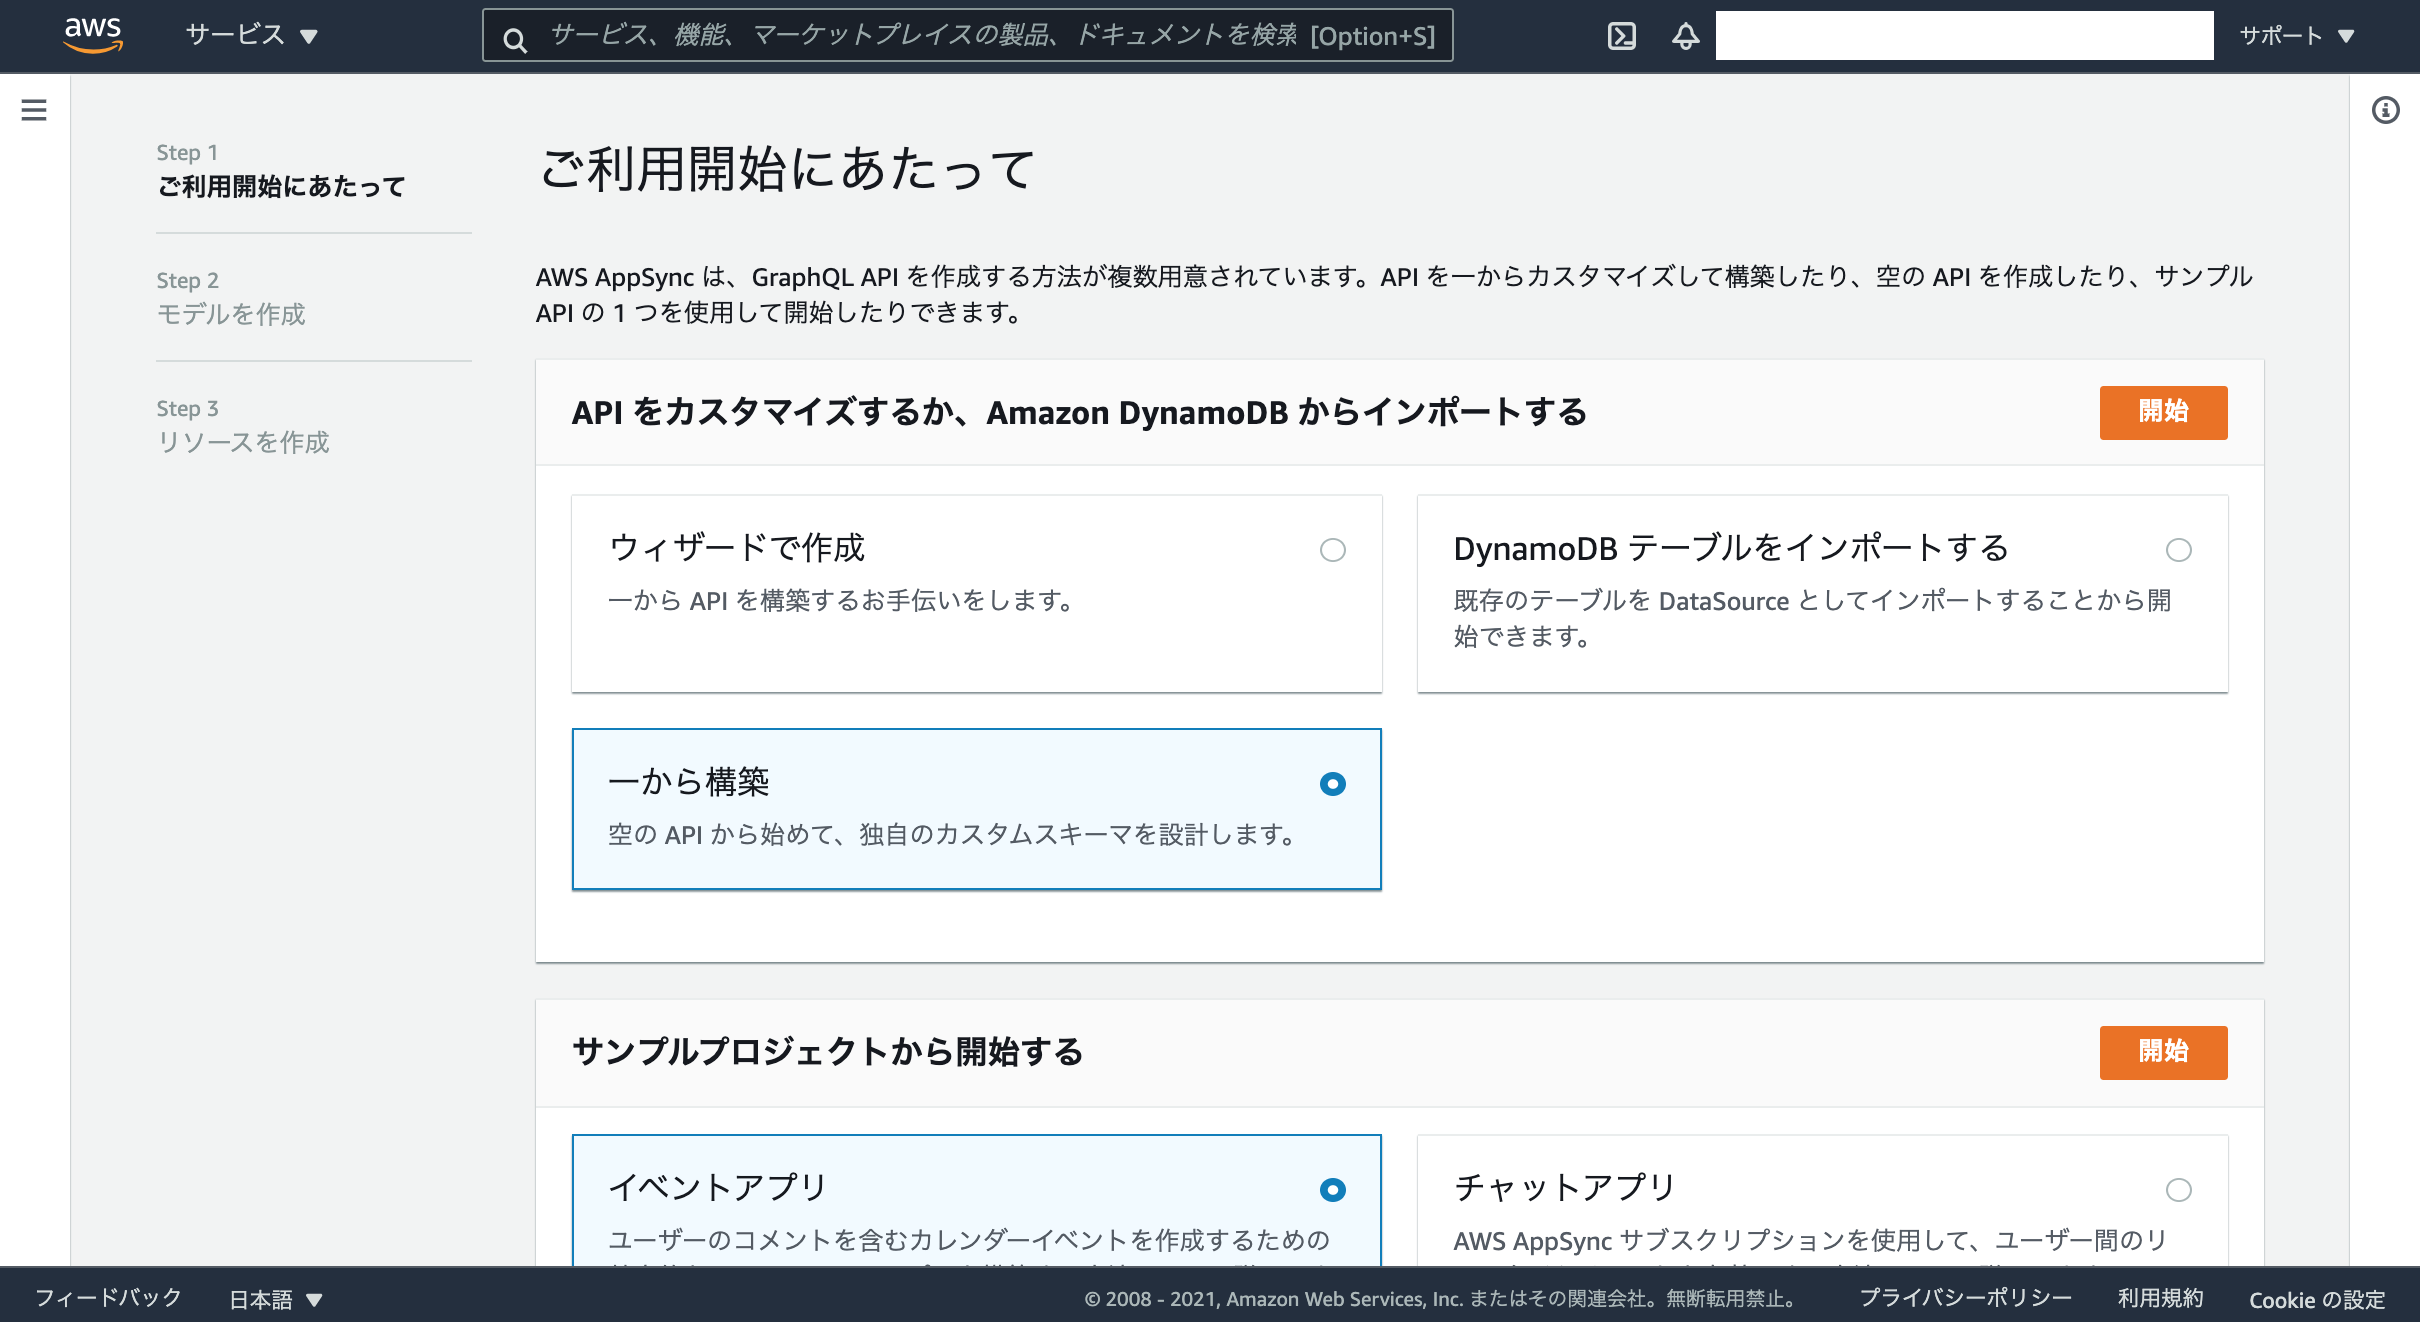
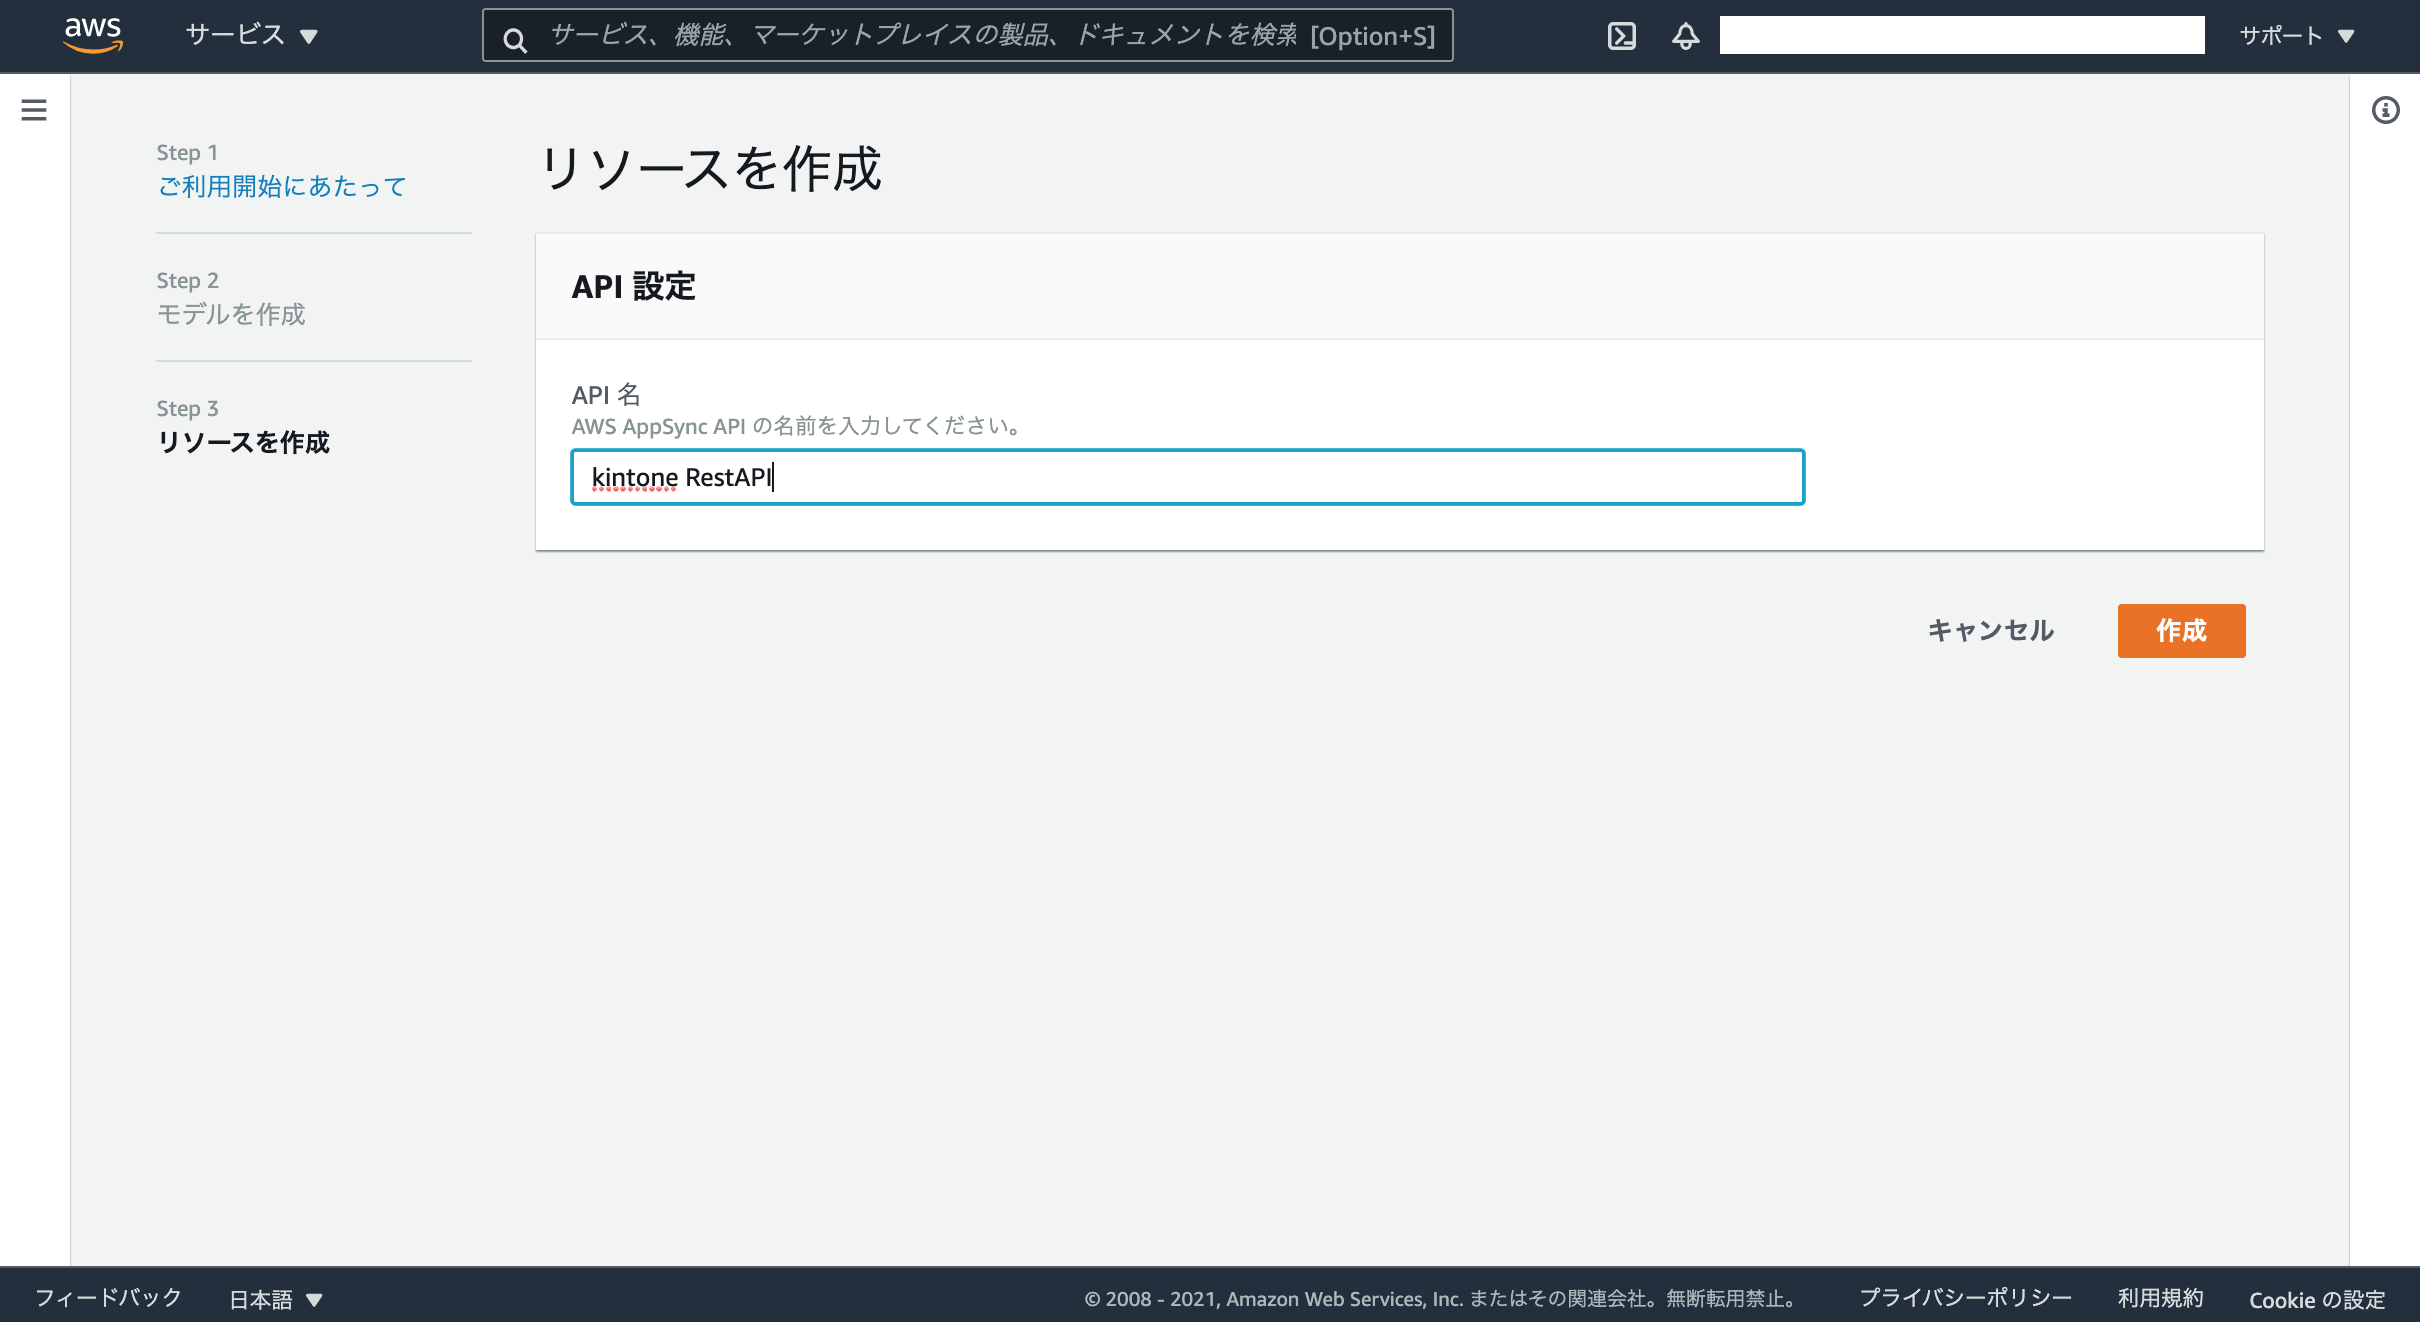
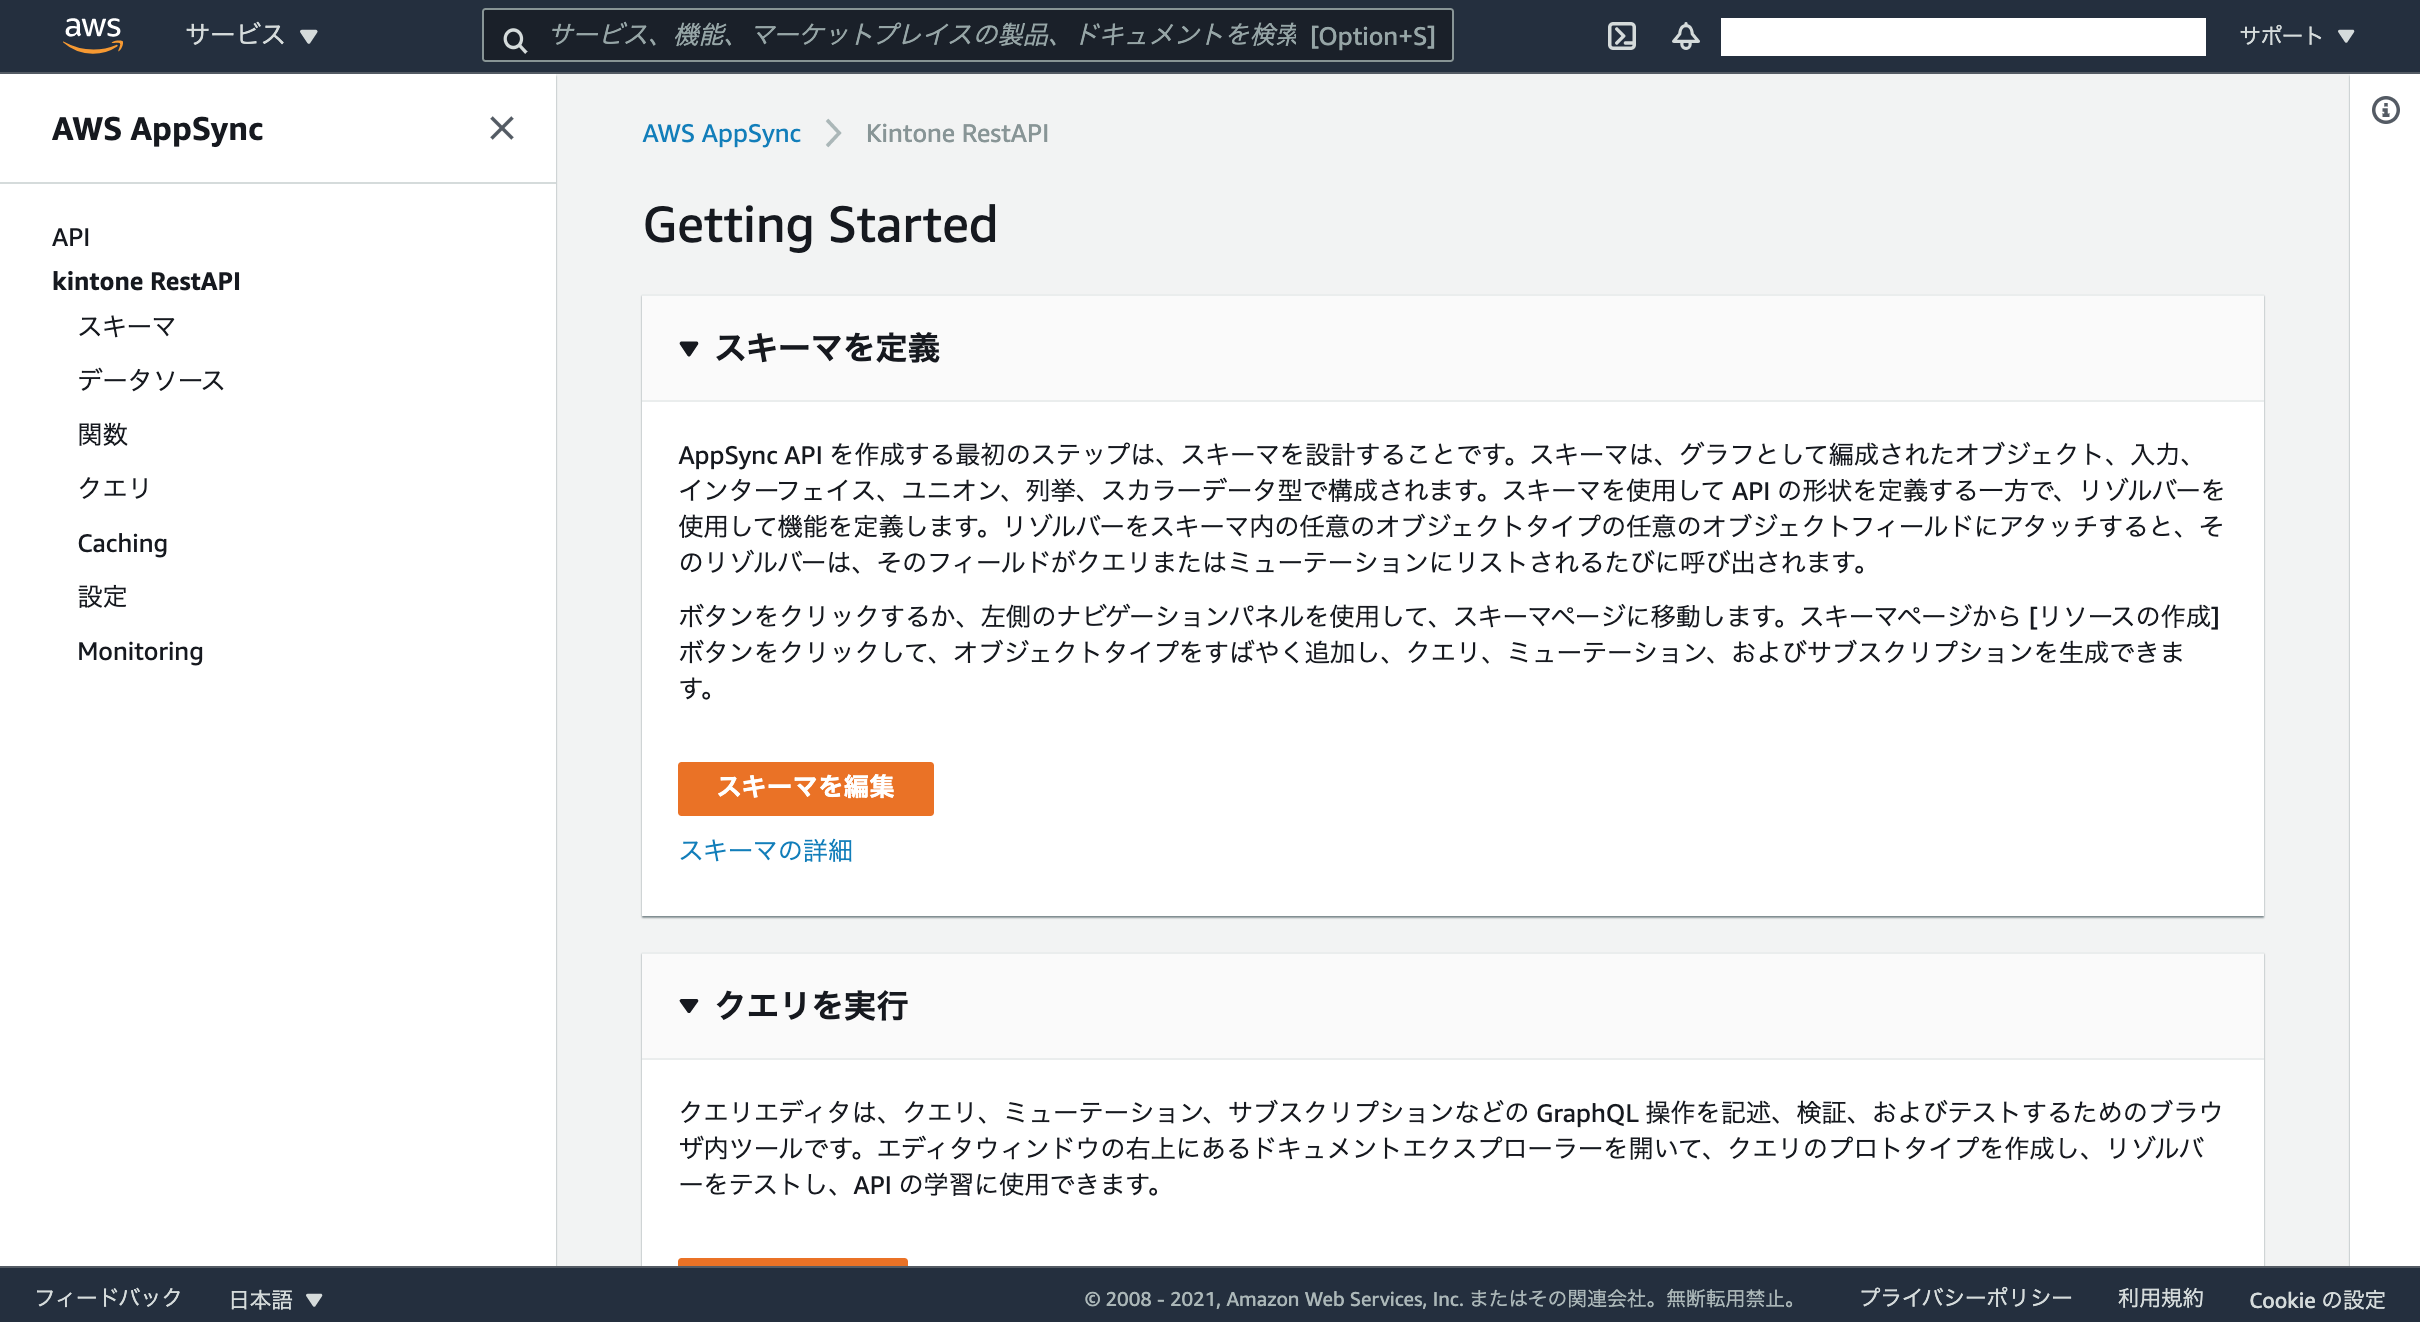
AppSync API の作成
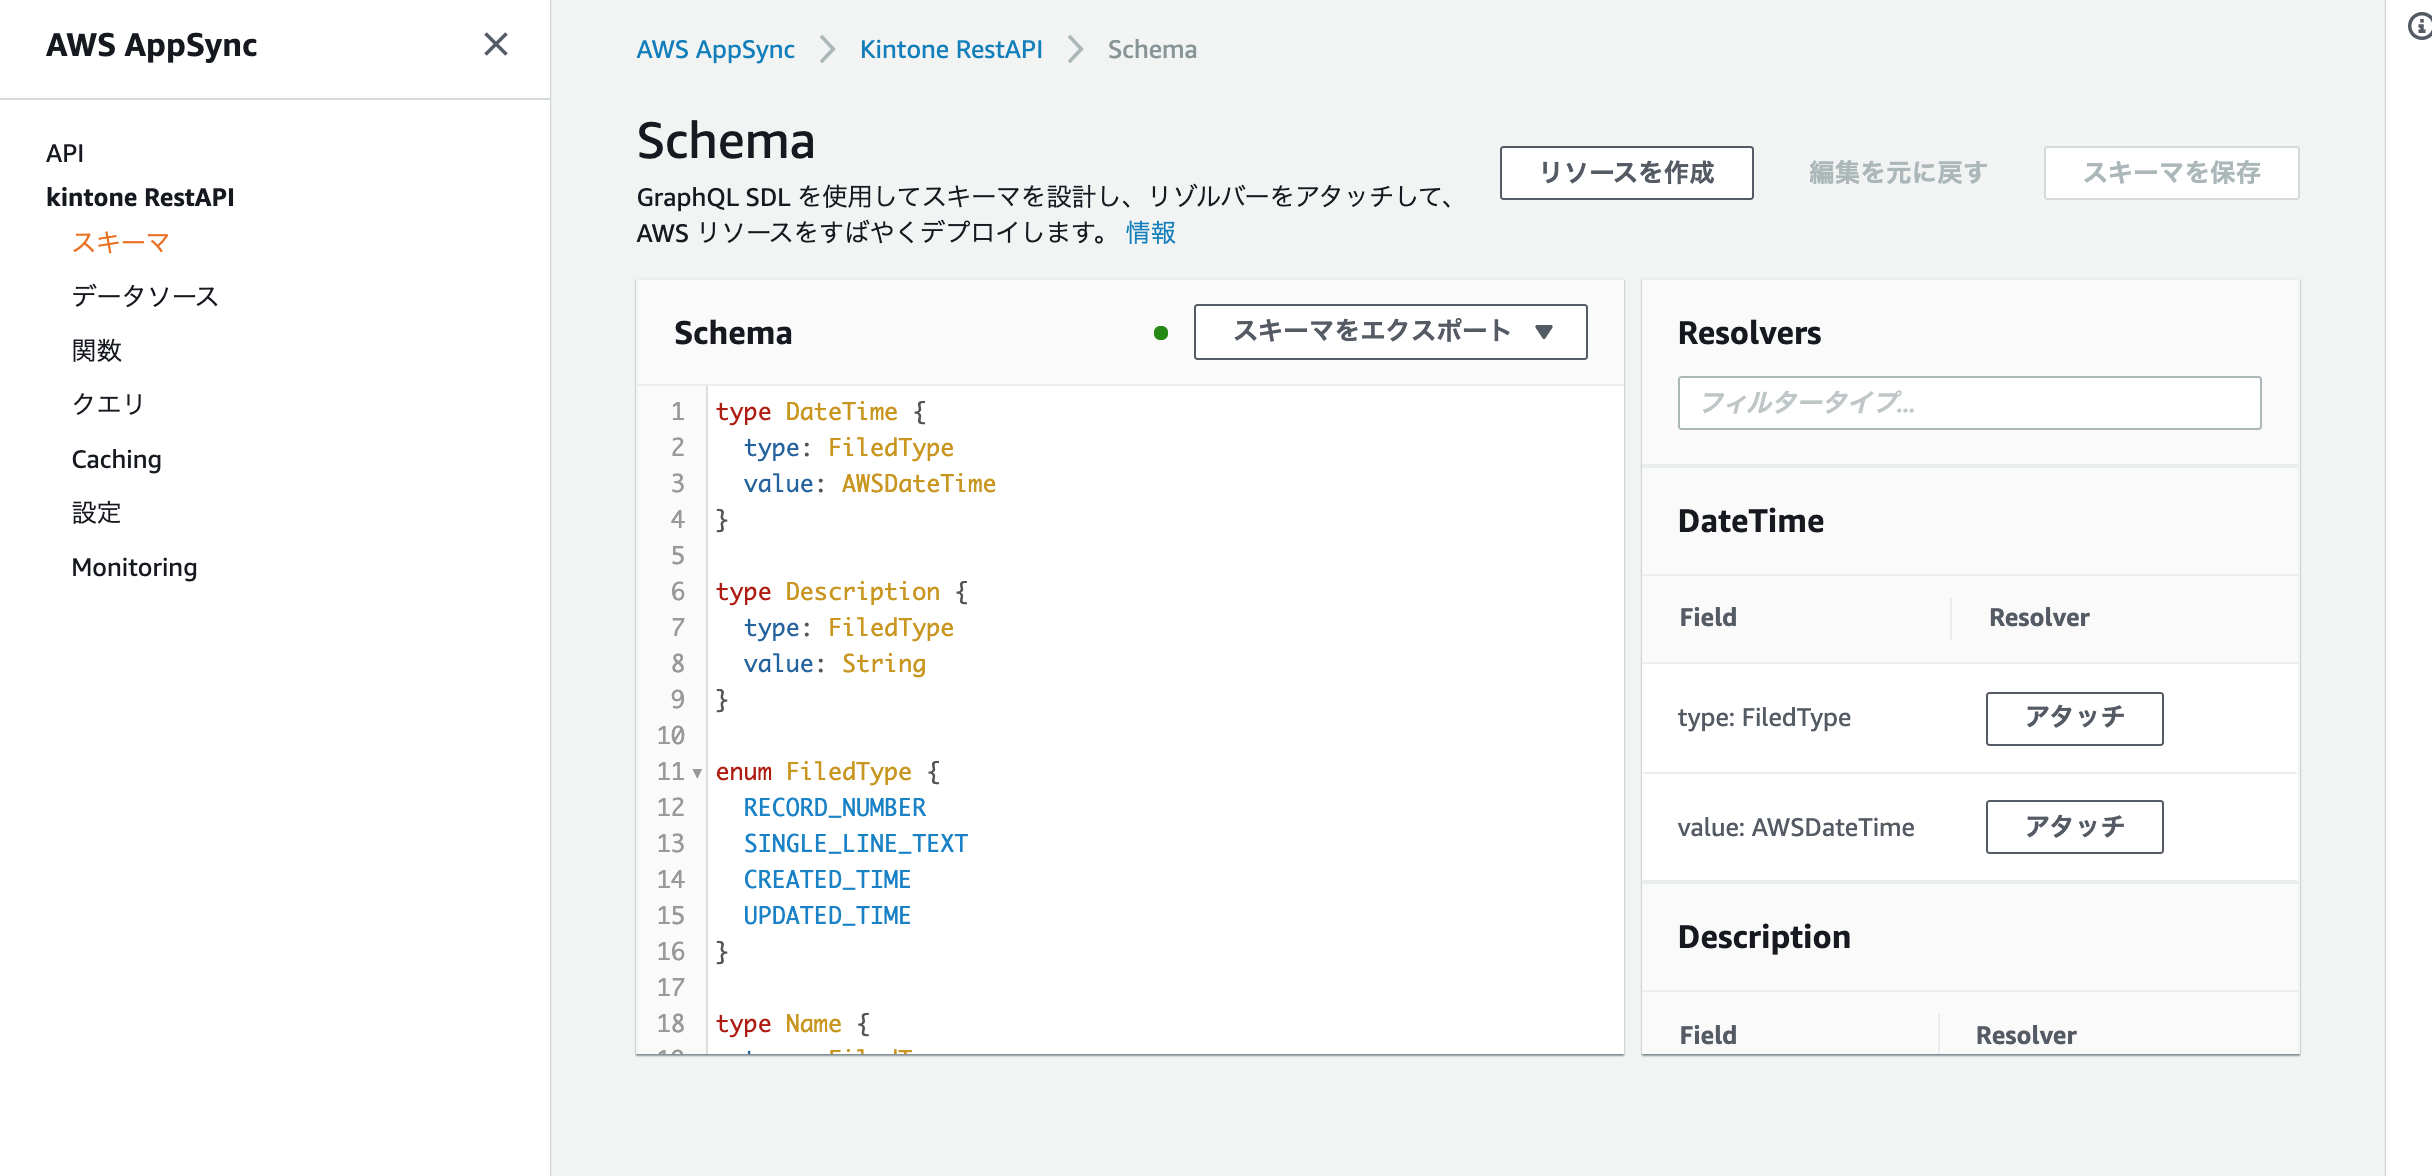
サンプルスキーマ
type DateTime {
	type: FiledType
	value: AWSDateTime
}

type Description {
	type: FiledType
	value: String
}

enum FiledType {
	RECORD_NUMBER
	SINGLE_LINE_TEXT
	CREATED_TIME
	UPDATED_TIME
}

type Name {
	type: FiledType
	value: String!
}

type Note {
	id: RecordNumber
	owner: Owner
	name: Name
	description: Description
	createdAt: DateTime
	updatedAt: DateTime
}

type Owner {
	type: FiledType
	value: String
}

type Query {
	singleNote(id: ID!): Record
	listNotes: Records
}

type Record {
	record: Note
}

type RecordNumber {
	type: FiledType
	value: ID!
}

type Records {
	records: [Note]
}

schema {
	query: Query
}
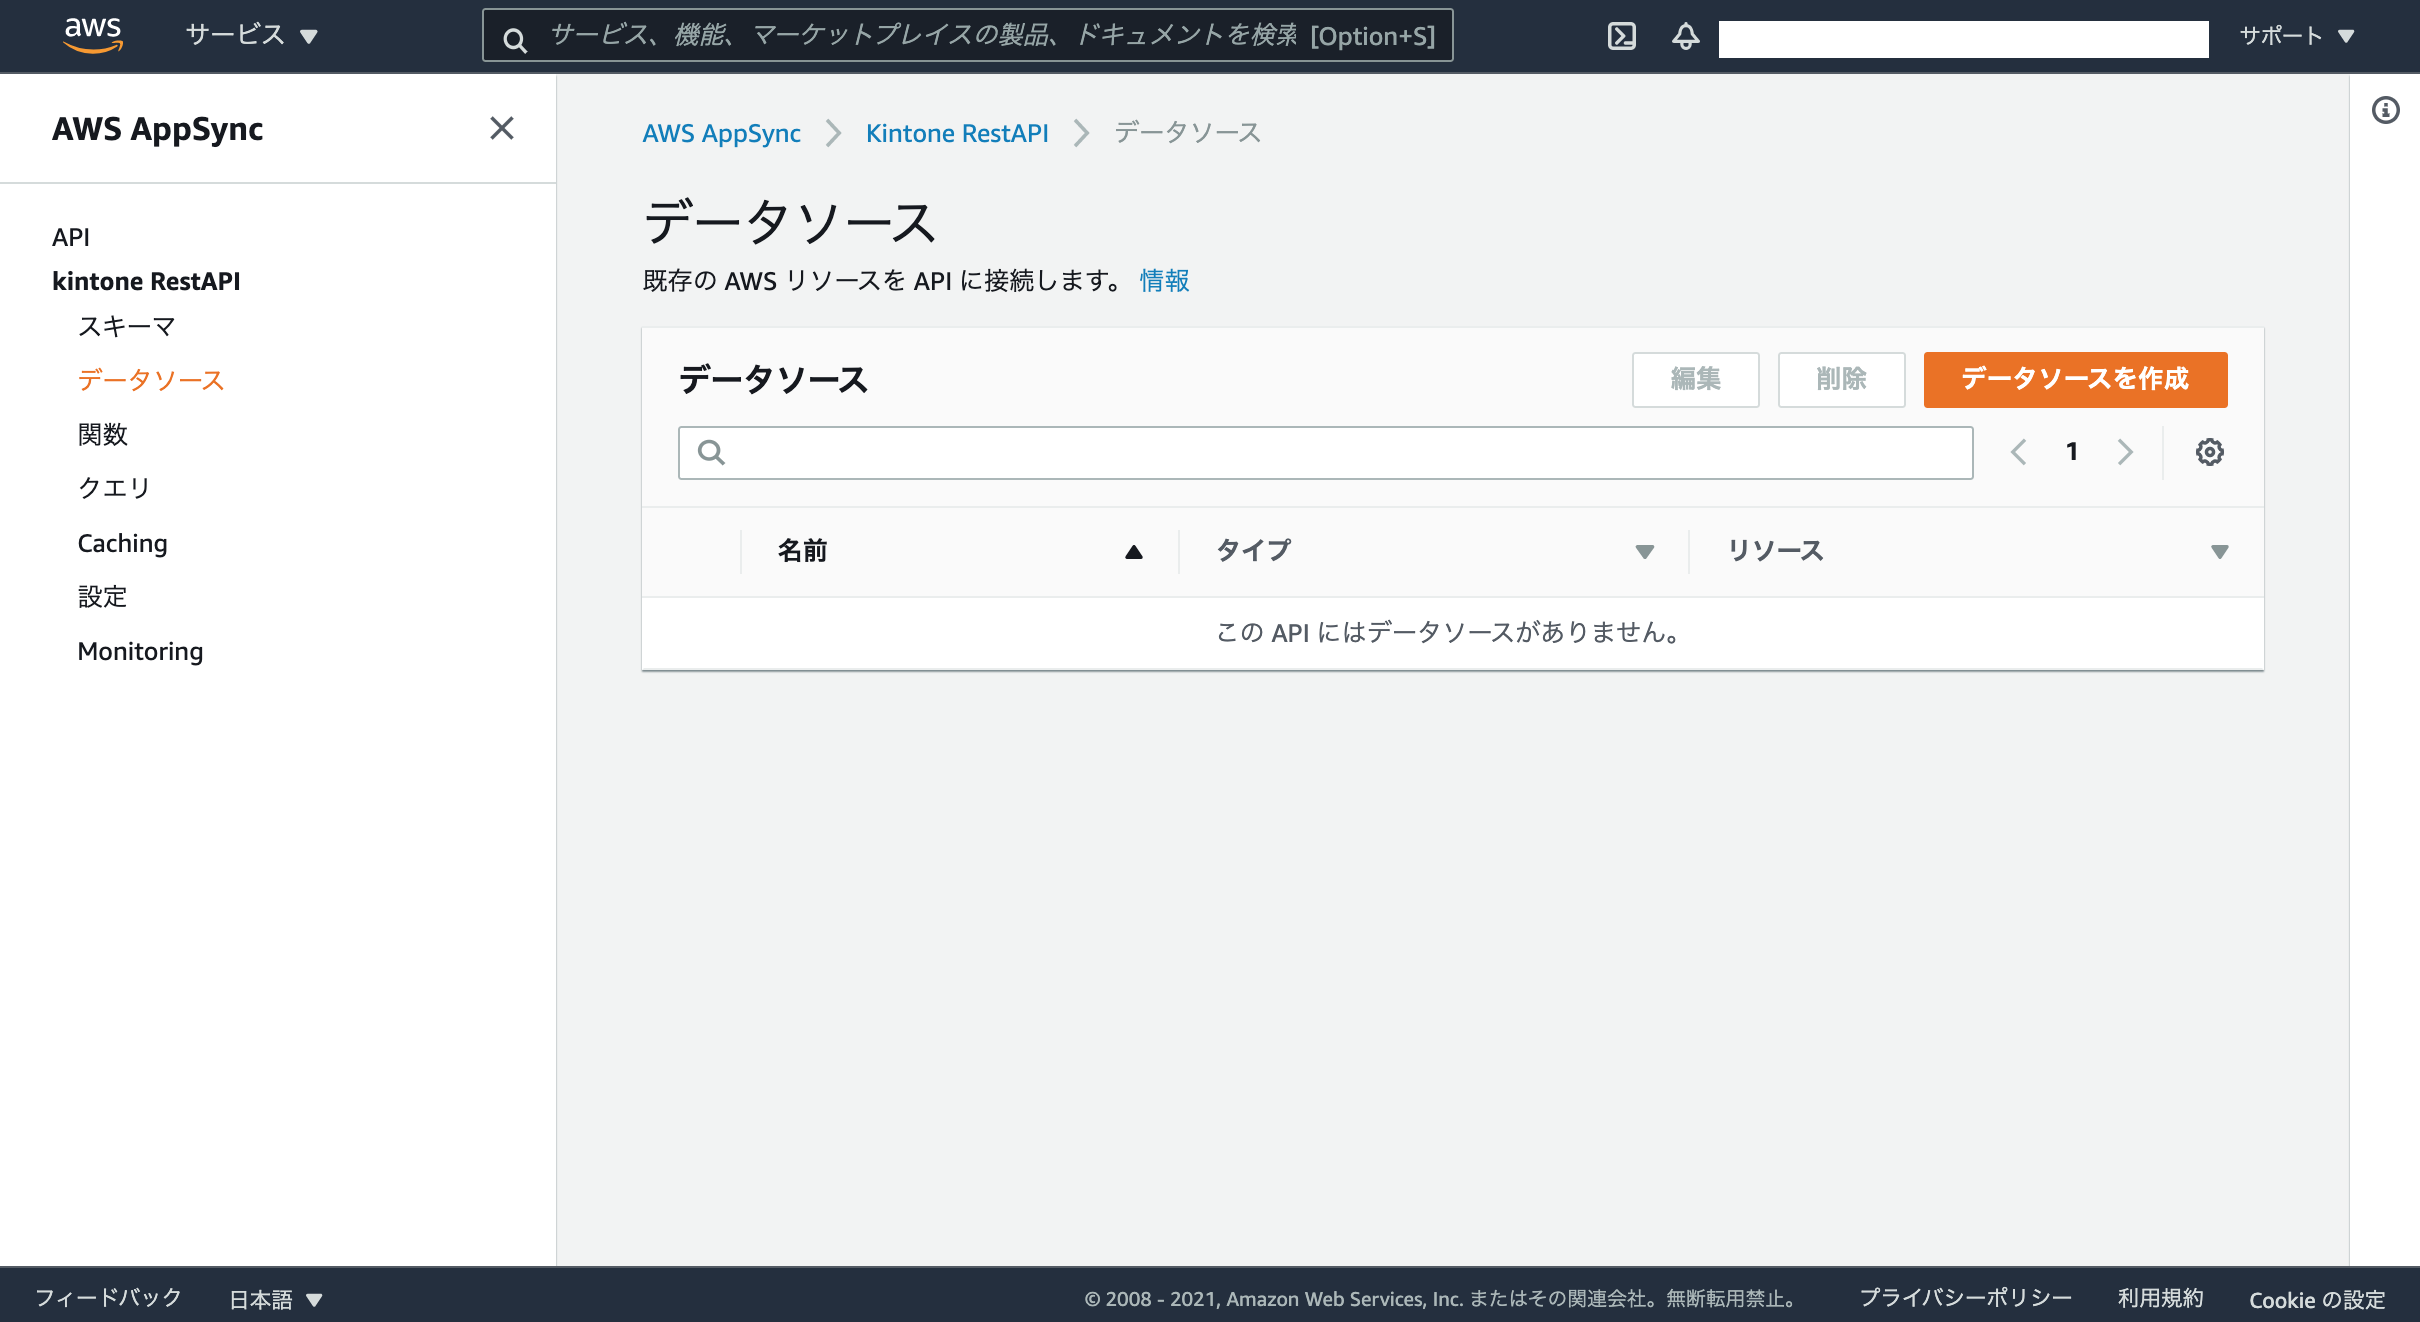
データソース作成
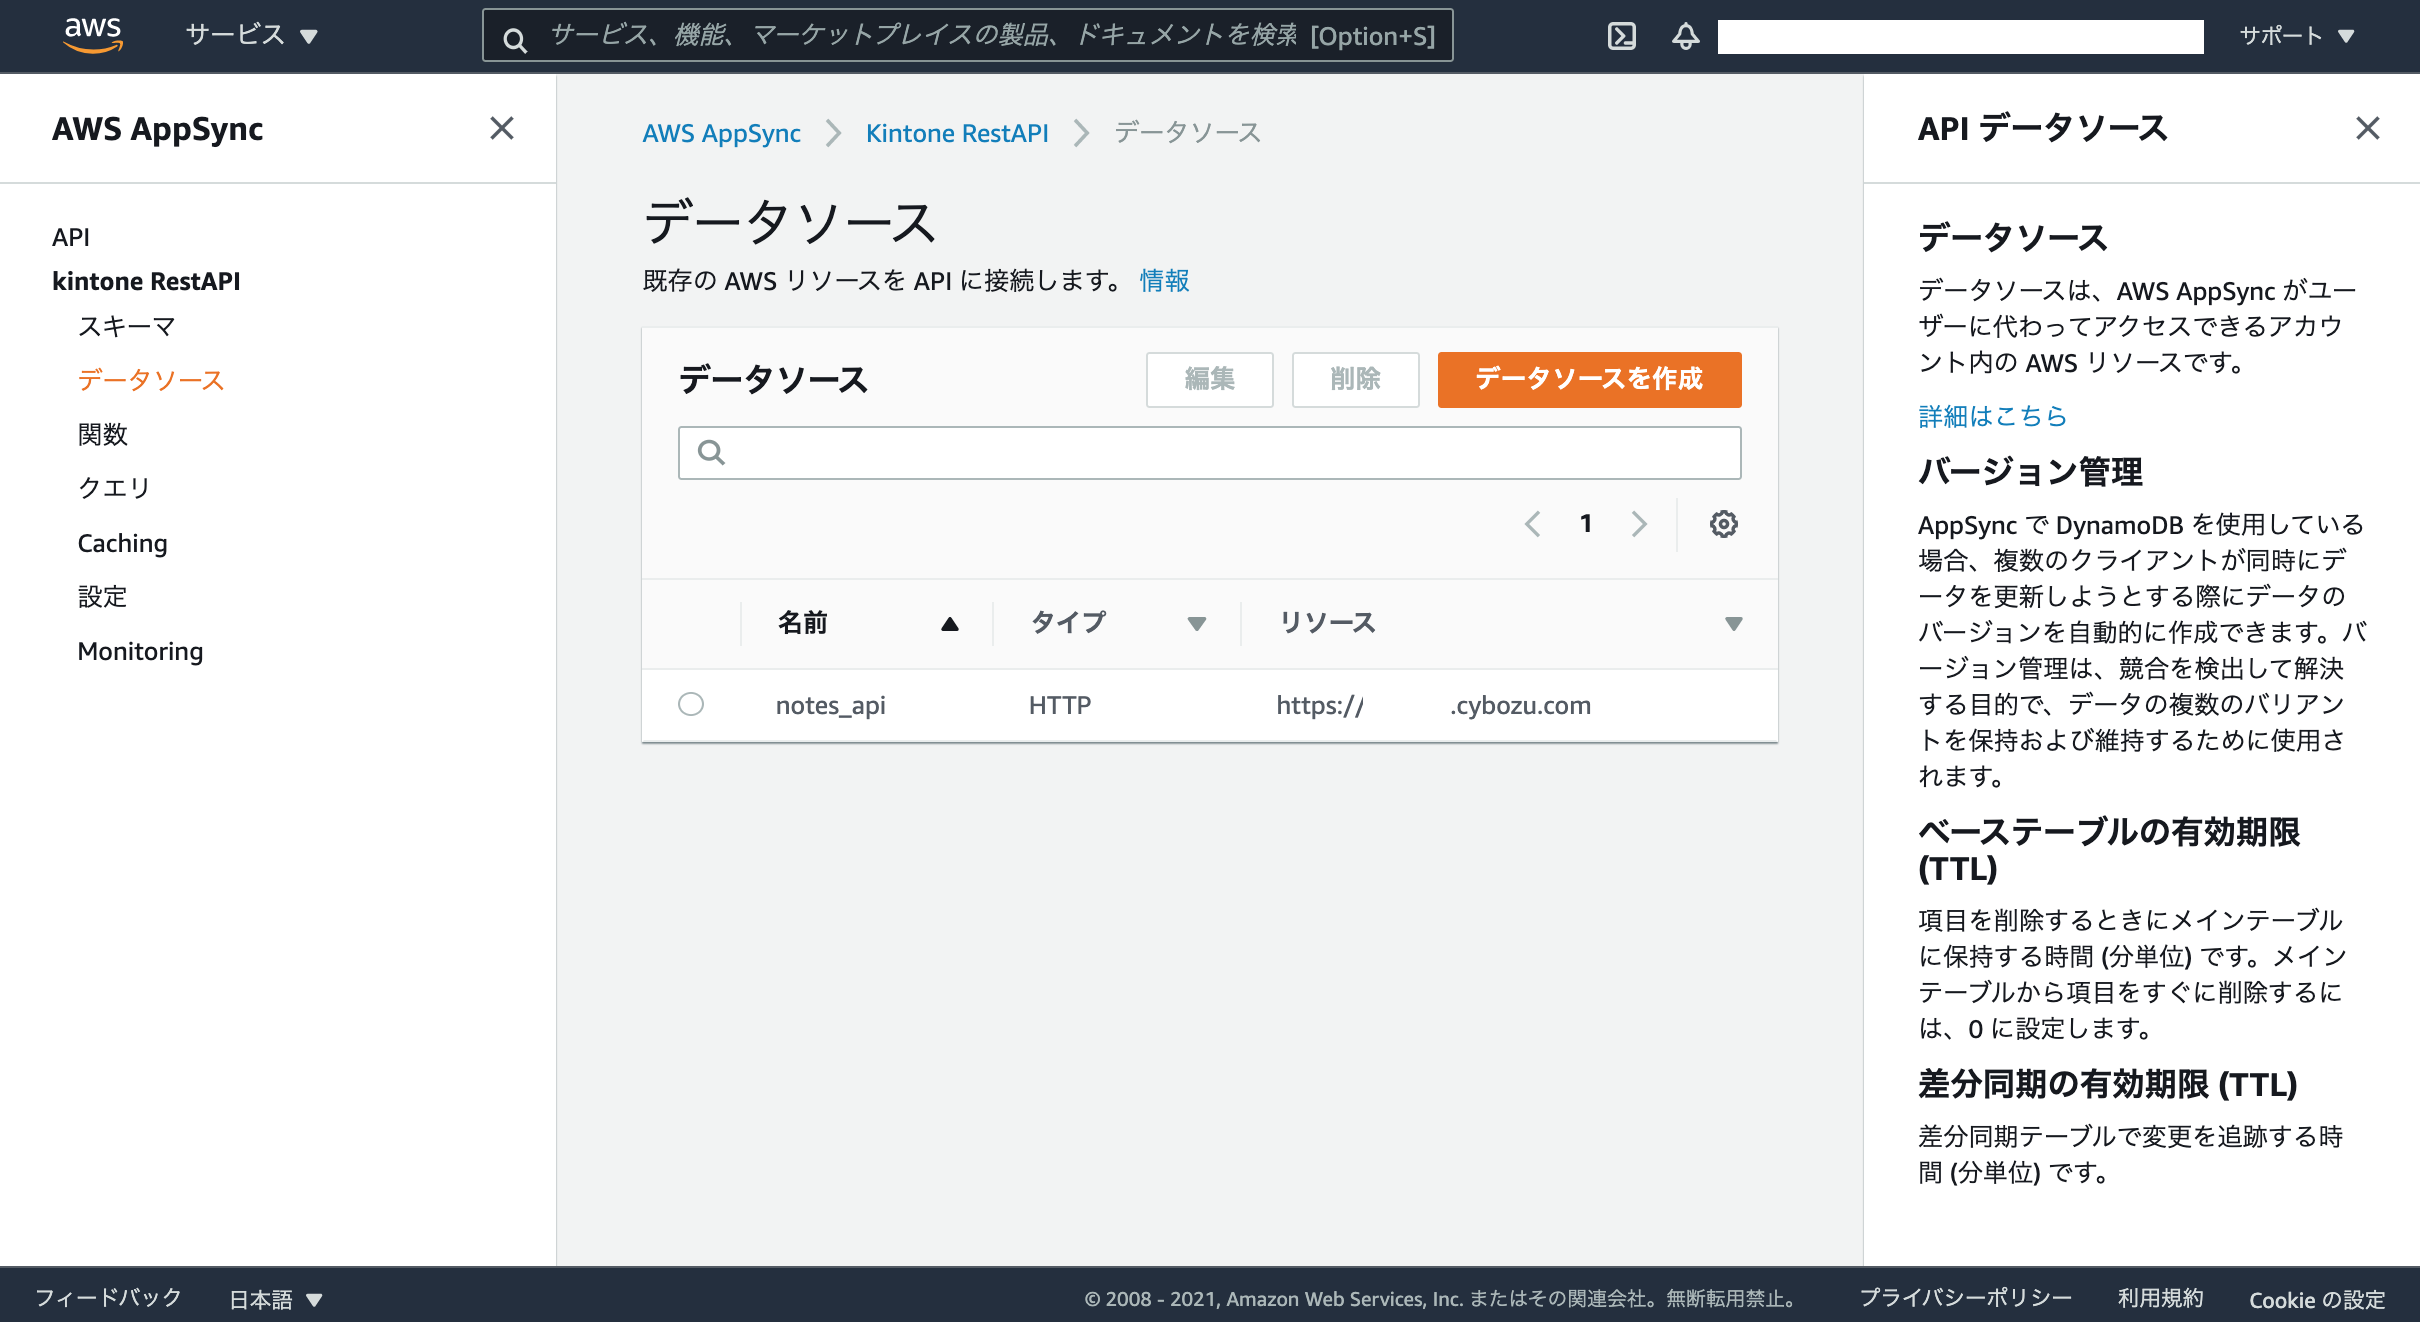
AppSyncと接続するデータソースにHTTPを選択します。
データソースタイプに「HTTPエンドポイント」、「HTTPエンドポイント」にkintoneのサブドメインのURLを設定→「作成」を選択

リゾルバーの作成
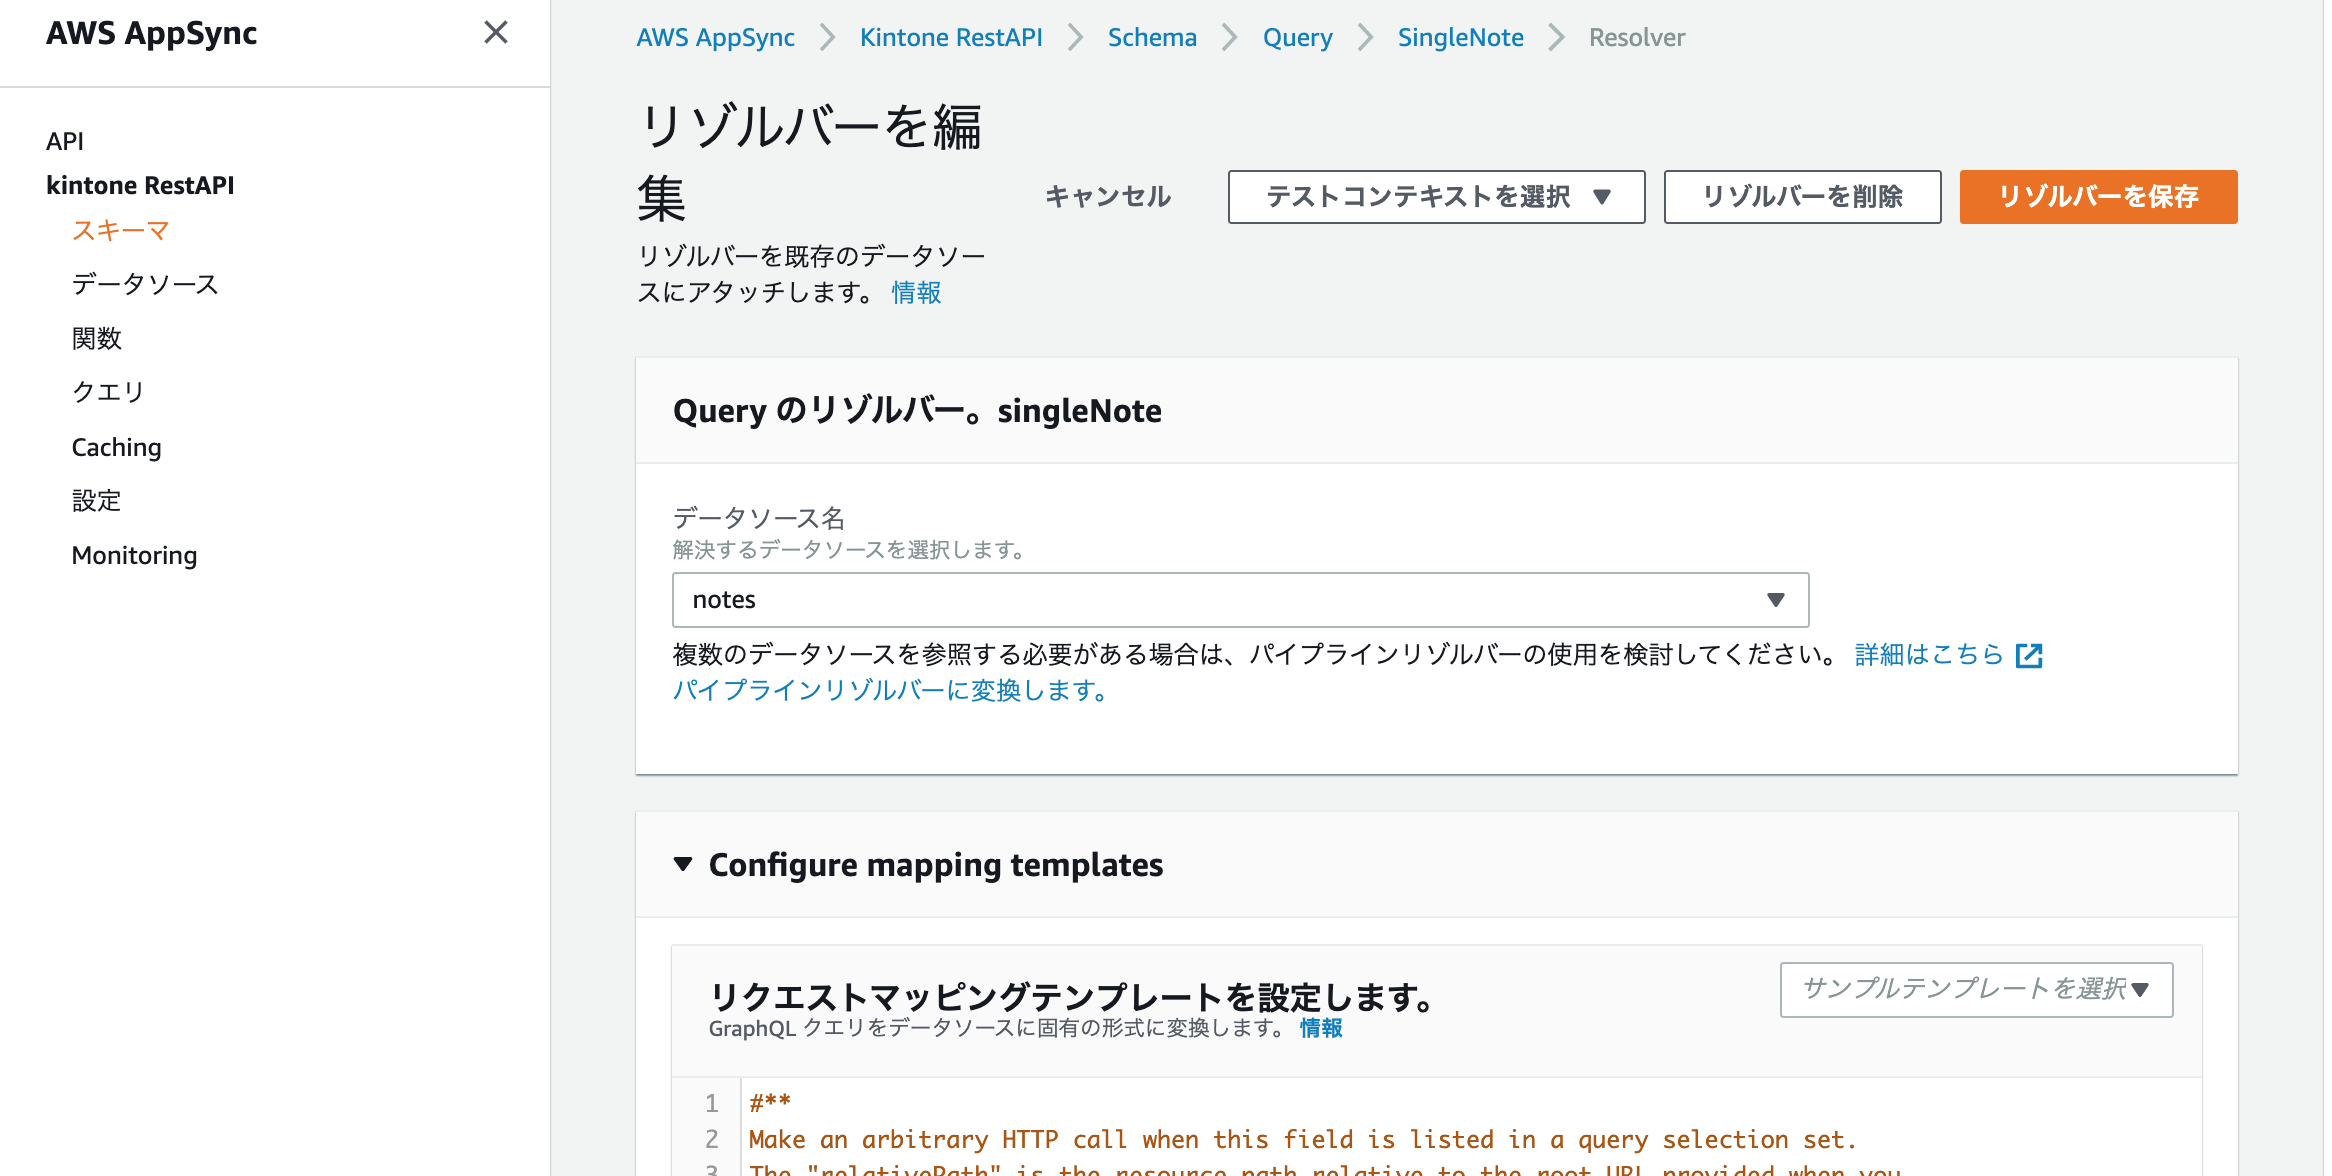
メニューからスキーマを選択して、Queryのリゾルバーからアタッチを選択
マッピングテンプレートの作成
GraphQLクエリをHTTPの形式に変換するマッピングテンプレートを作成します。
singleNote リクエストマッピングテンプレート
-
<App ID>・・・kintoneアプリID -
<API Token>・・・kintoneアプリのAPIトークン
{
  "version": "2018-05-29",
  "method": "GET",
  "resourcePath": "/k/v1/record.json",
  "params":{
      "query":{"app": "<App ID>", "id": $context.arguments.id },
      "headers": {
          "X-Cybozu-API-Token": "<API Token>"
      }
  }
}
singleNote レスポンスマッピングテンプレート
$ctx.result.body
listNotes リクエストマッピングテンプレート
-
<App ID>・・・kintoneアプリID -
<API Token>・・・kintoneアプリのAPIトークン
{
  "version": "2018-05-29",
  "method": "GET",
  "resourcePath": "/k/v1/records.json",
  "params":{
      "query":{"app": "<APP ID>"},
      "headers": {
          "X-Cybozu-API-Token": "<API Token>"
      }
  }
}
listNotes レスポンスマッピングテンプレート
# if($ctx.error)
  $util.error($ctx.error.message, $ctx.error.type)
# end
## If the response is not 200 then return an error. Else return the body **
# if($ctx.result.statusCode == 200)
    $ctx.result.body
# else
    $utils.appendError($ctx.result.body, "$ctx.result.statusCode")
# end
GraphQL クエリ作成
GraphQL クエリを作成してテストします。
singleNote
クエリ
query MyQuery {
  singleNote(id: 1) {
    record {
      id {
        value
      }
      name {
        value
      }
      description {
        value
      }
    }
  }
}
実行結果
{
  "data": {
    "singleNote": {
      "record": {
        "id": {
          "value": "1"
        },
        "name": {
          "value": "1/10 やること"
        },
        "description": {
          "value": "部屋の片付け"
        }
      }
    }
  }
}
listNotes
クエリ
query MyQuery {
  singleNote(id: 1) {
    record {
      id {
        value
      }
      name {
        value
      }
      description {
        value
      }
    }
  }
  listNotes {
    records {
      id {
        value
      }
      name {
        value
      }
      description {
        value
      }
    }
  }
}
実行結果
{
  "data": {
    "singleNote": {
      "record": {
        "id": {
          "value": "1"
        },
        "name": {
          "value": "1/10 やること"
        },
        "description": {
          "value": "部屋の片付け"
        }
      }
    },
    "listNotes": {
      "records": [
        {
          "id": {
            "value": "29"
          },
          "name": {
            "value": "2/1 やること"
          },
          "description": {
            "value": "燃えるゴミ"
          }
        },
・・・略
        {
          "id": {
            "value": "2"
          },
          "name": {
            "value": "1/10 やること"
          },
          "description": {
            "value": "図書館で本を借りる"
          }
        },
        {
          "id": {
            "value": "1"
          },
          "name": {
            "value": "1/10 やること"
          },
          "description": {
            "value": "部屋の片付け"
          }
        }
      ]
    }
  }
}
デバッグログ
デバッグのために、メニューの設定から「ログ記録」→「ログを有効化」を選択します。
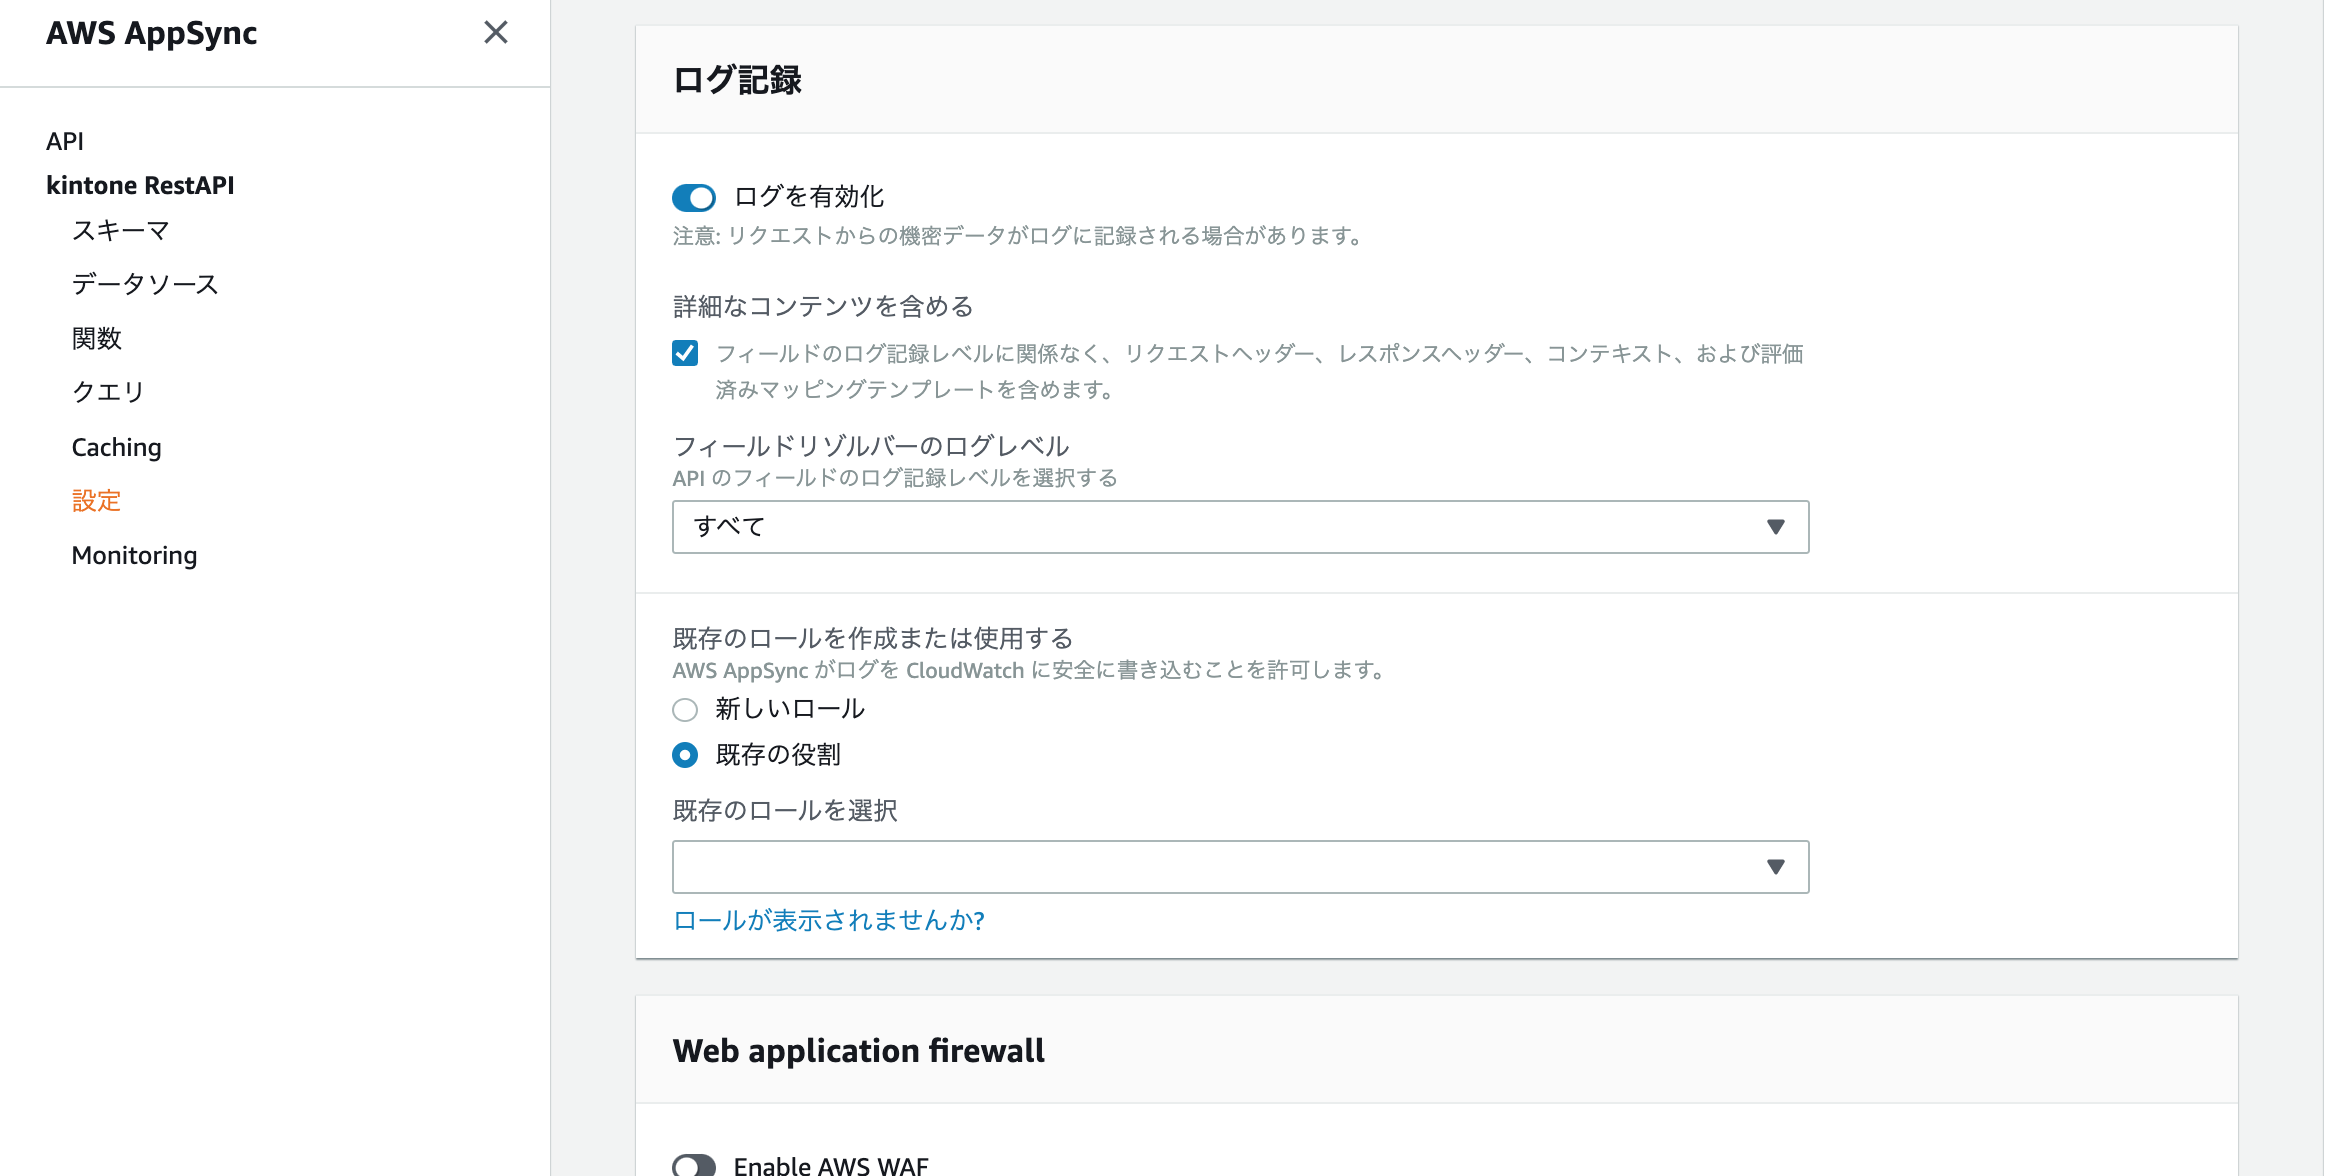
CloudWatchにログが出力されます。
参考
