kintone UI Component for React を試す際には、コンパイラーやバンドラーの設定から入る必要があってそれが敷居を高くしている感がありましたが、今回は CodeSandbox を使うことで環境設定作業は無しで、使いたい機能を試してみました。
CodeSandbox とは?
オンラインエディターの1つです。
https://codesandbox.io
CodeSandbox is an online editor that's built for web application development.
登録無しで直ぐに使い始めることが出来ます。
無料枠にはプライベート環境が無し、作成できる環境に上限が有ったりするのでその点に注意が必要です。
https://codesandbox.io/patron
React 環境を作る
CodeSandbox でReactアプリの環境をセットアップします。
- Dashboard から Reactテンプレートを選択します。

-
React環境の雛形が作られて自動でコンパイル、バンドルが走りReactのWebアプリケーションが起動します。

-
index.js を修正して保存します。
ファイルを修正して保存すると自動でコンパイル、バンドルされてプロジェクトに名前をつけて保存できるようになります。メニューも変わりGitHubと接続できるようになります。
無料枠ではパブリック設定しか作れませんので注意が必要です。
kintone UI Component を 呼んでみる
テキストボックスとボタンコンポーネントを読み込みます。
リファレンス(https://kintone.github.io/kintone-ui-component/) のコードをコピーして動作確認をしてみます。
雛形のファイルは下記の通り。
import React from "react";
import ReactDOM from "react-dom";

import "./styles.css";

function App() {
  return (
    <div className="App">
      <h1>Hello CodeSandbox for React!</h1>
      <h2>Start editing to see some magic happen!</h2>
    </div>
  );
}

const rootElement = document.getElementById("root");
ReactDOM.render(<App />, rootElement);
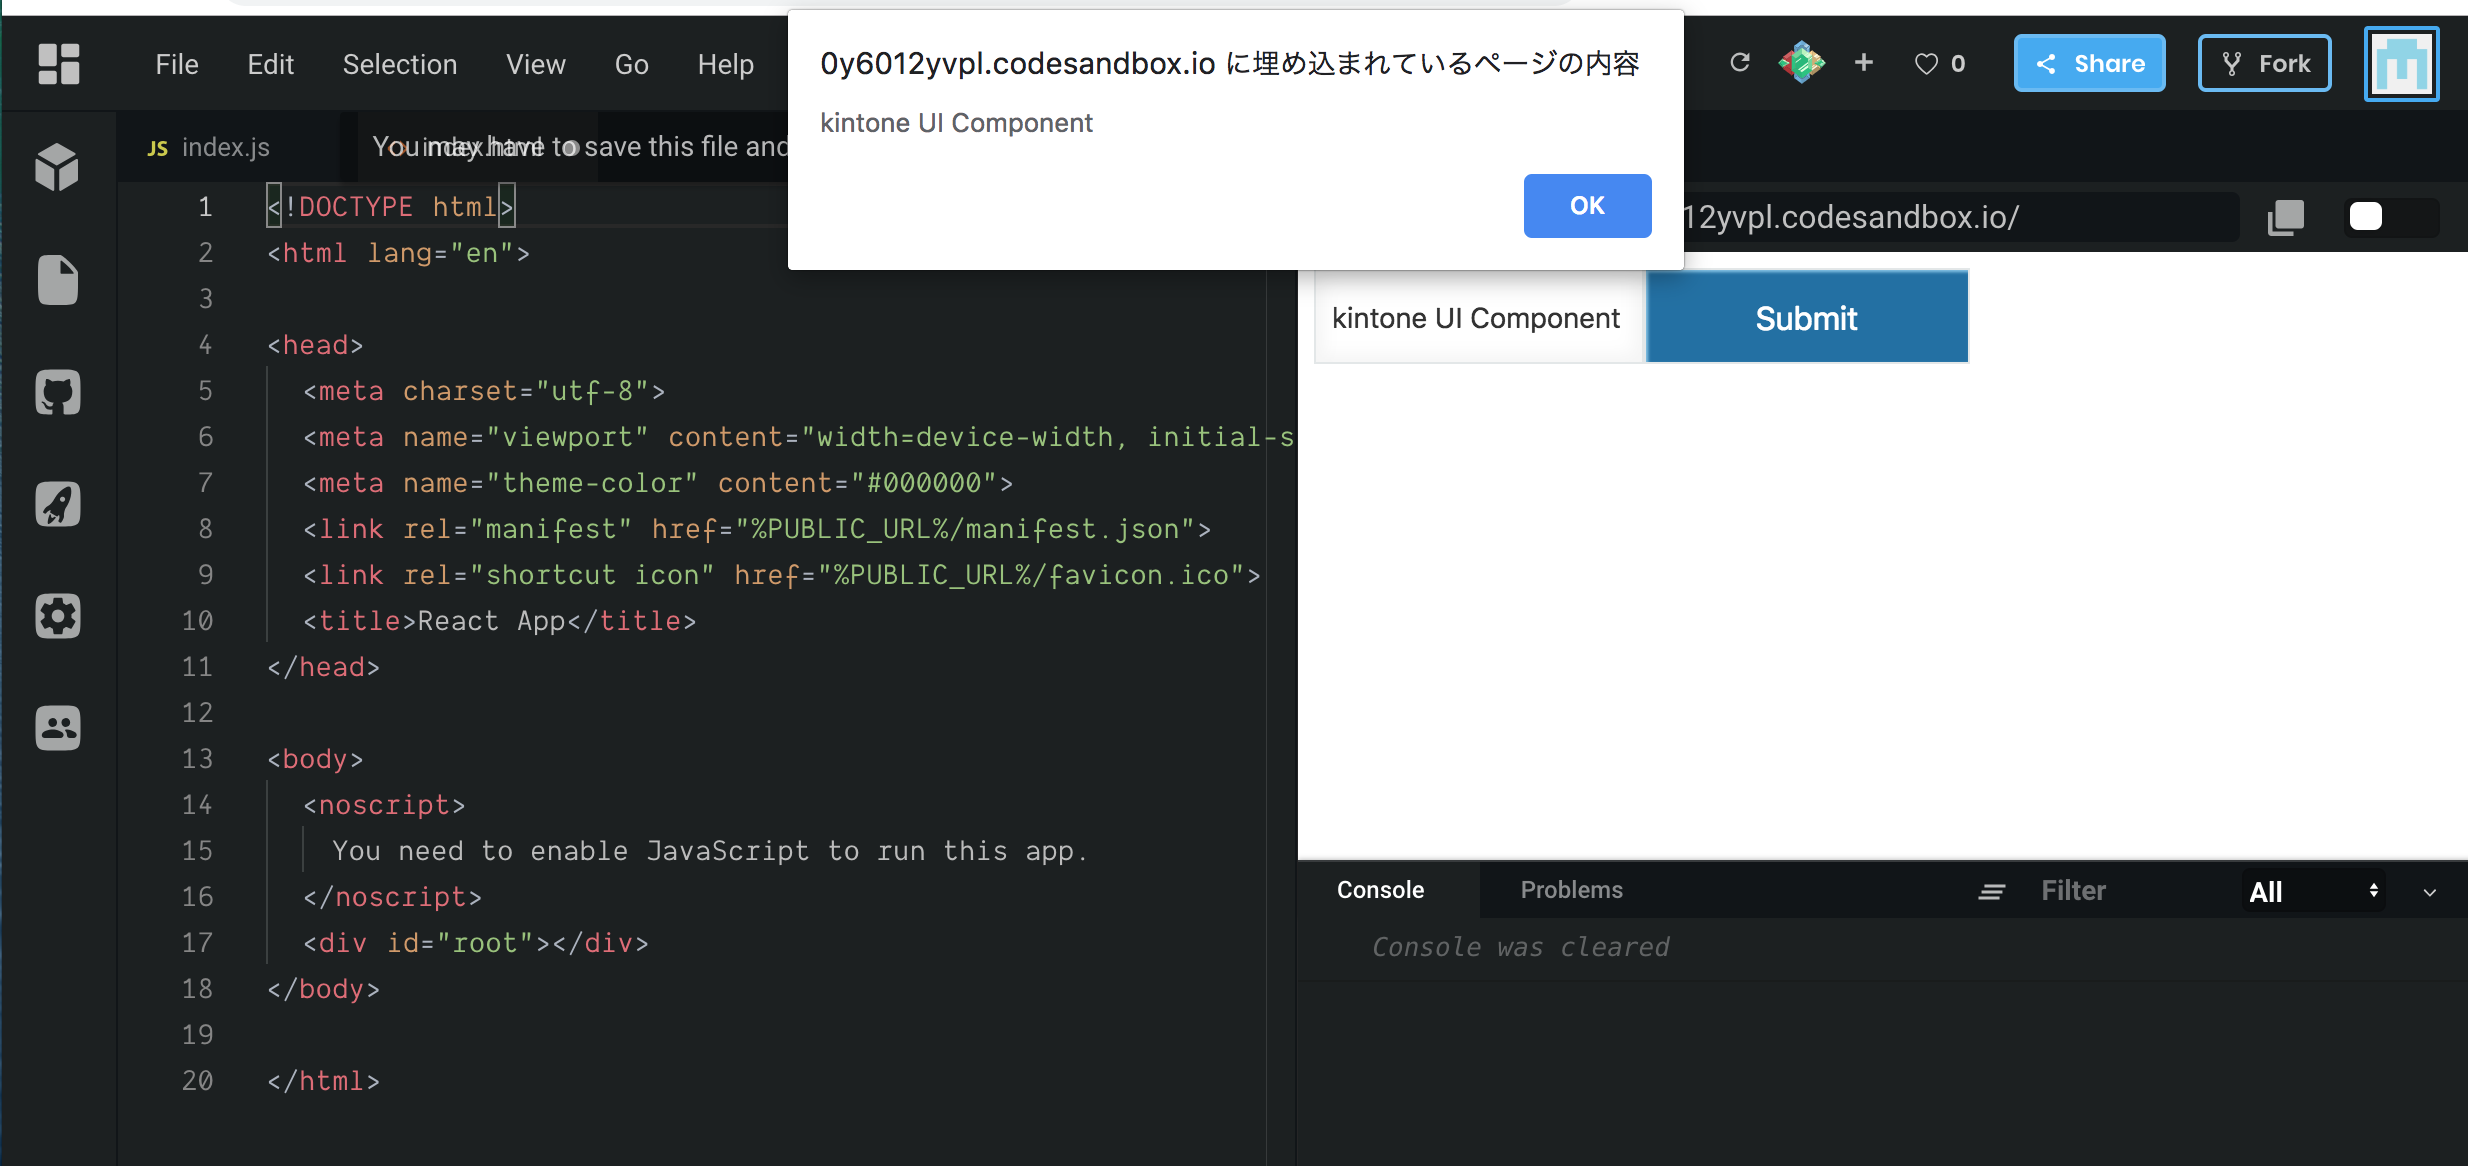
テキストボックスとボタンを表示するコードを追加します。
ボタンを押したらアラートにテキストボックスの内容を表示させてみます。
import { Text, Button } from "kintone-ui-component";
import React from "react";
import ReactDOM from "react-dom";
import "./styles.css";

class MyApp extends React.Component {
  constructor(props) {
    super(props);
    this.state = {
      value: ""
    };
  }
  render() {
    return (
      <div>
        <Text
          value={this.state.value}
          isVisible={true}
          isDisabled={false}
          onChange={value => {
            this.setState({ value });
          }}
        />
        <Button
          text="Submit"
          type="submit"
          isDisabled={false}
          isVisible={true}
          onClick={this.handleButtonClick}
        />
      </div>
    );
  }
  handleButtonClick = () => {
    window.alert(this.state.value);
  };
}
const rootElement = document.getElementById("root");
ReactDOM.render(<MyApp />, rootElement);
<!DOCTYPE html>
<html lang="en">

<head>
	<meta charset="utf-8">
	<meta name="viewport" content="width=device-width, initial-scale=1, shrink-to-fit=no">
	<meta name="theme-color" content="#000000">
	<link rel="manifest" href="%PUBLIC_URL%/manifest.json">
	<link rel="shortcut icon" href="%PUBLIC_URL%/favicon.ico">
	<title>React App</title>
</head>

<body>
	<noscript>
		You need to enable JavaScript to run this app.
	</noscript>
	<div id="root"></div>
</body>

</html>
DependencyNotFoundError が表示されたら、Suggested solutions:の下の
Add @kintone/kintone-ui-component as dependency リンクをクリックすると自動でkintone-ui-conponent を npm からインストールしてくれます。
画面キャプチャ
Reactの理解不足もあり、コンポーネントを組み合わせた際の動作がよく分からないものもありますが、CodeSandboxは kintone UI Component を手軽に試すことが出来て便利ですね。
第3回へ続きます。