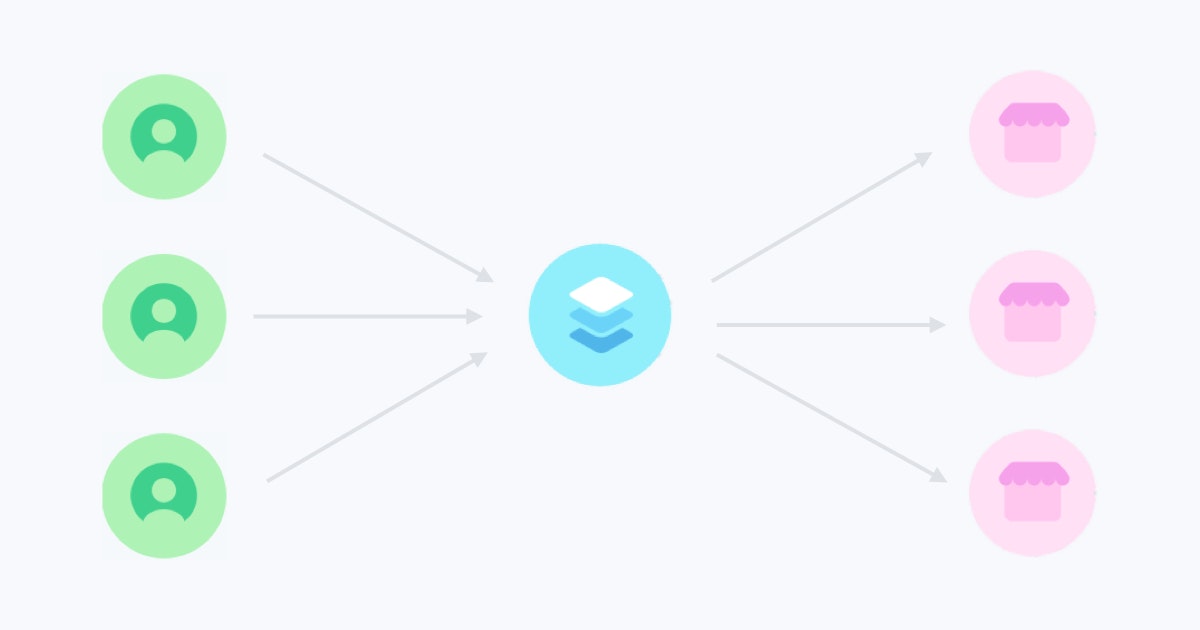
オンラインサロンや、月額駐車場のような定額制のマーケットプレイスを実装します。
前回、「RailsでStripe Connectを使ってみた」を投稿したのですが、この定額制の場合、そこにあるようなConnectだけでは一筋縄にいかないということが分かりました。定額制を採用するためには、「Stripe Billing」を別途で実装する必要があるため、StripeのGUIをそのまま使えるStandardアカウントでは実装できず、Customアカウントを使う必要が出てきました。
これが意外と厄介で、決済の責任がプラットフォーム側に依存されるようになるため、利用規約やセキュリティ面など気をつけなければならないことがたくさん出てきます。
決済〜入金までの流れ
- 決済フォームを作成する(Stripe Element)
- 本人確認フォームを作成する
- 銀行口座フォームを作成する
- 定額商品を作成する
- 顧客が定額商品を契約する
- プラットフォームからアカウントに送金される
- アカウントの口座に入金される
なかなか壮大なワークフローとなりました。
特に、7) プラットフォームからアカウントに送金される部分は想定しておらず、もっと簡単に実装できるかと思っていましたが、Webhookを使う必要があると分かりました。
個人的に、Webhookを使うのは初めてだったので、これはスタックしそうと構えていましたがngrockという便利ツールのおかげでスムーズに進みました。
決済フォームを作成する(Stripe Element)
決済フォームを作成する際にはStripe Elementを使うのがおすすめです。
基本的にクレジットカード情報はサーバー側で持たないため、Stripeのカスタマートークンを受け取るカラムのみをユーザーに追加してあげとけば問題ありません。
<script src="https://js.stripe.com/v3/"></script>

<%= form_for(@user, html: {class:'add-card', id: 'payment-form'}) do |f| %>
  <div class="block">
    <%= f.hidden_field :stripe_temporary_token, id: 'stripe_temporary_token' %>
    <input type="hidden" name="token" />
    <div class="group">
      <label>
        <span>クレジットカード番号</span>
        <div id="card-number-element" class="field"></div>
      </label>
      <label>
        <span>有効期限</span>
        <div id="card-expiry-element" class="field"></div>
      </label>
      <label>
        <span>CVC</span>
        <div id="card-cvc-element" class="field"></div>
      </label>
    </div>
    <button type="submit" class="btn btnSubmit" id="submit-card">Submit</button>
    <div class="outcome">
      <div class="error"></div>
      <div class="success"></div>
    </div>
  </div>
<% end %>
JS部分は下記のようになります。
var stripe = Stripe(gon.stripe_key);
var elements = stripe.elements();

var style = {
  base: {
    iconColor: "#666EE8",
    color: "#31325F",
    lineHeight: "40px",
    fontWeight: 300,
    fontFamily: "Helvetica Neue",
    fontSize: "15px",

    "::placeholder": {
      color: "#CFD7E0"
    }
  }
};

var cardNumberElement = elements.create("cardNumber", {
  style: style
});
if (document.getElementById("card-number-element")) {
  cardNumberElement.mount("#card-number-element");
}

var cardExpiryElement = elements.create("cardExpiry", {
  style: style
});
if (document.getElementById("card-expiry-element")) {
  cardExpiryElement.mount("#card-expiry-element");
}

var cardCvcElement = elements.create("cardCvc", {
  style: style
});
if (document.getElementById("card-cvc-element")) {
  cardCvcElement.mount("#card-cvc-element");
}

function setOutcome(result) {
  console.log("result", result);

  var successElement = document.querySelector(".success");
  var errorElement = document.querySelector(".error");
  successElement.classList.remove("visible");
  errorElement.classList.remove("visible");

  if (result.token) {
    // In this example, we're simply displaying the token
    successElement.querySelector(".token").textContent = result.token.id;
    successElement.classList.add("visible");

    // In a real integration, you'd submit the form with the token to your backend server
    //var form = document.querySelector('form');
    //form.querySelector('input[name="token"]').setAttribute('value', result.token.id);
    //form.submit();
  } else if (result.error) {
    errorElement.textContent = result.error.message;
    errorElement.classList.add("visible");
  }
}

cardNumberElement.on("change", function(event) {
  setOutcome(event);
});

cardExpiryElement.on("change", function(event) {
  setOutcome(event);
});

cardCvcElement.on("change", function(event) {
  setOutcome(event);
});

// Handle credit card form submission:
var paymentForm = document.getElementById("payment-form");
$("#submit-card").on("click", function(event) {
  event.preventDefault();
  stripe.createToken(cardNumberElement).then(function(result) {
    console.log("result", result);

    if (result.error) {
      // Inform the user if there was an error
      var errorElement = document.getElementById("card-errors");
      errorElement.textContent = result.error.message;
    } else {
      // Send the token to your server
      stripeTokenHandler(result.token);
    }
  });
});
これでUser情報が書き換わる時に、Stripeカスタマートークンを作成します。
・・・
if @user.stripe_temporary_token.present?
  customer = Stripe::Customer.create(
    email: @user.email,
    source: @user.stripe_temporary_token
  )
  @user.update_attribute(:stripe_customer_id, customer.id)
  flash[:success] = "クレジットカード情報が登録されました"
end
・・・
本人確認フォームを作成する
売り手側が入金を受け取るためには本人確認書類をStripeに提出する必要があります。個人で受け取る場合と、法人で受け取る場合にて入力する内容が異なります。ドキュメントを読んで確認していきましょう。
国内で本人確認するために必要な情報は下記を参考にしていきます。
https://stripe.com/docs/connect/required-verification-information
本人確認の画像を送る際には、JSを使って直接Stripeに送信しトークンを取得する必要があります。
・・・
<div class="mainItem">
  <div class="label">
    <p>本人確認書類</p>
  </div>
  <div class="mainForm">
    <div class="inputFile">
      <div
        class="preview"
        style="background-image: url('../assets/img/verification.png')"
      >
        <input accept="image/*" id="id-file" name="id-file" type="file" />
      </div>
      <p class="btn_upload">
        アップロードする
      </p>
    </div>
  </div>
</div>
・・・
// Handle verification from submission:
var verifyForm = document.getElementById("verify-form");
$("#submit-account").on("click", function(event) {
  event.preventDefault();
  this.innerHTML =
    "<i class='fa fa-spinner fa-spin'></i> アカウント情報を登録しています...";
  this.className += " disabled";

  function() {
    // Handle a file upload
    var data = new FormData();
    data.append("file", document.querySelector("#id-file").files[0]);
    data.append("purpose", "identity_document");

    $.ajax({
      url: "https://uploads.stripe.com/v1/files",
      data: data,
      headers: {
        Authorization: `Bearer ${gon.stripe_key}`
      },
      cache: false,
      contentType: false,
      processData: false,
      type: "POST"
    }).done(function(response) {
      var fileData = response.id;
      $("input[id=stripe_file]").val(fileData);
      verifyForm.submit();
    });
  });
});
※ コントローラー部分は決済フォームで実装したものとほぼ同じですので省略させていただきます。
銀行口座フォームを作成する
続いて、売り手側が入金を受け取る銀行口座を登録していくフォームを作成していきます。
こちらは本人確認書類で作成したStripe側のアカウントを呼び起こして、そこに銀行口座の情報を追加してあげるように実装を進めていきます。
こちらも本人確認書類と同じで、下記URLを参考にして必要な情報を取得します。
https://stripe.com/docs/payouts
本人確認書類や決済フォームと同じようにJSによってStripeと交信し、取得したトークンを既存のユーザーアカウントに追加します。
・・・
if @user.stripe_bank.present?
  stripe_account = Stripe::Account.retrieve(current_user.stripe_account_id)
  stripe_account.external_account = @user.stripe_bank
  stripe_account.save
end
・・・
定額商品を作成する
このあたりは少し我流もあったのですが、定額商品には「商品」と「プラン」の二つの概念があります。例えば、一つの会社がAとB製品を持っているのであれば、それぞれにプランを持つことになりますよね。今回に関していえば、手入力でStripe側の商品をあらかじめ作っておいて、そこに紐づくプランをユーザーがアプリケーション側でプランを作成するたびに増えていくようにしました。
(これが、ユーザーが商品に対して幾つものプランを用意することを想定する場合は商品ごとユーザーが作る必要があるかもしれませんが、今回はユーザーは一つのプランに対して一つの価格設定を前提とします。)
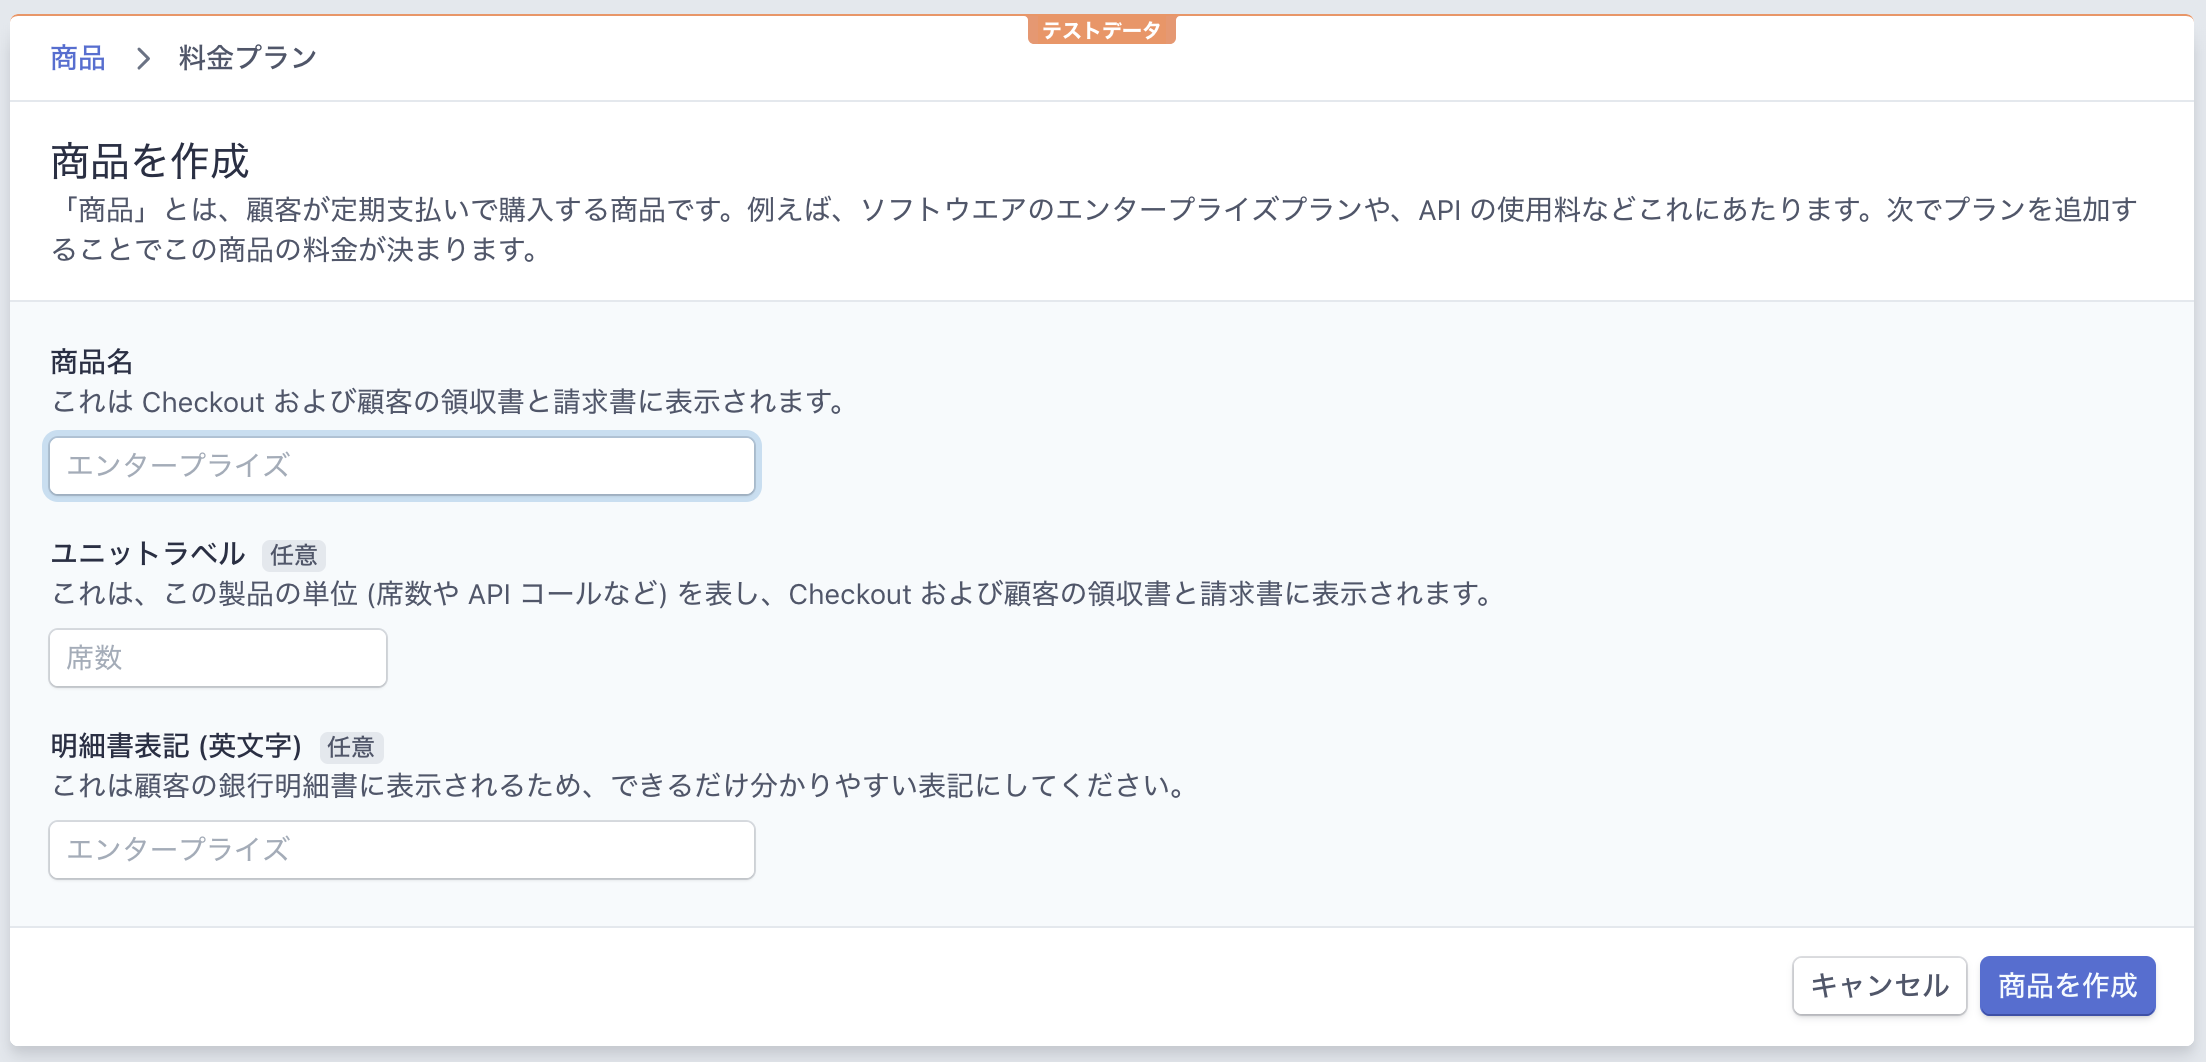
作成した商品のIDはクレデンシャルに書き込んで保存しておきます。
あと、プラン側はアプリケーション側が作成された時に一緒に作成するようにコントローラー側で仕込むだけです。
  def create
    @community = current_user.plans.create(create_params)
    @community.community_id = "plan_#{@plan.id}"
    if @community.save
      Stripe::Plan.create(
        product:      Rails.application.credentials[Rails.env.to_sym][:stripe][:product_id],
        id:           @plan.community_id,
        currency:     'jpy',
        interval:     'month',
        nickname:     @plan.name,
        amount:       @plan.price,
      )
      flash[:success] = "We'll let you know when your community is approved."
      redirect_to current_user
    else
      flash[:alert] = "Faild to add a community."
      redirect_to current_user
    end
  end
顧客が定額商品を契約する
クレジットカード情報を持ったユーザーが定額商品を契約します。
これによって、ユーザーとプラットフォーム側が定期支払いによって契約が交わされることになります。
顧客情報と、プラン情報だけでなく、メタ情報としてプランを作成したアカウントのIDと、プラットフォーム側の手数料比率をここでいれておくのがポイントです。
・・・
def create
  @subscription = current_user.subscriptions.create(create_params)
  if @subscription.save
    @plan_id = "plan_#{@subscription.community.id}"
    stripe_subscription = Stripe::Subscription.create(
      customer: @subscription.user.stripe_customer_id,
      plan: @community_id,
      metadata: {
        destination: @subscription.user.stripe_account_id,
        commission_fee: "20"
      }
    )
    @subscription.stripe_subscription_id = stripe_subscription.id
    @subscription.save

    redirect_to current_user
  else
    redirect_to current_user
  end
end
・・・
プラットフォームからアカウントに送金される
顧客から受け取った金額をそのまま、アカウントに送金する必要があります。
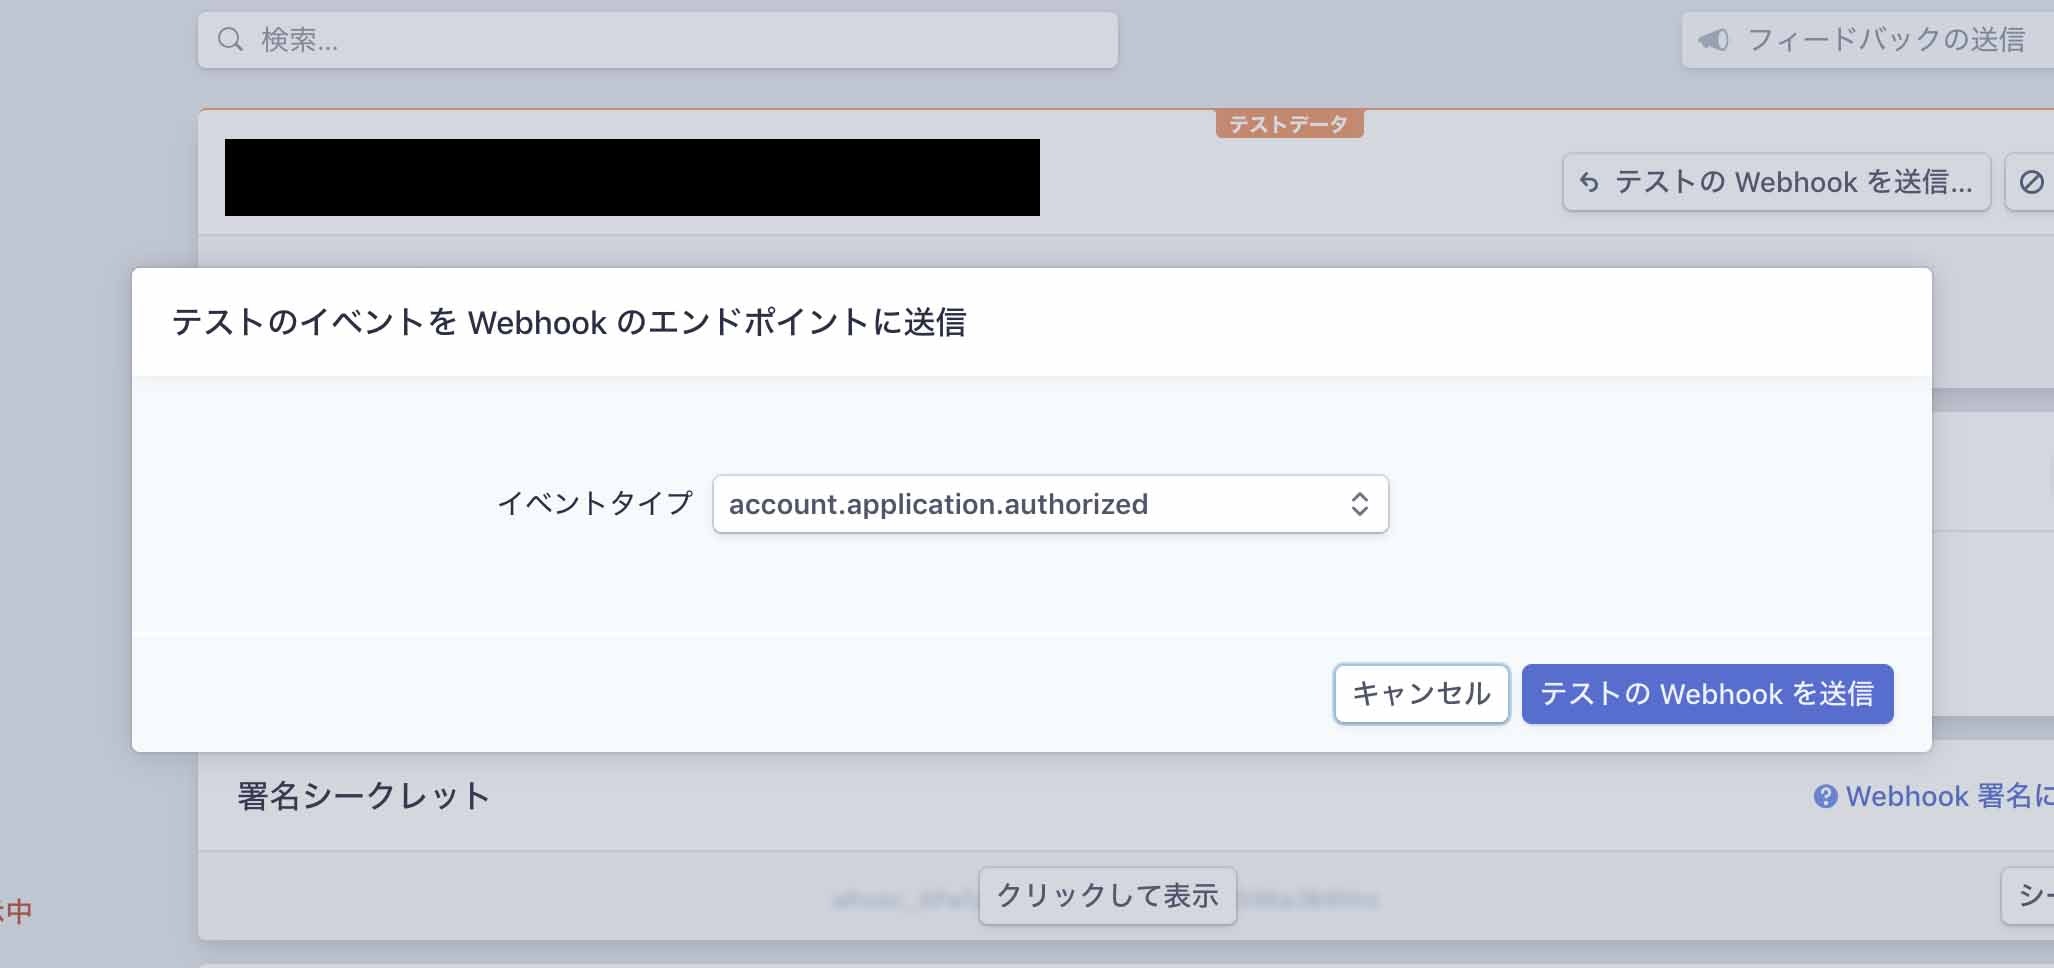
そのためには、StripeのWebhookを使って、毎月なり支払いがある度に都度、アカウント側へ送金を行なっていきます。ngrockというサービスがWebhookのローカルでのテストでは非常に便利です。
Stripeにおけるngrockの設定は下記を参照にしてください。
https://qiita.com/kakipo/items/5d7325902965e74b3091
ngrokを設定したあとは、Stripeダッシュボードのテスト画面から配信ができるようになります。
支払いが行われる度に、プラットフォームからアカウントへ自動送金処理を実装していきます。
Rails.configuration.stripe = {
  :publishable_key          => Rails.application.credentials[Rails.env.to_sym][:stripe][:publishable_key],
  :secret_key               => Rails.application.credentials[Rails.env.to_sym][:stripe][:secret_key],
  :account_signing_secret   => Rails.application.credentials[Rails.env.to_sym][:stripe][:account_signing_secret],
  :connect_signing_secret   => Rails.application.credentials[Rails.env.to_sym][:stripe][:connect_signing_secret]
}

Stripe.api_key = Rails.configuration.stripe[:secret_key]
StripeEvent.signing_secrets = [
  Rails.configuration.stripe[:account_signing_secret],
  Rails.configuration.stripe[:connect_signing_secret],
]

StripeEvent.configure do |events|
  # 請求に成功した場合の処理
  events.subscribe(
    'invoice.payment_succeed',
    Events::InvoicePaymentSucceed.new
  )
end
class Events::InvoicePaymentSucceed
  def call(event)
    source = event.data.object

    # 送金処理を行なう
    subscription = source.lines.data[0]
    metadata = subscription.metadata
    commissionPercentage = metadata.commission_fee.to_i / 100
    commissionAmount = subscription.amount * commissionPercentage
    destinationAmount = subscription.amount - commissionAmount
    destinationAccount = metadata.destination

    transfer = Stripe::Transfer.create({
      amount: destinationAmount,
      currency: 'jpy',
      destination: destinationAccount
    })
  end
end
アカウントの口座に入金される
入金はStripeダッシュボード上より、手動入金と、自動入金(月に何日、週に何曜日)など選べるみたいです。
10,000円以上残高貯まらないとできないなど、実装でカスタマイズはできるみたいです。
今回はサブスクリプションなんで、一ヶ月定期でいいんじゃないかなと思って、とりわけ実装はしませんでした。

やってみると、意外にも壮大になってしまいました。。
お金を取り扱うあたり、慎重にならなきゃいけないところもありますよね。銀行口座や、本人確認書類のバリデーションもフロント側で処理できるといいですよね。なんか良いライブラリあったら、教えて欲しいです。
実際、これやり切るのに、Stripeご担当者さまに幾度となく問い合わせしました。
すぐに、優しく応答してくれて、サービスも会社も素晴らしいなと感動でした!