今回は15号の発展版として、
three.jsで表示した3DグラフィックをHTML側で作成した操作パネルで動かしてみる
に挑戦してみました。
【コピペでプレビュー】
<!DOCTYPE html>

<html>

<head>
  <meta charset="utf-8" />
  <meta name="viewport" content="width=device-width, initial-scale=1" />
  <!-- jquery -->
  <script src="https://ajax.googleapis.com/ajax/libs/jquery/1.12.4/jquery.min.js"></script>
  <!-- TweenMax -->
  <script src="https://cdnjs.cloudflare.com/ajax/libs/gsap/1.20.3/TweenMax.min.js"></script>
  <!-- three.js -->
  <script src="https://cdnjs.cloudflare.com/ajax/libs/three.js/r127/three.min.js"></script>
  <!-- OrbitControls.js -->
  <script src="https://cdn.jsdelivr.net/gh/mrdoob/three.js@r109/examples/js/controls/OrbitControls.js"></script>
</head>

<body style="margin: 0;">

  <!-- 3Dオブジェクト -->
  <div id="myCanvas" style="position: fixed; z-index: 0;"></div>
  <!-- /3Dオブジェクト -->

  <!-- 操作パネル -->
  <div
    style="position: fixed; bottom: 0; right: 50%; transform: translateX(50%); height: 20%; display: flex; justify-content: center; z-index: 1;">
    <div
      style="border-radius: 25px; box-sizing: border-box; padding: 1em 0; min-width: 350px; width: 99%; max-width: 450px; height: 99%; background-color: rgba(0,0,0,.7); display: flex; flex-flow: wrap; align-items: center; text-align: center; font-size: calc(.5rem + 2vmin); color: #ffffff;">
      <button class="" id="up" style="margin: 0 auto; padding: 5px 0; width: 10em;" type="button">↑</button>
      <div style="width: 100%;">
        <button class="" id="left" style="margin: auto; padding: 5px 0; width: 10em; vertical-align: middle;"
          type="button">←</button>
        <button class="" id="right" style="margin: auto; padding: 5px 0; width: 10em; vertical-align: middle;"
          type="button">→</button>
      </div>
      <button class="" id="down" style="margin: 0 auto; padding: 5px 0; width: 10em;" type="button">↓</button>
    </div>
  </div>
  <!-- /操作パネル -->

  <script>
    jQuery(document).ready(function () {

      let controls;
      let camera;
      let near = 0.1;
      let fov = 30;
      let far = 100;
      let target = new THREE.Vector3(0, 0, 0);
      // カメラポジション
      let x = 0;
      let y = 10;
      let z = 5;

      // 床用テクスチャ
      const planeCanvas = document.createElement('canvas');
      planeCanvas.width = 500;
      planeCanvas.height = 500;
      const planeContext = planeCanvas.getContext('2d')
      for (let planeY = 0; planeY < 10; planeY++) {
        for (let planeX = 0; planeX < 10; planeX++) {
          let planeX_fill;
          if (planeX % 2 == 0 && planeY % 2 == 0 || planeX % 2 != 0 && planeY % 2 != 0) {
            planeX_fill = 1;
          } else {
            planeX_fill = -1;
          }
          planeContext.fillStyle = `rgb(${Math.floor(240*planeX_fill)}, ${Math.floor(240*planeX_fill)}, ${Math.floor(240*planeX_fill)})`;
          planeContext.fillRect(planeX * 50, planeY * 50, 50, 50);
        }
      }

      // ページの読み込みを待つ
      $(window).on("load", function () {

        // レンダラーを作成
        const canvas = document.getElementById("myCanvas");
        const renderer = new THREE.WebGLRenderer({
          alpha: true,
        });
        $("#myCanvas").append(renderer.domElement);

        function cameraResize() {
          // カメラを作成
          camera = new THREE.PerspectiveCamera();
          // カメラコントローラーを作成
          controls = new THREE.OrbitControls(camera, canvas);
          // レンダラーのサイズ設定(高画質対応)
          renderer.setSize(window.innerWidth, window.innerHeight);
          renderer.setPixelRatio(window.devicePixelRatio);
          // カメラ設定
          camera.near = near;
          camera.fov = fov;
          camera.aspect = window.innerWidth / window.innerHeight;
          camera.far = far;
          // カメラポジション
          camera.position.set(x, y, z);
          // 原点方向を見つめる
          camera.lookAt(target);
          // カメラコントローラー制御
          // パン移動無効化
          controls.enablePan = false;
          // 水平回転無効化
          controls.maxAzimuthAngle = 0;
          controls.minAzimuthAngle = 0;
          // カメラを登録
          camera.updateProjectionMatrix();
        }
        // レンダラー・カメラの初期設定
        cameraResize();

        // リサイズ時にレンダラー・カメラの再設定
        $(window).resize(function () {
          fov = camera.fov;
          x = camera.position.x;
          y = camera.position.y;
          z = camera.position.z;
          cameraResize();
        });

        // シーンを作成
        const scene = new THREE.Scene();

        // 床を作成
        const planeSize = 5;
        const planeGeometry = new THREE.PlaneGeometry(planeSize, planeSize);
        const planeTexture = new THREE.CanvasTexture(planeCanvas)
        const planeMaterial = new THREE.MeshBasicMaterial({
          map: planeTexture,
          side: THREE.DoubleSide,
        });
        const planeMesh = new THREE.Mesh(planeGeometry, planeMaterial);
        planeMesh.position.set(0, -0.251, 0);
        planeMesh.rotation.x = Math.PI * -.5;
        scene.add(planeMesh);

        // 箱を作成
        const boxSize = 0.5;
        const boxGeometry = new THREE.BoxGeometry(boxSize, boxSize, boxSize);
        const normalMaterial = new THREE.MeshNormalMaterial({
          side: THREE.DoubleSide,
        });
        const boxMesh = new THREE.Mesh(boxGeometry, normalMaterial);
        boxMesh.position.set(-.25, 0, -.25);
        scene.add(boxMesh);

        $("#up").click(function () {
          TweenMax.to(boxMesh.position, 1, {
            z: "-=1",
          });
        });
        $("#right").click(function () {
          TweenMax.to(boxMesh.position, 1, {
            x: "+=1",
          });
        });
        $("#left").click(function () {
          TweenMax.to(boxMesh.position, 1, {
            x: "-=1",
          });
        });
        $("#down").click(function () {
          TweenMax.to(boxMesh.position, 1, {
            z: "+=1",
          });
        });

        // トップライトを作成
        const directionalLight = new THREE.AmbientLight(0xFFFFFF, 1);
        directionalLight.position.set(0, 1, -1);
        scene.add(directionalLight);

        // ループアニメーション設定
        function tick() {
          requestAnimationFrame(tick);

          // カメラコントローラーを更新
          controls.update();

          // レンダリングを更新
          renderer.render(scene, camera);
        }
        tick();
      });
    });
  </script>
</body>

</html>
今回工夫した箇所
1・二重ループで作成したテクスチャ用canvas
Javascript上で2Dのcanvasイメージを作成して3Dオブジェクトに適応してみました。
今回使用した二重for構文では外側と内側でそれぞれX軸とY軸の座標を担当させ、10×10で100枚のパネルをチェック柄になるように配置しています。
      // 床用テクスチャ
      const planeCanvas = document.createElement('canvas');
      planeCanvas.width = 500;
      planeCanvas.height = 500;
      const planeContext = planeCanvas.getContext('2d')
      for (let planeY = 0; planeY < 10; planeY++) {
        for (let planeX = 0; planeX < 10; planeX++) {
          let planeX_fill;
          if (planeX % 2 == 0 && planeY % 2 == 0 || planeX % 2 != 0 && planeY % 2 != 0) {
            planeX_fill = 1;
          } else {
            planeX_fill = -1;
          }
          planeContext.fillStyle = `rgb(${Math.floor(240*planeX_fill)}, ${Math.floor(240*planeX_fill)}, ${Math.floor(240*planeX_fill)})`;
          planeContext.fillRect(planeX * 50, planeY * 50, 50, 50);
        }
      }
2・OrbitControls.jsの詳細設定
このプレビューは簡単な作りの為、水平回転を行うと上下左右の移動方向がくるってしまう為、__maxAzimuthAngle__と__minAzimuthAngle__をそれぞれ__0__に設定する事で、OrbitControls.jsの水平回転を無効化する事が出来ます。ついでに__enablePan__を__false__に設定してカメラのパン移動も無効化しています。
          // パン移動無効化
          controls.enablePan = false;
          // 水平回転無効化
          controls.maxAzimuthAngle = 0;
          controls.minAzimuthAngle = 0;
振り返ってみると、新しく取り入れたのはその位ですね…
でも、コツコツと投稿数を増やしていけるので、これはこれでアリだと思います!
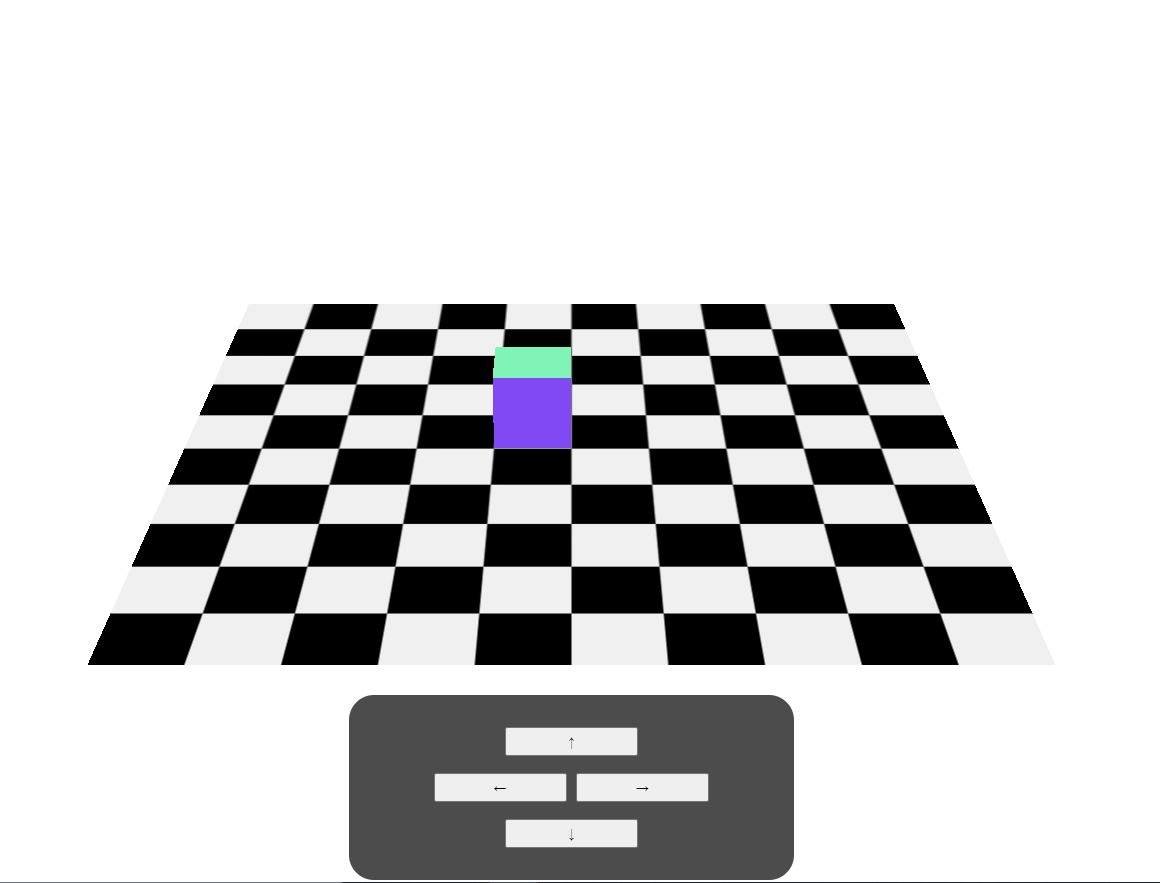
ちなみに、このプレビューは実際に表示してみるとこんな感じになります。(画像のアップロード機能に今更気が付きました…)
水平回転とズームイン、ズームアウトが可能で、矢印ボタンを押すと箱のオブジェクトが2マスずつ進みます。(連打すると狂います)
今回は以上になります。自分用の備忘録ですが、誰かの参考になれば幸いです。