はじめに
bootstrapを導入する時に手間取ってしまったので、初めて触ってみる人でもわかりやすく、導入手順を一からおさらいします![]() 超初級編です
超初級編です![]()
bootstrapは簡単にgridレイアウトを実現できるので、使えるようになると便利です![]()
① Gemfileの末尾にbootstrapを追加
gem 'bootstrap'
今回はバージョン指定はしません。
この時、compass-railsというgemが追加されてあるとエラーを吐いてしまうので、なくて問題ないようなら削除します。
② gemの更新
$ bundle install
③ application.cssにbootstrapを導入
app>assets>stylesheet>application.css
@import "bootstrap";
application.cssをapplication.scssに名前変更
④ application.jsにもbootstrapを適用
app>assets>javascripts>application.js
//= require bootstrap
⑤ bootstrapを挿入
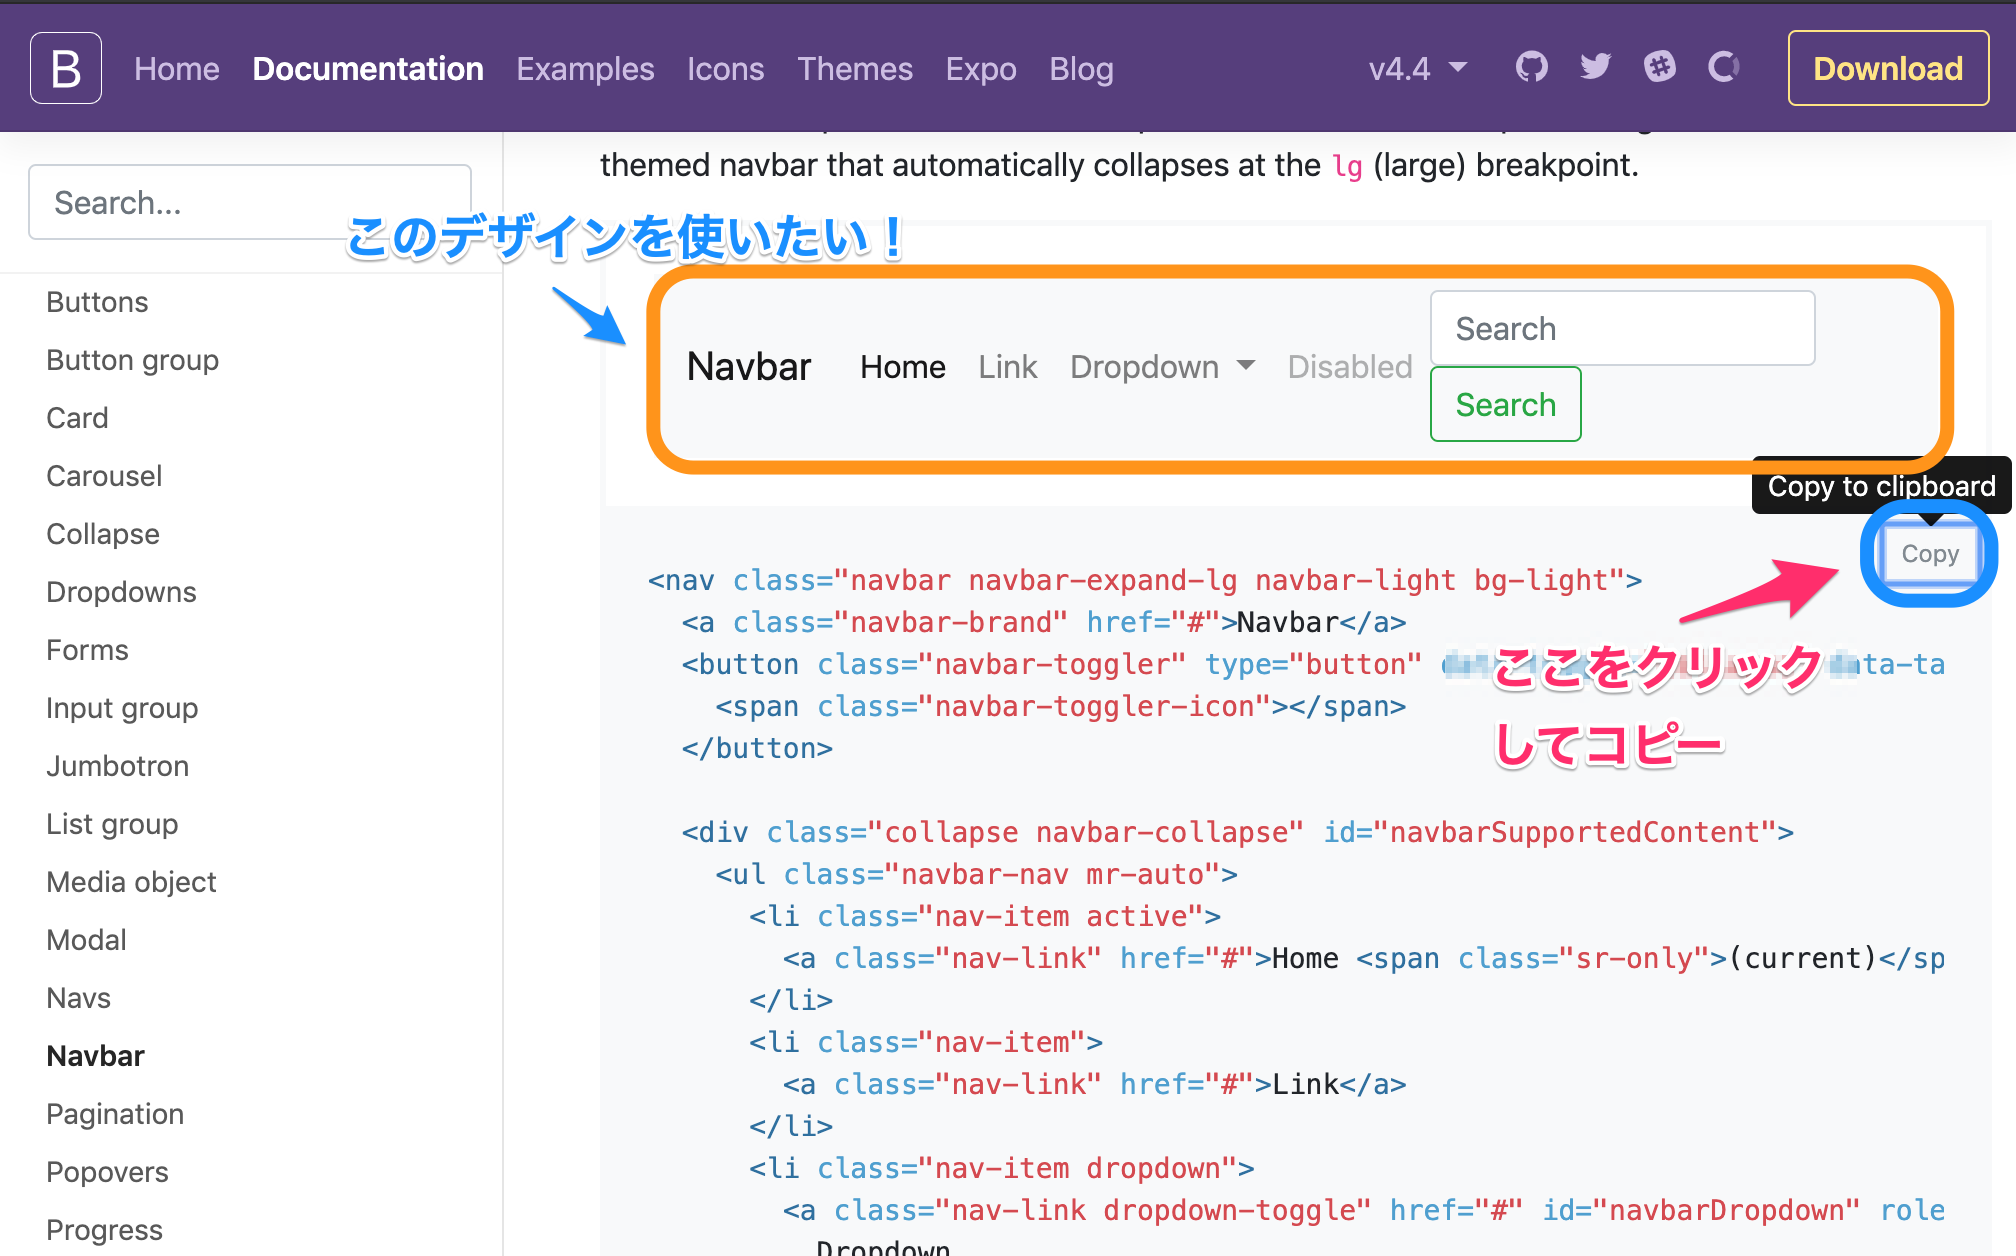
bootstrapから、好きなデザインを探し、適応させたいビューファイルに挿入します。
bootstrapトップページから、ヘッダーのDocumentation->左にあるCommponentsから探します。
e.g.) 今回は、headerにNavbarを使います。
app>views>layouts>application.html.erb

<header>
  ここにコピーしたコードを貼り付け
</header>
これで$ rails sでサーバーを起動させて該当ページを表示させると、下のようにbootstrapが適用されます。

後はエディタのbootstrapをコピーした部分のリンクや表示させたい文字などを調節して完成です!やったね!